
HAPPRUN J7
Contents
HAPPRUN 1500 ANSI Smart Outdoor Projector (Model J7) Instruction Manual
Your guide to setting up, operating, and maintaining your HAPPRUN J7 Projector.
1. Introduction
The HAPPRUN 1500 ANSI Smart Outdoor Projector (Model J7) is designed to provide a high-quality visual and audio experience for both indoor and outdoor environments. Featuring 4K decoding, auto-focus, a built-in streaming system, and 30W Dolby Audio, this projector offers versatile entertainment options. This manual provides essential information for safe and efficient use of your projector.
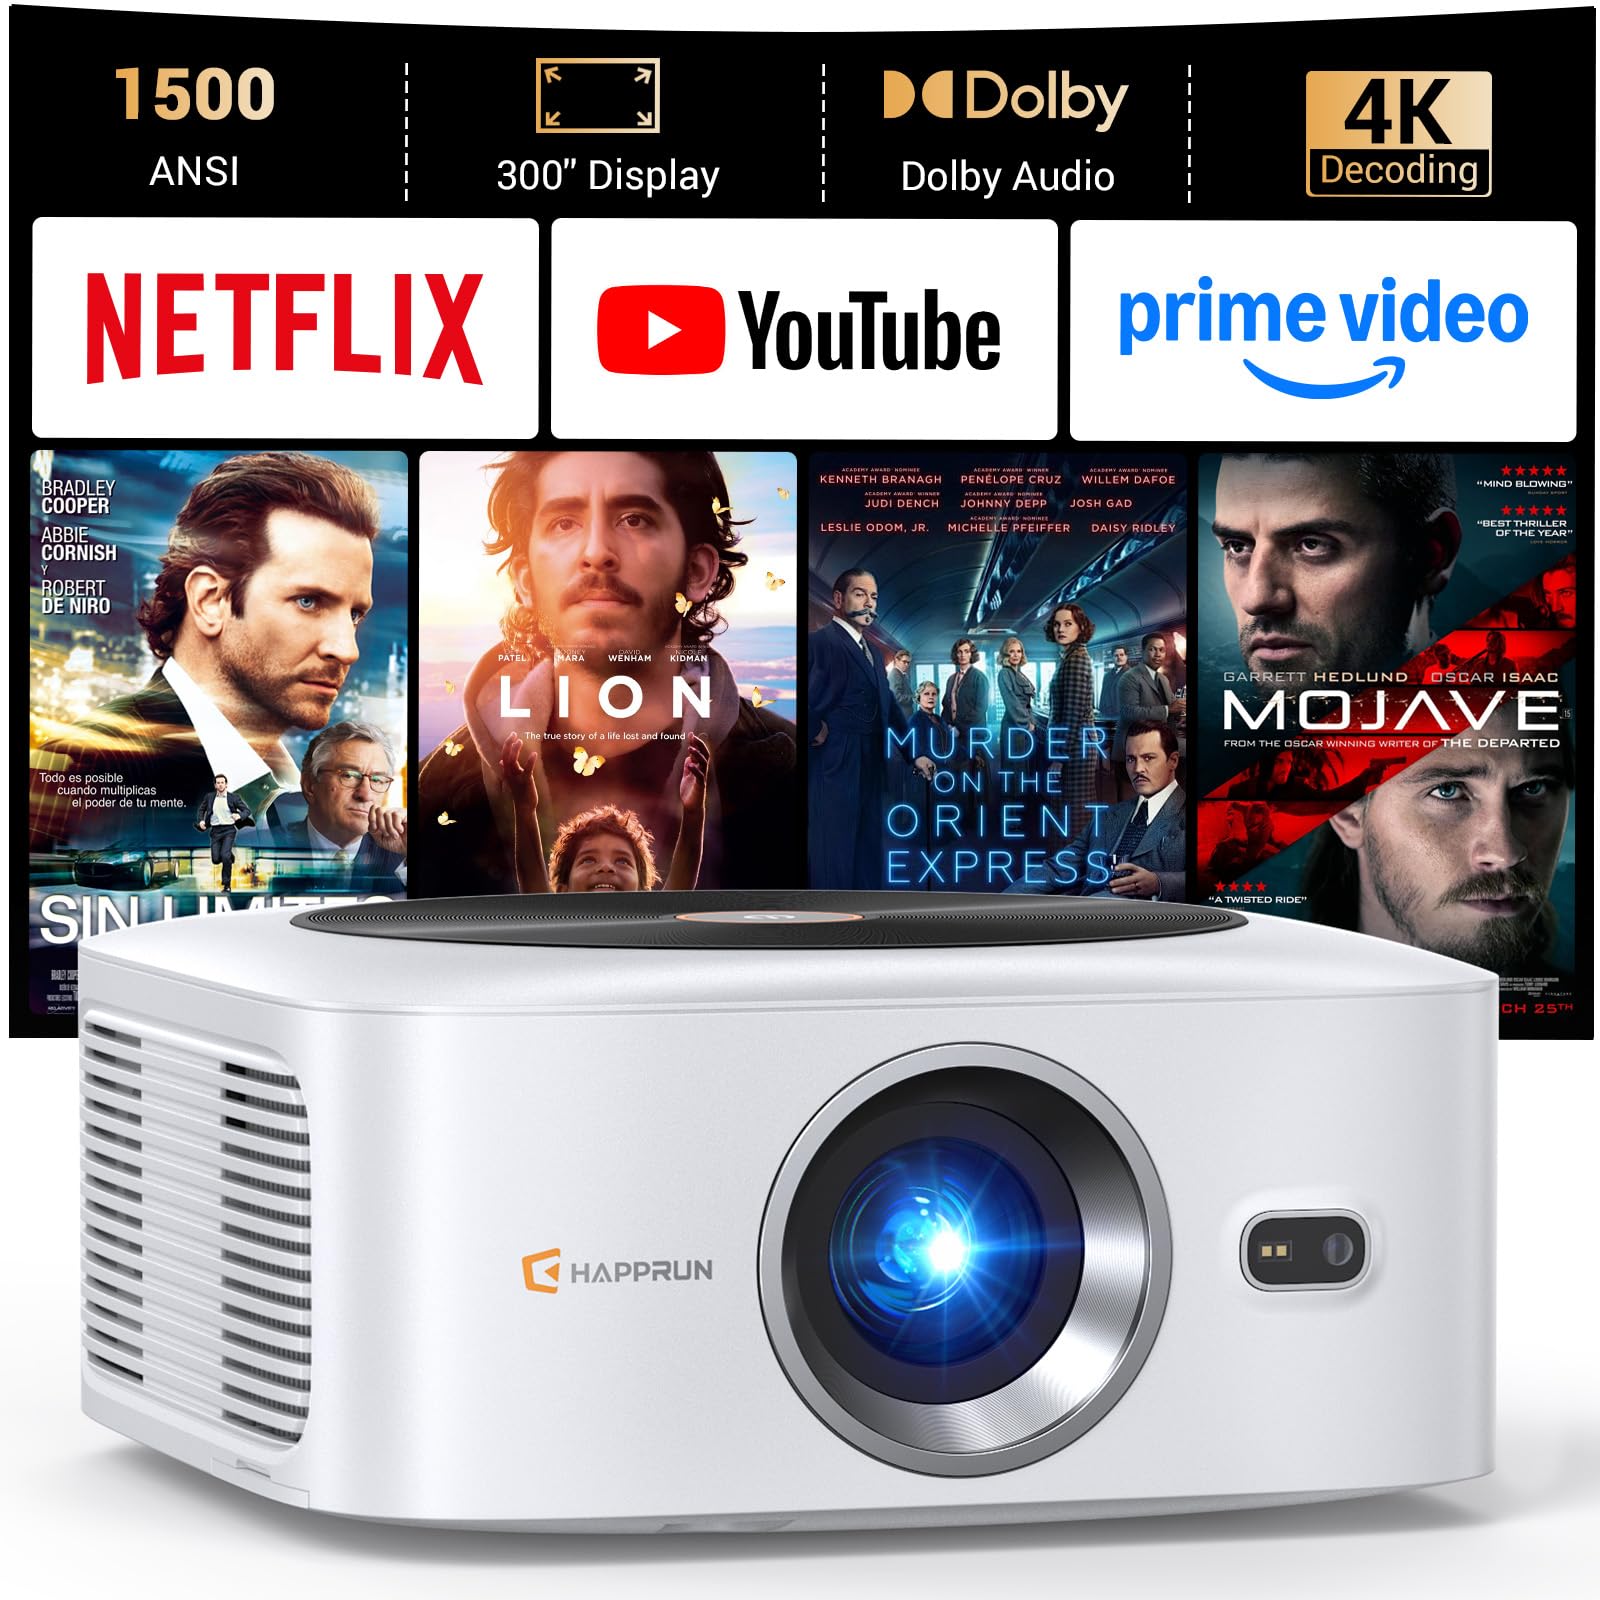
Image: The HAPPRUN 1500 ANSI Smart Outdoor Projector, a compact and portable device.
2. What's in the Box
Carefully unpack your HAPPRUN J7 Projector and ensure all items are present:
- Projector
- Cleaning Kit
- Power Cord
- Projector Lens Cover
- Remote Control
3. Product Features
The HAPPRUN J7 Projector is equipped with advanced features for an enhanced viewing experience:
3.1 Built-in Streaming System
Access over 1,000 applications directly from the projector, including popular streaming services like Netflix, Prime Video, YouTube, and Hulu. No additional equipment is needed for streaming content.

Image: The projector displaying various built-in streaming applications on a large screen.
3.2 High Brightness and 4K Decoding
Experience vibrant and sharp images with 1500 ANSI lumens brightness, suitable for both day and night viewing. The projector supports 4K decoding resolution, a 20000:1 contrast ratio, and 95% color gamut for detailed and lifelike visuals.

Image: A scenic landscape projected with 4K decoding, highlighting clarity and detail.
3.3 AI Smart Screen Adjustment (Auto Focus)
The projector features automatic focus and keystone correction, providing a clear, rectangular picture within 3 seconds of startup. This eliminates the need for manual adjustments, ensuring optimal viewing regardless of placement.

Image: Visual representation of the AI auto-focus system adjusting the projected image.
3.4 Immersive Dolby Audio
Equipped with 15*2W high-fidelity speakers and Dolby Audio support, the projector delivers rich, balanced sound with crisp highs and deep bass, creating a cinematic audio experience.

Image: Close-up of the projector's speakers, highlighting the HiRes Audio and Dolby Audio features.
3.5 Bluetooth 5.2 Connectivity
Connect external Bluetooth speakers for enhanced sound quality or Bluetooth headphones for a private listening experience without disturbing others.

Image: A projector wirelessly connected to external Bluetooth speakers in a living room setting.
3.6 Ultra-fast WiFi 6
With WiFi 6 technology, the projector ensures stable and smooth video and image transmission, minimizing lag and stutter for uninterrupted wireless projection and gaming.

Image: A person playing a video game projected onto a large screen, demonstrating smooth performance with WiFi 6.
3.7 Multiple Viewing Options & Portability
The compact and lightweight design allows for easy relocation. It supports ceiling mount, table mount, tripod mount, and wall mount, making it suitable for various spaces including bedrooms, living rooms, gardens, and RVs. Multiple ports (HDMI, USB, 3.5mm headphone jack) ensure compatibility with TV sticks, Chromecast, Roku, phones, PCs, laptops, and gaming consoles.

Image: A hand placing the compact HAPPRUN projector into a bag, illustrating its portability.

Image: Rear view of the HAPPRUN projector showing HDMI, USB, and audio ports, along with compatible devices.
3.8 Official Product Video
Video: An official overview of the HAPPRUN 1500 ANSI Smart 4K Projector, demonstrating its key features and capabilities.
4. Setup Guide
- Placement: Position the projector on a stable, flat surface or mount it according to your preference (table, ceiling, tripod, wall). Ensure the projection path is clear of obstructions.
- Power Connection: Connect the power cord to the projector and then to a power outlet.
- Power On: Press the power button on the projector or the remote control to turn on the device.
- Initial Setup: Follow the on-screen instructions for initial setup, including language selection and network connection (WiFi).
- Focus and Keystone: The projector features AI smart screen adjustment for automatic focus and keystone correction. Allow a few seconds for the image to optimize. If manual adjustment is needed, use the remote control settings.
- Connect Devices (Optional): For external devices, connect them to the appropriate HDMI or USB ports.
5. Operating Instructions
5.1 Remote Control Functions
Use the provided remote control to navigate the projector's interface:
- Power Button: Turns the projector on/off.
- Navigation Buttons: Up, Down, Left, Right arrows to move through menus.
- OK Button: Confirms selections.
- Back Button: Returns to the previous screen.
- Home Button: Returns to the main home screen.
- Volume Buttons: Adjusts audio volume.
- Dedicated App Buttons: Quick access to popular streaming apps (e.g., Netflix, YouTube, Prime Video).
5.2 Navigating the Smart System
The built-in smart system provides access to various applications and settings:
- From the home screen, use the navigation buttons to browse installed applications.
- Select an app and press OK to launch it.
- Access system settings (e.g., network, display, audio) through the settings icon on the home screen.
5.3 Connecting External Devices
To use external devices:
- HDMI: Connect your device (e.g., laptop, gaming console, TV stick) to an HDMI port. Select the corresponding HDMI input from the projector's source menu.
- USB: Insert a USB drive into a USB port to play media files. The projector's media player will typically detect the content automatically.
- Bluetooth Audio: To connect Bluetooth speakers or headphones, go to the projector's Bluetooth settings, enable Bluetooth, and pair with your desired audio device.
6. Maintenance
Proper maintenance ensures the longevity and optimal performance of your projector:
- Lens Cleaning: Use the provided cleaning kit or a soft, lint-free cloth specifically designed for optical lenses. Gently wipe the lens to remove dust or smudges. Avoid abrasive materials.
- Ventilation: Ensure the projector's ventilation openings are not blocked to prevent overheating. Do not place the projector on soft surfaces that may obstruct airflow.
- Dust Removal: Periodically clean the exterior of the projector with a soft, dry cloth. For stubborn dust, a slightly damp cloth can be used, followed by a dry wipe.
- Storage: When not in use, store the projector in a cool, dry place, away from direct sunlight and extreme temperatures. Use the lens cover to protect the lens from dust and scratches.
- Power Off Properly: Always turn off the projector using the power button and allow it to complete its shutdown cycle before unplugging it.
7. Troubleshooting
If you encounter issues with your HAPPRUN J7 Projector, refer to the following common problems and solutions:
| Problem | Possible Cause | Solution |
|---|---|---|
| No image on screen | Power not connected; Projector off; Incorrect input source; Lens cover on. | Check power connection; Turn on projector; Select correct HDMI/USB input; Remove lens cover. |
| Image is blurry | Out of focus; Projector too close/far from screen; Lens dirty. | Allow auto-focus to adjust; Adjust projector distance; Clean the lens. |
| No sound | Volume too low; Muted; Incorrect audio output; External device audio issue. | Increase volume; Unmute; Check audio settings; Ensure external device audio is working. |
| Cannot connect to WiFi | Incorrect password; Router issue; Out of range. | Verify password; Restart router; Move projector closer to router. |
| Remote control not working | Dead batteries; Obstruction; Remote not paired. | Replace batteries; Remove obstructions; Re-pair remote if necessary. |
8. Specifications
Key technical specifications for the HAPPRUN J7 Projector:
- Brand: HAPPRUN
- Model Name: J7
- Recommended Uses: Indoor/Outdoor
- Special Feature: Built-In Media Player
- Connectivity Technology: HDMI, USB, Bluetooth 5.2, WiFi 6
- Display Resolution: 1920 x 1080 (Native), 3840 x 2160 pixels (Maximum Display Resolution)
- Display Type: LCD
- Form Factor: Portable, Desktop
- Mounting Type: Floor Mount (supports Ceiling Mount/Table Mount/Tripod Mount/Wall Mount)
- Brightness: 1500 ANSI lumens
- Color: White
- Controller Type: Remote Control
- Compatible Devices: Gaming Console, Laptop, Smartphone, Speaker, TV Stick, Chromecast, Roku, PC, PS4, PS5
- Contrast Ratio: 20000:1
- Maximum Throw Distance: 26.25 feet
- Maximum Image Size: 300 inches
- Minimum Throw Distance: 3.94 feet
- Minimum Image Size: 150 inches
- Picture Quality Enhancement: AI image quality optimization
- Item Dimensions L x W x H: 7.79"L x 7.79"W x 3.8"H
- Item Weight: 2.8 pounds
9. Warranty and Support
9.1 Warranty Information
The HAPPRUN J7 Projector comes with a 2-year warranty. Please retain your proof of purchase for warranty claims. For detailed terms and conditions, refer to the warranty card included in your product packaging or contact HAPPRUN customer support.
9.2 Customer Support
For technical assistance, troubleshooting not covered in this manual, or warranty inquiries, please contact HAPPRUN customer support through the following channels:
- Website: Visit the official HAPPRUN website for support resources and contact forms.
- Email: Refer to your product packaging or the official website for customer service email addresses.
- Phone: Check the official HAPPRUN website for regional support phone numbers.
When contacting support, please have your product model (J7) and purchase information ready.
Ask a question about this manual
Ask about setup, troubleshooting, compatibility, parts, safety, or missing instructions. Manuals+ will review the question and use this page’s manual context to help answer it.