1. Introduction
This manual provides essential instructions for the safe operation and maintenance of your ScharkSpark 4K GPS Drone. Please read this manual thoroughly before operating the drone to ensure proper function and to prevent damage or injury.
2. Package Contents
Verify that all items listed below are included in your package:
- ScharkSpark 4K GPS Drone
- Remote Controller with 4.5-inch HD Screen
- 2 x Drone Batteries (7.4V 1600mAh)
- USB Charging Cable
- SD Card and Card Reader
- Spare Propellers (8 pieces)
- Screwdriver
- Instruction Manual
- Carrying Case

Image: The drone, remote controller, and accessories neatly packed within the included carrying case.
3. Setup
3.1 Battery Charging & Installation
Ensure both the drone batteries and the remote controller are fully charged before use.
- Drone Battery: Insert the drone battery into the drone. Connect the USB charging cable to the battery and a power source. The battery indicator will show charging status.
- Remote Controller: Connect the USB charging cable to the remote controller and a power source. The indicator lights on the controller will show charging status.
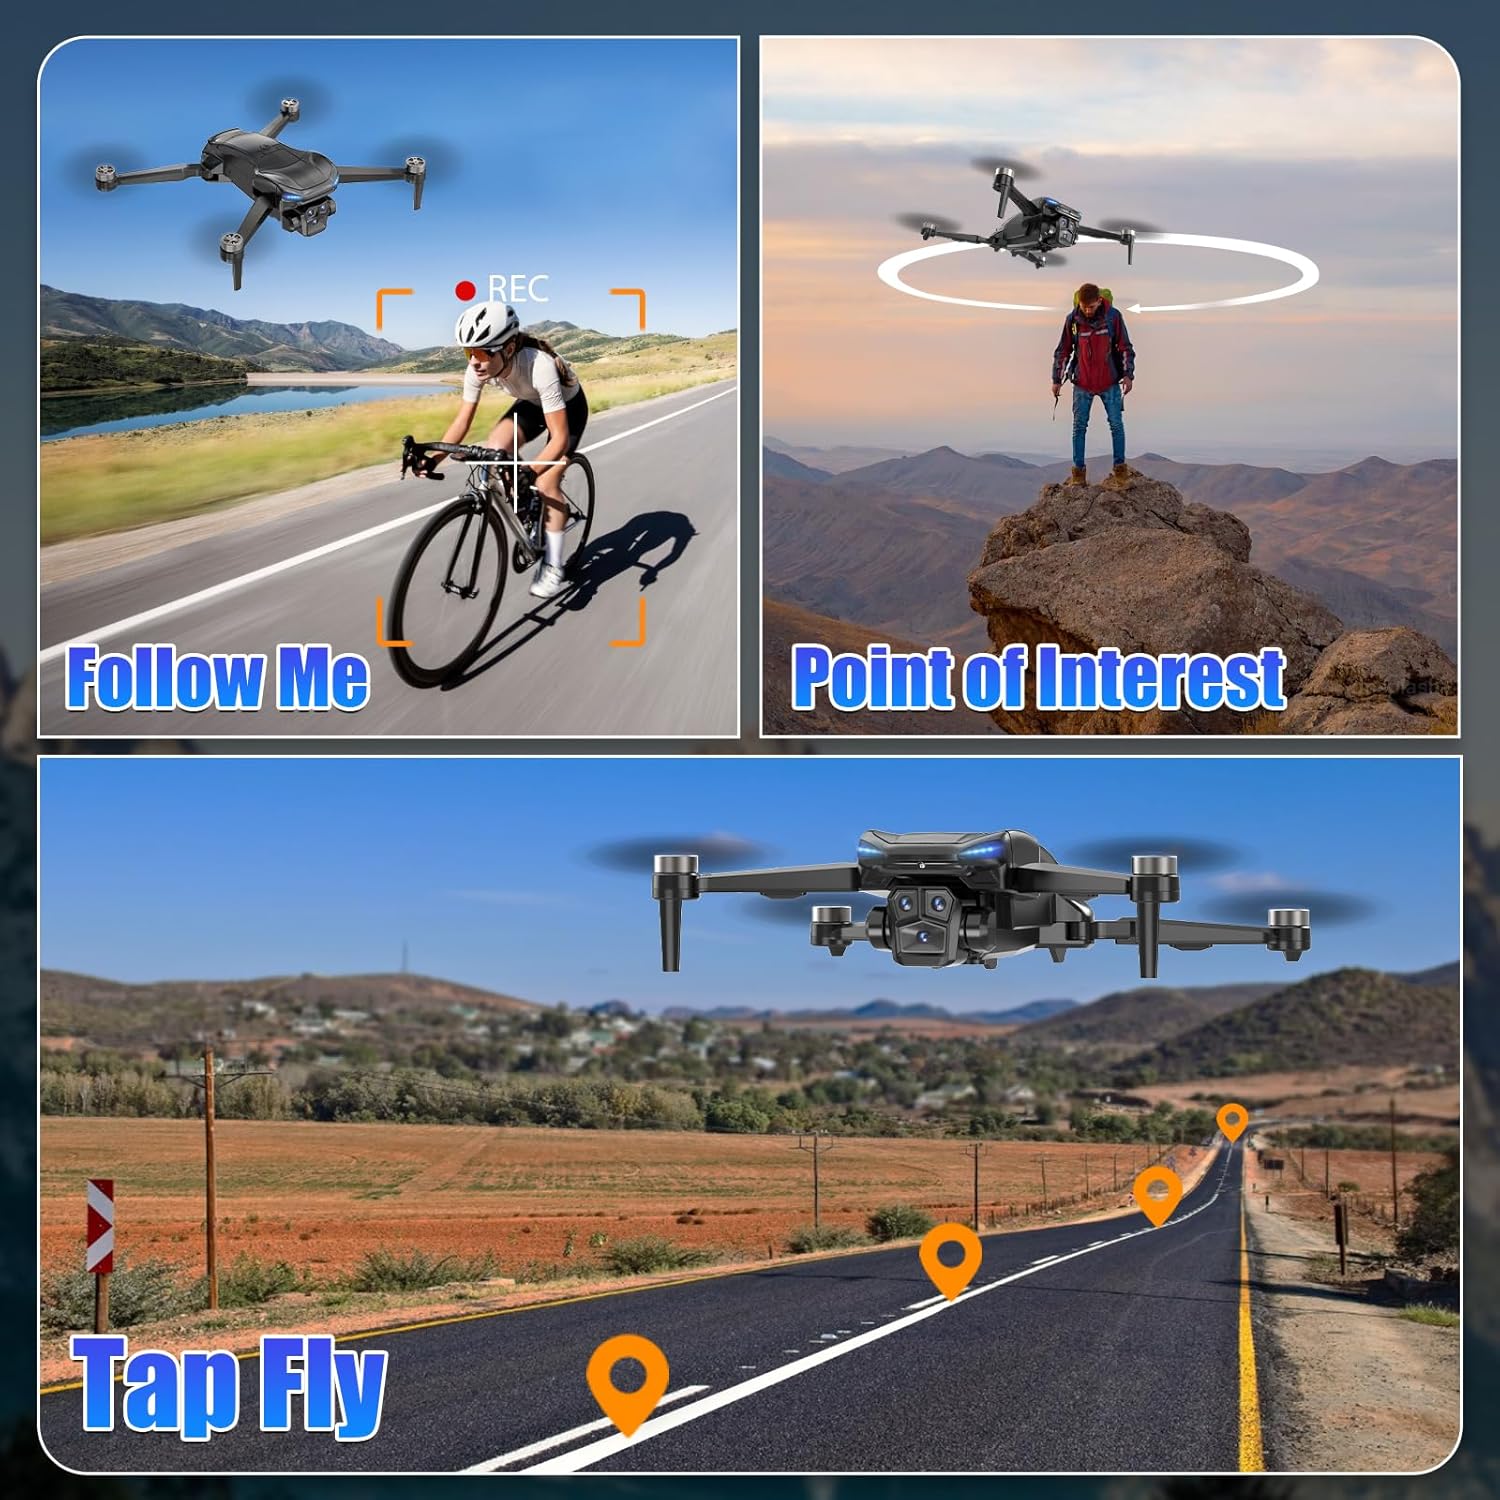
Image: A close-up of the drone battery, highlighting its design and connection points.
Image: The drone with two batteries, illustrating the extended flight time capability.
3.2 Propeller Deployment
Unfold the drone arms one by one until they lock into position. Ensure all propellers are securely attached and free from obstruction.
Image: The drone with its arms fully unfolded, ready for flight.
3.3 SD Card Insertion
Insert the provided SD card into the drone's designated slot for storing photos and videos. Ensure it is inserted correctly to avoid data loss.
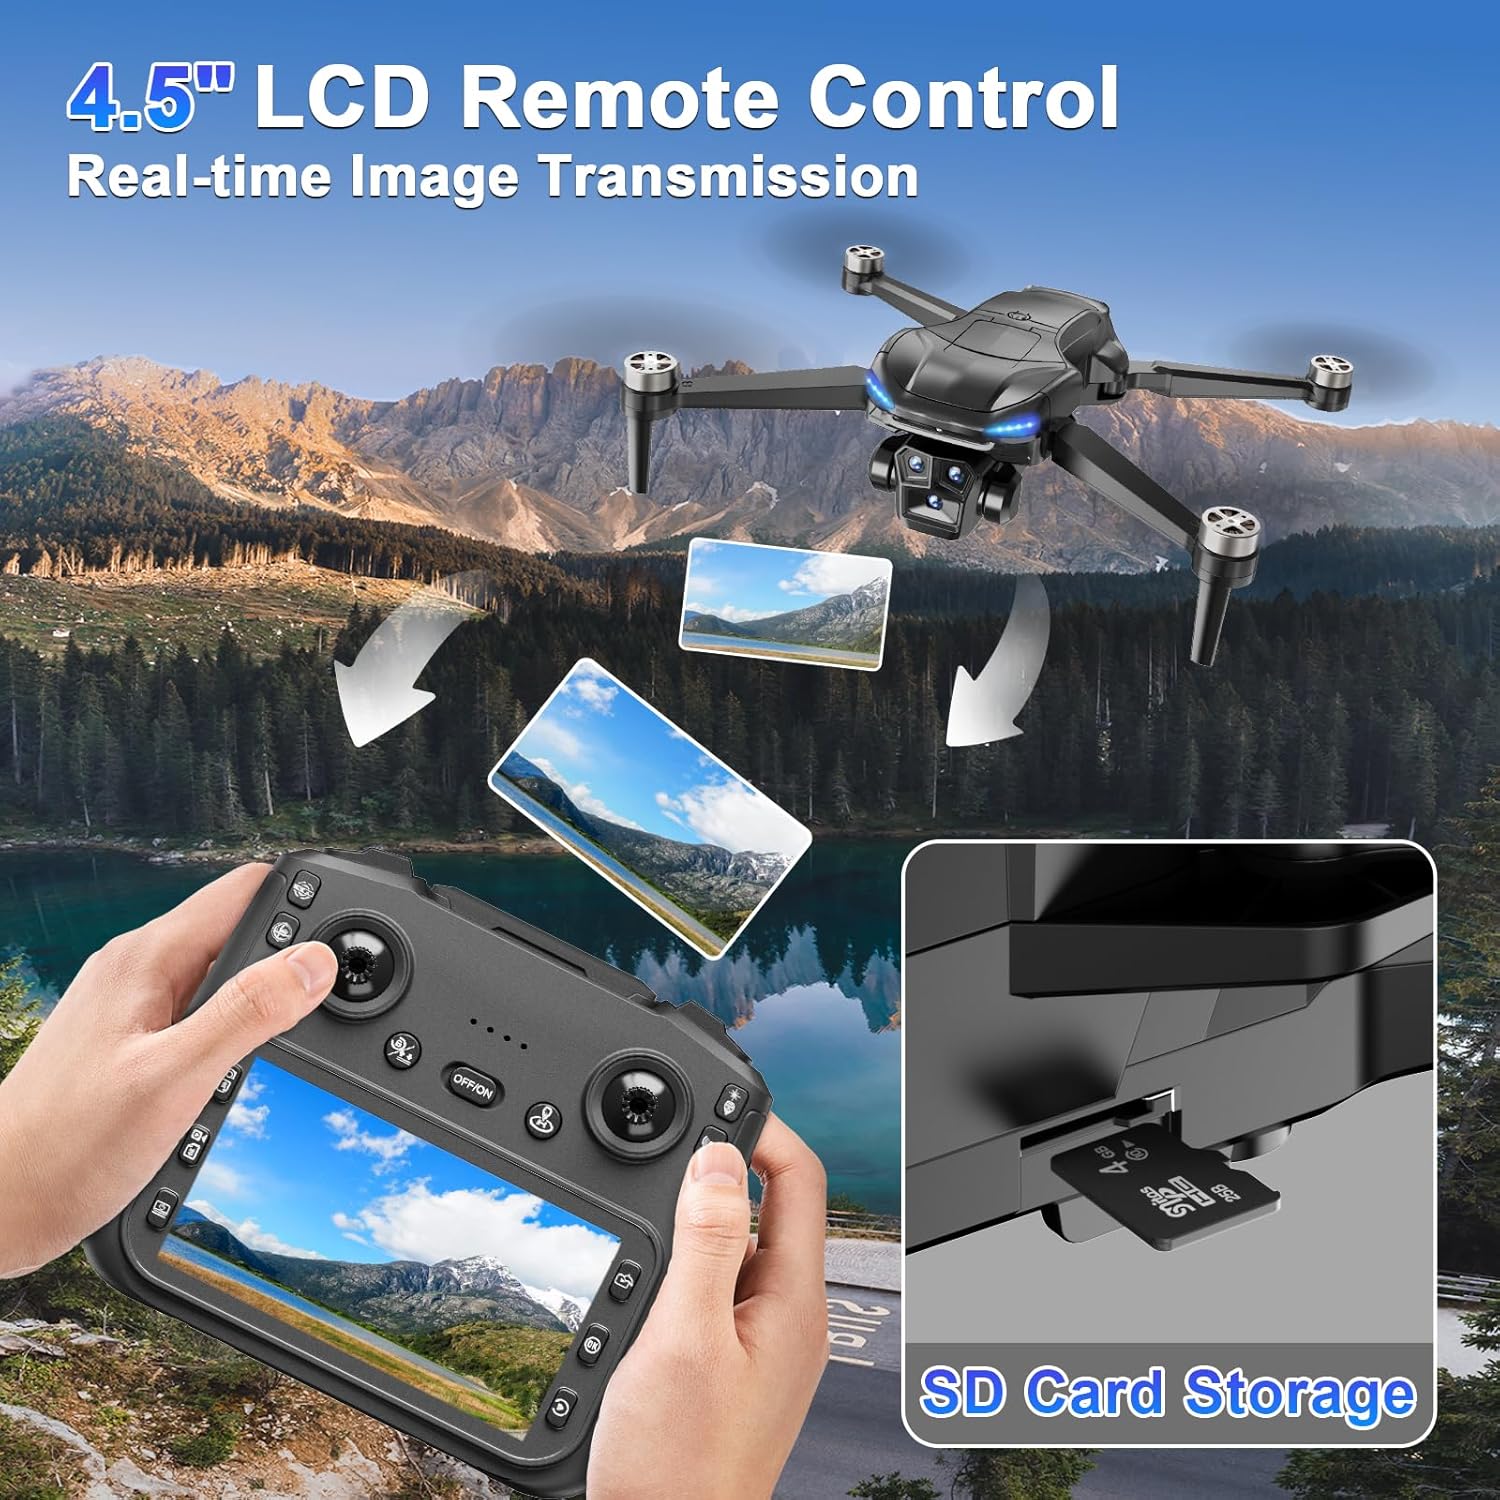
Image: The remote controller with its 4.5-inch HD screen and an SD card slot, indicating where to insert the memory card.
3.4 Pairing & Calibration
Before the first flight, or after any impact, it is recommended to perform compass and gyroscope calibration.
- Power On: Turn on the remote controller, then press and hold the power button on the drone for 3 seconds. The drone lights will illuminate and begin to flash rapidly.
- Pairing: The remote controller will emit two "Beep" sounds, and the power indicator light will stay solid, indicating successful frequency pairing.
- Compass Calibration: Follow the on-screen prompts on the remote controller. Hold the drone level and rotate it until the remote controller beeps once. Then, rotate the drone vertically until it beeps again. The front lights will stay solid, and rear lights will blink slowly, indicating successful compass calibration.
- Gyroscope Calibration: Follow the on-screen prompts on the remote controller. A remote controller beep will sound as the lights transition from rapid flashing to a solid front light with slow-blinking rear lights, indicating successful gyroscope calibration.
Video: ZY90 PRO Drone Tutorial Video by Sanzhinao. This video demonstrates the pre-flight preparations, including battery charging, controller setup, and the pairing and calibration process for the drone.
4. Operating Instructions
4.1 Basic Flight Controls
Familiarize yourself with the remote controller's joysticks for basic drone movements:
- Left Joystick Up/Down: Ascend/Descend
- Left Joystick Left/Right: Rotate Left/Right
- Right Joystick Up/Down: Fly Forward/Backward
- Right Joystick Left/Right: Fly Left/Right
Video: ZY90 PRO Drone Tutorial Video by Sanzhinao. This video demonstrates the basic flight controls using the remote controller joysticks.
4.2 Takeoff & Landing
- One-Button Takeoff: After successful pairing and calibration, press the one-button takeoff/landing button on the remote controller. The drone will automatically take off and hover.
- One-Button Landing: Press the one-button takeoff/landing button again. The drone will automatically land and stop its propellers.
4.3 Speed Adjustment
Adjust the flight speed using the dedicated speed switch on the remote controller. The drone offers low, medium, and high-speed settings.
4.4 Smart Flight Features (GPS Mode)
These features are available when the drone is in GPS mode and connected to the mobile app.
- GPS Auto Return: The drone will automatically return to its home point if the battery is low, the signal is lost, or the one-button return function is activated.
- Follow Me: The drone will follow the remote controller's movement, capturing dynamic footage as you move.
- Tap Fly: Draw a desired route on the app map, and the drone will follow the path, capturing photos and videos from preferred angles.
- Point of Interest: The drone will fly along a preset circular route around a designated point, recording everything of interest.
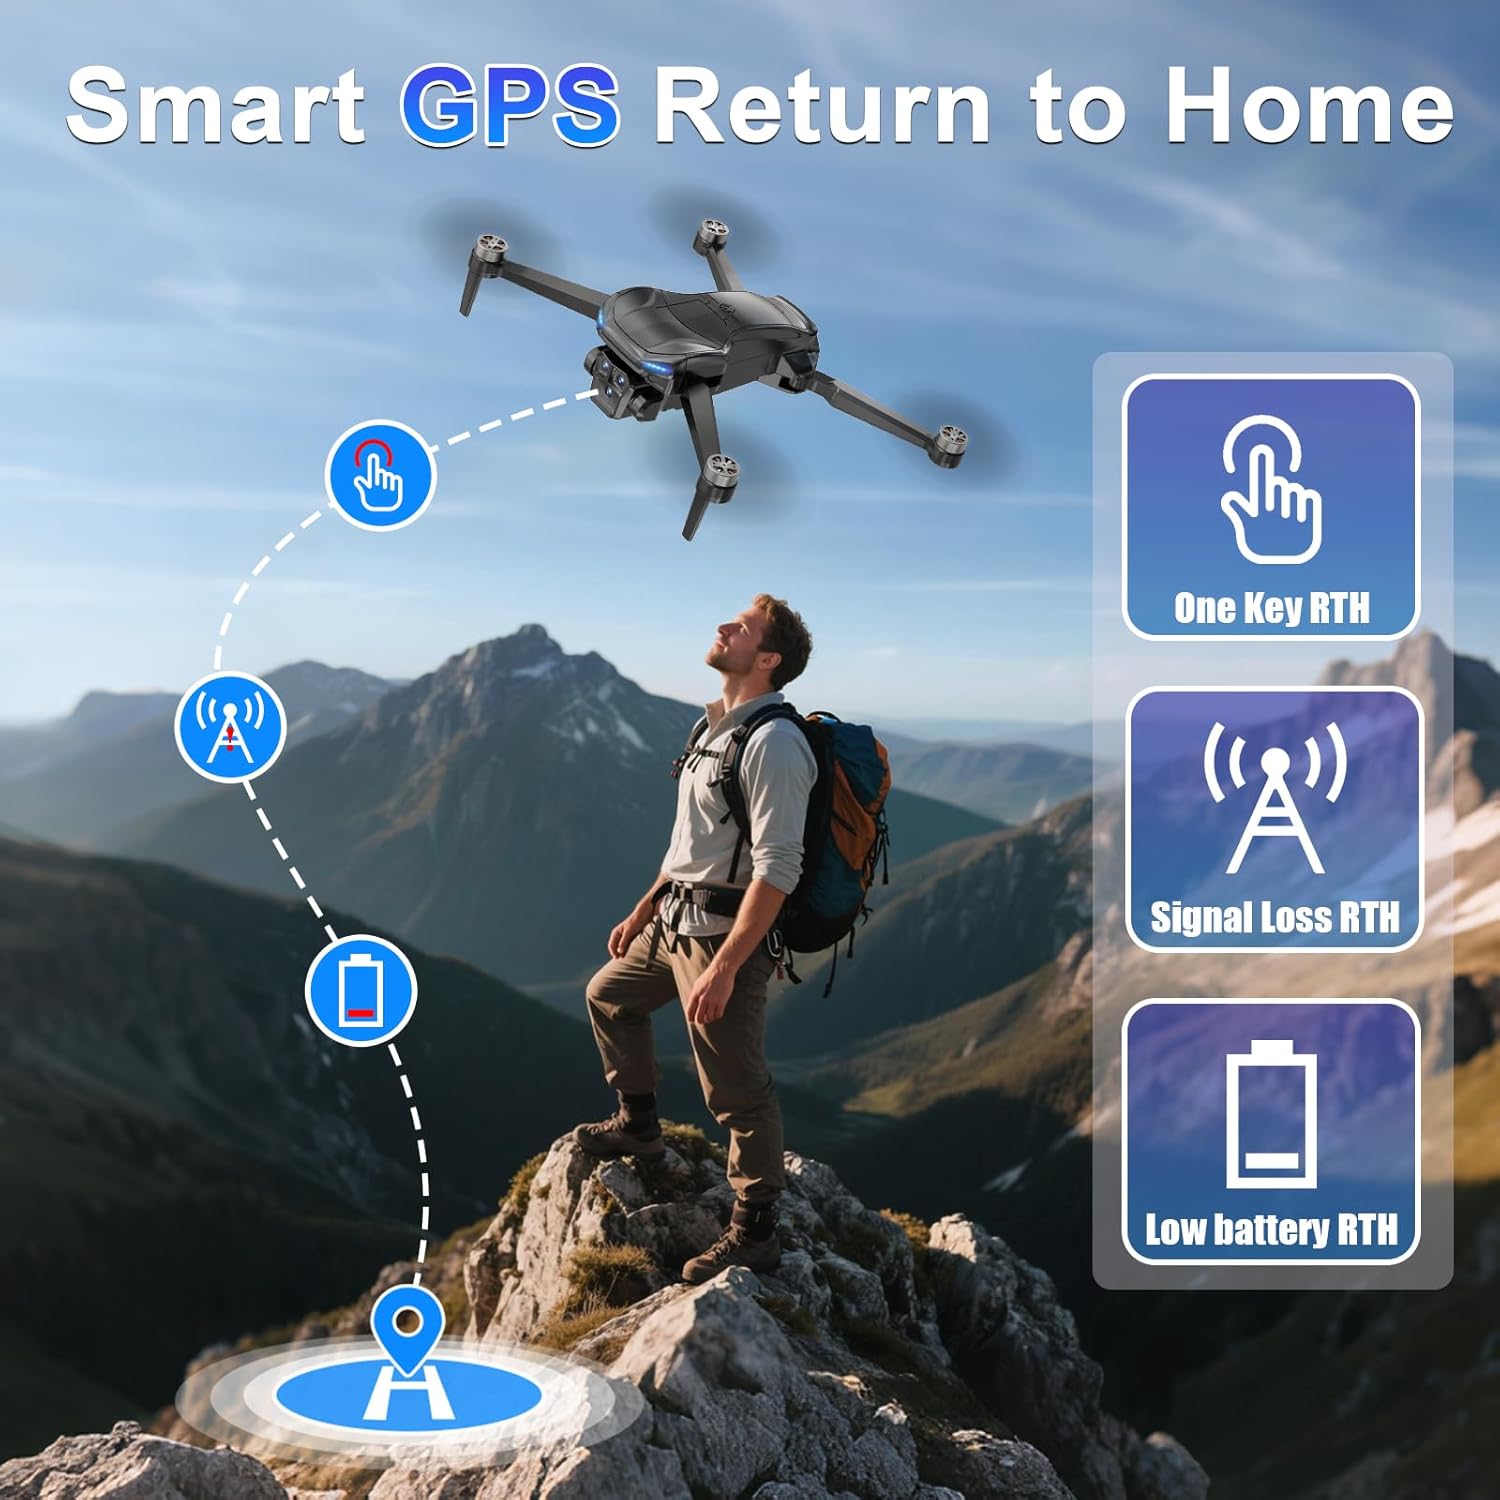
Image: Illustration of the Smart GPS Return to Home features, including One Key RTH, Signal Loss RTH, and Low Battery RTH.
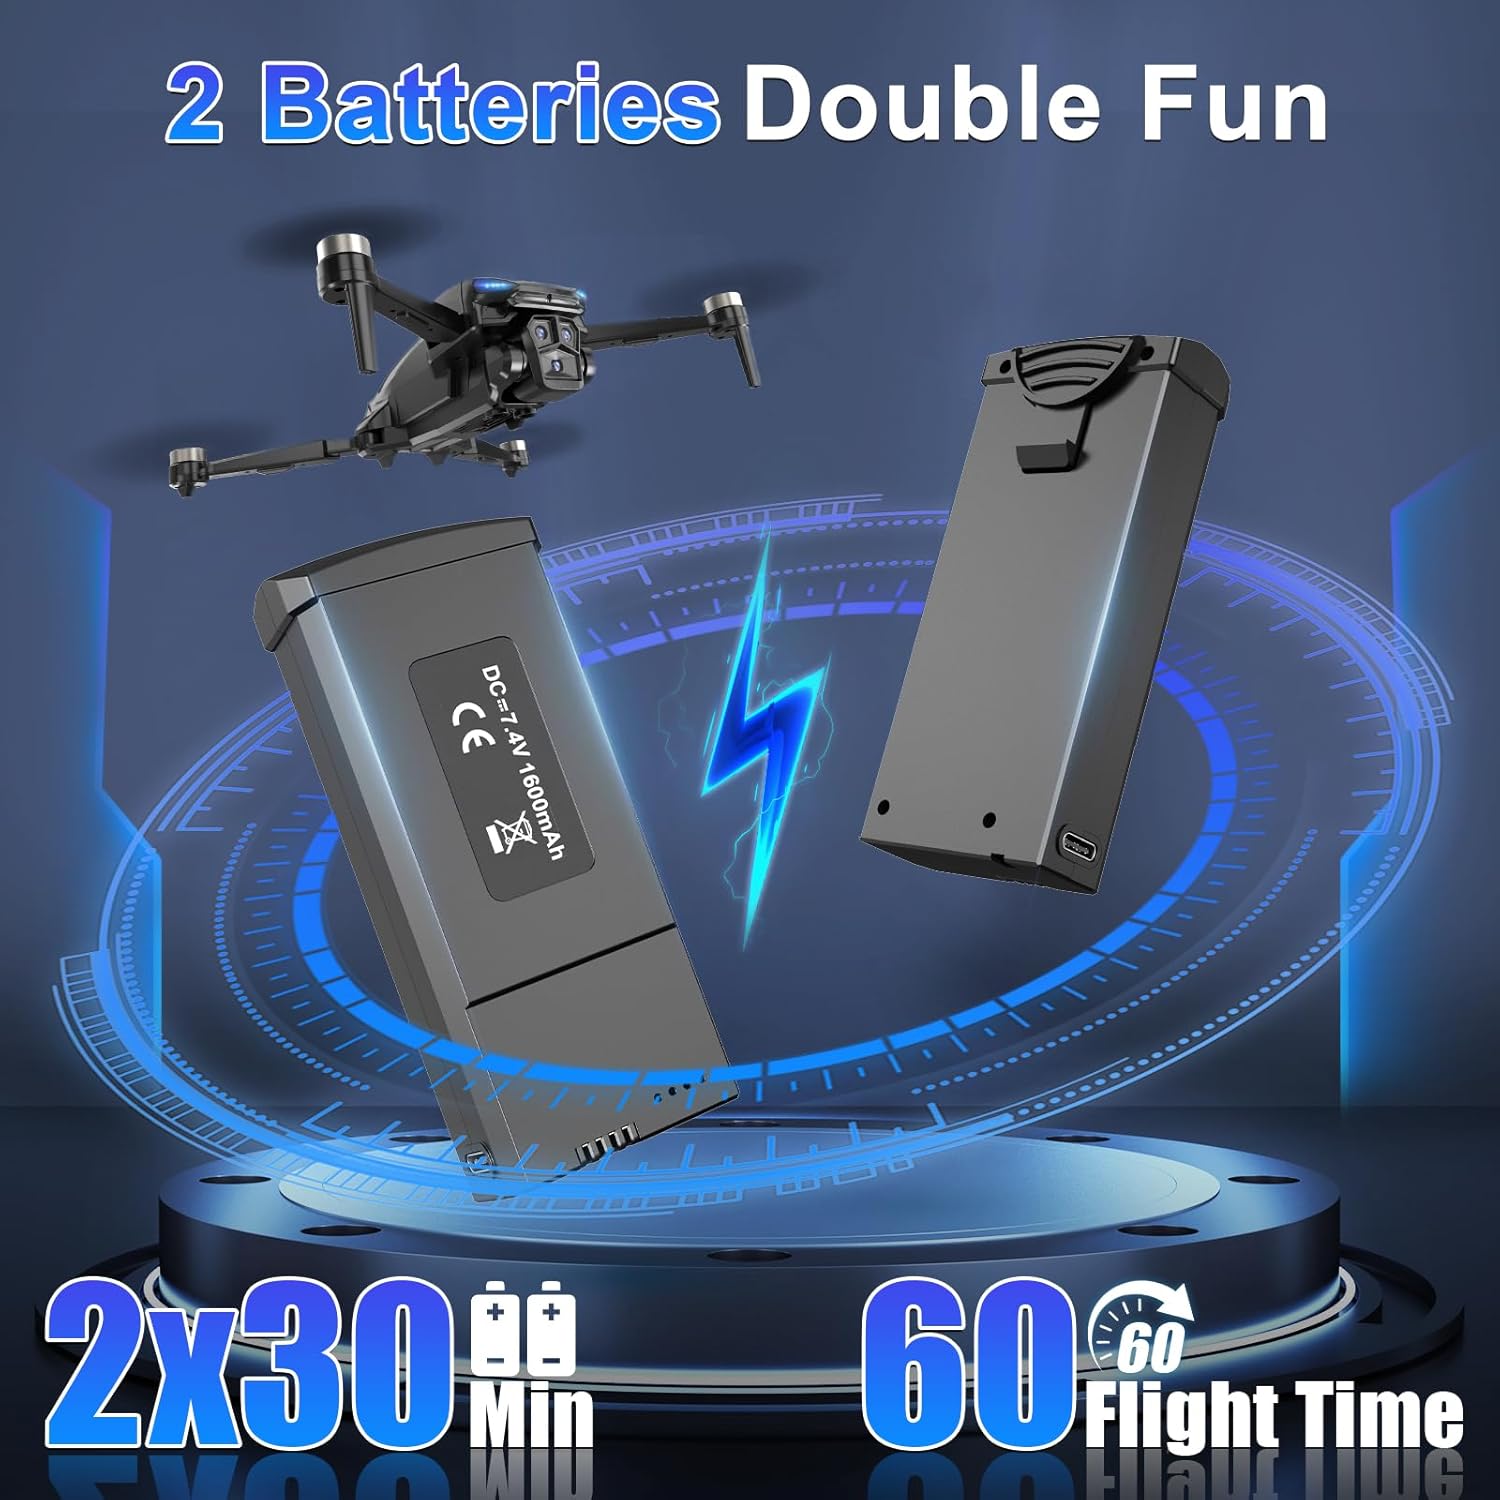
Image: Visual representation of Follow Me, Point of Interest, and Tap Fly smart flight modes.
4.5 Taking Photos & Recording Videos
Use the dedicated buttons on the remote controller to capture media:
- Photo: Press the photo button once to take a single photo.
- Video: Press and hold the video button to start recording. Press again to stop.
- Camera Angle Adjustment: Use the dial on the remote controller to adjust the camera's angle during flight.
Video: ZY90 PRO Drone Tutorial Video by Sanzhinao. This video demonstrates how to take photos and record videos using the remote controller and adjust camera angles.
4.6 Viewing Photos & Videos
Captured media is stored on the SD card. You can view it directly on the remote controller's screen or transfer it to a computer.
- On Remote Controller: Access the album function on the remote controller's screen to browse and play back your photos and videos.
- On Computer: Remove the SD card from the drone and insert it into the provided card reader. Connect the card reader to your computer to access and manage your media files.
5. Maintenance
5.1 Propeller Replacement
If a propeller is damaged, replace it promptly using the provided screwdriver and spare propellers. Ensure the correct propeller type (A or B) is installed on the corresponding motor arm.
Video: S-X1 Drone Usage by NEXFLIER. This video demonstrates how to replace the propellers on the drone.
5.2 General Care
- Keep the drone and remote controller clean and dry.
- Avoid exposing the drone to extreme temperatures or direct sunlight for extended periods.
- Store the drone and accessories in the carrying case when not in use to prevent damage.
6. Troubleshooting
- Drone not powering on: Ensure the battery is fully charged and correctly inserted.
- Remote controller not connecting: Ensure both the drone and controller are powered on and within range. Re-attempt the pairing process.
- Unstable flight: Perform compass and gyroscope calibration. Check propellers for damage or incorrect installation.
- GPS signal loss: Ensure you are flying in an open area with clear skies. If signal is lost, the drone's auto-return function should activate.
7. Specifications
| Feature | Detail |
|---|---|
| Brand | ScharkSpark |
| Model Number | JSD142 |
| Video Capture Resolution | 4K |
| Connectivity Technology | Wi-Fi, Bluetooth |
| Item Weight | 220 Grams (7.8 ounces) |
| Flight Time | Up to 60 minutes (with 2 batteries) |
| Control Type | Remote Control, App Control |
| Battery Cell Composition | Lithium Ion |
| Product Dimensions | 12.28"L x 8.27"W x 3.15"H |
8. Warranty and Support
For warranty information or technical support, please refer to the contact details provided on the product packaging or visit the official ScharkSpark website. Keep your purchase receipt as proof of purchase.