1. Introduction
This manual provides detailed instructions for the installation, operation, and maintenance of your MAHVEC 8Core 6G+128G Android 13 Car Stereo. This unit is specifically designed for Honda Civic models manufactured between 2006 and 2011, offering advanced features such as a 10.1-inch IPS touchscreen, wireless CarPlay/Android Auto, GPS navigation, and a built-in DSP audio processor. Please read this manual thoroughly before use to ensure proper functionality and safety.
2. Safety Information
- Professional Installation Recommended: Due to the complexity of car electrical systems, professional installation is highly recommended to prevent damage to the unit or your vehicle.
- Power Supply: Ensure the unit is connected to a 12V DC power supply with negative grounding.
- Wiring: Do not modify or cut the wiring harness. Incorrect wiring can cause malfunctions or damage.
- Driving Safety: Do not operate the unit in a way that distracts you from driving. Always prioritize road safety.
- Temperature: Avoid exposing the unit to extreme temperatures or direct sunlight for prolonged periods.
- Moisture: Keep the unit dry. Exposure to moisture can cause damage.
3. Package Contents
Verify that all items listed below are included in your package:
- Android Car Stereo Unit
- AHD Backup Camera
- External Microphone
- Power Cable
- RCA Cable
- Rear Camera Input Cable
- GPS Antenna
- USB Cable
- Installation Tool
- User Manual

Figure 3.1: Included Components
4. Compatibility
This car stereo is designed as a direct replacement for the factory radio in Honda Civic models from 2006 to 2011. Before installation, confirm your vehicle's year, console dimensions, and stereo shape to ensure proper fitment.

Figure 4.1: Compatibility for Honda Civic 2006-2011
5. Setup and Installation
5.1 Pre-Installation Checklist
- Ensure the vehicle's ignition is off and the battery is disconnected.
- Gather all necessary tools (provided installation tool, screwdrivers, wire strippers, etc.).
- Review the wiring diagram carefully.
5.2 Wiring Instructions
Connect the provided wiring harness to the car stereo and the vehicle's factory harness. Ensure all connections are secure. The main connections typically include:
- Power Cable: Connects to the vehicle's power supply.
- RCA Cable: For audio/video output and input.
- Rear Camera Input Cable: Connects the backup camera.
- GPS Antenna: For navigation functionality. Position it in a location with a clear view of the sky.
- USB Cable: For connecting external USB devices.
- External Microphone: For hands-free calling and voice commands.
- Steering Wheel Control (SWC) Wires: Connect to the vehicle's SWC wires to retain factory steering wheel button functionality. Refer to your vehicle's specific wiring diagram for correct connections.

Figure 5.1: General Wiring Diagram
5.3 Backup Camera Installation
The included AHD backup camera provides a clear, wide-angle view. Mount the camera near the license plate or another suitable rear location. Route the camera cable through the vehicle's interior to the head unit and connect it to the 'Rear Camera Input' cable. Connect the camera's power wire to the vehicle's reverse light power source so it activates automatically when reverse gear is engaged.

Figure 5.2: Backup Camera Features and Installation
6. Operating Instructions
6.1 Power On/Off and Touch Screen
Press the power button to turn the unit on or off. The 10.1-inch 1280x720P IPS touchscreen is capacitive and highly responsive. Navigate through menus and applications by tapping, swiping, and pinching.
6.2 Wireless CarPlay / Android Auto
The unit supports both wireless CarPlay and Android Auto for seamless smartphone integration.
- For Wireless CarPlay:
- Pair your iPhone's Bluetooth with the car stereo.
- Open the 'Zlink' application on the car stereo.
- Wait for the connection to establish.
- For Wireless Android Auto:
- Download and install the Android Auto app on your phone.
- Connect your phone's Bluetooth with the car stereo.
- Turn on the 'Zlink' app on the car stereo.
- Wait for the connection to establish.
Once connected, you can access your phone's address book, messages, notifications, map navigation, music, and other compatible applications directly on the stereo's touchscreen. Mirror Link functionality is also available for displaying your phone's screen.

Figure 6.1: Wireless CarPlay & Android Auto Connection
6.3 GPS Navigation
The unit features a built-in GPS positioning chip supporting GPS/QZSS/SBAS. It supports both online and offline navigation. Connect to Wi-Fi to use online GPS applications like Google Maps, Waze, Navitel, or iGO. You can also download offline map data for navigation without an internet connection.
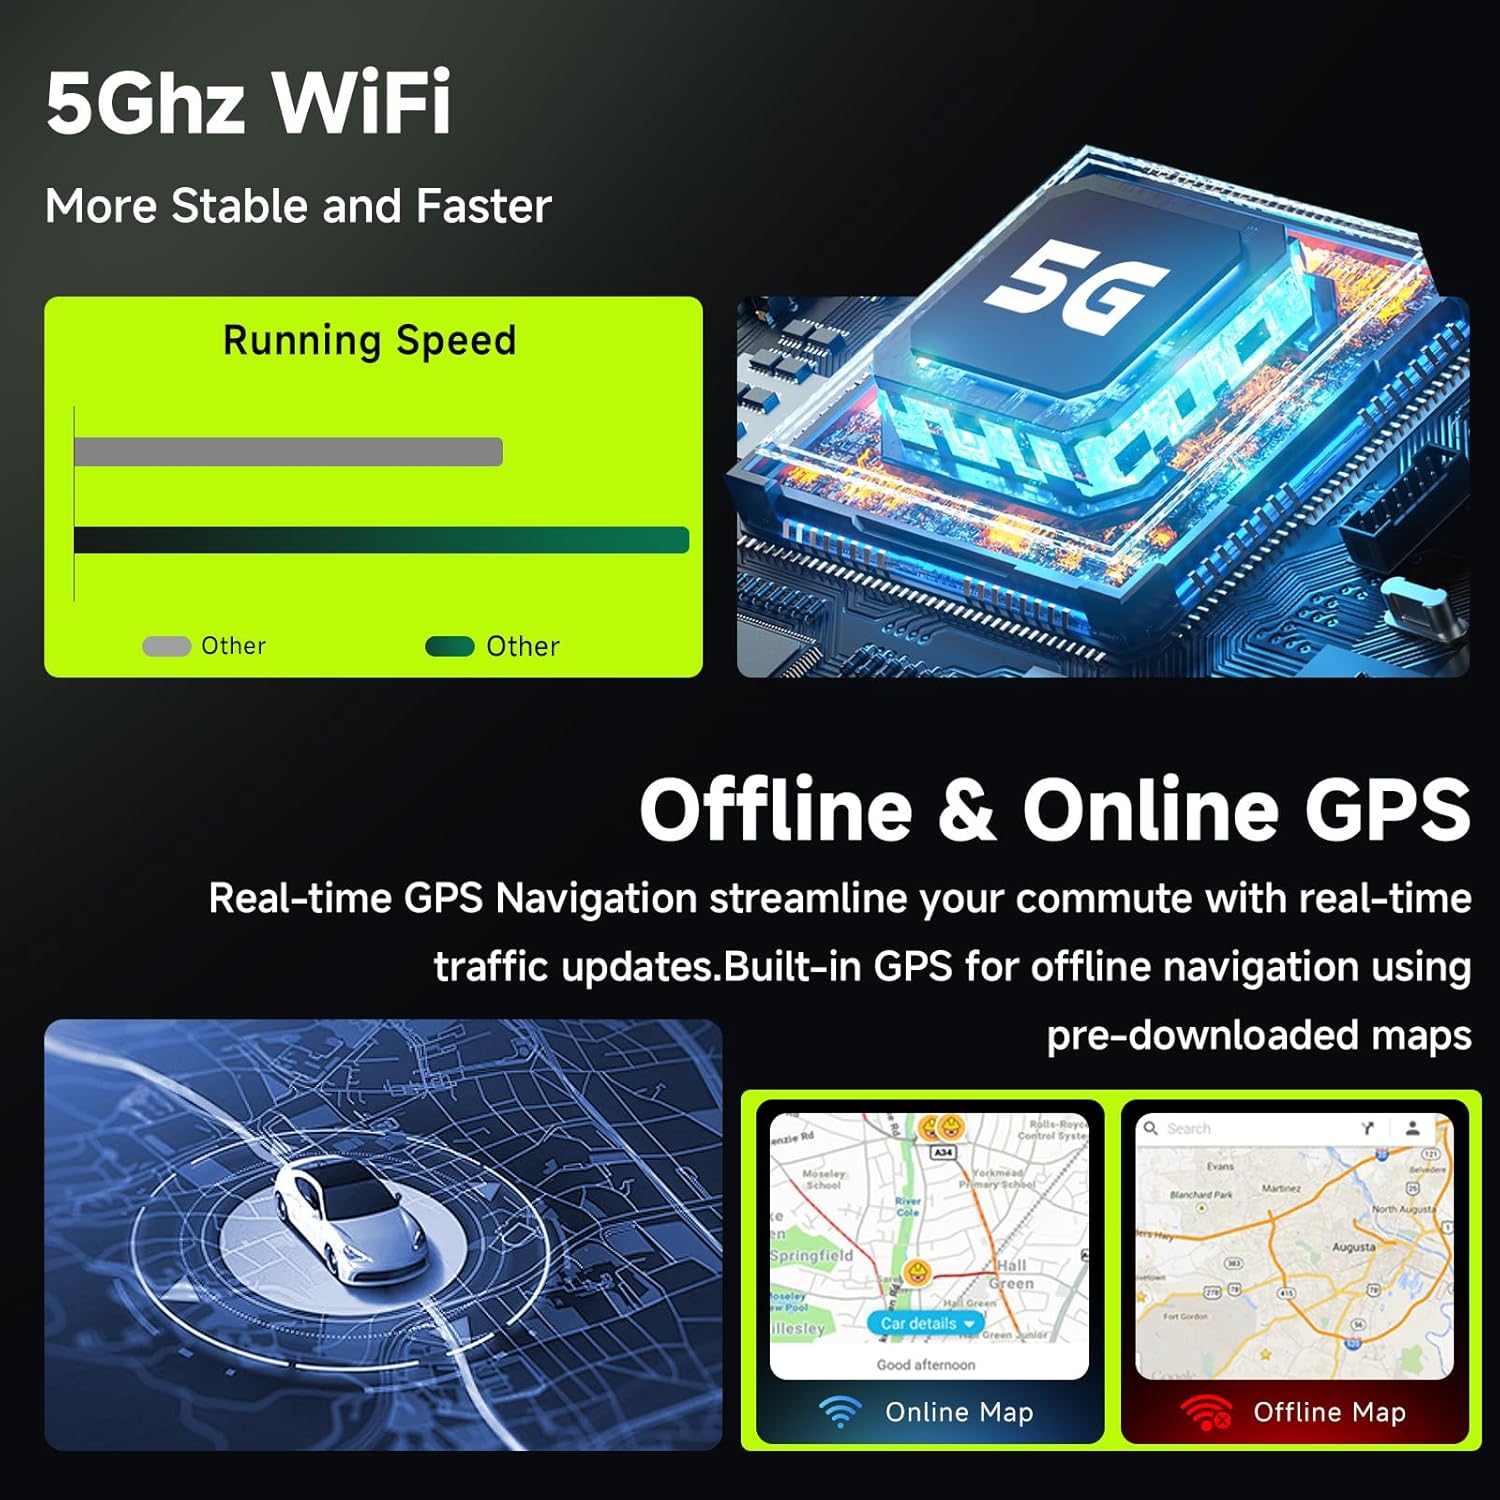
Figure 6.2: 5Ghz WiFi and GPS Navigation
6.4 FM/RDS Radio
Access the FM radio function to listen to local stations. The RDS (Radio Data System) feature displays station information, song titles, and other data where available. You can preset up to 18 FM radio stations and store 6 commonly used channels for quick access.
6.5 DSP Audio Equalizer
The built-in DSP (Digital Signal Processor) with 46-band EQ allows for extensive audio customization. Adjust sound fields, effects, and surround sound to achieve your preferred listening experience. Multiple preset options like Pop, Rock, Jazz, Classical, Flat, User, and Voice are available. Fine-tune the sound by moving your finger on the equalizer interface.

Figure 6.3: DSP 46-Band Equalizer Interface
6.6 Steering Wheel Controls (SWC)
If properly wired during installation, your vehicle's existing steering wheel controls can be configured to operate the car stereo, allowing you to adjust volume, change tracks, answer calls, and more without taking your hands off the wheel.
6.7 Split Screen Functionality
The split-screen feature allows you to run two applications simultaneously on the 10.1-inch display, such as navigation on one side and music playback on the other.
6.8 UI Customization
The car stereo offers 63 different UI themes and various colorful wallpapers to personalize your interface. You can also set preferred software shortcuts in the customizable columns.
7. Maintenance
- Screen Cleaning: Use a soft, lint-free cloth to clean the touchscreen. For stubborn smudges, lightly dampen the cloth with water or a screen-safe cleaner. Avoid abrasive materials or harsh chemicals.
- General Cleaning: Keep the unit free from dust and debris. Use a soft brush or compressed air to clean vents and ports.
- Software Updates: Periodically check for software updates from the manufacturer to ensure optimal performance and access to new features.
8. Troubleshooting
| Problem | Possible Cause | Solution |
|---|---|---|
| Unit does not power on. | No power supply; incorrect wiring; blown fuse. | Check power cable connections; verify fuse integrity; ensure vehicle battery is connected. |
| No sound. | Volume too low; incorrect speaker wiring; audio settings. | Increase volume; check speaker connections; adjust audio output settings. |
| GPS signal lost or inaccurate. | GPS antenna obstructed or improperly placed; software issue. | Relocate GPS antenna to a clear area; restart unit; update GPS software/maps. |
| Wireless CarPlay/Android Auto not connecting. | Bluetooth not paired; 'Zlink' app not open; phone settings. | Ensure Bluetooth is on and paired; open 'Zlink' app; check phone's CarPlay/Android Auto settings. |
| Backup camera not displaying. | Camera not powered; incorrect wiring; reverse trigger not connected. | Check camera power and video connections; ensure reverse trigger wire is correctly connected. |
9. Specifications
| Feature | Specification |
|---|---|
| Brand | MAHVEC |
| Operating System | Android 13 |
| Processor | 8Core Chip |
| RAM | 6GB |
| Internal Storage | 128GB |
| Screen Size | 10.1 Inches |
| Display Type | IPS Touch Screen (2.5D Glass) |
| Resolution | 1280x720P |
| Connectivity | Bluetooth 5.0, 5Ghz Wi-Fi, USB |
| Special Features | Wireless CarPlay/Android Auto, DSP 46-Band EQ, GPS Navigation, FM/RDS Radio, Steering Wheel Control (SWC), Split Screen, Mirror Link, AHD Backup Camera Support |
| Audio Output Mode | Stereo |
| Compatible Vehicle Type | Honda Civic 2006-2011 |
| Item Weight | 2.07 Kilograms |
10. Warranty Information
This MAHVEC car stereo unit comes with a 3-Year Warranty. For warranty claims or service, please retain your proof of purchase and contact MAHVEC customer support.
11. Customer Support
For any questions, technical assistance, or support regarding your MAHVEC car stereo, please contact our customer service team. You can typically find contact information on the MAHVEC brand store on Amazon or through the seller's contact page.
MAHVEC is committed to providing high-standard customer service and 24/7 emergency support.


