1. Introduction
The EVTSCAN MPK2-80A is an advanced Maximum Power Point Tracking (MPPT) solar charge controller designed to efficiently manage power flow from your solar panels to your battery bank and DC loads. It features high conversion efficiency, comprehensive safety protections, and a user-friendly digital display for easy monitoring and parameter adjustment. This manual provides essential information for the safe installation, operation, and maintenance of your MPK2-80A controller.

Figure 1: Front view of the EVTSCAN MPK2-80A MPPT Solar Charge Controller with its digital display and included temperature sensor.
2. Safety Instructions
Please read and understand all safety instructions before installation and operation. Failure to follow these instructions may result in electric shock, fire, or severe injury.
- Ensure all connections are tight and correct to avoid loose connections that can cause excessive heat.
- Install the controller in a well-ventilated area, away from flammable materials and direct sunlight.
- Always connect the battery first, then the solar panel, and finally the DC load. Disconnect in the reverse order.
- Use appropriate circuit breakers or fuses for the solar panel, battery, and load circuits.
- Do not disassemble or attempt to repair the controller yourself. Contact qualified personnel for service.
- Wear appropriate personal protective equipment (PPE) during installation, including insulated gloves and eye protection.
- Ensure the battery voltage matches the controller's rated voltage (12V/24V/36V/48V auto-recognition).
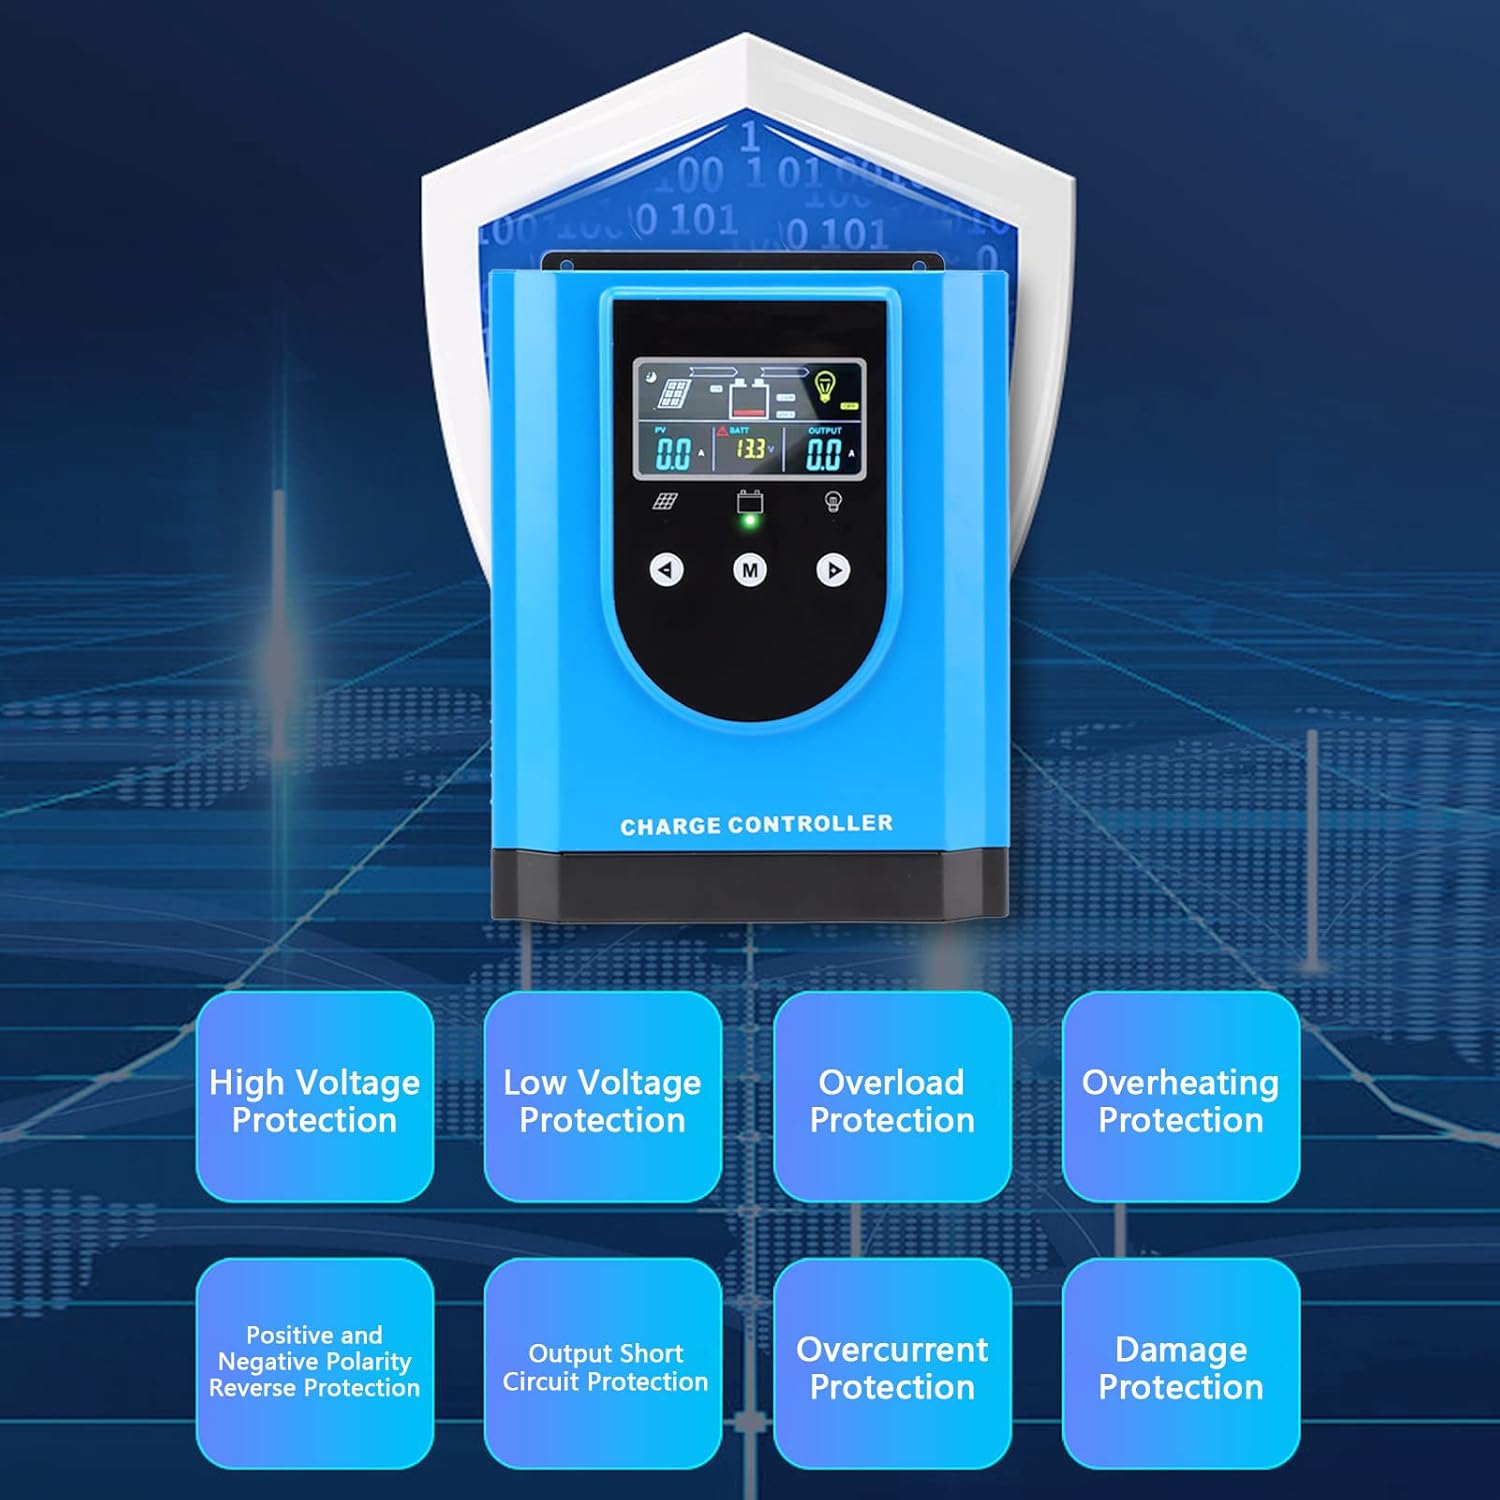
Figure 2: The controller incorporates multiple protection features for enhanced safety and reliability.
3. Package Contents
Verify that all items are present in the package:
- 1 x EVTSCAN MPK2-80A Solar Charge Controller
- 1 x User Manual
- 1 x Connection Cable (Temperature Sensor)

Figure 3: Included temperature sensor cable.
4. Product Features
The EVTSCAN MPK2-80A MPPT Solar Charge Controller offers the following key features:
- High Conversion Rate: Utilizes a high-efficiency chip and Maximum Power Point Tracking (MPPT) technology, achieving up to 99% solar energy utilization.
- High Safety: Features high/low voltage protection, overload/overheating protection, polarity reverse protection, and more for reliable operation.
- Universal Use: Compatible with various battery types, including lithium and lead-acid batteries, with a self-activation function for lithium batteries.
- Digital Display: An interactive interface allows for easy parameter setting and provides clear visibility of operational parameters at a glance.
- Wide Application: Ideal for solar power systems, street lights, chargers, light boxes, RVs, and other off-grid applications.
5. Specifications
| Parameter | Value |
|---|---|
| Model | MPK2-80A |
| Rated Voltage | DC12V / 24V / 36V / 48V (Auto-recognition) |
| Maximum Photovoltaic Voltage (PV) | DC150V |
| Item Weight | 11.22 pounds (approx. 5.09 kg) |
| Package Dimensions | 14.96 x 10.63 x 6.3 inches (approx. 38 x 27 x 16 cm) |
| Material | Aluminum Alloy, ABS |
| Manufacturer | EVTSCAN |
6. Installation and Setup
Proper installation is crucial for the safe and efficient operation of your solar charge controller. Follow these steps carefully:
6.1 Mounting the Controller
- Choose a dry, well-ventilated location, protected from direct sunlight, high temperatures, and moisture.
- Ensure there is sufficient space around the controller for heat dissipation.
- Mount the controller vertically on a non-flammable surface using appropriate fasteners.
6.2 Wiring Connections
Important: Always connect the battery first, then the solar panel, and finally the DC load. Disconnect in the reverse order (load, then solar, then battery).
- Connect the Battery: Connect the positive and negative terminals of your battery bank to the corresponding battery terminals on the controller. Ensure correct polarity. The controller will automatically detect the battery voltage.
- Connect the Solar Panel: Connect the positive and negative terminals of your solar panel array to the corresponding PV terminals on the controller. Ensure correct polarity.
- Connect the DC Load (Optional): If using a DC load directly from the controller, connect its positive and negative terminals to the corresponding load terminals.
- Connect the Temperature Sensor: Plug the included temperature sensor cable into the designated port on the controller and attach the sensor to the battery bank. This ensures accurate temperature compensation for charging.
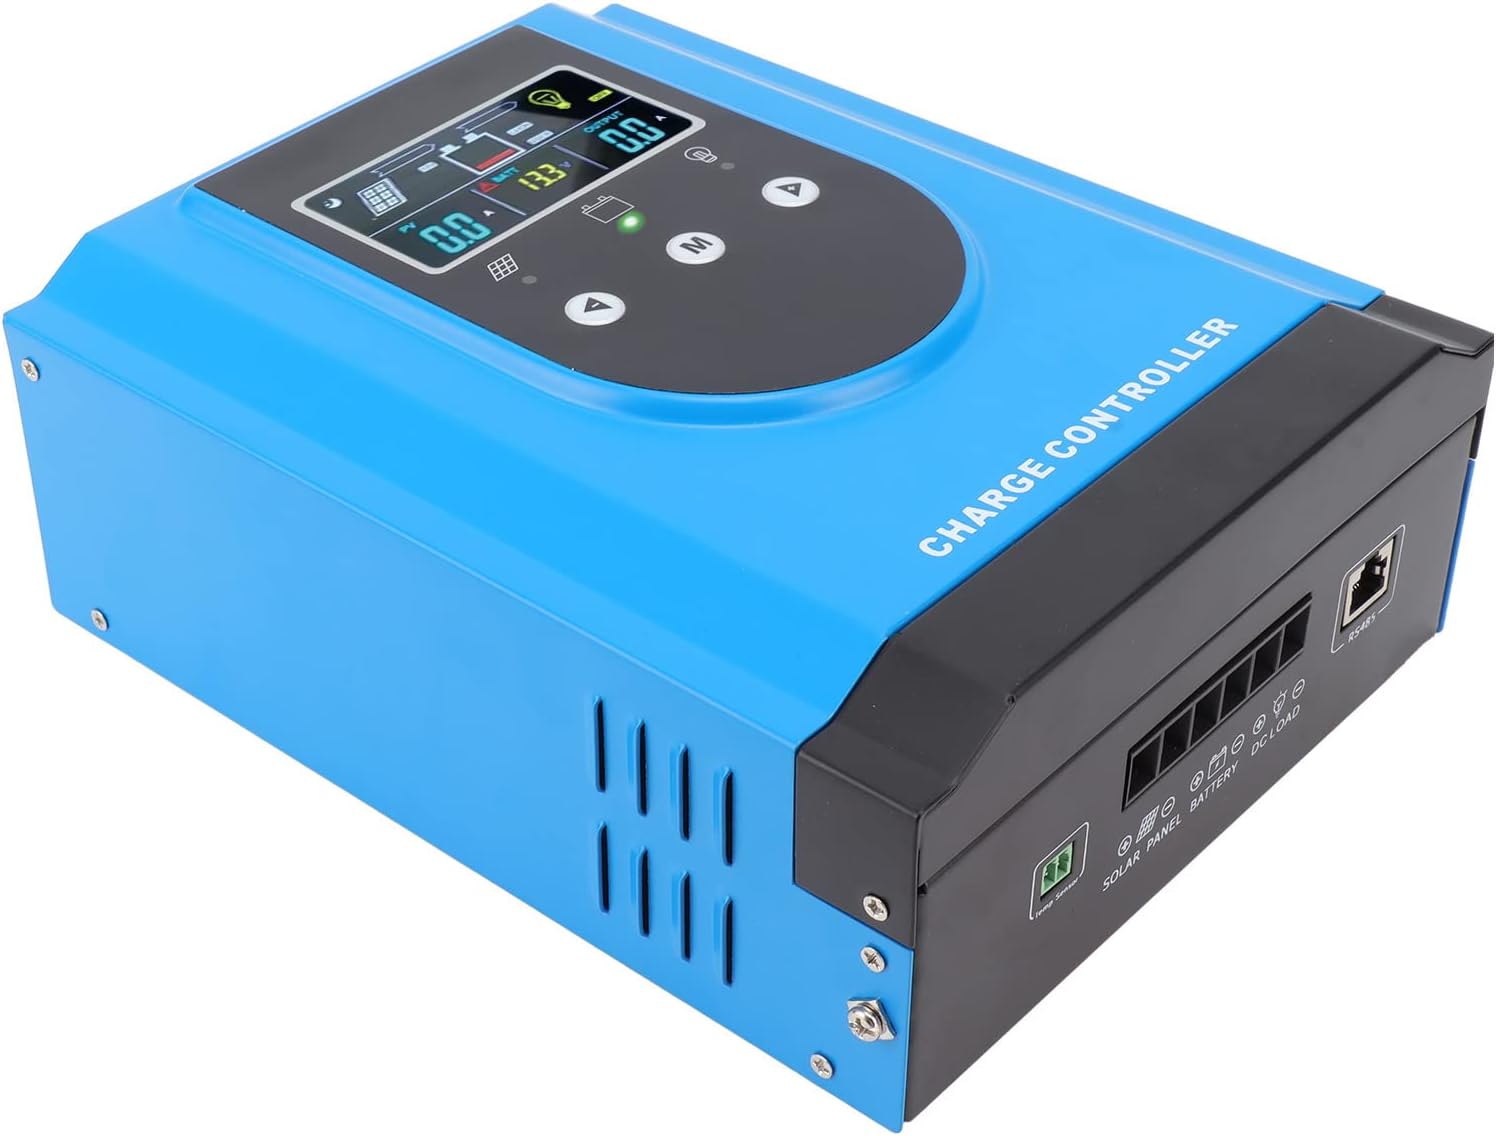
Figure 4: Side view illustrating the connection terminals for solar panels, battery, and DC load.

Figure 5: Detailed view of the wiring ports on the controller.
6.3 Initial Power-Up
Once all connections are secure and verified for correct polarity, the controller will power on. The digital display will show current system parameters.
7. Operating Instructions
The controller features an intuitive digital display and three buttons for navigation and parameter setting.
7.1 Digital Display Overview
The display provides real-time information on PV input, battery status, and load output. Icons indicate charging status, battery level, and load status.
- PV: Displays solar panel voltage and current.
- BATT: Shows battery voltage and charging current.
- OUTPUT: Indicates load current.
- Icons: Represent solar charging, battery status, and load on/off.
7.2 Button Functions
- Up (▲): Navigate up through menu options or increase parameter values.
- Down (▼): Navigate down through menu options or decrease parameter values.
- M (Menu/Confirm): Enter menu, confirm selection, or switch display modes.
7.3 Parameter Settings
To access and modify parameters:
- Press and hold the 'M' button for a few seconds to enter the main menu.
- Use the 'Up' and 'Down' buttons to navigate through different settings (e.g., battery type, charge voltage, discharge voltage).
- Press 'M' to select a parameter for editing.
- Use 'Up' and 'Down' to adjust the value.
- Press 'M' again to confirm the new value and exit the editing mode for that parameter.
- Press and hold 'M' to exit the menu.
Battery Type Selection: It is critical to select the correct battery type (e.g., Lead-Acid, Lithium) in the settings to ensure proper charging algorithms and prevent battery damage.
8. Maintenance
Regular maintenance helps ensure the longevity and optimal performance of your solar charge controller.
- Check Connections: Periodically inspect all wiring connections for tightness and corrosion. Loose connections can cause resistance and overheating.
- Clean the Controller: Keep the controller's exterior clean and free of dust. Ensure ventilation openings are not obstructed. Use a dry cloth for cleaning.
- Monitor Performance: Regularly check the display for normal operation and parameter values. Note any unusual readings.
- Battery Health: Monitor your battery bank's health and ensure it is properly maintained according to the battery manufacturer's guidelines.

Figure 6: Bottom view of the controller, highlighting the cooling fan for thermal management.
9. Troubleshooting
This section addresses common issues you might encounter with your MPK2-80A controller.
| Problem | Possible Cause | Solution |
|---|---|---|
| Controller not powering on | Battery not connected or low voltage; reversed battery polarity; faulty wiring. | Check battery connections and voltage. Ensure correct polarity. Verify wiring integrity. |
| No charging from solar panels | Solar panels not connected; reversed PV polarity; insufficient sunlight; PV voltage too low/high. | Check PV connections and polarity. Ensure adequate sunlight. Verify PV voltage is within specifications. |
| Load not working | Load not connected; load overcurrent; battery low voltage disconnect; load output disabled. | Check load connections. Reduce load. Charge battery. Check controller settings for load output. |
| Overheating | Poor ventilation; excessive load; high ambient temperature. | Improve ventilation around the controller. Reduce load. Relocate controller to a cooler environment. |
If the problem persists after attempting these solutions, please contact customer support.
10. Warranty and Support
The EVTSCAN MPK2-80A MPPT Solar Charge Controller comes with a standard manufacturer's warranty. Please refer to the warranty card included with your purchase for specific terms and conditions.
For technical support, troubleshooting assistance, or warranty claims, please contact EVTSCAN customer service through your purchase platform or the official EVTSCAN website. When contacting support, please have your product model (MPK2-80A) and purchase details ready.


