1. Introduction
This manual provides detailed instructions for the installation, operation, and maintenance of your GIGABYTE MO27U2 QD-OLED Gaming Monitor. Please read this manual thoroughly before using the product to ensure proper functionality and to prevent damage.
The GIGABYTE MO27U2 is a 27-inch QD-OLED gaming monitor featuring UHD 3840x2160 resolution, a 240Hz refresh rate, and a 0.03ms GTG response time. It supports AMD FreeSync Premium Pro and is G-SYNC Compatible, offering a smooth visual experience. Key features include Type-C KVM functionality and an adjustable stand.
2. Safety Information
- Ensure the monitor is placed on a stable, level surface to prevent accidental falls.
- Do not block ventilation openings. Proper airflow is essential to prevent overheating.
- Use only the power adapter supplied with the monitor.
- Avoid exposing the monitor to moisture or extreme temperatures.
- Do not attempt to disassemble or repair the monitor yourself. Refer all servicing to qualified personnel.
- Disconnect the power cable from the outlet before cleaning the monitor.
3. Package Contents
Verify that all items are present in the package:
- GIGABYTE MO27U2 QD-OLED Gaming Monitor
- Monitor Stand (Base and Neck)
- Power Cable
- HDMI Cable
- DisplayPort Cable
- USB Type-C Cable
- USB Upstream Cable
- Quick Start Guide
- CD (containing drivers and user manual)
4. Setup Instructions
4.1 Assembling the Stand
- Carefully remove the monitor and stand components from the packaging.
- Attach the stand neck to the base, securing it with the provided screw.
- Align the assembled stand with the mounting holes on the back of the monitor.
- Gently push the monitor onto the stand until it clicks into place. Ensure it is securely fastened.

Figure 4.1: Front view of the GIGABYTE MO27U2 monitor with its stand assembled.
4.2 Connecting Cables
Connect the necessary cables to the corresponding ports on the monitor and your computer or other devices.
- Power: Connect the power cable to the monitor's power input and then to a power outlet.
- Video Input:
- HDMI: Connect an HDMI cable from your device to one of the monitor's HDMI 2.1 ports.
- DisplayPort: Connect a DisplayPort cable from your device to the monitor's DP 1.4 port.
- USB Type-C: Connect a USB Type-C cable from a compatible device to the monitor's USB Type-C (DP Alt.) port for video, data, and power delivery.
- USB Upstream: Connect the USB upstream cable from your computer to the monitor's USB 3.2 (Upstream) port to enable the monitor's USB downstream ports and KVM functionality.
- USB Downstream: Connect USB peripherals (keyboard, mouse, USB drives) to the monitor's USB 3.2 (Downstream) ports.
- Headphone: Connect headphones or external speakers to the 3.5mm headphone jack.
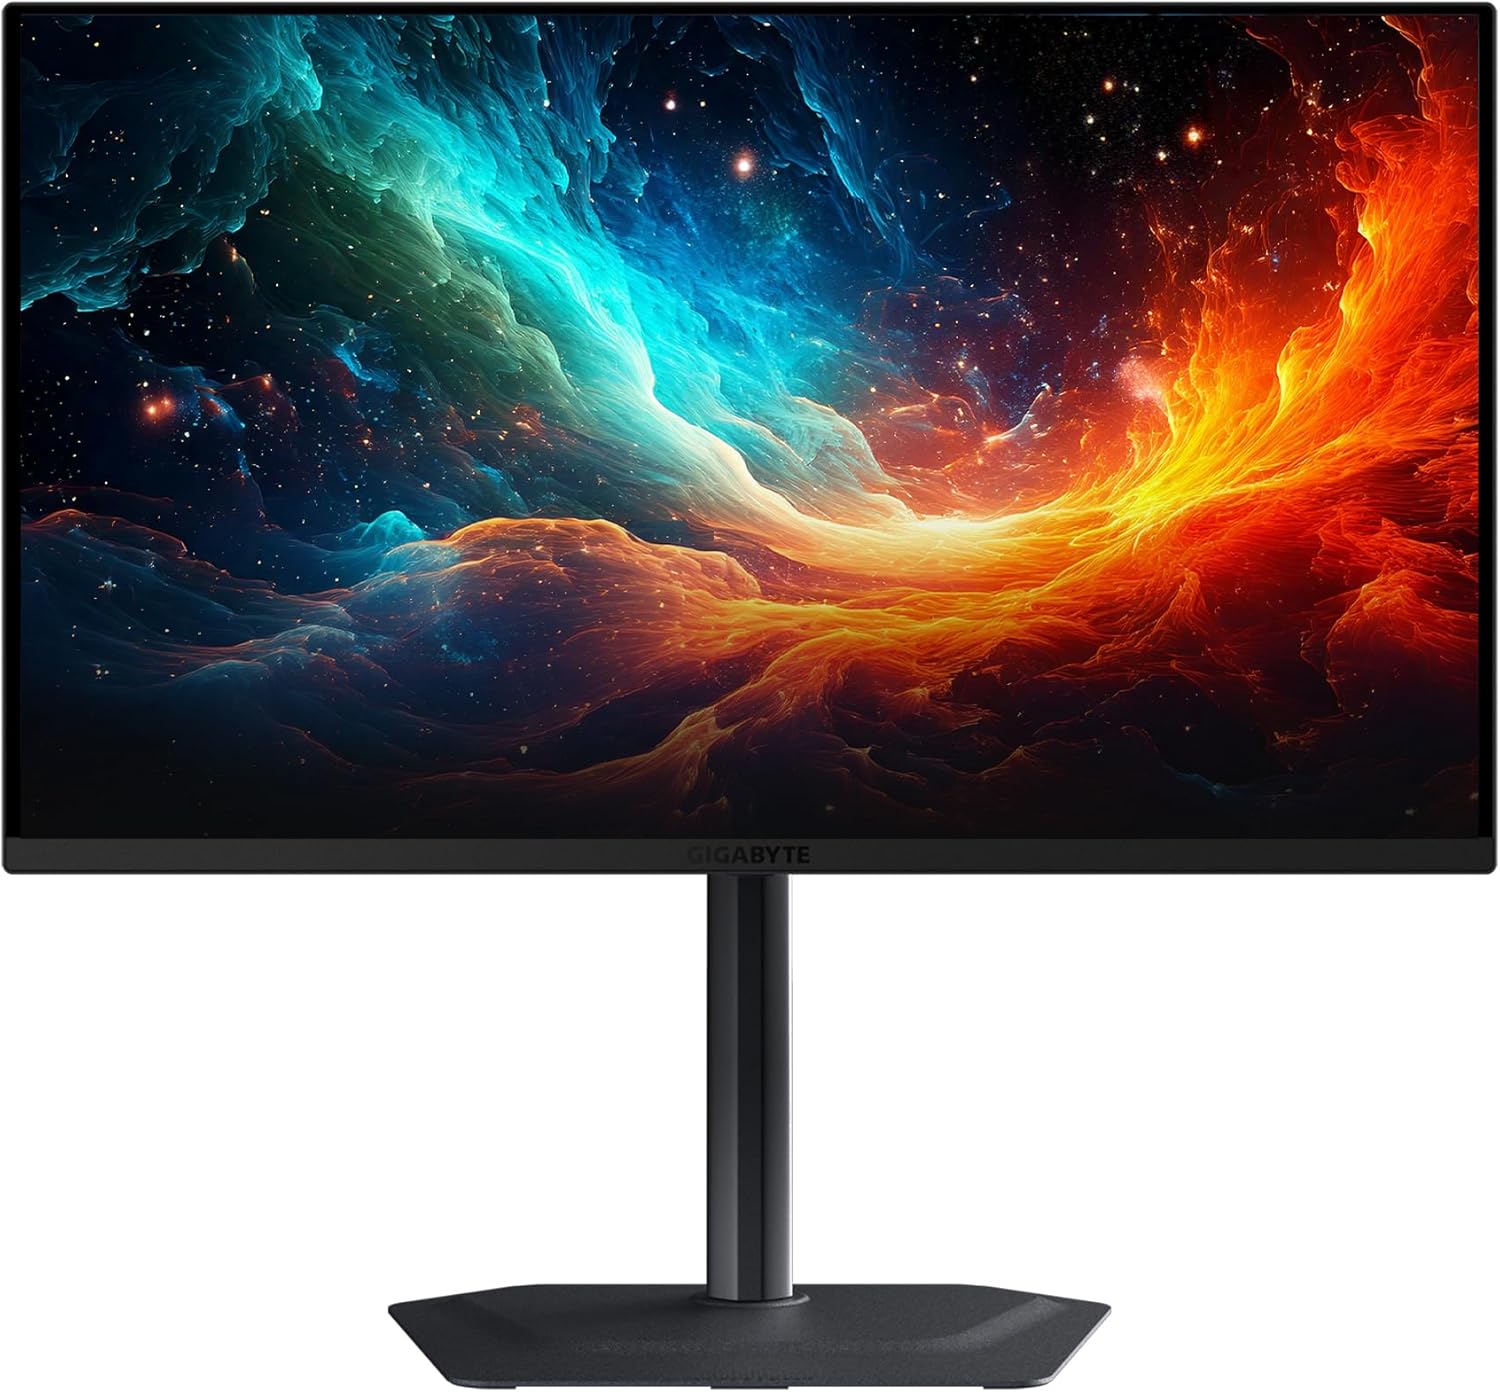
Figure 4.2: Diagram illustrating the various input/output ports on the GIGABYTE MO27U2 monitor.

Figure 4.3: Rear view of the monitor, showing the location of the input/output ports.
4.3 Initial Power On
After connecting all cables, press the power button located on the monitor to turn it on. The monitor will automatically detect the active input source. If no signal is detected, ensure your connected device is powered on and configured to output to the correct port.
5. Operating Instructions
5.1 On-Screen Display (OSD) Navigation
The monitor's settings can be adjusted using the OSD menu, accessed via the joystick button located on the back of the monitor. Push the joystick in to open the main menu, then navigate using the joystick's directional movements (up, down, left, right) and press to select.
5.2 Input Selection
To switch between connected video sources (HDMI, DisplayPort, USB Type-C), navigate to the "Input" section in the OSD menu and select your desired source.
5.3 Display Settings
Adjust various display parameters through the OSD menu:
- Picture: Adjust brightness, contrast, sharpness, and gamma.
- Color: Select color temperature presets, adjust RGB values, or choose specific color modes (e.g., sRGB, DCI-P3).
- Gaming: Access features like Black Equalizer 2.0, Aim Stabilizer, and refresh rate display.
- PIP/PBP: Configure Picture-in-Picture or Picture-by-Picture modes to display multiple sources simultaneously.
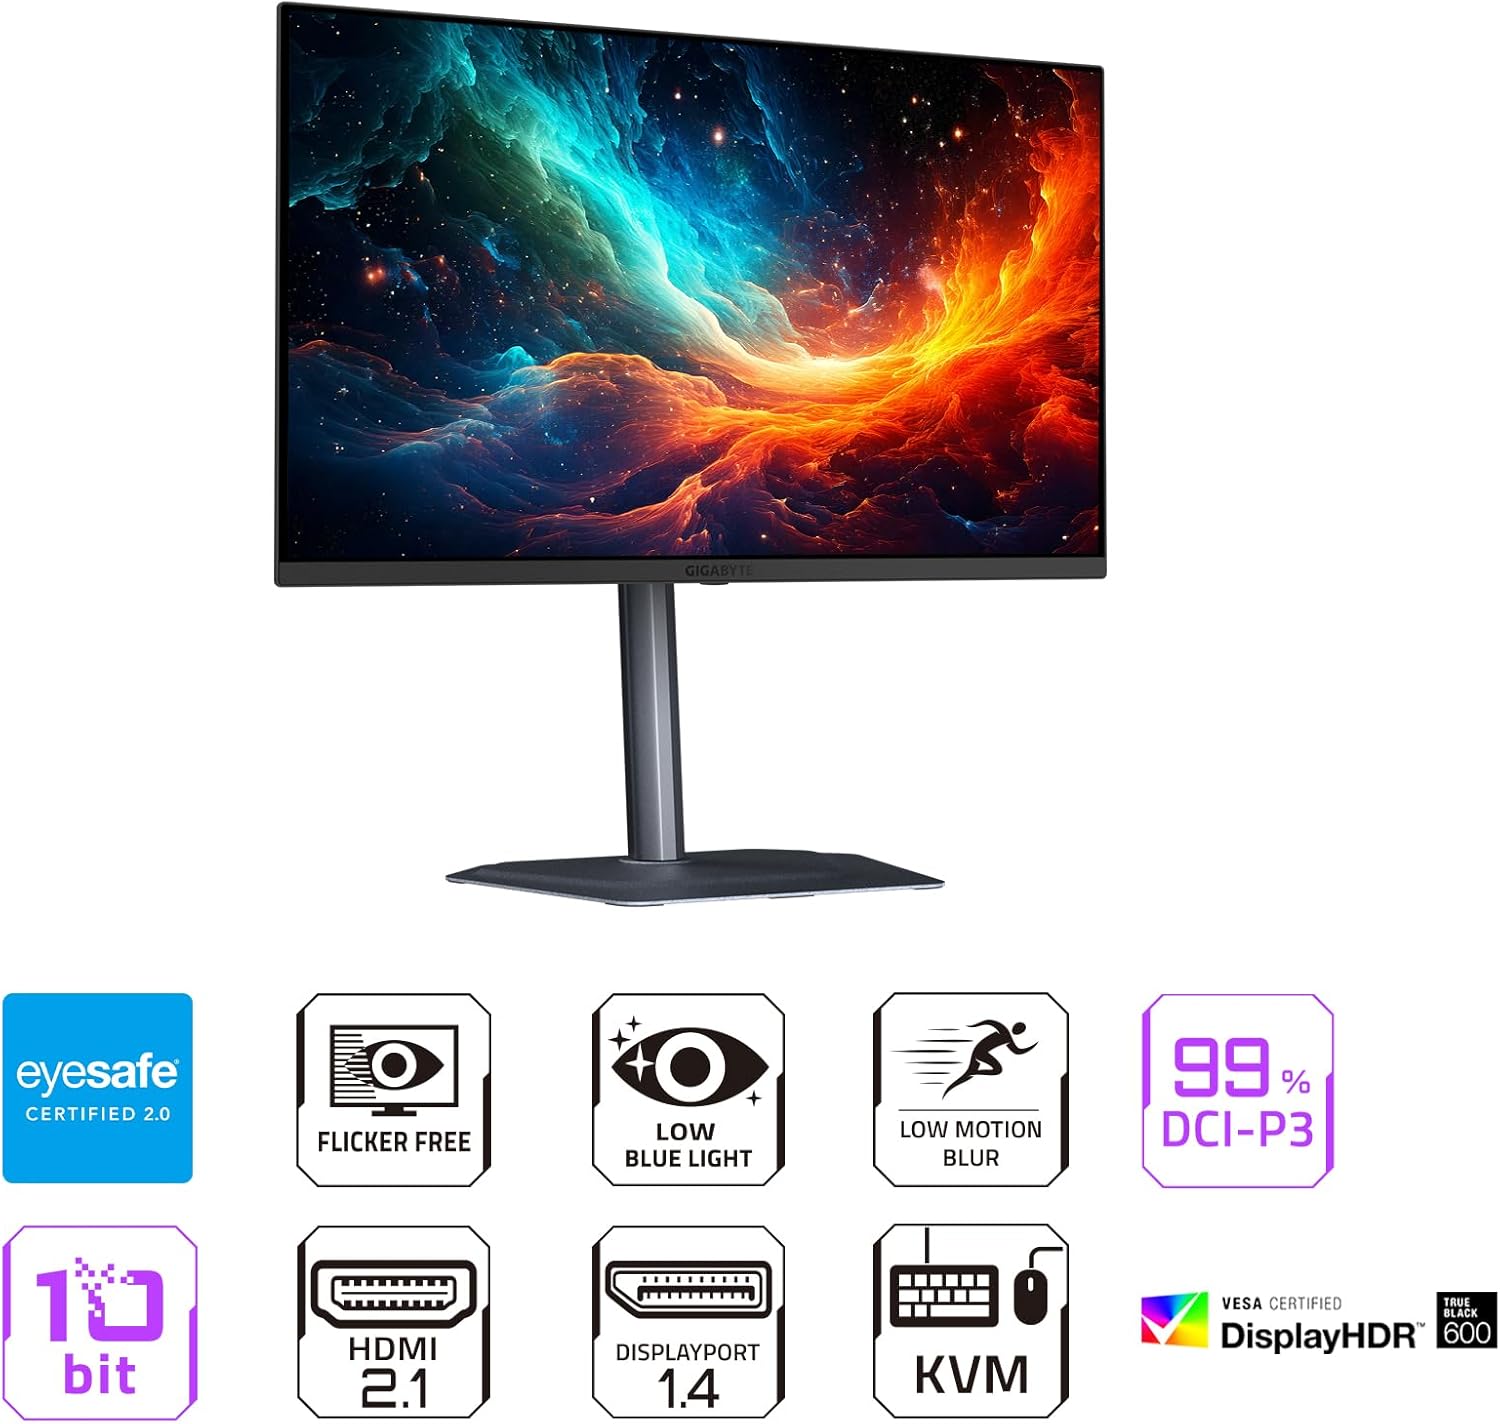
Figure 5.1: Front view of the monitor highlighting key features such as Flicker-Free, Low Blue Light, and 99% DCI-P3 color gamut.
5.4 KVM Functionality
The MO27U2 features a built-in KVM switch, allowing you to control multiple devices (e.g., a desktop PC and a laptop) with a single keyboard and mouse connected to the monitor's USB downstream ports. To utilize KVM:
- Connect your keyboard and mouse to the monitor's USB downstream ports.
- Connect the USB upstream cable from your primary computer to the monitor's USB upstream port.
- Connect a USB Type-C cable from your secondary device (e.g., laptop) to the monitor's USB Type-C port. This port handles video, data, and KVM switching. Alternatively, for a second PC, connect a second USB upstream cable to the monitor and a video cable (HDMI/DP).
- Use the dedicated KVM switch button (if available, or through OSD) to switch control between the connected devices.

Figure 5.2: Illustration of the Type-C KVM setup, showing a desktop and a laptop connected to the monitor for shared peripheral control.
5.5 Gaming Features
- AMD FreeSync Premium Pro / NVIDIA G-SYNC Compatible: These technologies synchronize the monitor's refresh rate with your GPU's frame rate to eliminate screen tearing and stuttering. Ensure your graphics card drivers are up to date and the feature is enabled in your GPU control panel.
- 240Hz Refresh Rate & 0.03ms GTG Response Time: These specifications provide ultra-smooth motion clarity. Ensure your video output settings on your PC are configured to the maximum refresh rate.
- Tactical Features: Access Game Assist features like timers, crosshairs, and a dashboard for vital hardware stats via the OSD menu.
- Black Equalizer 2.0: Enhances visibility in dark areas of the screen without overexposing bright areas. Adjust this setting in the OSD's Gaming menu.
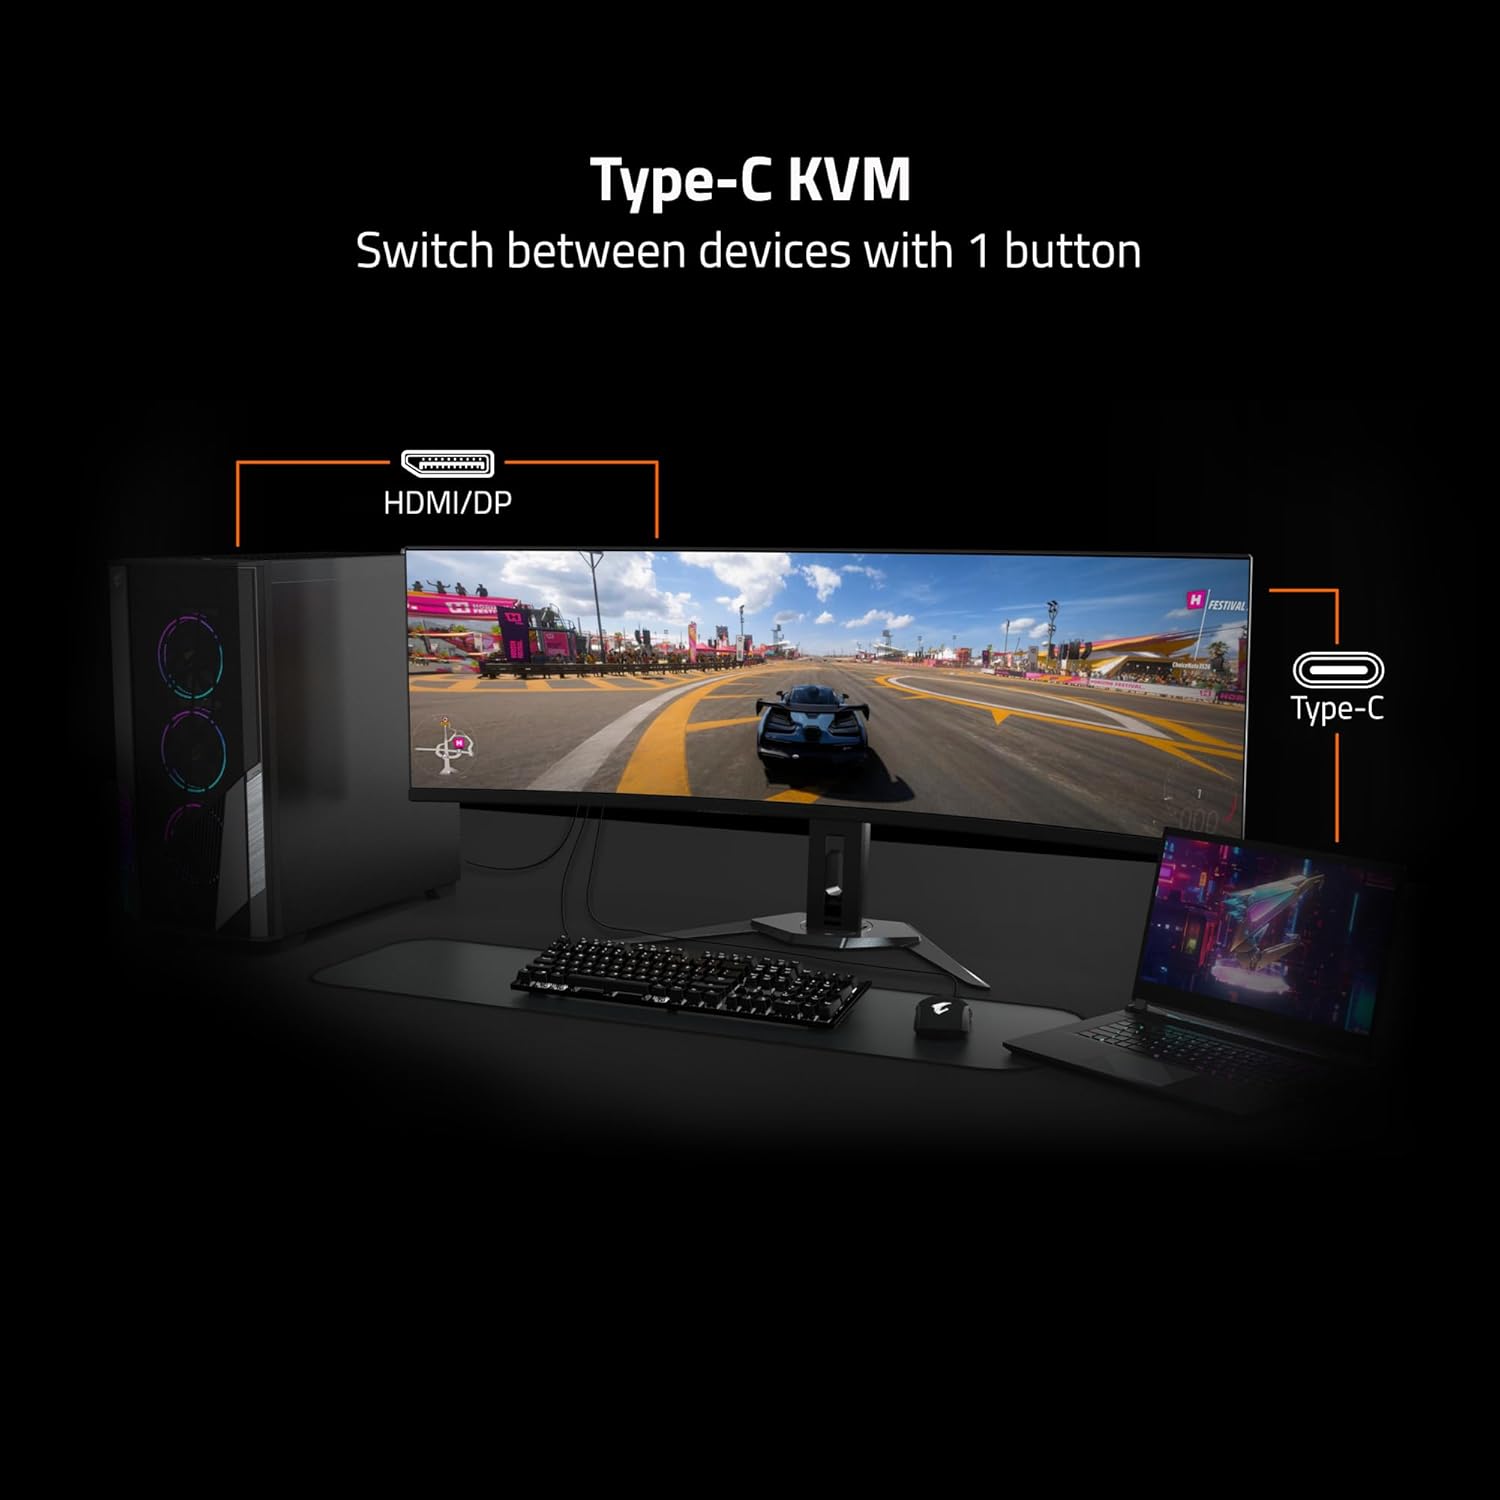
Figure 5.3: Visual comparison demonstrating the difference between 0.03ms/240Hz and 5ms/60Hz response times and refresh rates.
6. Maintenance
6.1 Cleaning the Monitor
- Always unplug the monitor from the power outlet before cleaning.
- Use a soft, lint-free cloth lightly dampened with water or a non-abrasive screen cleaner.
- Do not spray cleaner directly onto the screen.
- Avoid using harsh chemicals, solvents, or abrasive materials.
6.2 GIGABYTE OLED Care
The MO27U2 incorporates GIGABYTE OLED Care, an AI-based algorithm designed to minimize the risk of OLED burn-in. This suite of technologies operates in the background with minimal user intervention. You can access and adjust specific OLED Care settings through the OSD menu to optimize protection based on your usage patterns.
7. Troubleshooting
| Problem | Possible Cause | Solution |
|---|---|---|
| No power | Power cable not connected; Power outlet not working | Ensure power cable is securely connected to both monitor and outlet. Test outlet with another device. |
| No signal | Video cable not connected; Incorrect input source selected; Computer not outputting signal | Check video cable connections. Select correct input source via OSD. Ensure computer is powered on and configured for external display. |
| Image flickering or distortion | Loose video cable; Incorrect resolution/refresh rate; GPU driver issues | Reseat video cable. Adjust resolution/refresh rate in PC display settings. Update graphics card drivers. Enable FreeSync/G-SYNC if applicable. |
| KVM not switching | USB upstream cable not connected; Incorrect KVM settings | Ensure USB upstream cable is connected to the primary PC and USB Type-C to the secondary. Check KVM settings in OSD. |
8. Specifications
| Feature | Detail |
|---|---|
| Brand | GIGABYTE |
| Model Number | MO27U2 |
| Screen Size | 27 Inches |
| Panel Type | QD-OLED |
| Resolution | 3840 x 2160 (UHD 4K) |
| Refresh Rate | 240Hz |
| Response Time | 0.03ms GTG |
| Contrast Ratio | 1.5M:1 |
| Color Gamut | 99% DCI-P3 |
| Color Depth | 10-bit |
| HDR Support | VESA DisplayHDR True Black 400, HDR1000 Mode |
| Adaptive Sync | AMD FreeSync Premium Pro, NVIDIA G-SYNC Compatible |
| Connectivity | HDMI 2.1 (x2), DisplayPort 1.4 (x1), USB Type-C (DP Alt. Mode, x1), USB 3.2 Upstream (x1), USB 3.2 Downstream (x2), Headphone Jack (x1) |
| KVM | Yes, Type-C KVM |
| Adjustability | Height and Tilt Adjustable |
| Dimensions (LxWxH) | 7.38 x 24.03 x 19.67 inches |
| Weight | 15.67 pounds |
9. Warranty and Support
9.1 Warranty Information
The GIGABYTE MO27U2 QD-OLED Gaming Monitor comes with an extended 3-year warranty. This warranty includes coverage for panel burn-in, supported by the integrated GIGABYTE OLED Care protection. Please note that warranty terms may vary by region. For specific details, refer to the warranty card included with your product or visit the official GIGABYTE website.
9.2 Technical Support
For technical assistance, troubleshooting beyond this manual, or service inquiries, please contact GIGABYTE customer support. You can find contact information and additional resources on the official GIGABYTE website: www.gigabyte.com.