
1. Introduction
This manual provides detailed instructions for the setup, operation, and maintenance of your eSynic 1080P HD Digital Coin Microscope V16. Please read this manual thoroughly before using the device to ensure proper functionality and to prevent damage. This digital microscope is designed for detailed observation of various objects such as coins, circuit boards, jewelry, stamps, and more, offering a clear view on its integrated 4.5-inch LCD screen or an external computer display.
2. Product Overview
Key Features
- 4.5" IPS HD Screen: Features a 4.5-inch IPS HD display with 1080P real-time viewing and a 45° adjustable tilt for ergonomic observation.
- Adjustable Magnification: Offers up to 1000X magnification with a 5MP lens and 12MP image output for precise detail.
- Dual Viewing Modes: Operates standalone or connects to Windows 10/11 computers and macOS systems for larger display and analysis.
- Advanced LED Lighting: Equipped with 8 adjustable LEDs around the lens and 2 flexible gooseneck lights to eliminate shadows and optimize illumination.
- Portable and Rechargeable: Includes a 1200mAh rechargeable battery providing up to 3 hours of use, a 32GB microSD card (supports up to 128GB), and a USB-C charging/data cable.
What's in the Box
- Microscope Host x 1
- User Manual x 1
- Charging Cable x 1
- 32GB Memory Card x 1

Image: All components included in the eSynic Digital Microscope package.
3. Setup
3.1 Assembly
- Attach the microscope head to the adjustable stand. Ensure it is securely fastened.
- Insert the flexible gooseneck lights into their designated ports on the base, if not already attached.
- Adjust the screen angle to your preferred viewing position (up to 45 degrees tilt).

Image: The microscope showing its adjustable screen and control buttons.
3.2 Charging the Device
Before first use, fully charge the microscope. Connect the provided USB-C cable to the microscope's charging port and the other end to a 5V USB power adapter (not included) or a computer USB port. The charging indicator will show the charging status.
3.3 Inserting the MicroSD Card
Locate the microSD card slot on the side of the microscope. Gently insert the provided 32GB microSD card until it clicks into place. This card is essential for saving photos and videos.
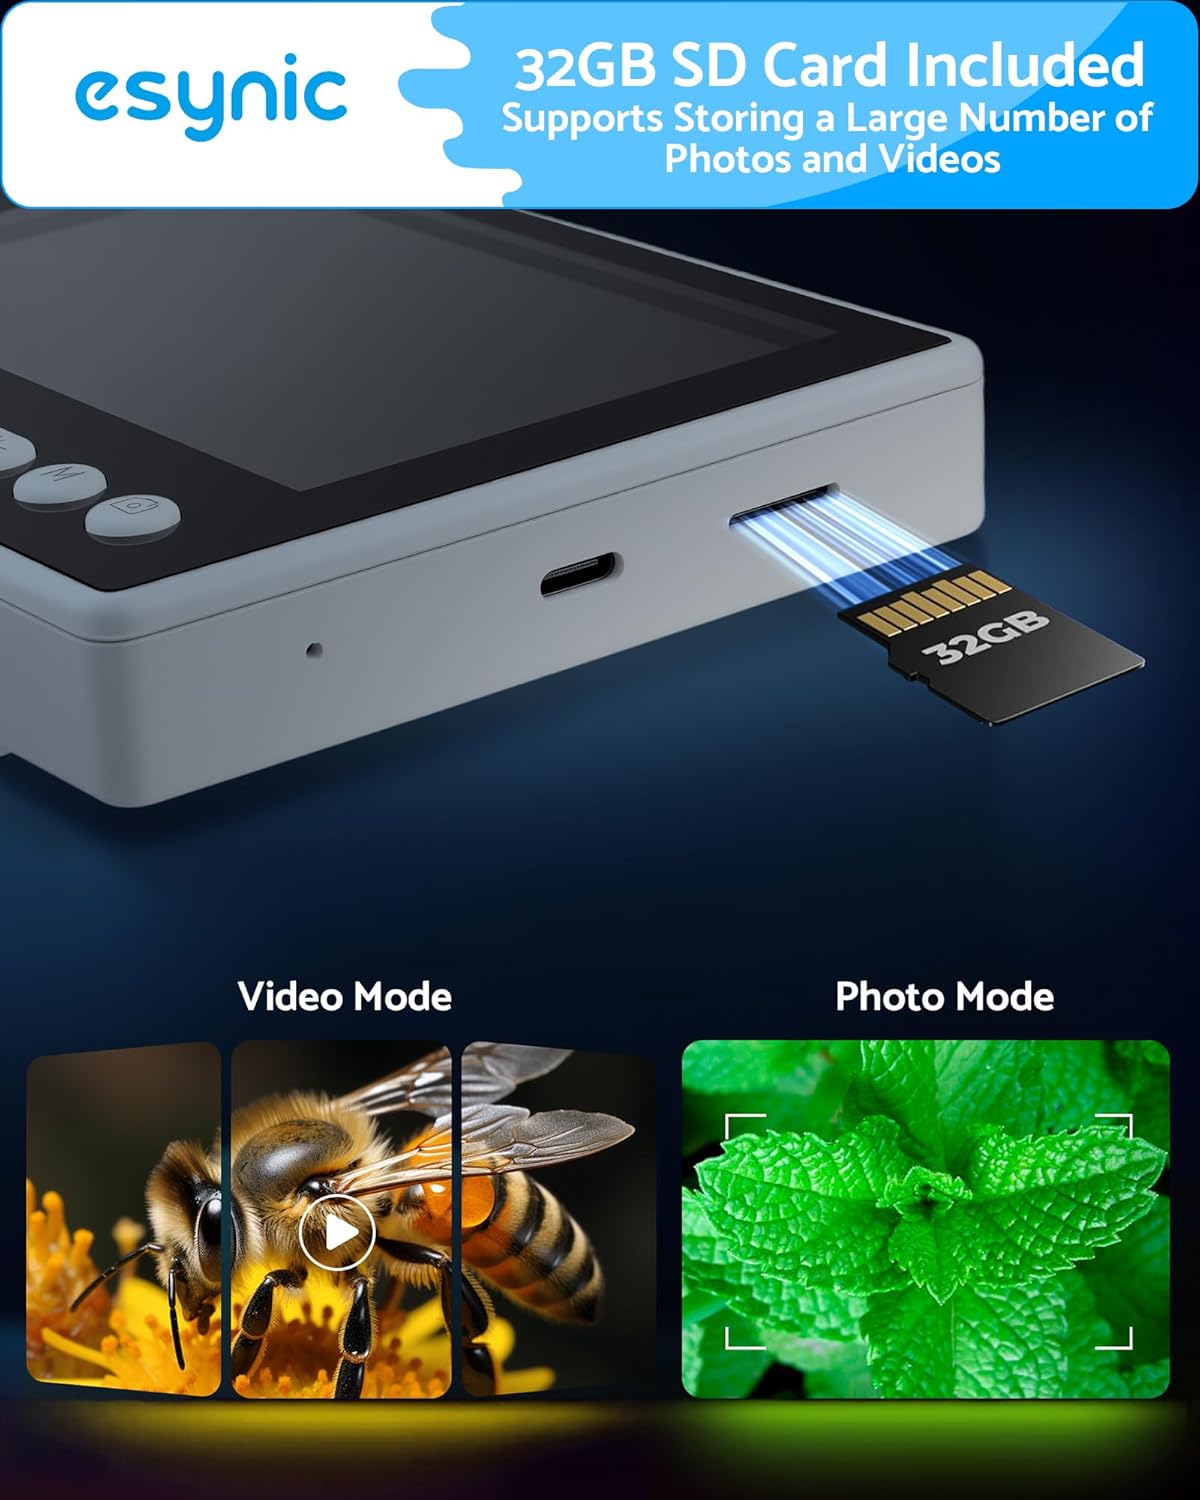
Image: Close-up of the microSD card slot on the microscope, showing a card being inserted.
4. Operating Instructions
4.1 Powering On/Off
Press and hold the power button (usually marked with an ☉ symbol) for a few seconds to turn the microscope on or off. The LCD screen will illuminate upon startup.
4.2 Adjusting Magnification and Focus
- Place the object you wish to observe on the base plate directly under the microscope lens.
- Rotate the focus wheel located on the microscope body to bring the image into clear view on the screen.
- Adjust the height of the microscope head on the stand for larger or smaller objects, then fine-tune focus with the wheel.

Image: Diagram illustrating the focus wheel and different magnification levels (500X, 1000X) on a leaf sample.
4.3 Adjusting Lighting
The microscope features 8 built-in LEDs around the lens and 2 flexible gooseneck lights. Use the dedicated light control buttons or dials to adjust the brightness and direction of the illumination for optimal viewing. The gooseneck lights may require a separate USB power source if operating on battery only.

Image: A user observing a coin under the microscope, demonstrating the adjustable gooseneck lights and the effect of different light intensities.
4.4 Taking Photos and Recording Videos
Use the dedicated photo/video buttons on the microscope to capture images or start/stop video recording. Files will be saved to the inserted microSD card. You can access these files through the microscope's menu or by connecting the device to a computer.
Video: eSynic Professional Digital Coin Microscope With Light. This video demonstrates the microscope's features and how to use the lighting for optimal viewing of objects like coins.
Video: Digital Microscopes For Coin. A short demonstration of the microscope's capabilities for examining coins.
4.5 Connecting to a Computer
Connect the microscope to your Windows or macOS computer using the provided USB-C cable. The device can function as a webcam or allow you to access the stored files on the microSD card. Follow the on-screen prompts on your computer for driver installation if necessary.

Image: The eSynic Digital Microscope connected to a computer, displaying the magnified image on a larger screen for real-time viewing.
Video: eSynic Professional Digital Coin Microscopes With Light. This video provides a detailed overview of the microscope's professional features, including its lighting system.
Video: eSynic Digital Microscopes for Soldering. A brief demonstration of the microscope's utility for detailed work such as soldering.
5. Maintenance
5.1 Cleaning
To clean the microscope's lens and screen, use a soft, lint-free cloth. For stubborn smudges, a small amount of lens cleaning solution can be applied to the cloth (not directly to the lens/screen). Do not use abrasive cleaners or solvents.
5.2 Storage
When not in use, store the microscope in a dry, dust-free environment. Avoid exposing it to extreme temperatures or direct sunlight. If storing for an extended period, ensure the battery is partially charged (around 50%) to prolong its lifespan.
6. Troubleshooting
Common Issues and Solutions
- No Power: Ensure the device is fully charged. Connect it to a power source using the USB-C cable.
- Blurry Image: Adjust the focus wheel carefully. Ensure the object is positioned correctly under the lens. Check for dirt or smudges on the lens and clean if necessary.
- Screen Flickering/Unstable Image: This can sometimes occur due to movement. Ensure the microscope is on a stable surface. If connected to a PC, check the cable connection.
- Cannot Save Photos/Videos: Verify that a microSD card is properly inserted and has sufficient free space. The card may need to be formatted (refer to the device's menu settings).
- Cannot Connect to PC: Ensure the USB-C cable is securely connected to both the microscope and the computer. Try a different USB port or cable. Check your computer's device manager for driver issues.
- Gooseneck Lights Not Working: Ensure they are properly plugged into the base and, if applicable, connected to a separate USB power source.
7. Specifications
| Feature | Specification |
|---|---|
| Model Name | Digital Microscope With Camera |
| Model Number | V16 |
| Manufacturer Part Number | ESYGK210 |
| Brand | eSynic |
| Magnification Maximum | 1000 x |
| Screen Size | 4.5 inches (IPS HD) |
| Real Angle of View | 45 Degrees |
| Light Source Type | LED (8 built-in, 2 gooseneck) |
| Material | ABS |
| Battery Capacity | 1200mAh (approx. 3 hours use) |
| Storage | 32GB MicroSD card included (supports up to 128GB) |
| Connectivity | USB-C (for charging/data to Windows/Mac) |
8. Warranty and Support
8.1 Warranty Information
This eSynic Digital Coin Microscope V16 comes with a 12-month warranty from the date of purchase. This warranty covers manufacturing defects and malfunctions under normal use. It does not cover damage caused by misuse, accidents, unauthorized modifications, or improper maintenance.
8.2 Customer Support
For technical assistance, troubleshooting, or warranty claims, please contact eSynic customer support through the retailer where you purchased the product or visit the official eSynic website for contact information. Please have your model number (V16) and purchase details ready when contacting support.