1. Introduction
The Minisopuru MINI218B MAX 9-in-1 Mac mini M4 Dock is designed to expand the connectivity and storage capabilities of your Mac mini M4 or M4 Pro. This vertical stand integrates multiple ports and an M.2 NVMe SSD enclosure, providing a comprehensive solution for enhanced productivity and media management.
2. Product Features
- Vertical Stand Design: Optimizes space and improves heat dissipation for the Mac mini.
- M.2 NVMe SSD Enclosure: Supports up to 8TB M.2 PCIe NVMe SSDs (2230/2242/2260/2280 sizes) for expanded storage.
- 4K@60Hz HDMI Output: Allows connection to an external display for 4K video output.
- High-Speed USB Ports: Includes 1x 10Gbps USB-C port, 1x 10Gbps USB-A 3.2 Gen2 port, and 2x USB-A 2.0 ports.
- SD/TF Card Slots: Supports high-speed data transfer up to 104MB/s for SD and TF cards.
- 3.5mm Audio Jack: Provides audio output for headphones or speakers.
3. Package Contents
- 1x Minisopuru MINI218B MAX Hub
- 1x SSD Installation Accessories (screwdriver, screws, silicone cap)
- 1x Thermal Pad
- 1x Instruction Manual
4. Setup
4.1. SSD Installation
Follow these steps to install an M.2 NVMe SSD into the dock. Ensure the dock is unplugged before installation.
- Remove the bottom cover of the dock using the provided screwdriver.
- Insert the M.2 NVMe SSD into the slot at a 45-degree angle.
- Gently press the SSD down and fix it with the silicone cap.
- Place the thermal pad on top of the SSD for optimal heat dissipation.
- Finally, close the bottom cover and tighten the screw.

Image: Detailed steps for installing an M.2 NVMe SSD into the dock.
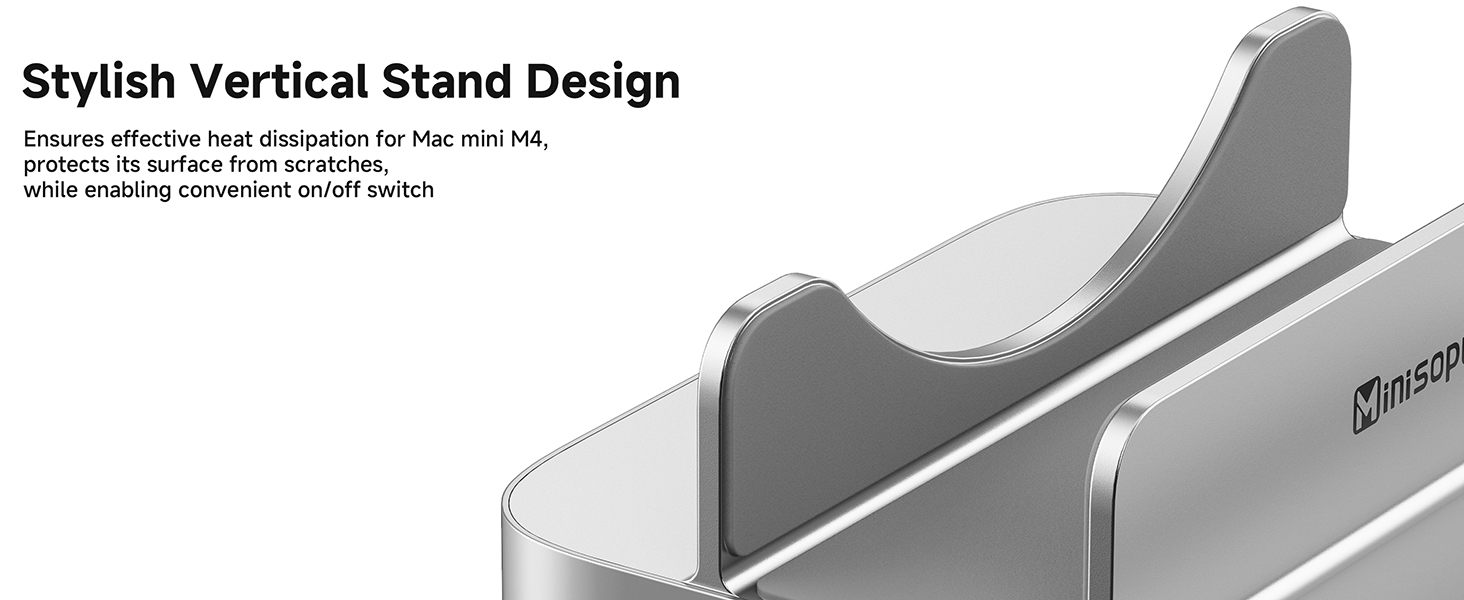
Image: Illustration of compatible M.2 NVMe SSD sizes (2230, 2242, 2260, 2280).
Video: Guide on how to format an SSD for use with the Mac mini dock.
4.2. Connecting the Mac mini
Place your Mac mini M4 or M4 Pro vertically into the dock. Connect the integrated USB-C cable from the dock to one of the USB-C ports on your Mac mini. This connection enables all the dock's features.

Image: The Mac mini M4 positioned vertically in the Minisopuru dock, highlighting the vertical stand design.
4.3. Connecting Peripherals
Connect your external devices to the available ports on the dock:
- HDMI: Connect an HDMI cable from the dock's HDMI port to your monitor or TV for video output.
- USB Devices: Plug USB-A or USB-C peripherals (e.g., keyboard, mouse, external hard drive, USB stick) into the corresponding ports.
- SD/TF Cards: Insert your SD or TF memory cards into the designated slots.
- Audio: Connect headphones or speakers to the 3.5mm audio jack.

Image: Demonstrates various peripherals like a U disk, external hard disk, camera, keyboard, mouse, and printer connected to the dock's USB ports.

Image: Close-up view of the built-in SD and TF card slots on the dock.
5. Operating Instructions
5.1. Using USB Ports
The dock provides multiple USB ports for various devices:
- 10Gbps USB-C & USB-A 3.2 Gen2: Ideal for high-speed data transfer with external SSDs, flash drives, or other compatible devices.
- USB-A 2.0 Ports: Suitable for connecting keyboards, mice, printers, or other standard USB peripherals.
5.2. HDMI Video Output
The HDMI port supports 4K resolution at 60Hz. Connect an HDMI cable from the dock to your external monitor or projector. Your Mac mini will automatically detect the display. You can configure display settings (mirroring or extending) in your Mac's System Settings.

Image: A Mac mini M4 in the dock connected to two external monitors, demonstrating 4K@60Hz HDMI output.
5.3. SD/TF Card Usage
Insert your SD or TF memory cards into the respective slots. The cards will appear as external drives on your Mac mini, allowing for quick file transfers at speeds up to 104MB/s.
5.4. Audio Output Settings
If you connect headphones or speakers to the 3.5mm audio jack and experience no sound, you may need to adjust your Mac mini's audio settings:
- Go to System Settings.
- Select Sound.
- Under the Output tab, select "USB Audio SYSTEM" as your output device.
Video: Instructions on how to select the correct audio output for the Mac mini dock.
6. Maintenance
- Keep the dock clean by wiping it with a soft, dry cloth.
- Avoid exposing the device to extreme temperatures, humidity, or direct sunlight.
- Do not attempt to disassemble or repair the device yourself. Contact support if issues arise.
7. Troubleshooting
- Device not recognized: Ensure all cables are securely connected. Try restarting your Mac mini.
- SSD not appearing: Verify the SSD is correctly installed and formatted. Check Disk Utility on your Mac.
- Slow data transfer: Ensure you are using the 10Gbps USB ports for high-speed devices. Check the quality of your cables.
- No video output: Confirm the HDMI cable is connected properly and your monitor is set to the correct input. Check display settings in System Settings.
8. Specifications
| Feature | Detail |
|---|---|
| Model | MINI218B MAX |
| Compatibility | Mac mini M4, Mac mini M4 Pro (2024 models) |
| SSD Enclosure | M.2 PCIe NVMe (M, B+M Key) up to 8TB; sizes 2230/2242/2260/2280 |
| HDMI Output | 4K@60Hz |
| USB-C Port | 1x 10Gbps USB-C 3.2 Gen2 |
| USB-A Ports | 1x 10Gbps USB-A 3.2 Gen2, 2x USB-A 2.0 |
| Card Reader | SD/TF (up to 104MB/s) |
| Audio Jack | 1x 3.5mm (Supports CTIA/OMTP) |
| Material | Aluminum |
9. Warranty and Support
Minisopuru offers a 24-month customer service guarantee and 24/7 customer service for timely and fast solutions to any product issues.
For support, please contact:
- Email: Support@Minisopuru.com
- Phone: (+1) 8887172216