
1. Important Safety Instructions
Please read all instructions carefully before using this appliance and retain for future reference. Failure to follow these instructions may result in electric shock, fire, or personal injury.
- This appliance is for indoor use only.
- Ensure the power supply matches the voltage specified on the rating label.
- Do not operate the unit with a damaged cord or plug. If the supply cord is damaged, it must be replaced by the manufacturer, its service agent, or similarly qualified persons to avoid a hazard.
- Always place the unit on a flat, stable surface.
- Maintain a minimum distance of 30 cm (12 inches) from walls or other objects to ensure proper airflow.
- Do not insert fingers or objects into the air inlet or outlet.
- Unplug the unit before cleaning or performing any maintenance.
- Keep children away from the appliance. This appliance is not intended for use by persons (including children) with reduced physical, sensory or mental capabilities, or lack of experience and knowledge, unless they have been given supervision or instruction concerning use of the appliance by a person responsible for their safety.
- Do not use the unit in wet environments such as bathrooms or laundry rooms.
- Do not block the exhaust hose or air outlets.
2. Product Overview
Key Features
- Quiet yet Powerful Cooling: Delivers 10000 BTU cooling capacity for effective room cooling with quiet operation.
- Efficient Dehumidifier: Removes up to 45 liters of moisture per day, reducing humidity and preventing mold formation.
- Versatile Fan Mode: Features 2 fan speeds for gentle to powerful airflow, improving air circulation.
- Convenient Remote and WiFi Control: Adjust temperature, fan speed, and mode via the included remote control or WiFi connectivity from anywhere in the room.
- Easy to Move: Compact design with smooth casters allows for easy relocation between rooms.
Product Components
The following components are included with your portable air conditioner:

Image showing the included accessories: AAA batteries, remote control, exhaust hose, instruction manual, fixing screws, drain hose, and window sealing plate.
- Portable Air Conditioner Unit
- Remote Control
- AAA Batteries (for remote control)
- Exhaust Hose
- Window Sealing Plate Kit
- Drain Hose
- Instruction Manual
- Fixing Screws
Unit Features
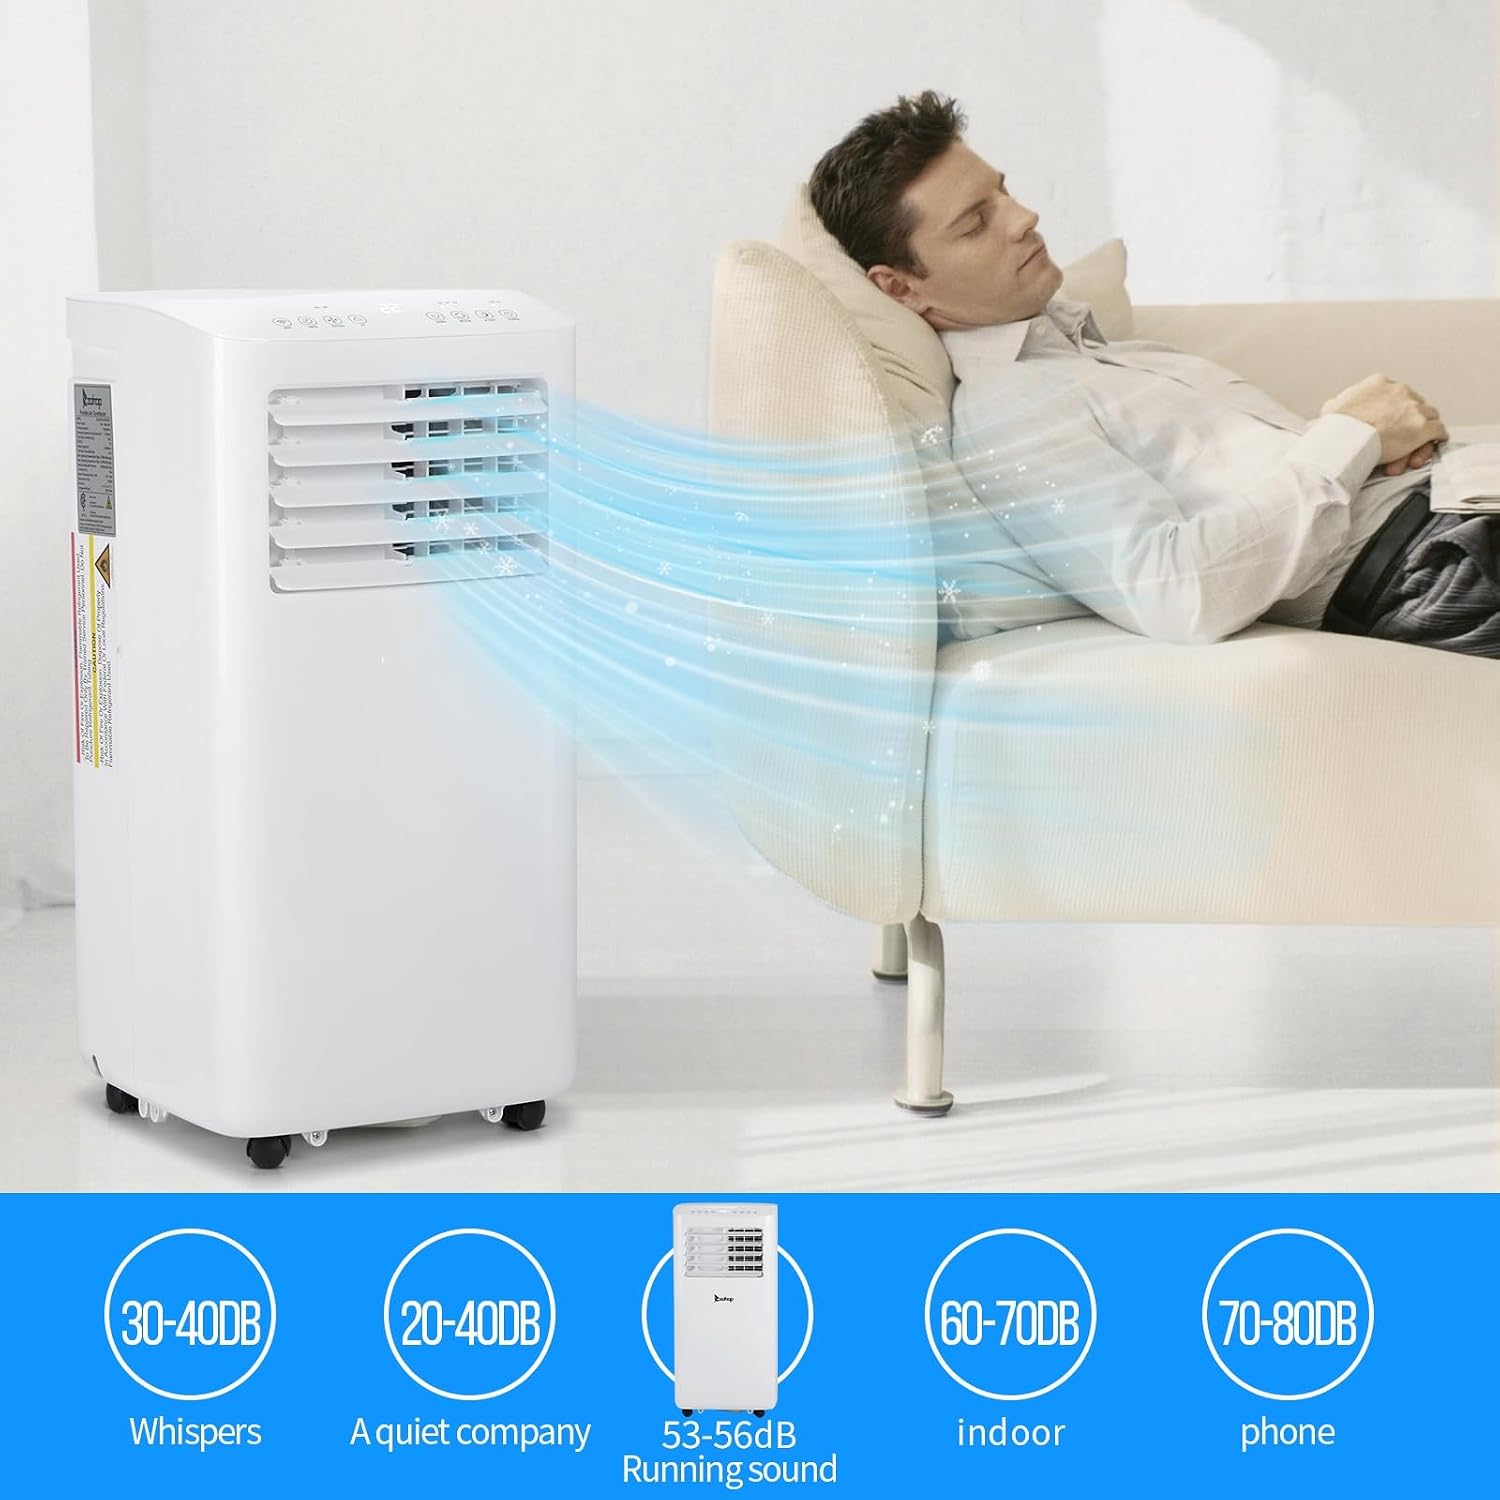
Image detailing the unit's design features: a portable handle for easy lifting, universal wheels for mobility, a removable and washable filter for maintenance, and integrated power cord management.
- Portable Handle: For convenient lifting and moving.
- Universal Wheels: 360-degree rotating wheels for effortless mobility.
- Removable and Washable Filter: Easy to access and clean for optimal performance.
- Power Cord Management: Integrated design for neat storage of the power cord.
3. Setup and Installation
Proper installation is crucial for the efficient operation of your portable air conditioner. No professional installation is required.
Exhaust Hose and Window Kit Installation
- Prepare the Window Kit: Adjust the window sealing plate to fit your window opening. The kit is designed to adapt to various window types.
- Attach Exhaust Hose to Unit: Connect one end of the exhaust hose to the air outlet on the back of the air conditioner unit. Ensure it is securely fastened.
- Connect Exhaust Hose to Window Kit: Extend the exhaust hose and connect the other end to the adapter on the window sealing plate.
- Seal the Window: Close the window against the sealing plate to minimize air leakage and maximize cooling efficiency.

Illustration of the three-step installation process: 1. Install the sliding window adapter. 2. Fix the exhaust hose to the adapter. 3. Install the exhaust air hose on the appliance.

Image demonstrating the easy installation of the portable air conditioner with its window exhaust kit, adaptable to various window shapes.
4. Operating Instructions
Your LEADZM portable air conditioner offers multiple modes and control options for optimal comfort.
Control Panel

Image displaying the intuitive control panel and remote control, highlighting ease of use for all ages.
- Power Button: Turns the unit ON or OFF.
- Mode Button: Cycles through Cooling, Dehumidifier, and Fan modes.
- Speed Button: Adjusts fan speed (Low, Medium, High).
- Up/Down Buttons: Adjusts temperature settings or timer duration.
- Timer Button: Sets the 24-hour ON/OFF timer.
- Sleep Button: Activates sleep mode for quieter operation and energy saving.
- WiFi Button: Activates or deactivates WiFi connectivity.
Remote Control
The included remote control allows you to operate all functions from a distance. Ensure AAA batteries are correctly inserted.
WiFi and App Control
Control your air conditioner conveniently via a smartphone app.
- Download App: Scan the QR code in the instruction manual or search for the designated app in your smartphone's app store.
- Connect to WiFi: Follow the in-app instructions to connect your air conditioner to your home WiFi network.
- Remote Operation: Once connected, you can adjust settings, change modes, and set timers from your smartphone.

Image demonstrating intelligent control via the application, allowing temperature adjustments anytime and anywhere.
Operating Modes
- Cooling Mode: Provides powerful cooling to lower room temperature.
- Dehumidifier Mode: Reduces humidity levels in the room without significant cooling.
- Fan Mode: Circulates air without cooling, offering a refreshing breeze.
Follow Me Function
The 'Follow Me' function ensures your comfort by sensing the temperature at the remote control's location, adjusting the unit's output to maintain your desired temperature wherever you are in the room.

Image illustrating the 'Follow Me' function, ensuring your comfort temperature follows you closely throughout the room.
5. Maintenance
Regular maintenance ensures optimal performance and extends the lifespan of your air conditioner.
Cleaning the Air Filter
The air filter should be cleaned every two weeks or more frequently depending on usage and air quality.
- Power Off and Unplug: Always turn off the unit and unplug it from the power outlet before cleaning.
- Remove Filter: Gently pull out the air filter from its slot, typically located at the back or side of the unit.
- Clean Filter: Wash the filter under running water (warm, not hot) or use a vacuum cleaner to remove dust and debris. For heavy dirt, a mild detergent can be used.
- Dry Filter: Allow the filter to air dry completely before reinserting it. Do not expose to direct sunlight or high heat.
- Reinstall Filter: Slide the dry filter back into its original position.

Image showing the removable and washable filter being taken out for cleaning.
Draining Condensed Water
During cooling and dehumidifying operations, water condenses inside the unit. This water needs to be drained periodically.
- Continuous Drainage: For continuous drainage, connect the provided drain hose to the drainage port at the back of the unit and lead it to a floor drain or a suitable container.
- Manual Drainage: If not using continuous drainage, the internal water tank will fill up. When full, the unit will stop operating and display an indicator. Turn off the unit, place a shallow pan under the drainage port, remove the drain plug, and allow the water to flow out. Replace the plug once empty.

Image highlighting the independent air dehumidification function, ensuring comfort on humid days.
6. Troubleshooting
Before contacting customer support, please refer to the following troubleshooting guide for common issues.
| Problem | Possible Cause | Solution |
|---|---|---|
| Unit does not turn on | No power supply; Power cord not plugged in; Full water tank. | Check power outlet and plug; Ensure power cord is securely connected; Drain water tank. |
| Unit not cooling effectively | Air filter dirty; Exhaust hose blocked or improperly installed; Room too large; Doors/windows open. | Clean air filter; Check exhaust hose for blockages and proper installation; Ensure room size is within unit capacity; Close all doors and windows. |
| Excessive noise | Unit not on a flat surface; Fan speed too high; Internal components loose. | Place unit on a flat, stable surface; Reduce fan speed; If noise persists, contact customer support. |
| Water leakage | Drain plug loose; Drain hose improperly connected or blocked. | Ensure drain plug is secure; Check drain hose for proper connection and clear any blockages. |
| Remote control not working | Batteries dead or incorrectly inserted; Obstruction between remote and unit. | Replace batteries; Ensure correct battery polarity; Remove any obstructions. |
| WiFi connectivity issues | Incorrect WiFi password; Router too far; App not updated. | Verify WiFi password; Move unit closer to router or use a repeater; Update the control app. |
7. Specifications
Detailed technical specifications for the LEADZM 10000BTU Portable Air Conditioner.

Image illustrating the physical dimensions of the unit.
| Specification | Value |
|---|---|
| Brand | LEADZM |
| Model Name | JHS-A016-10KR2/ H-W |
| Model Number | 10000BTU |
| Cooling Capacity | 10000 BTU |
| Dehumidification Capacity | 45 liters/day |
| Special Feature | Wi-Fi enabled |
| Product Dimensions (D x W x H) | 36P x 34l x 70H centimeters |
| Seasonal Energy Efficiency Ratio (SEER) | 15 |
| Color | White |
| Voltage | 240 Volts |
| Noise Level | 65 Decibels |
| Power Source | Corded Electric |
| Wattage | 1120 Watts |
| Energy Efficiency Class | A |
| Control Method | Remote Control |
| Operating Mode | Cooling |
| Item Weight | 23 Kilograms |
| Max Window Opening Width | 120 Centimeters |
| Min Window Opening Height | 120 Centimeters |
| Max Window Opening Height | 120 Centimeters |
| Room Type | Bedroom |
| Form Factor | Portable |
8. Warranty and Support
Warranty information for this product is currently unknown. For specific warranty details or technical support, please contact the manufacturer, LEADZM, directly or refer to the contact information provided in your product packaging.