1. Introduction
This manual provides essential information for the setup, operation, and maintenance of your KOORUI 24 Inch Gaming Monitor, model E2411K. Please read this manual thoroughly before using the product to ensure proper functionality and safety. This monitor is designed to deliver a high-performance visual experience for gaming, work, and multimedia consumption.

Figure 1: Front view of the KOORUI 24 Inch Gaming Monitor E2411K.
2. Safety Information
- Always place the monitor on a stable, flat surface to prevent accidental falls.
- Do not expose the monitor to rain, moisture, or extreme temperatures.
- Avoid blocking ventilation openings to prevent overheating.
- Use only the power adapter and cables provided by KOORUI.
- Do not attempt to repair the monitor yourself. Refer all servicing to qualified personnel.
- Disconnect the power cable during lightning storms or when unused for long periods.
3. Package Contents
Verify that all items listed below are present in your product packaging:
- 1x KOORUI 24 Inch Monitor (E2411K)
- 1x Power Adapter
- 1x HDMI Cable
- 1x User Manual
- 1x Monitor Column
- 1x Bottom Base
- 4x Screws

Figure 2: Contents of the KOORUI E2411K monitor package.
4. Setup Instructions
4.1. Monitor Assembly
- Carefully remove all components from the packaging.
- Attach the monitor column to the bottom base using the provided screws. Ensure it is securely fastened.
- Align the assembled stand with the mounting slot on the back of the monitor panel. Gently slide the stand into place until it clicks securely.
- Alternatively, for VESA mounting, remove the stand and attach a compatible VESA 100x100mm mount (not included) to the monitor's rear panel.
Figure 3: VESA 100x100mm compatibility and tilt adjustment range.
4.2. Connecting Your Monitor
- Connect the provided HDMI cable from your computer's HDMI port to one of the HDMI ports on the monitor.
- For older systems, connect a VGA cable from your computer's VGA port to the VGA port on the monitor.
- Connect the power adapter to the DC input port on the monitor, then plug the power adapter into a power outlet.
- If desired, connect external speakers or headphones to the Audio Out port.
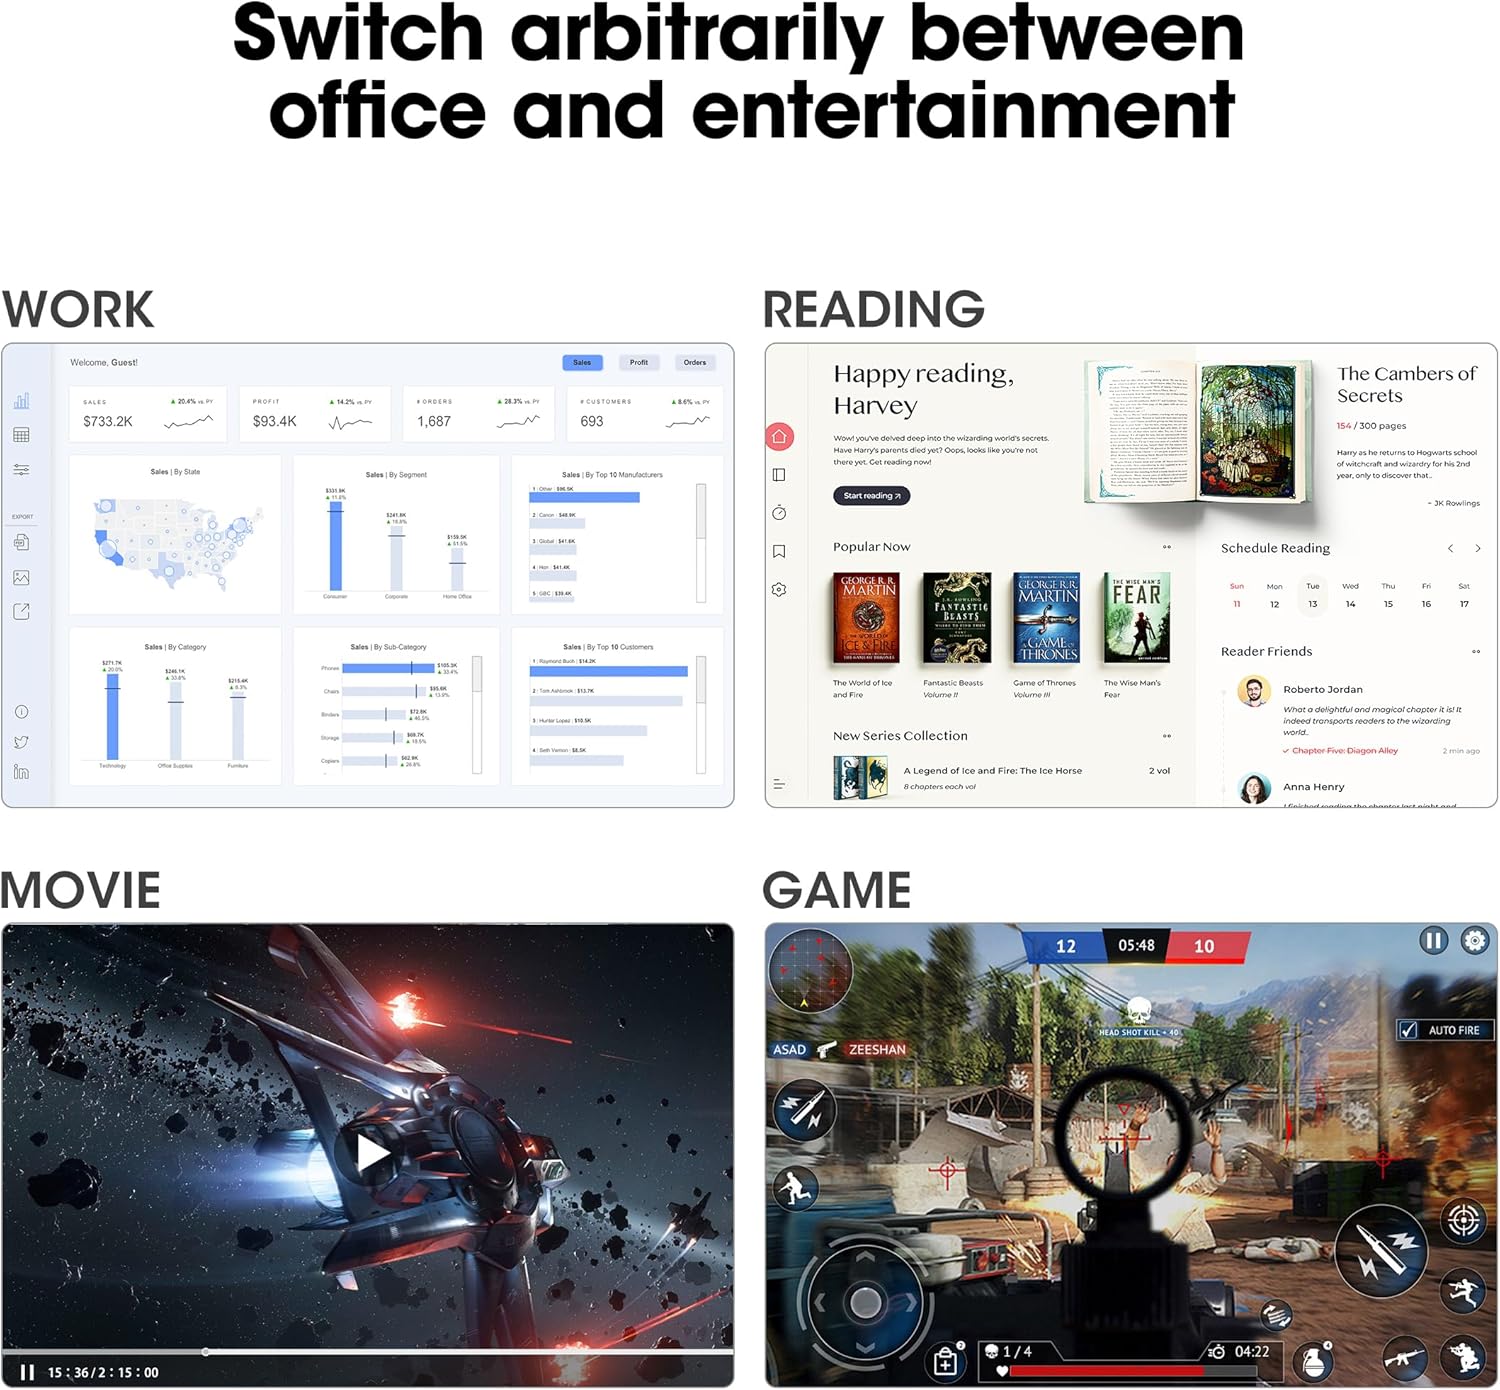
Figure 4: Connectivity options including HDMI, VGA, Audio Out, and DC power input.
Tip: Use the cable management feature on the stand to keep your cables tidy and organized.
5. Operating Instructions
5.1. Power On/Off
Press the power button located on the back of the monitor to turn it on or off.
5.2. On-Screen Display (OSD) Menu
Use the buttons on the back of the monitor to navigate and adjust settings in the OSD menu. Common settings include brightness, contrast, color temperature, input source selection, and various display modes.
5.3. Display Settings
- Resolution: The monitor supports Full HD (1920 x 1080p) resolution. Ensure your computer's display settings are configured to this resolution for optimal clarity.
- Refresh Rate: Enjoy a smooth visual experience with a 144Hz refresh rate. Adjust your graphics card settings to utilize this refresh rate.
- Adaptive Sync: This technology synchronizes the monitor's refresh rate with your graphics card's frame rate, eliminating screen tearing and stuttering during gaming. Enable Adaptive Sync in both the monitor's OSD menu and your graphics card control panel.
- Eye Care Features: The monitor includes Flicker-Free technology and a Low Blue Light mode to reduce eye strain during prolonged use. These features can be enabled via the OSD menu.

Figure 5: Visual comparison of 144Hz vs 75Hz refresh rates.

Figure 6: Adaptive Sync in action, preventing screen tearing.
5.4. Versatility
The monitor's IPS panel offers wide viewing angles and 99% sRGB color coverage, making it suitable for various tasks beyond gaming, including content creation, office work, and media consumption.
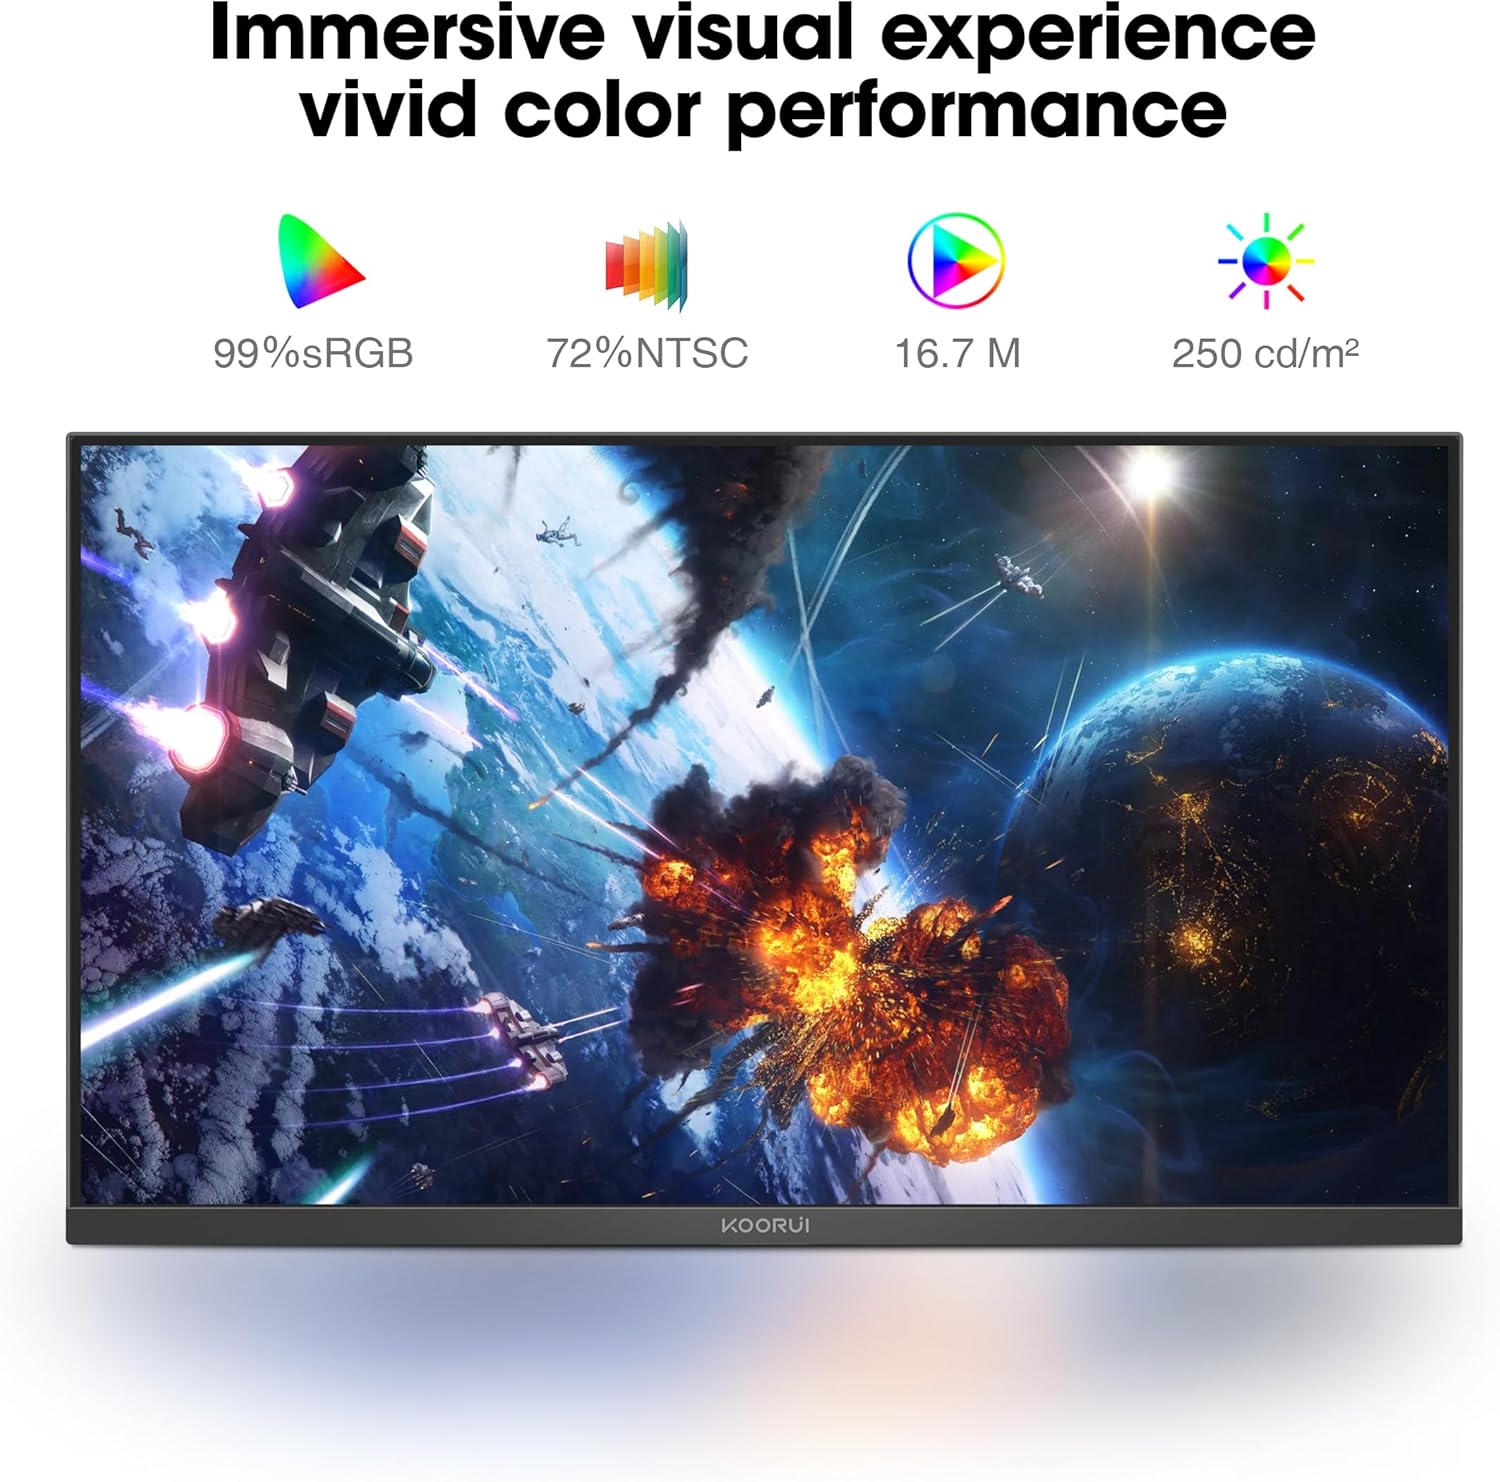
Figure 7: Immersive visual experience with vivid color performance.
Video: KOORUI 144hz gaming monitor
This video demonstrates the KOORUI 144Hz gaming monitor in action, highlighting its smooth performance and visual quality.
Video: KOORUI 144hz monitor E2411K
This video provides a detailed look at the KOORUI E2411K monitor, showcasing its features and design.
6. Maintenance
- To clean the screen, gently wipe with a soft, lint-free cloth. Avoid using harsh chemicals or abrasive materials.
- For the monitor casing, use a soft, damp cloth.
- Ensure the monitor is unplugged before cleaning.
7. Troubleshooting
| Problem | Possible Cause | Solution |
|---|---|---|
| No image on screen | Power cable disconnected; Video cable loose; Incorrect input source. | Check power and video connections; Select correct input source via OSD menu. |
| Screen tearing/stuttering | Adaptive Sync not enabled; Graphics card settings. | Enable Adaptive Sync in monitor OSD and graphics card control panel. |
| Flickering screen | Flicker-Free mode off; Faulty cable. | Enable Flicker-Free mode in OSD; Try a different video cable. |
| Poor color quality | Incorrect color settings; Graphics card driver issues. | Adjust color settings in OSD; Update graphics card drivers. |
8. Specifications
| Feature | Detail |
|---|---|
| Model Number | MB24V29F |
| Screen Size | 24 Inches |
| Resolution | 1920 x 1080 Pixels (FHD 1080p) |
| Refresh Rate | 144Hz |
| Panel Type | IPS |
| Aspect Ratio | 16:9 |
| Color Gamut | 99% sRGB, 72% NTSC |
| Image Brightness | 250 Candela per Square Meter |
| Connectivity | HDMI, VGA, Audio Out, DC Power |
| VESA Compatibility | 100x100mm |
| Tilt Adjustment | -5° to 15° |
| Product Dimensions | 7.29 x 21.34 x 16.72 inches |
| Item Weight | 8.08 pounds |
9. Warranty and Support
KOORUI provides a 12-month replacement warranty for this product. In case of any damage, malfunctions, or missing accessories, please contact our professional technical support team for assistance. We are committed to ensuring your peace of mind with every purchase.
For further support, please visit the official KOORUI website or contact customer service through your retailer.


