
1. Product Overview
The VONFORN 700W Electric HVLP Paint Sprayer is designed for efficient and easy application of paint for various home projects. Its powerful motor and versatile nozzle system allow for smooth and consistent finishes on surfaces such as furniture, fences, cabinets, and walls.
Key Features:
- 700W Strong Motor: Provides ample power for various painting tasks.
- 4 Nozzles & 3 Spray Patterns: Includes 1mm, 1.5mm, 2mm, and 3.0mm nozzles, adjustable to horizontal, vertical, and circular spray patterns for diverse applications.
- Unique Blowing & Cleaning Functions: Features a dust blowing joint for surface preparation and a cleaning connector for easy post-use cleanup.
- Easy to Use & Clean: Simple assembly and straightforward cleaning process.
- Adjustable Flow Control: Allows precise control over paint output to prevent waste and achieve desired results.
- 1200ml Container: Large capacity for extended painting sessions.

The VONFORN 700W Paint Sprayer with its key features highlighted.
2. What's Included
Your VONFORN Paint Sprayer package includes all the necessary components to get started and maintain your device:
- 1X Paint Sprayer Unit
- 4X Size Nozzles (1mm, 1.5mm, 2mm, 3.0mm)
- 5X Paint Filters
- 1X Viscosity Cup
- 1X Nozzle Cleaning Needle
- 1X Cleaning Brush
- 1X Dust Blowing Joint
- 1X Clean Connector
- 1X Pot Lid
- 1X User Manual (this document)

The complete VONFORN Paint Sprayer kit with all accessories.
3. Setup Guide
Proper setup ensures optimal performance and a smooth painting experience.
3.1 Assembly:
The paint sprayer is designed for tool-free assembly. Simply connect the main body to the paint container and ensure the nozzle is securely attached. Refer to the diagram below for visual guidance.

Step-by-step visual guide for assembling the paint sprayer.
3.2 Paint Preparation and Thinning:
Before filling the container, ensure your paint is properly thinned to the correct viscosity. Use the included viscosity cup to test the paint. The recommended viscosity for different nozzle sizes is provided below. Proper thinning prevents clogging and ensures an even spray.
- 1.0 mm Nozzle: 15-25 DIN-s (for Wooden Artwork, DIY projects)
- 1.5 mm Nozzle: 25-35 DIN-s (for Chairs, Shutters, Cabinets)
- 2.0 mm Nozzle: 35-50 DIN-s (for Railings, Window Frames)
- 3.0 mm Nozzle: 50-80 DIN-s (for Walls, Decks, Fences, Wooden Artwork)

Nozzle size recommendations and corresponding paint viscosity ranges.
3.3 Nozzle Selection and Spray Patterns:
Choose the appropriate nozzle size based on your paint type and project. The sprayer supports three spray patterns: horizontal, vertical, and circular. Rotate the air cap to switch between patterns.

Visual representation of the three adjustable spray patterns.
4. Operating Instructions
Follow these steps for effective and safe operation of your paint sprayer.
4.1 Pre-Spraying Surface Preparation (Blowing Function):
Before applying paint, you can use the integrated dust blowing joint to clear dust and debris from the surface. This ensures better paint adhesion and a smoother finish.

Using the blowing function to prepare a surface for painting.
4.2 Adjusting Flow Control:
The amount of paint output can be precisely controlled using the flow control knob. Turn clockwise for more flow and counter-clockwise for less. Adjust according to your project needs to achieve optimal coverage and prevent paint waste.

Instructions for adjusting the paint flow control.
4.3 Spraying Technique:
Maintain a consistent distance from the surface and move the sprayer in even, overlapping strokes. For best results, apply lighter coats and allow adequate drying time between layers to avoid drips.
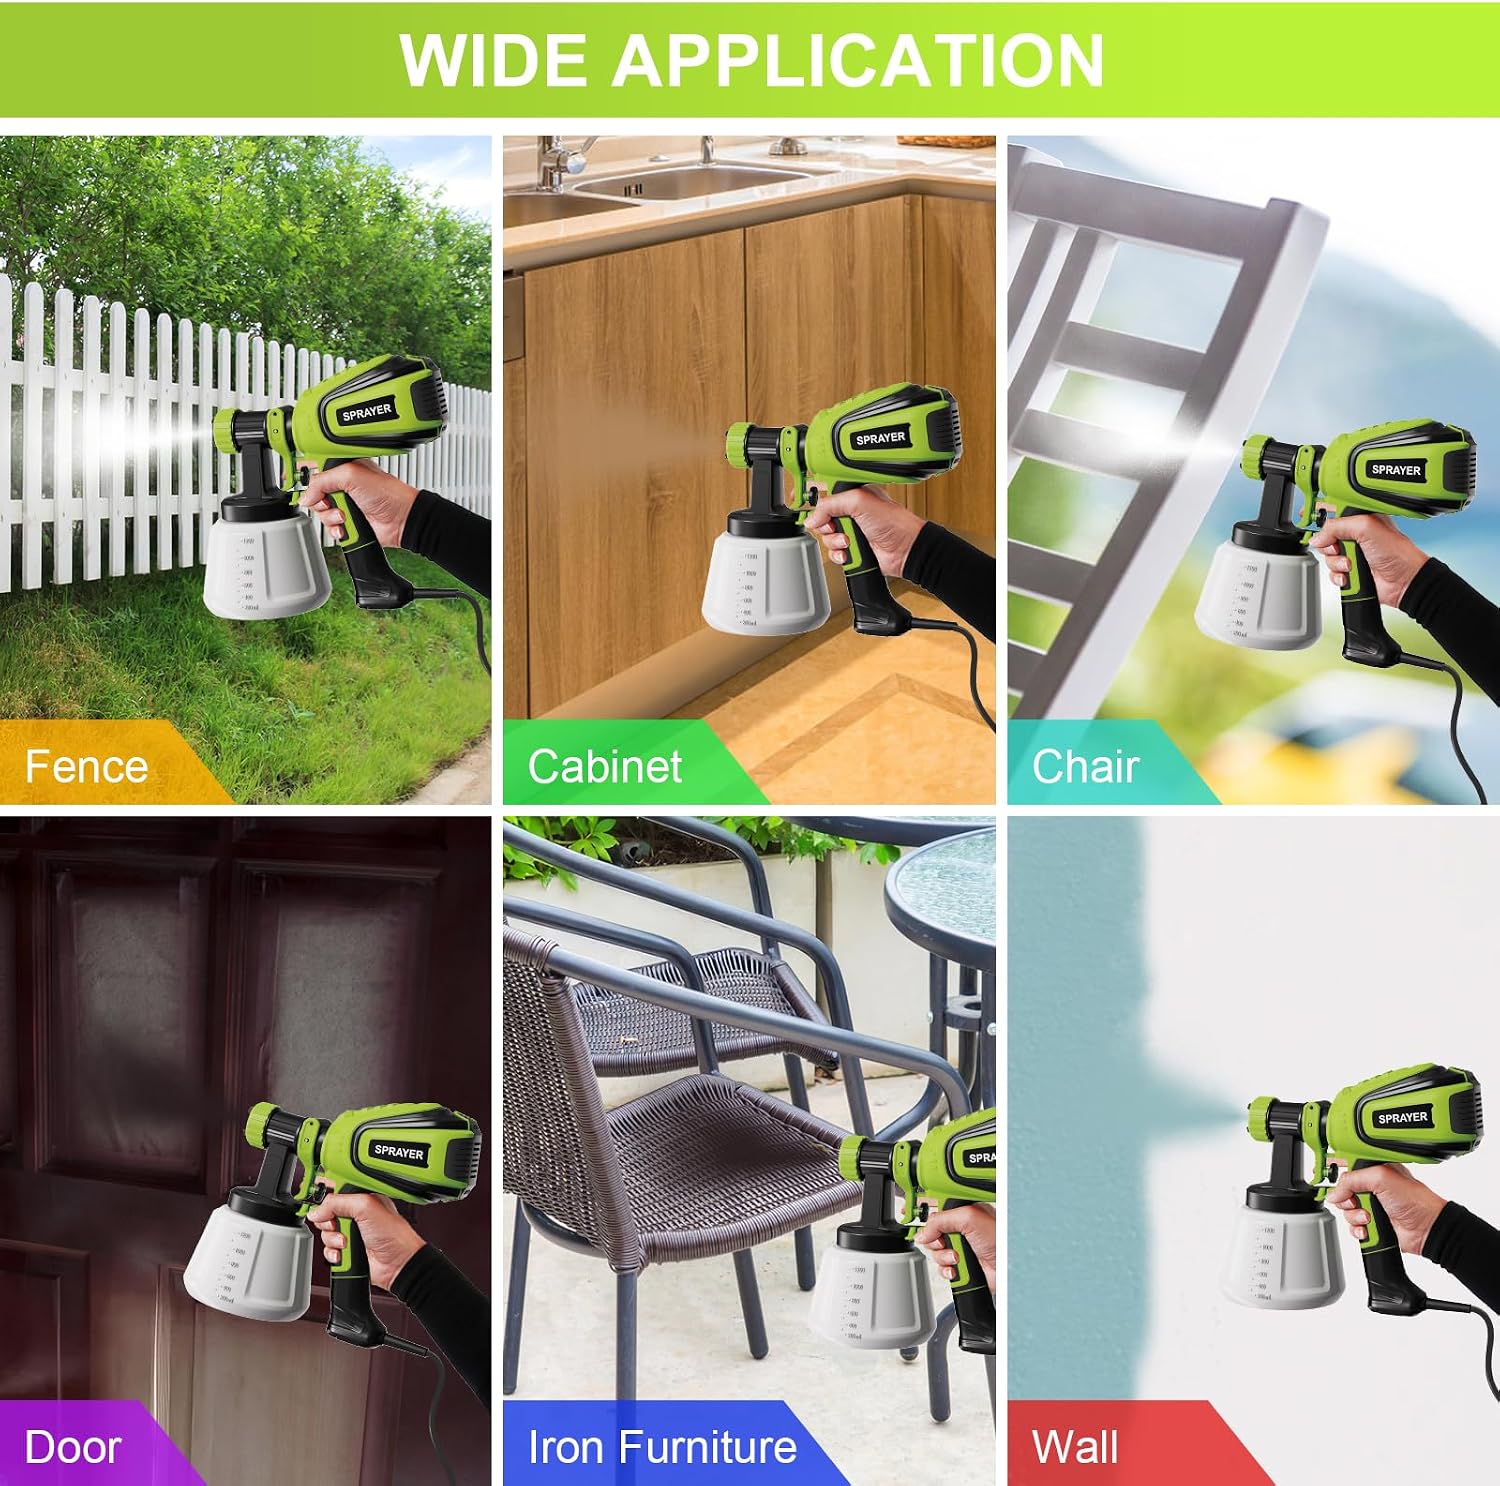
The paint sprayer is suitable for a wide range of applications, from fences to interior walls.
5. Maintenance and Cleaning
Thorough cleaning after each use is crucial to prolong the life of your paint sprayer and ensure consistent performance.
5.1 Post-Use Cleaning:
- Empty any remaining paint from the container.
- Connect the cleaning connector to a water source (e.g., faucet) to flush residual paint from inside the pipe.
- Disassemble the nozzle and container parts.
- Use the provided cleaning brush and nozzle cleaning needle to thoroughly clean all paint-contacting components.
- Rinse all parts with water until clean.
- Ensure all parts are dry before reassembling or storing.

Visual guide for cleaning the paint sprayer and its parts.

Connecting the cleaning connector to flush the system.
6. Troubleshooting
If you encounter issues with your paint sprayer, refer to the common problems and solutions below:
| Problem | Possible Cause | Solution |
|---|---|---|
| No paint spraying or weak spray | Nozzle clogged; paint too thick; air cap loose; paint container empty. | Clean nozzle with needle; thin paint to correct viscosity; tighten air cap; refill paint container. |
| Uneven spray pattern or drips | Incorrect nozzle selection; inconsistent spraying technique; paint too thin or too thick. | Select appropriate nozzle; maintain consistent distance and speed; adjust paint viscosity. |
| Sprayer not turning on | Power cord not connected; power outlet issue; internal fault. | Check power connection; try a different outlet; contact customer support if issue persists. |
| Device burned out quickly | Incorrect voltage used. | Ensure you are using the correct voltage (110V for US standard). This product is not compatible with 220V. |
Important Note: This paint sprayer is designed for the US standard 110V and is not compatible with 220V. Using incorrect voltage can damage the unit and void the warranty.
7. Technical Specifications
| Specification | Detail |
|---|---|
| Brand | VONFORN |
| Model Name | VF803 |
| Power Consumption | 700W |
| Voltage | 120V / 60Hz (US Standard) |
| Tank Volume | 1200 Milliliters |
| Nozzle Sizes | 1.0mm, 1.5mm, 2.0mm, 3.0mm |
| Max Flow | 1000 ml/min |
| Max Viscosity | 100 DIN-s |
| Power Cord Length | 2m / 6.5ft |
| Product Dimensions | 5.9"W x 11.42"H |
| Item Weight | 4.18 pounds |
| Material | Plastic |
| Recommended Uses | Painting |

Detailed technical specifications and package contents.
8. Warranty and Support
VONFORN is committed to providing high-quality products and excellent customer service. If you have any questions, concerns, or require technical assistance with your paint sprayer, please contact us directly through your order details on the platform where you made your purchase.
Our technical and after-sales support teams are available to assist you and typically respond within 18 hours.