
Introduction
Thank you for choosing the GDOR 3 Tier Electric Food Steamer. This appliance is designed to provide a healthy and efficient way to cook a variety of foods simultaneously. With its 800W power, 9.6 QT capacity, and user-friendly features, you can enjoy nutritious meals with ease. Please read this manual carefully before first use to ensure proper operation, safety, and maintenance.
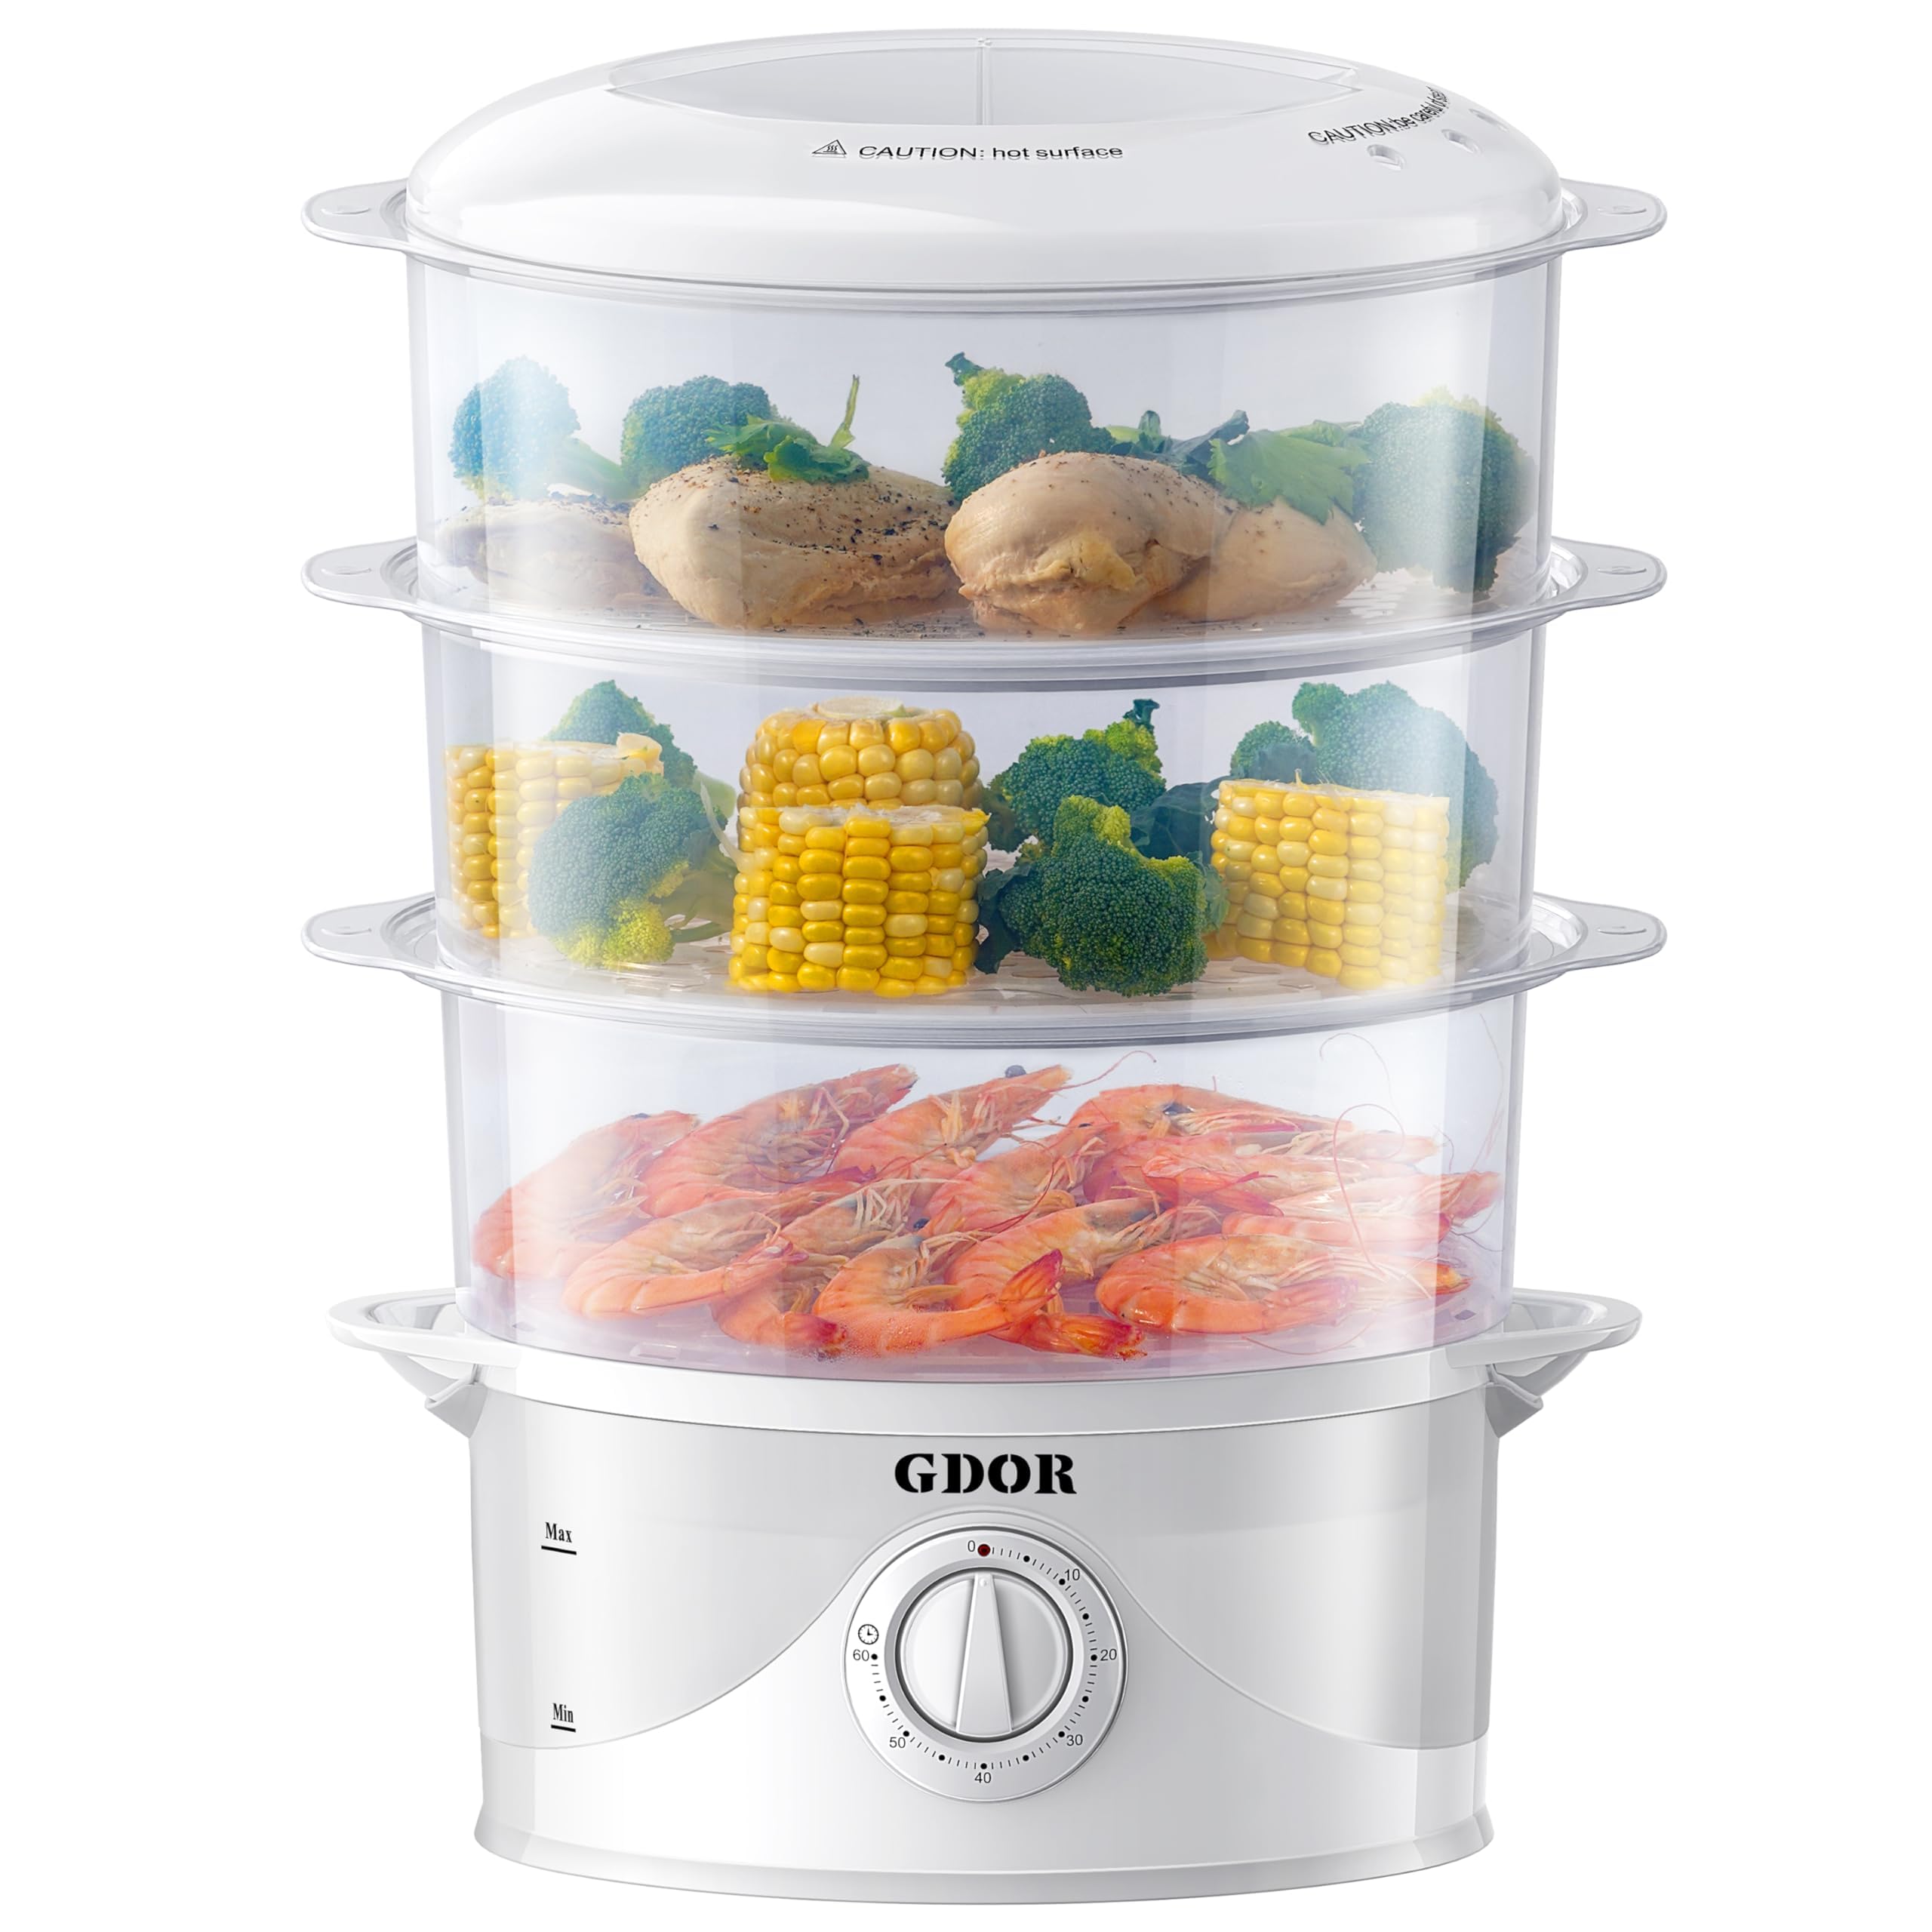
Image: The GDOR 3 Tier Electric Food Steamer, fully assembled and ready for use.
Important Safeguards
When using electrical appliances, basic safety precautions should always be followed to reduce the risk of fire, electric shock, and injury to persons. Read all instructions carefully.
- Do not touch hot surfaces. Use handles or knobs.
- To protect against electrical shock, do not immerse the cord, plugs, or the base unit in water or other liquid.
- Close supervision is necessary when any appliance is used by or near children.
- Unplug from outlet when not in use and before cleaning. Allow to cool before putting on or taking off parts.
- Do not operate any appliance with a damaged cord or plug, or after the appliance malfunctions or has been damaged in any manner.
- The use of accessory attachments not recommended by the appliance manufacturer may cause injuries.
- Do not use outdoors.
- Do not let the cord hang over the edge of a table or counter, or touch hot surfaces.
- Do not place on or near a hot gas or electric burner, or in a heated oven.
- Extreme caution must be used when moving an appliance containing hot oil or other hot liquids.
- Always attach plug to appliance first, then plug cord into the wall outlet. To disconnect, turn any control to "off", then remove plug from wall outlet.
- Do not use appliance for other than intended use.
- Ensure the water reservoir is filled to the appropriate level before operation to prevent boil-dry.
- The lid and trays are made of food-grade PP material and are BPA-free, ensuring food safety.

Image: The steamer features built-in boil dry protection, automatically shutting off if water levels are too low.
Product Overview
The GDOR 3 Tier Electric Food Steamer consists of several detachable components for versatile cooking and easy cleaning.
- Base Unit: Contains the heating element, water reservoir, and control dial.
- Water Reservoir: Located within the base unit, holds water for steaming. Features MIN/MAX indicators.
- Drip Tray: Sits above the water reservoir to collect condensation and food juices.
- Steaming Baskets (3 Tiers): Clear, stackable baskets for holding food. Each basket has a perforated bottom for steam circulation.
- Lid: Transparent lid to cover the top steaming basket, trapping steam.
- Timer Dial: Located on the front of the base unit, allows setting cooking time from 0 to 60 minutes.
- Water Inlet: External opening on the base unit for adding water during operation.

Image: The versatile 3-tier design allows for simultaneous cooking of various ingredients, with a total capacity of 9.6 QT.
Assembly and Setup
Follow these steps for initial assembly and setup of your GDOR Electric Food Steamer.
- Place the Base Unit: Position the base unit on a stable, flat, heat-resistant surface.
- Add Water: Fill the water reservoir with clean water up to the MAX line. Do not exceed the MAX line.
- Place Drip Tray: Position the drip tray onto the base unit.
- Stack Steaming Baskets: Place one or more steaming baskets onto the drip tray. Ensure they are securely stacked.
- Add Food: Distribute food evenly in the steaming baskets. Do not overfill.
- Cover with Lid: Place the lid securely on the top steaming basket.

Image: A visual guide demonstrating the 3-step setup: 1. Add water, 2. Place food into steaming trays, 3. Set the timer.
Operation
Adding Water
Before each use, ensure the water reservoir is filled with clean water. The water level should be between the MIN and MAX indicators. For continuous steaming, water can be added during operation through the external water inlet without opening the baskets.

Image: Water being added to the steamer through the convenient external water inlet.
Loading Food
Place food items into the steaming baskets. For optimal steaming, arrange food in a single layer where possible, allowing steam to circulate freely. Foods requiring longer cooking times should be placed in the lower baskets, closer to the steam source.
Setting the Timer
Plug the steamer into a suitable electrical outlet. Turn the timer dial clockwise to your desired cooking time (0-60 minutes). The steamer will begin generating steam immediately. A light indicator may illuminate to show the unit is active. The steamer will automatically shut off once the timer reaches zero.
Steaming Process
The 800W heating element and turbo steam function ensure rapid steam generation and even heat distribution throughout all tiers, reducing cooking time.

Image: Visual representation of efficient steam circulation within the multi-tier steamer.
Recommended Steaming Times
The following table provides approximate steaming times for various foods. Times may vary based on food quantity, size, and desired doneness. Always ensure food is cooked thoroughly.
| Food Item | Approximate Steaming Time |
|---|---|
| Vegetables | 20-30 minutes |
| Rice | 45-50 minutes |
| Fish | 16-20 minutes |
| Seafood (e.g., Shrimp) | 12-20 minutes |
| Eggs | 12-15 minutes |
| Chicken | 22-25 minutes |
| Grains (other than rice) | 17-29 minutes |
| Dumplings | 25-45 minutes |
| Meat (e.g., Beef, Pork) | 20-35 minutes |
Table: Recommended steaming times for various food types.
Cleaning and Maintenance
Regular cleaning and maintenance will prolong the life of your steamer and ensure optimal performance.
After Each Use
- Unplug the steamer from the power outlet and allow it to cool completely.
- Remove the lid, steaming baskets, and drip tray.
- Empty any remaining water from the reservoir.
- Wash the lid, steaming baskets, and drip tray with warm, soapy water or place them in the dishwasher. These parts are dishwasher safe.
- Wipe the base unit with a damp cloth. Do not immerse the base unit in water.
- Dry all parts thoroughly before reassembling or storing.

Image: The removable parts of the steamer are easy to clean by hand or in a dishwasher.
Descaling
Over time, mineral deposits (limescale) may build up on the heating element. To descale:
- Fill the water reservoir with a mixture of 1 part white vinegar and 2 parts water.
- Place the drip tray and one steaming basket (empty) onto the base unit.
- Set the timer for 20-30 minutes.
- After the cycle, unplug the steamer and let it cool.
- Empty the vinegar solution and rinse the reservoir thoroughly with clean water.
- Run a cycle with clean water to remove any residual vinegar smell.
Storage
The steaming baskets are stackable for compact storage, saving kitchen space when not in use.

Image: The steamer's components can be stacked for compact storage, reducing countertop or cabinet space requirements.
Troubleshooting
If you encounter any issues with your steamer, refer to the following common problems and solutions.
- Steamer not turning on:
- Ensure the power cord is securely plugged into a working outlet.
- Check if the timer dial is set to a cooking time. The steamer will not operate if the timer is at '0'.
- No steam or insufficient steam:
- Check the water level in the reservoir. Refill if below the MIN line.
- Ensure the lid is properly seated on the top basket to trap steam.
- Descale the heating element if there is significant mineral buildup.
- Food not cooking evenly:
- Ensure food is distributed evenly in the baskets and not overcrowded.
- Foods requiring longer cooking times should be placed in lower baskets.
- Cut food into uniform sizes for consistent cooking.
- Water leaking from the base:
- Ensure the drip tray is correctly positioned on the base unit.
- Do not overfill the water reservoir beyond the MAX line.
Technical Specifications
| Specification | Detail |
|---|---|
| Model Number | SC800W |
| Power | 800W |
| Capacity | 9.6 Quarts (total) |
| Tiers | 3 |
| Timer | 0-60 minutes |
| Material | Polypropylene (BPA-Free) |
| Color | White |
| Item Weight | 4.22 pounds (1.92 kg) |
| Package Dimensions | 11.1 x 10.94 x 7.8 inches |
Warranty and Customer Support
For information regarding warranty coverage, please refer to the warranty card included with your product or contact GDOR customer support. If you have any questions, require assistance, or need to report an issue, please contact the manufacturer directly through their official channels.