
1. Introduction
Thank you for choosing the Sceptre Prime U275W-UPT Series 27-inch 4K IPS UHD Monitor. This monitor is designed to deliver a superior visual experience with its 3840 x 2160 resolution, IPS panel technology, and versatile connectivity options. This manual provides essential information for setting up, operating, and maintaining your new monitor. Please read it thoroughly before use and retain it for future reference.
2. Safety Information
To ensure safe operation and prolong the life of your monitor, please observe the following safety precautions:
- Power Source: Use only the power cord and adapter supplied with the monitor. Ensure the power outlet meets the specified voltage requirements.
- Ventilation: Do not block ventilation openings. Allow adequate space around the monitor for proper airflow to prevent overheating.
- Liquid Exposure: Keep the monitor away from water, rain, or any liquids. Do not place objects filled with liquids on or near the monitor.
- Cleaning: Unplug the monitor before cleaning. Use a soft, dry cloth. Avoid using liquid cleaners or aerosol sprays.
- Placement: Place the monitor on a stable, flat surface. Avoid direct sunlight, heat sources, or extreme temperatures.
- Handling: Handle the monitor with care. Avoid dropping or subjecting it to strong impacts.
- Servicing: Do not attempt to service the monitor yourself. Refer all servicing to qualified service personnel.
3. Package Contents
Please check the box for the following items:
- Sceptre 27-inch 4K IPS UHD Monitor
- Monitor Stand (Base and Neck)
- Power Adapter and Power Cord
- HDMI Cable
- DisplayPort (DP) Cable
- User Manual (this document)
- Screws for Stand Assembly
4. Setup
4.1. Stand Assembly
- Carefully place the monitor face down on a soft, clean surface to prevent scratches.
- Attach the stand neck to the back of the monitor by aligning the tabs and pushing firmly until it clicks into place. Secure with screws if provided.
- Attach the stand base to the stand neck. Align the screw hole(s) and tighten the screw(s) from the bottom of the base.
- Gently lift the monitor and place it upright on a stable surface.
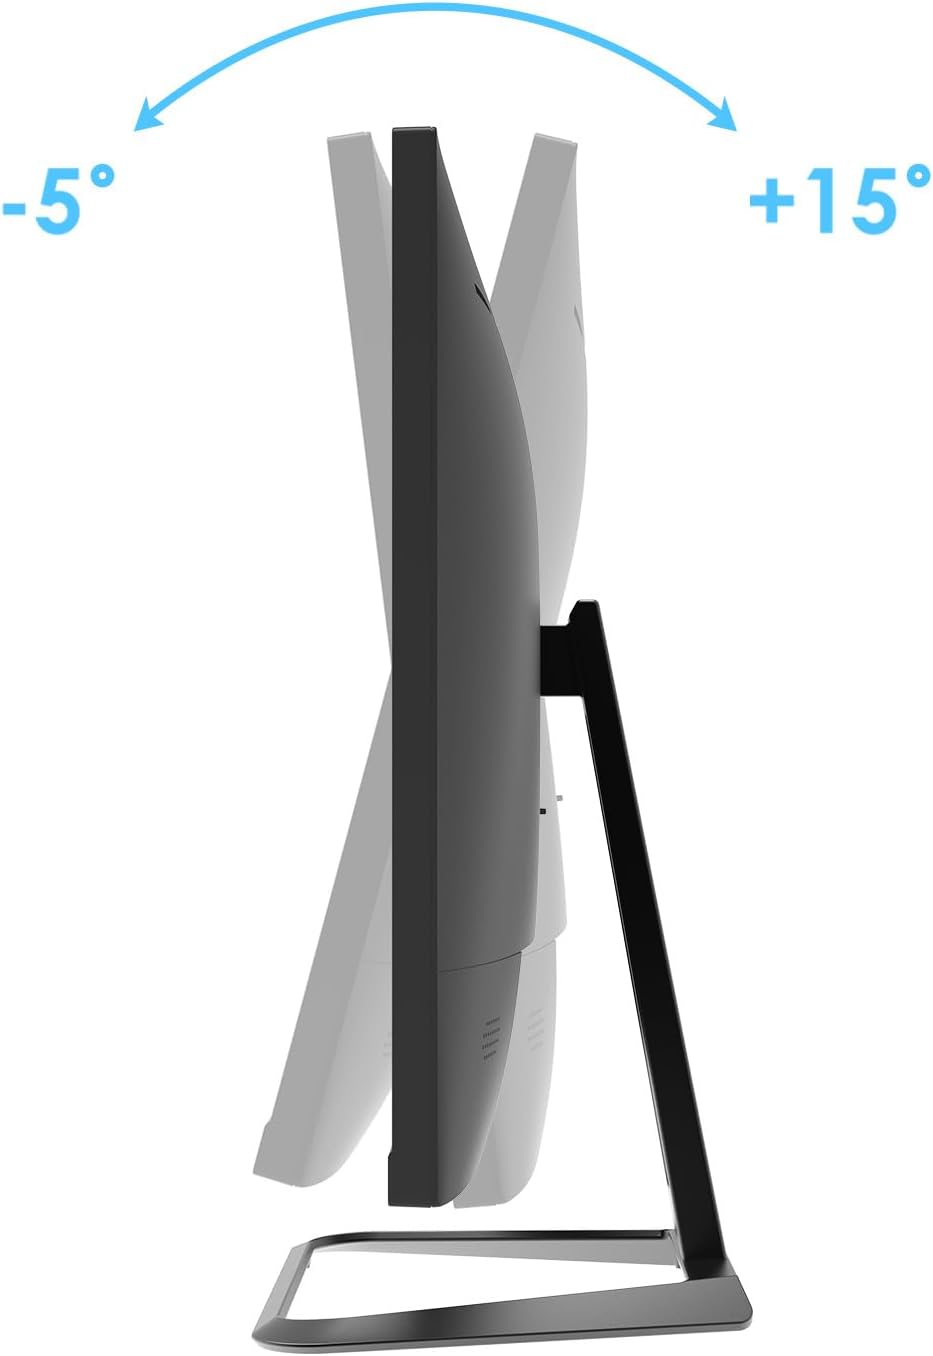
Image: Illustration of attaching the monitor stand to the back of the display.
4.2. Connecting Your Monitor
Ensure all devices are powered off before making any connections.
- Power Connection: Connect the power adapter to the monitor's power input port, then plug the power cord into a power outlet.
- Video Connection:
- HDMI: Connect one end of the HDMI cable to your computer's HDMI output and the other end to an HDMI input port on the monitor.
- DisplayPort (DP): Connect one end of the DisplayPort cable to your computer's DP output and the other end to a DP input port on the monitor.
- Audio Output: If you wish to use external speakers or headphones, connect them to the 3.5mm Audio Out port on the monitor.

Image: Rear view of the monitor showing various input ports including HDMI, DisplayPort, and Audio Out.
5. Operating Your Monitor
5.1. Power On/Off
Press the power button located on the monitor to turn it on or off. The power indicator light will illuminate when the monitor is on.
5.2. On-Screen Display (OSD) Menu
The OSD menu allows you to adjust various settings of your monitor.
- Accessing the OSD: Press the Menu button (usually labeled 'M' or a menu icon) on the monitor.
- Navigation: Use the directional buttons (Up/Down or Left/Right arrows) to navigate through menu options.
- Selection: Press the Enter button (or a similar selection button) to select an option or confirm a setting.
- Exit: Press the Exit button (or 'E' or 'Menu' again) to close the OSD menu.
Common OSD Menu Options:
- Picture: Brightness, Contrast, Sharpness, Aspect Ratio, Eco Mode.
- Color: Color Temperature (Warm, Cool, User), Gamma, Hue, Saturation.
- Input: Select the active input source (HDMI1, HDMI2, DisplayPort).
- Audio: Volume, Mute.
- OSD Settings: OSD Language, OSD H-Position, OSD V-Position, OSD Timer.
- System: Reset, Information (display resolution, refresh rate).
5.3. Adjusting Tilt
The monitor can be tilted to achieve an optimal viewing angle. Gently hold the top and bottom edges of the monitor and tilt it forward or backward. The tilt range is typically -5° to +15°.
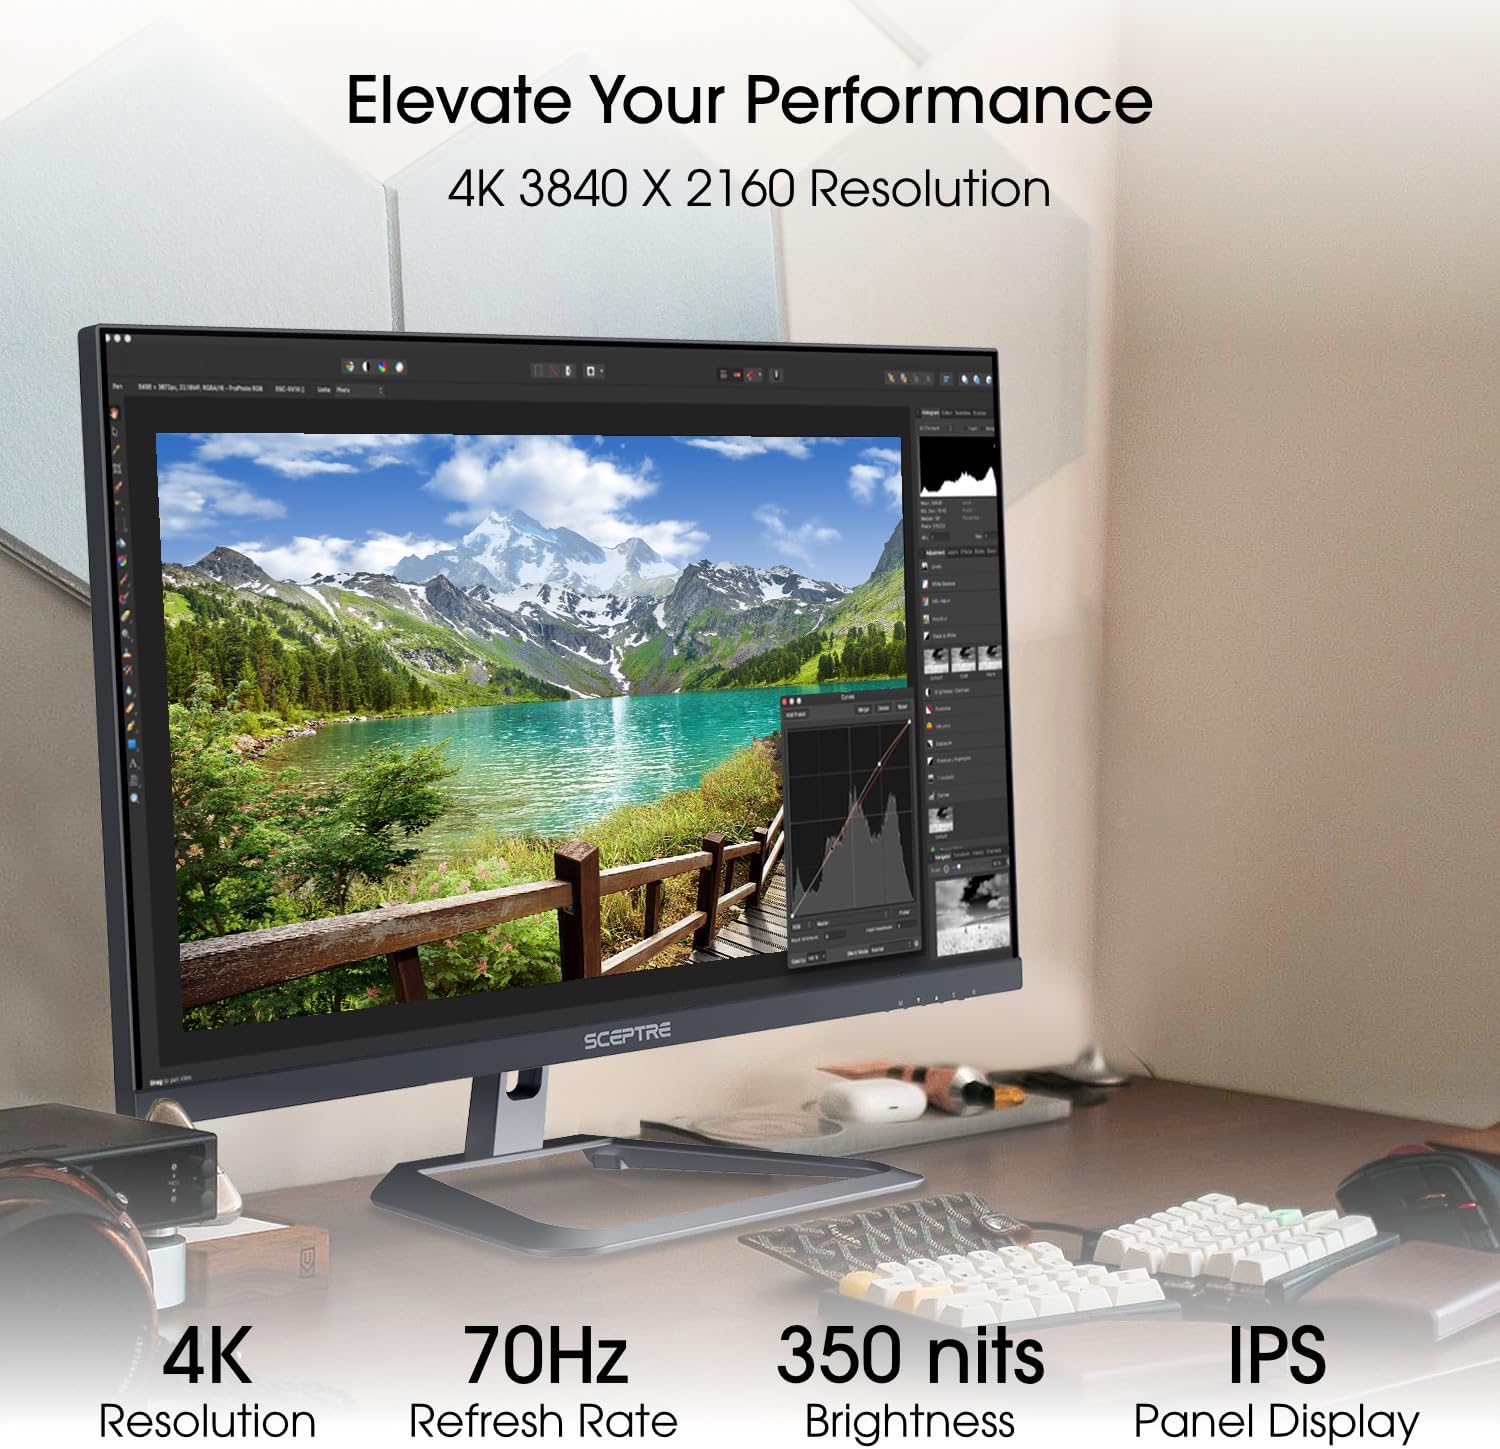
Image: Side view of the monitor demonstrating its tilt capability from -5 degrees to +15 degrees.
6. Maintenance
Proper maintenance ensures the longevity and optimal performance of your monitor.
- Screen Cleaning:
- Turn off the monitor and unplug the power cord.
- Gently wipe the screen with a soft, lint-free cloth.
- For stubborn marks, lightly dampen the cloth with water or a non-abrasive screen cleaner specifically designed for LCD/LED displays. Do not spray liquid directly onto the screen.
- Cabinet Cleaning: Wipe the monitor casing with a soft, dry cloth.
- Avoid: Do not use benzene, thinner, ammonia-based cleaners, or abrasive materials, as these can damage the monitor's surface.
7. Troubleshooting
If you encounter issues with your monitor, refer to the following troubleshooting guide.
| Problem | Possible Cause | Solution |
|---|---|---|
| No Power | Power cord not connected; Power outlet not working; Monitor power button off. | Ensure power cord is securely connected. Test power outlet with another device. Press monitor power button. |
| No Signal / Blank Screen | Video cable not connected; Incorrect input source selected; Computer not outputting signal. | Check video cable connections (HDMI/DP). Select correct input source via OSD menu. Restart computer. |
| Image is blurry or distorted | Incorrect resolution; Video cable issue; Graphics driver issue. | Set display resolution to native 3840x2160. Try a different video cable. Update graphics drivers. |
| No Audio | Volume too low/muted; Incorrect audio output selected on computer; External speakers not connected. | Adjust volume in OSD menu and on computer. Ensure monitor is selected as audio output device on computer. Check external speaker connections. |
| Screen Flickering | Refresh rate mismatch; Faulty cable; Interference. | Ensure refresh rate is set correctly (up to 70Hz). Try a different video cable. Move monitor away from other electronic devices. |
8. Specifications
| Model Name | U275W-UPT Series |
| Model Number | U275W-UPT.A1 |
| Screen Size | 27 inches |
| Panel Type | IPS |
| Resolution | 3840 x 2160 (4K UHD) |
| Refresh Rate | Up to 70 Hz |
| Response Time | 1 ms |
| Aspect Ratio | 16:9 |
| Contrast Ratio | 2000:1 |
| Connectivity | DisplayPort, HDMI (x2), Audio Out (3.5mm) |
| Built-in Speakers | Yes |
| Dimensions (WxDxH) | 24"W x 8"D x 17.7"H (with stand) |
| Color | Machine Black |
9. Warranty and Support
This Sceptre monitor comes with a 1 Year Manufacturer Warranty. For detailed warranty terms and conditions, please refer to the warranty card included in your package or visit the official Sceptre website.
For technical support, troubleshooting assistance, or warranty claims, please contact Sceptre Customer Service. You can find contact information on the official Sceptre website: www.sceptre.com.
Please have your model number (U275W-UPT.A1) and serial number ready when contacting support.


