1. Introduction
This manual provides detailed instructions for the installation, operation, and maintenance of your Hilitand Smart Deadbolt Lock. This advanced keyless entry system offers multiple unlocking methods, including fingerprint, password, access card, and traditional key, along with remote unlock capabilities. Please read this manual thoroughly before installation and use to ensure proper function and security.
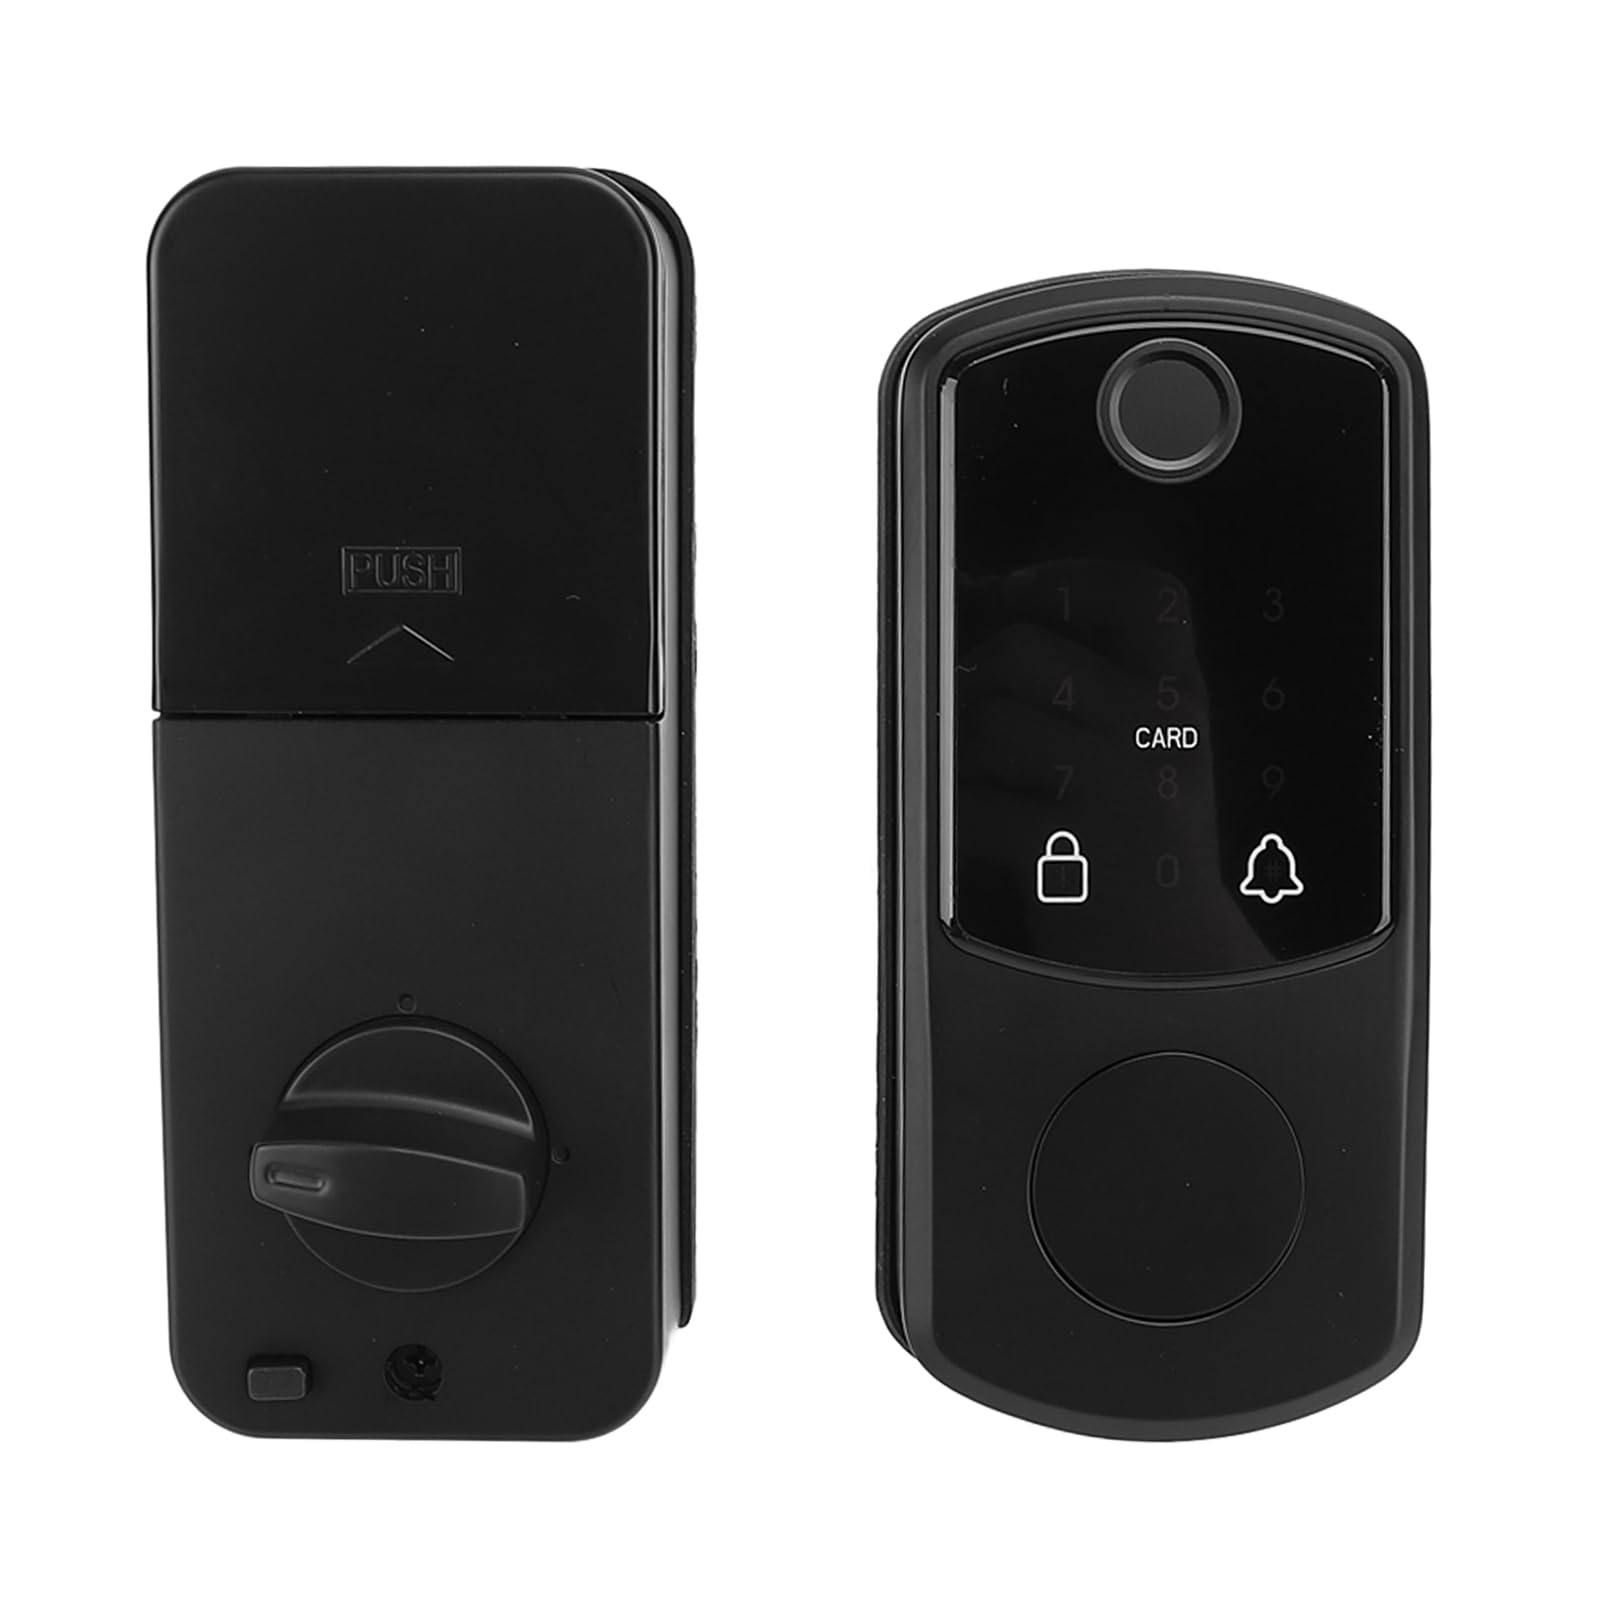
Figure 1: Hilitand Smart Deadbolt Lock (External and Internal Units)
2. Package Contents
Verify that all components listed below are present in your package. If any items are missing or damaged, please contact customer support.
- 2 x Lock Units (External and Internal)
- 2 x Access Cards
- 2 x Mechanical Keys
- 1 x Lock Core (Deadbolt Latch)
- 2 x Accessories (Mounting Plates/Spindles)
- 6 x Screws (Various sizes for installation)
- 1 x User Manual

Figure 2: Complete Package Contents
3. Specifications
| Feature | Specification |
|---|---|
| Material | Aluminum Alloy |
| Power Supply | 4 x AA Dry Batteries (not included) |
| Compatible Door Thickness | 35 - 55 mm (1.4 - 2.2 inches) |
| Unlocking Methods | Fingerprint, Password, Access Card, Mechanical Key, Remote Unlock (optional temporary password) |
| User Capacity | Up to 100 Fingerprints, Passwords, or Access Cards |
| Administrator Capacity | 1 Administrator (9-digit code) |
| Product Dimensions | 22.99 x 16.99 x 8.99 cm (9.05 x 6.69 x 3.54 inches) |
| Weight | Approx. 1 kg (35.38 oz) |
4. Setup and Installation
The Hilitand Smart Deadbolt Lock is designed for easy installation on doors with a thickness between 35mm and 55mm. No complex drilling is typically required for standard installations. Follow these general steps:
- Prepare the Door: Ensure your door has a standard deadbolt bore hole. Measure the door thickness to confirm compatibility (35-55mm).
- Install the Deadbolt Latch: Insert the lock core (deadbolt latch) into the door edge. Ensure the latch bolt faces the correct direction for your door swing. Secure it with screws.
- Install the External Unit: Place the external lock unit (with keypad/fingerprint sensor) on the outside of the door, aligning the spindle and wires through the deadbolt hole.
- Install the Internal Unit: Connect the wires from the external unit to the internal unit. Position the internal unit on the inside of the door, aligning it with the external unit and the deadbolt latch. Secure both units using the provided screws and mounting accessories.
- Insert Batteries: Open the battery cover on the internal unit. Insert 4 AA dry batteries, ensuring correct polarity. Close the battery cover.
- Test Functionality: After installation, test the deadbolt mechanism manually and then proceed to initial programming.

Figure 3: Internal and External Lock Components

Figure 4: Internal Mechanism and Wiring
5. Operating Instructions
Your Hilitand Smart Deadbolt Lock offers multiple ways to secure and access your property.
5.1 Initial Setup and Administrator Registration
Upon first use, you must register an administrator password. This administrator has full control over user management and lock settings.
- Press the 'Program' button (usually located on the internal unit).
- Enter a 9-digit administrator password.
- Confirm the password by entering it again.
- The lock will indicate successful registration (e.g., a beep or light indicator).
5.2 Adding Users (Fingerprint, Password, Card)
After setting up the administrator, you can add up to 100 users for fingerprint, password, or access card entry.
- To Add Fingerprint:
1. Press 'Program' button, then enter administrator password.
2. Select 'Add Fingerprint' option.
3. Place the user's finger on the sensor multiple times as prompted until registered. - To Add Password:
1. Press 'Program' button, then enter administrator password.
2. Select 'Add Password' option.
3. Enter a 6-10 digit password for the user, then confirm. - To Add Access Card:
1. Press 'Program' button, then enter administrator password.
2. Select 'Add Card' option.
3. Present the access card to the card reader until registered.

Figure 5: External Unit with Keypad and Fingerprint Sensor
5.3 Unlocking the Door
- Fingerprint: Place a registered finger on the fingerprint sensor. The lock will unlock if recognized.
- Password: Enter a registered password on the keypad, then press '#'. The lock will unlock.
- Access Card: Present a registered access card to the card reader area. The lock will unlock.
- Mechanical Key: Insert the mechanical key into the keyhole (usually hidden) and turn to unlock.
- Remote Unlock: If configured with a compatible smart home system, use the associated app for remote unlocking. Temporary passwords can also be generated for remote access.
5.4 Automatic Locking Function
The lock features an automatic locking function that engages after a set period (e.g., 5-10 seconds) once the door is closed. This feature enhances security by ensuring the door is always locked.
6. Maintenance
Regular maintenance ensures the longevity and optimal performance of your smart deadbolt lock.
- Battery Replacement: When the battery low indicator appears (audible alert or light), replace all four AA batteries promptly. Use high-quality alkaline batteries for best performance.
- Cleaning: Wipe the external unit, keypad, and fingerprint sensor with a soft, dry cloth. Avoid using abrasive cleaners or solvents that could damage the finish or electronic components.
- Mechanical Check: Periodically check the deadbolt latch and strike plate for any obstructions or misalignment. Ensure the door closes smoothly.
7. Troubleshooting
If you encounter issues with your Hilitand Smart Deadbolt Lock, refer to the following common problems and solutions:
- Lock Not Responding:
- Check if batteries are depleted. Replace with new AA batteries.
- Ensure batteries are inserted with correct polarity.
- If completely unresponsive, use the mechanical key to unlock. - Fingerprint Not Recognized:
- Ensure your finger is clean and dry.
- Try different angles or fingers if multiple are registered.
- Re-register your fingerprint if the issue persists. - Password Not Working:
- Double-check the entered password for accuracy.
- Ensure the lock is not in a 'locked out' state after too many incorrect attempts.
- Re-register the password if necessary. - Access Card Not Working:
- Ensure the card is correctly presented to the reader.
- Verify the card is registered to the lock.
- Re-register the access card. - Deadbolt Not Extending/Retracting Fully:
- Check for any physical obstructions in the door frame or strike plate.
- Ensure the lock units are properly aligned and tightened during installation.
- The door may be warped or misaligned; adjust door or strike plate if needed.
For issues not covered here, please consult the manufacturer's support resources.
8. Warranty and Support
For specific warranty information regarding your Hilitand Smart Deadbolt Lock, please refer to the warranty card included with your product or visit the official Hilitand website. Keep your purchase receipt as proof of purchase for any warranty claims.
For technical support, troubleshooting assistance, or replacement parts, please contact Hilitand customer service through the contact information provided in your product packaging or on the official brand website.
