
YOWHICK DP08
YOWHICK 4K Projector (Model DP08) Instruction Manual
Your guide to setting up and operating your YOWHICK projector.
1. Introduction
This manual provides detailed instructions for the setup, operation, and maintenance of your YOWHICK 4K Projector (Model DP08). Please read this manual thoroughly before using the product to ensure proper function and to maximize your viewing experience. Keep this manual for future reference.
2. What's in the Box
Verify that all components are present upon unboxing:
- Projector x 1
- HDMI Cable x 1
- AV Cable x 1
- Power Cable x 1
- Remote Control (Batteries Not Included) x 1
- Lens Cap x 1
- User Manual x 1
3. Product Overview and Features
The YOWHICK 4K Projector is designed for versatile home theater and outdoor use, offering a range of features for an enhanced viewing experience.
Key Features:
- Netflix Compatibility: Officially certified for Netflix and HDCP 2.2 compliant, supporting 4K HDR playback. Includes pre-loaded Netflix, Prime Video, and YouTube.
- Dolby Audio & Bluetooth 5.3: Integrated Dolby Audio for surround sound. Dual-purpose Bluetooth 5.3 for external speakers or built-in HiFi speakers.
- 4K Support & High Brightness: Native 1080p resolution with 4K input support. Features a 7-layer anti-reflective lens for clarity and reduced eye strain.
- Electric Focus & AI Auto Keystone: Automatic focus and keystone correction for instant image clarity. Projects 40-450 inch screens from 3.6-29 ft, with 15° auto-correction.
- WiFi 6 Connectivity: Dual-band WiFi 6 (2.4G/5G) for stable streaming, gaming, and screen mirroring.
- Multiple Ports: HDMI, USB, VGA, AV, and Audio ports for wide compatibility with various devices (iOS/Android, TV sticks, USB drives, PCs, PS5).
- User-Friendly Design: Supports desktop, tripod, or ceiling mounting. Includes an auto-shutoff timer.

Figure 3.1: YOWHICK 4K Projector with remote, showcasing built-in streaming apps like Netflix, YouTube, and Prime Video on a large projected screen.

Figure 3.2: Internal lens system and resolution comparison, highlighting the projector's native 1080p resolution.

Figure 3.3: Projector highlighting Dolby Audio and AI Audio Balance features for enhanced sound.
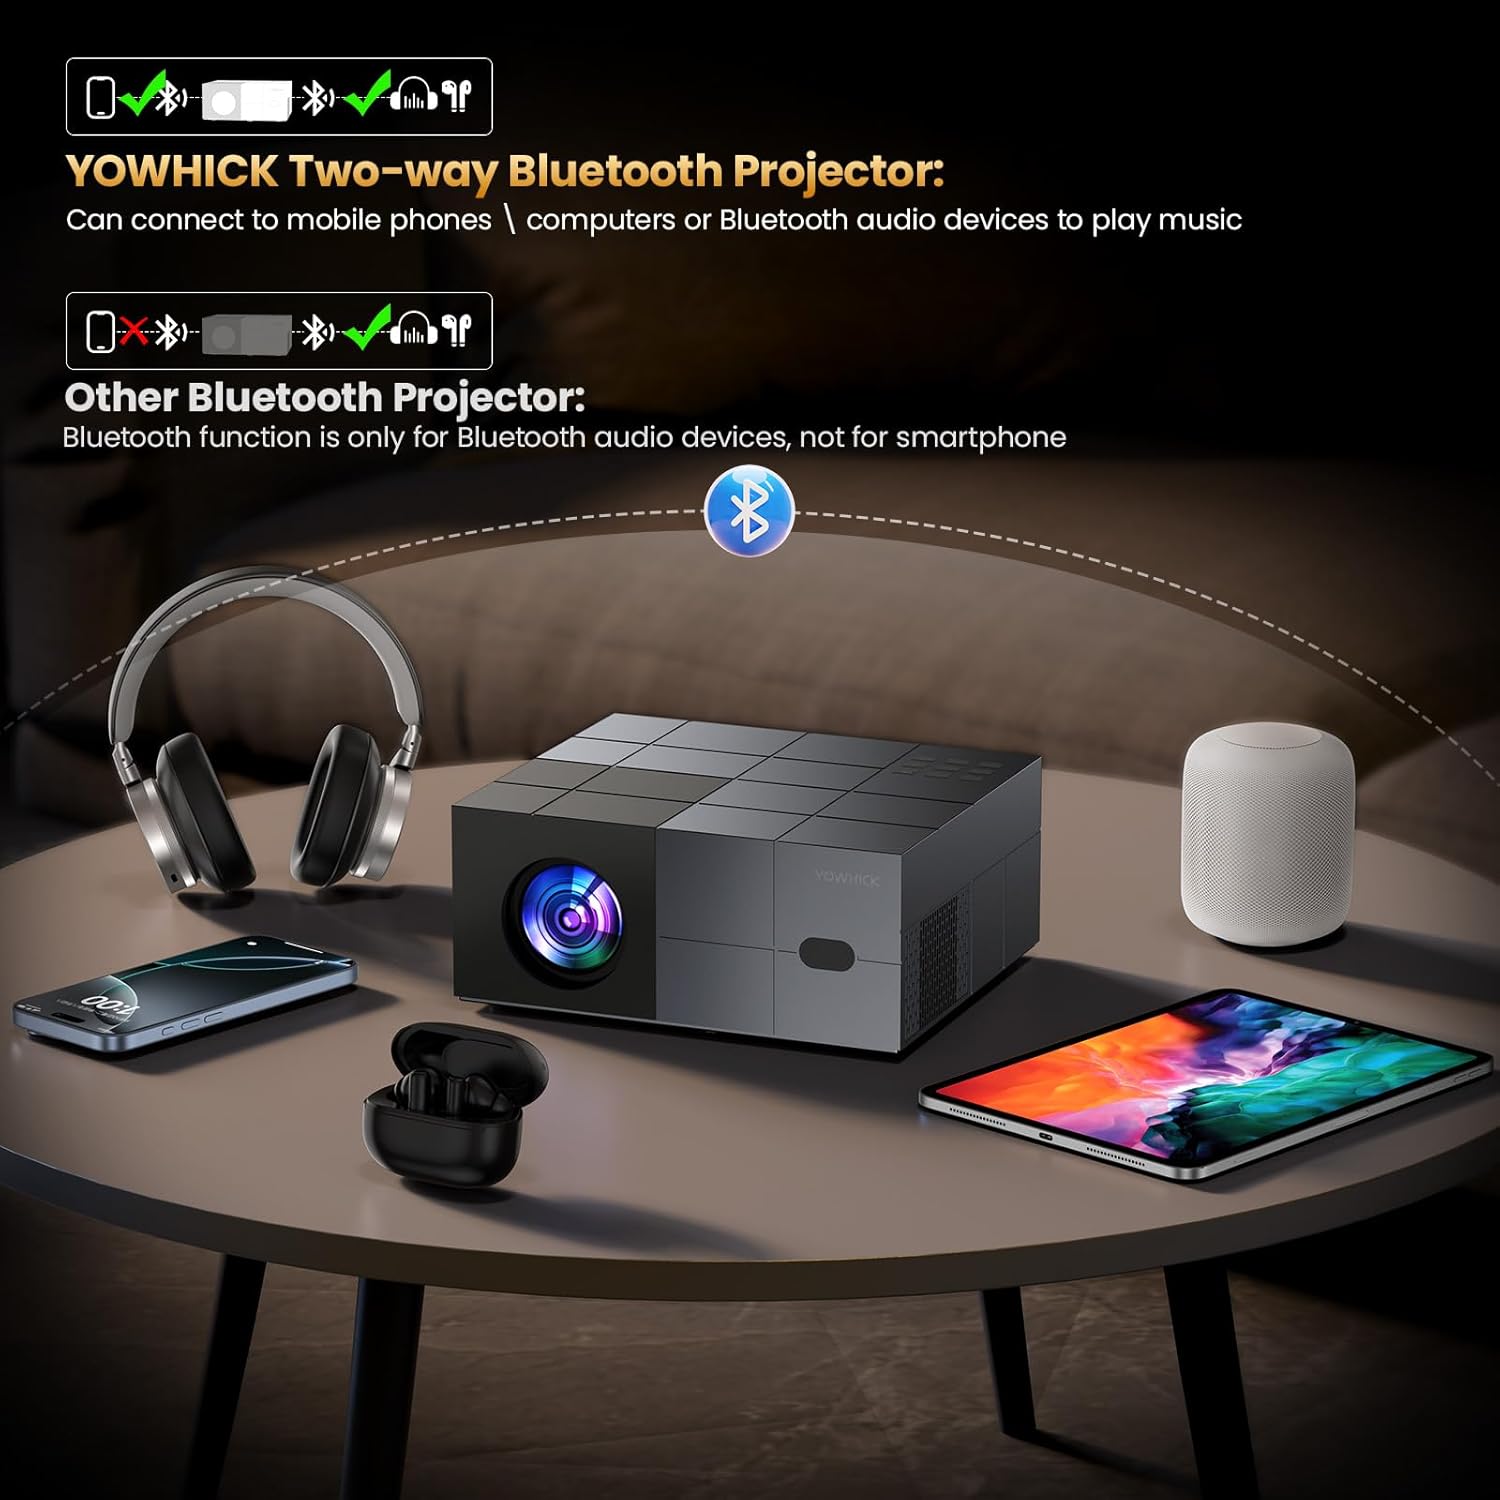
Figure 3.4: Explanation of the projector's two-way Bluetooth functionality, allowing connection to various audio devices.

Figure 3.5: The projector in an outdoor setting, demonstrating its use for large-screen entertainment.
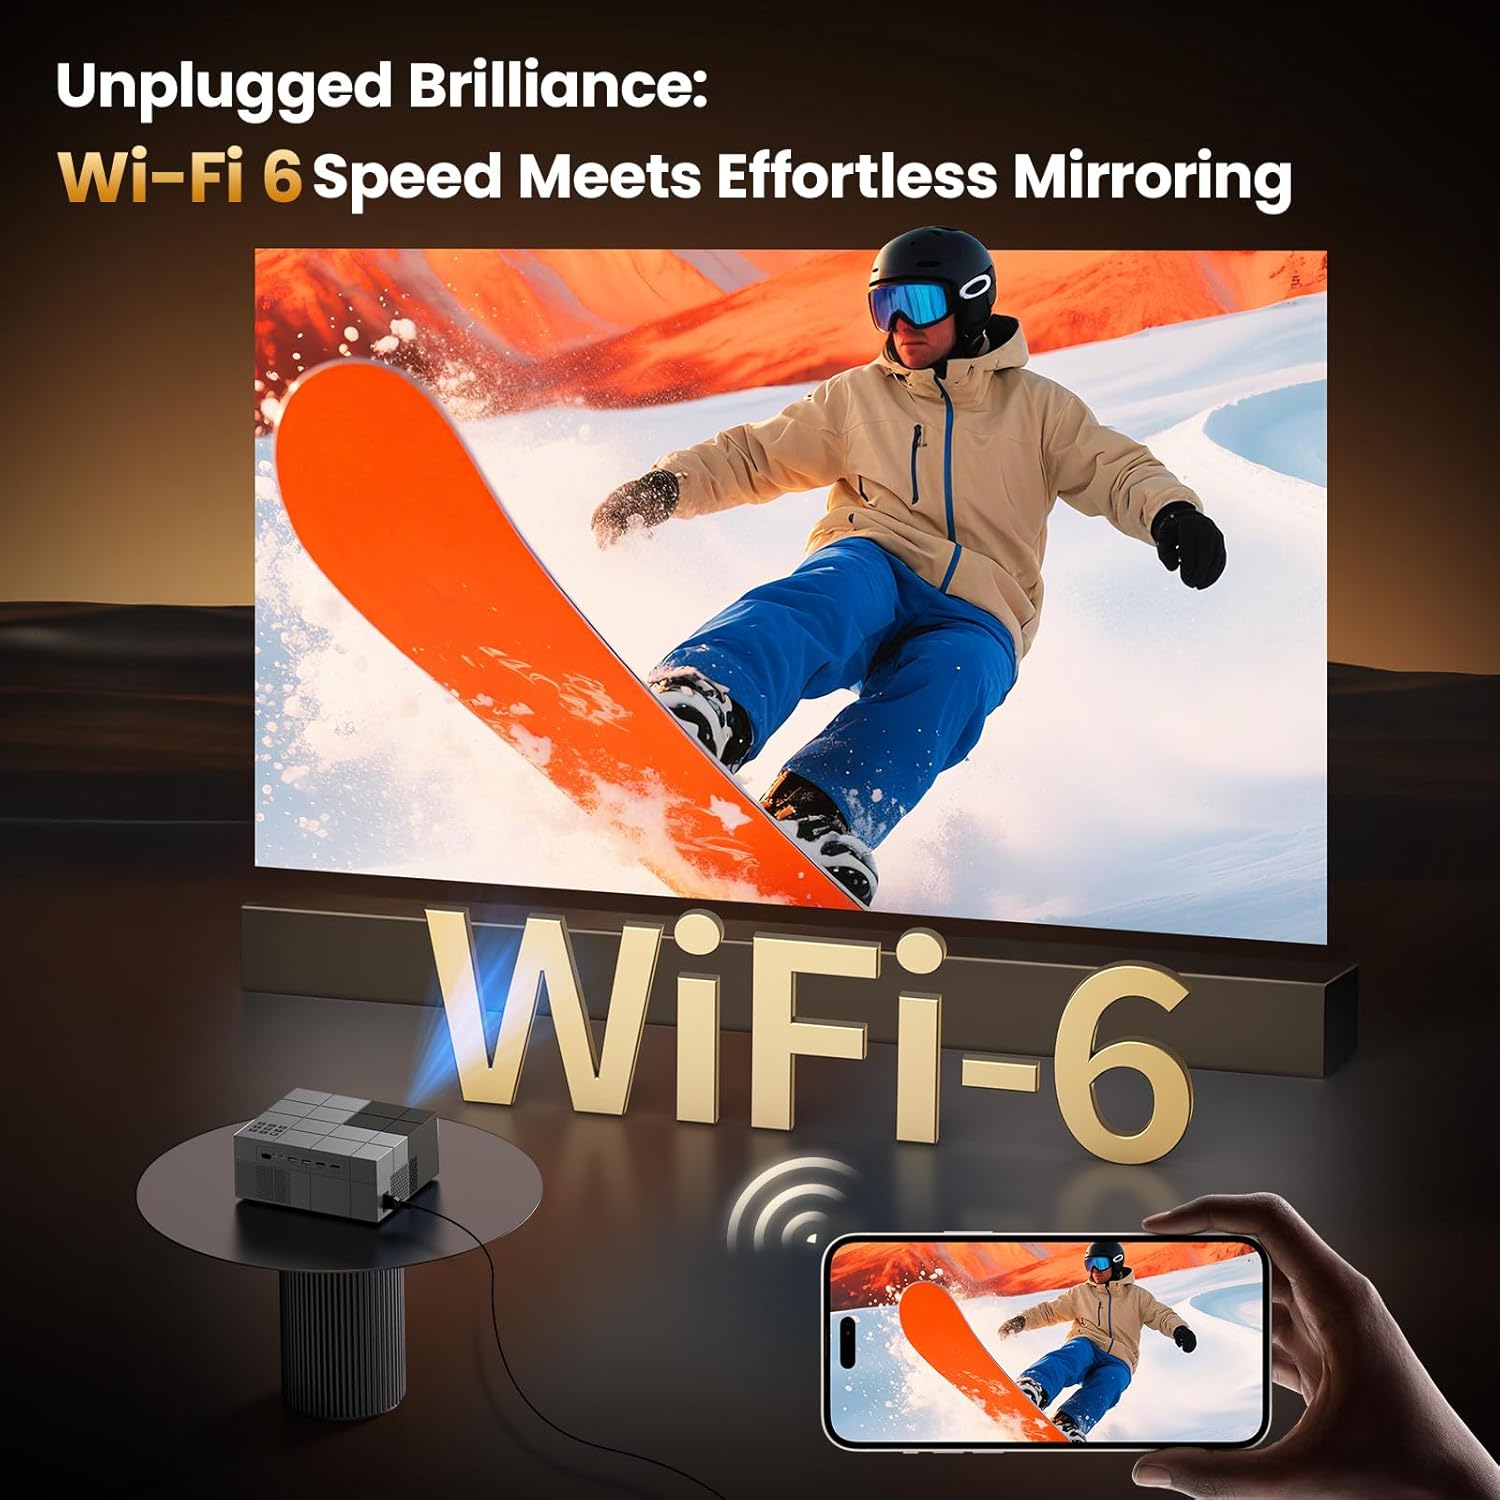
Figure 3.6: Projector showcasing WiFi 6 capabilities for seamless screen mirroring from mobile devices.
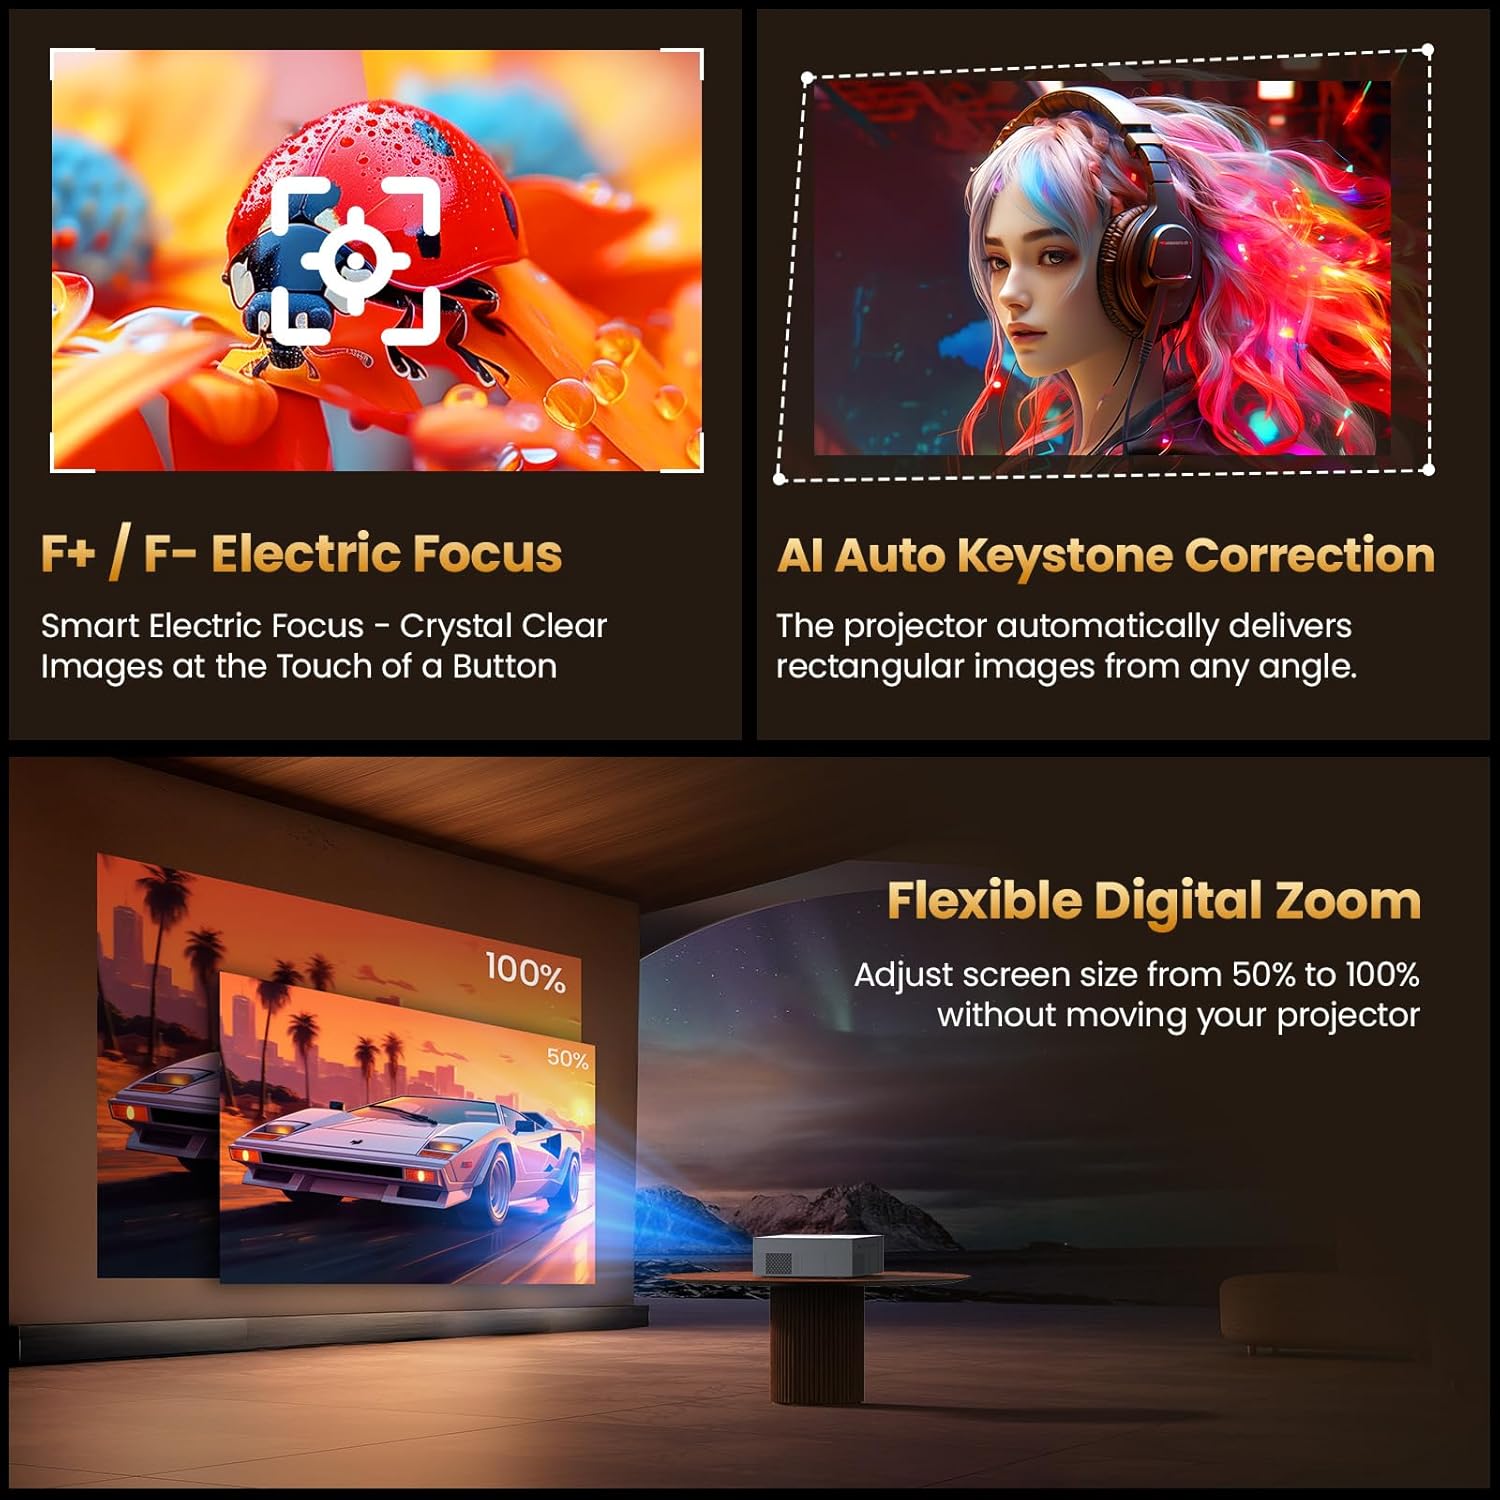
Figure 3.7: Visual representation of Electric Focus, AI Auto Keystone, and Digital Zoom functions.
4. Setup
4.1 Placement
Position the projector on a stable, flat surface. Ensure adequate ventilation around the unit. The projector can be placed on a desktop, mounted on a tripod, or installed on the ceiling. For optimal image quality, project onto a smooth, light-colored wall or a dedicated projector screen.
- Throw Distance: The projector can project a screen size from 40 inches to 450 inches, with a throw distance ranging from 3.6 feet to 29 feet. Adjust the distance to achieve your desired screen size.
- Mounting: If using a tripod or ceiling mount, ensure it is securely fastened and can support the projector's weight (2.08 kg).
4.2 Power Connection
- Connect the provided power cable to the projector's power input port.
- Plug the other end of the power cable into a suitable electrical outlet.
- The power indicator light on the projector will illuminate.
4.3 Initial Power On
Press the power button on the projector or the remote control to turn on the device. The projector will display the startup screen.
5. Operating Instructions
5.1 Remote Control
The included remote control is used to navigate the projector's menu and control playback. Insert two AAA batteries (not included) into the remote control before use.
5.2 Menu Navigation
Use the arrow keys on the remote to navigate through the on-screen menus. Press the "OK" button to confirm selections. The "Back" button returns to the previous menu or screen.
5.3 Source Selection
To select an input source (HDMI, USB, AV), press the "Source" button on the remote control and choose the desired input from the menu.
5.4 Smart Features (Built-in Apps)
The projector comes with pre-installed streaming applications like Netflix, Prime Video, and YouTube. Ensure the projector is connected to a Wi-Fi network to access these services.
- From the home screen, select the desired application icon.
- Log in with your account credentials if prompted.
- Begin streaming content.
Video 5.1: Demonstration of the YOWHICK Smart Projector's WiFi 6 and Bluetooth 5.3 features, showing its smart capabilities.
6. Connectivity
6.1 Wi-Fi Connection (WiFi 6)
Connect the projector to your wireless network for internet access and screen mirroring.
- Go to Settings > Network & Internet.
- Select your Wi-Fi network from the list.
- Enter the password and confirm.
6.2 Bluetooth Connection (Bluetooth 5.3)
Pair the projector with external Bluetooth speakers or headphones for enhanced audio.
- Go to Settings > Bluetooth.
- Ensure Bluetooth is enabled on both the projector and your audio device.
- Select your device from the available list to pair.
6.3 Wired Connections
The projector supports various wired inputs:
- HDMI: Connect devices like laptops, gaming consoles (PS5), TV sticks, or Blu-ray players using an HDMI cable.
- USB: Insert USB drives to play media files directly.
- AV: Use the AV cable for older devices with composite video and stereo audio outputs.
- 3.5mm Audio: Connect external speakers or headphones via the 3.5mm audio jack.
7. Image and Audio Settings
7.1 Electric Focus
The projector features electric focus for quick image clarity. Use the F+/F- buttons on the remote control to adjust the focus until the image is sharp.
7.2 AI Auto Keystone Correction
The projector automatically corrects image distortion (trapezoidal effect) to ensure a rectangular display. This feature activates automatically upon startup or movement. Manual adjustment options may be available in the settings menu under Picture > Keystone.
Video 7.1: A short preview demonstrating the projector's picture quality and streaming capabilities.
Video 7.2: A short preview highlighting the projector's zoom, focus, and picture quality features.
7.3 Digital Zoom
Adjust the screen size from 50% to 100% without moving the projector. This setting can be found in the Picture menu.
7.4 Audio Settings
Adjust volume using the +/- buttons on the remote. Access advanced audio settings, including Dolby Audio options, through the Sound menu in settings.
8. Troubleshooting
8.1 No Power
- Ensure the power cable is securely connected to both the projector and the power outlet.
- Verify the power outlet is functional.
- Check the power indicator light on the projector.
8.2 No Image or Blurry Image
- Check Input Source: Ensure the correct input source (HDMI, USB, AV) is selected.
- Adjust Focus: Use the F+/F- buttons on the remote to adjust the electric focus.
- Keystone Correction: Allow AI Auto Keystone to correct the image, or manually adjust in settings if needed.
- Cable Connection: Ensure all video cables are securely connected.
- Resolution: Verify the input device's resolution is compatible with the projector (native 1080p, supports 4K input).
8.3 No Sound
- Volume Level: Increase the volume on both the projector and the connected source device.
- Mute Function: Check if the projector or source device is muted.
- Audio Output: Ensure the correct audio output is selected (internal speakers, Bluetooth, 3.5mm audio out).
- Bluetooth Connection: If using Bluetooth, ensure the device is properly paired and connected.
8.4 Wi-Fi/Bluetooth Connection Issues
- Restart: Restart both the projector and your router/Bluetooth device.
- Distance: Ensure the projector is within range of your Wi-Fi router or Bluetooth device.
- Interference: Minimize interference from other wireless devices.
- Network Settings: Re-enter Wi-Fi password or re-pair Bluetooth device.
9. Specifications
| Brand | YOWHICK |
| Model | DP08 (Derived) |
| Native Resolution | 1920 x 1080 (Supports 4K input) |
| Display Type | LCD |
| Connectivity Technology | HDMI, USB (x2), AV, 3.5mm Audio, WiFi 6, Bluetooth 5.3 |
| Special Features | Netflix Compatible, Dolby Audio, Electric Focus, AI Auto Keystone, 450" Max Screen, 50-100% Zoom |
| Maximum Image Size | 450 Inches |
| Minimum Image Size | 40 Inches |
| Throw Distance Range | 3.6 - 29 Feet |
| Light Source Operating Life | 150,000 Hours |
| Item Weight | 2.08 Kilograms |
| Item Dimensions (L x W x H) | 13" x 9" x 5.6" |
10. Warranty and Support
Your YOWHICK projector comes with a 2-Year Manufacturer Warranty. For any product inquiries, technical assistance, or warranty claims, please contact YOWHICK customer support. YOWHICK is committed to providing professional and considerate support.
- Warranty Period: 2 Years
- Support: Lifetime support is available.
- Contact: Refer to the contact information provided in the product packaging or on the official YOWHICK website for 24/7 assistance.
Related documentsDP08

Ask a question about this manual
Ask about setup, troubleshooting, compatibility, parts, safety, or missing instructions. Manuals+ will review the question and use this page’s manual context to help answer it.