
1. Introduction
This manual provides detailed instructions for the installation, operation, and maintenance of your SOVMIKU AI 2K Solar Security Camera and Doorbell System. Please read this manual thoroughly before using the product to ensure proper function and safety. Keep this manual for future reference.

Image 1.1: The SOVMIKU AI 2K Solar Security Camera and Doorbell System, featuring two solar-powered cameras and a video doorbell.
2. Product Overview
2.1 Components
The SOVMIKU AI 2K Solar Security Camera and Doorbell System typically includes:
- SOVMIKU CQ1 Solar Security Camera(s)
- SOVMIKU DB3 Video Doorbell
- Solar Panel(s) with mounting bracket
- Mounting hardware (screws, anchors)
- USB-C charging cable
- User Manual
2.2 Key Features
- 2K Ultra-High-Definition Video: Provides clear images and videos.
- Solar Powered: Equipped with solar panels for continuous charging and non-stop standby.
- Wireless Connectivity: Easy setup and flexible placement.
- Two-Way Audio: Allows communication with visitors or to deter intruders.
- Advanced Motion Detection: Utilizes PIR sensor and AI analysis for vehicles, persons, pets, and packages.
- Color Night Vision: Enhanced visibility in low-light conditions.
- Audible Flashlight Siren: Integrated alarm features for security.
- IP65 Weather Resistance: Designed for outdoor use in various weather conditions.
- Local & Cloud Storage: Supports up to 128GB microSD card (not included) and optional cloud storage via the Vicohome app.
3. Setup
3.1 Initial Charging
Before first use, fully charge the camera and doorbell using the provided USB-C cable. The charging interface is protected by a silicone waterproof plug for outdoor installation.

Image 3.1: Close-up of the doorbell's USB-C charging port, protected by a silicone plug.
3.2 App Installation
Download the Vicohome app from your smartphone's app store (iOS or Android). Follow the on-screen instructions to create an account and log in.
3.3 Device Pairing
- Open the Vicohome app and tap the '+' icon to add a new device.
- Select the appropriate device type (Security Camera or Video Doorbell).
- Follow the in-app instructions to connect your device to your Wi-Fi network. This typically involves scanning a QR code displayed on your phone with the device's camera.
3.4 Mounting the Devices
Ensure the mounting location provides a clear view and strong Wi-Fi signal. For solar panels, choose a location that receives direct sunlight for most of the day.

Image 3.2: Step-by-step guide for installing the camera mount, centering the locking screw, installing the panel mount, and locking the solar panel.

Image 3.3: Installation of the doorbell by attaching its backplate to a wall.
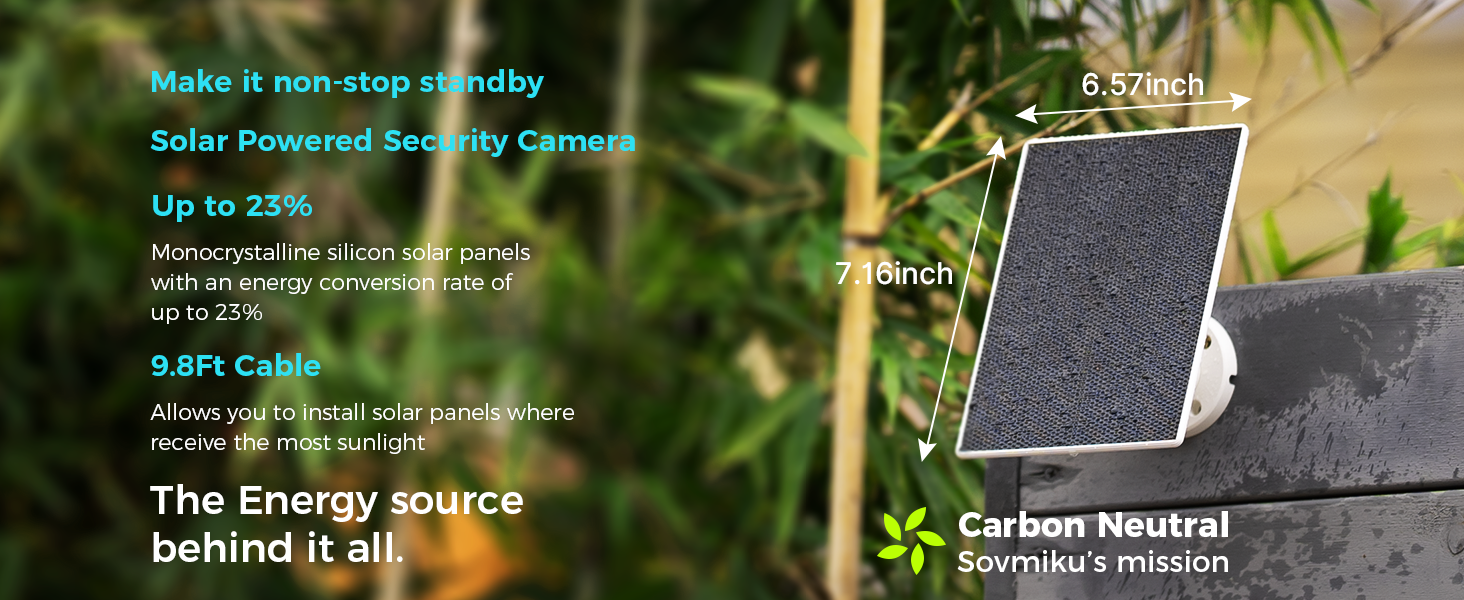
Image 3.4: Visual guide for optimal solar panel placement, showing correct and incorrect mounting angles and locations to maximize sunlight exposure.
4. Operating Instructions
4.1 Live View
Access the Vicohome app to view live footage from your cameras and doorbell. The app allows simultaneous viewing of up to four cameras without the need for an NVR (Network Video Recorder).

Image 4.1: Screenshot of the Vicohome app displaying live feeds from multiple connected cameras and a doorbell.
4.2 Two-Way Audio
The camera and doorbell feature two-way audio, enabling real-time conversation through the device and your smartphone. Use this feature to speak with visitors or communicate with individuals near the camera.

Image 4.2: A visual representation of the two-way audio function, showing a person speaking into a phone and a child responding through the camera.
4.3 Motion Detection & Alerts
The system uses a Passive Infrared (PIR) sensor for always-on detection. When a warm body (human or animal) passes by, the PIR sensor triggers the camera. Advanced AI analysis identifies vehicles, persons, pets, and packages within the activity zone. You will receive push notifications on your smartphone, and if connected, on your Apple Watch.

Image 4.3: A camera monitoring an outdoor area, with a smartphone and Apple Watch displaying motion detection alerts.
Activity Zones
Configure specific activity zones within the app to receive notifications only for movement detected in designated areas. This feature requires a cloud storage subscription.

Image 4.4: Screenshot from the Vicohome app showing how to define custom activity zones for motion detection.
4.4 Night Vision
The cameras are equipped with color night vision capabilities, providing clear and detailed footage even in low-light or nighttime conditions.
4.5 Alarm Features
The system includes an audible flashlight siren. If the alarm flash feature is enabled, the device will automatically flash when motion is detected. If the audible siren is turned on, the camera will sound an alert when triggered.

Image 4.5: A security camera activating its flashlight and siren in response to detected motion, illustrating the alarm features.
4.6 Recording & Storage
The system offers flexible storage options:
- Local Storage: A built-in microSD slot supports up to 128GB (microSD card not included). A 128GB card can store approximately 15 months of motion detection recordings.
- Cloud Storage: Optional encrypted cloud storage is available through the Vicohome app. This service provides cloud analytics and 60-day cycle recording storage, ensuring recordings are safe even if the camera is physically damaged or stolen.

Image 4.6: Close-up view of the camera's microSD card slot, indicating support for up to 128GB for local storage.
5. Maintenance
5.1 Battery Management
The cameras are powered by two built-in 5000mAh 21700 batteries and continuously charged by the solar panel. Ensure the solar panel is installed in a location with maximum direct sunlight for optimal charging. A complete charge can power the camera for up to two months, and high-quality batteries are designed for over 8 years of use.

Image 5.1: Screenshot of the app's power settings, showing options for solar panel power source and auto-on after charging.
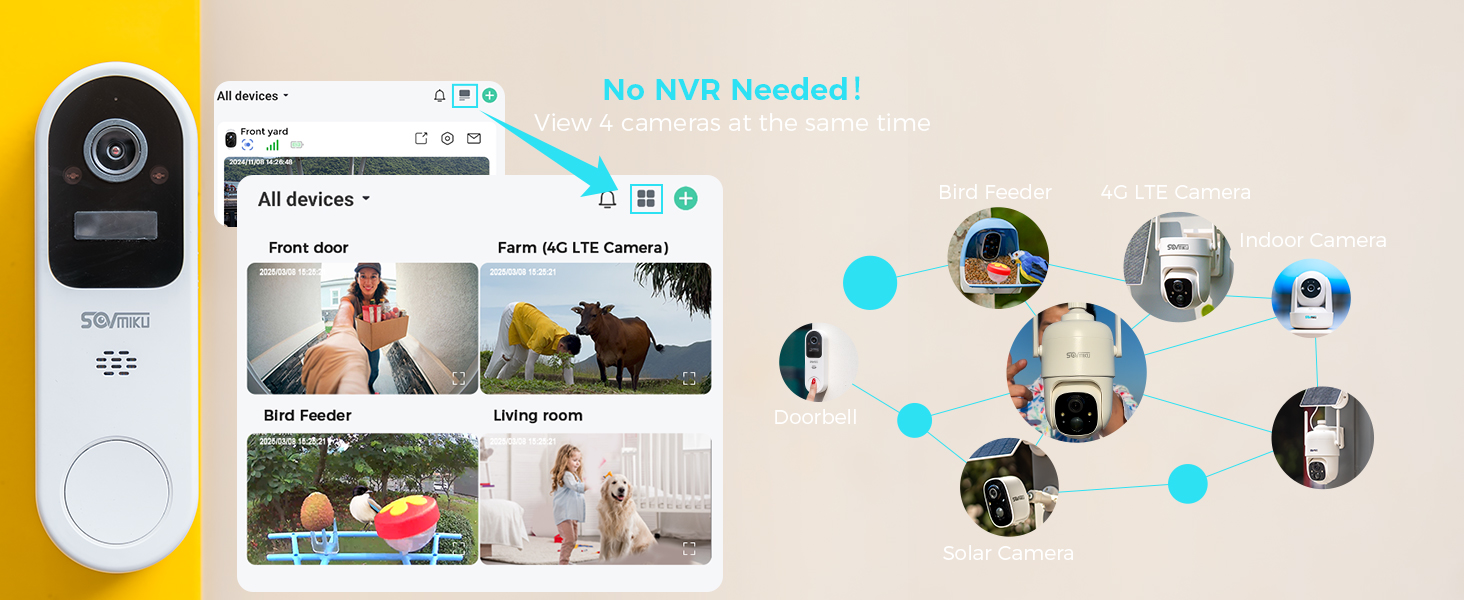
Image 5.2: Details on the solar panel's dimensions (6.57in x 7.16in) and its monocrystalline silicon panels with up to 23% energy conversion rate, connected by a 9.8ft cable.
5.2 Cleaning
Periodically clean the camera lens, solar panel, and doorbell surface with a soft, damp cloth to remove dust and debris. Avoid using harsh chemicals or abrasive materials that could damage the device.
5.3 Weather Resistance
The devices are rated IP65, indicating splash, water, and dust resistance. This is not a permanent condition and resistance may decrease with normal wear. Ensure the silicone waterproof plug for the charging interface is properly sealed when not charging.

Image 5.3: A camera with solar panel being exposed to water, demonstrating its IP65 durability, along with its dimensions (4.73in x 6.23in x 3.98in) and weight (1.3 pounds).
6. Troubleshooting
- Device not connecting to Wi-Fi: Ensure your Wi-Fi network is 2.4GHz (5GHz is not supported). Check Wi-Fi signal strength at the device location. Restart your router and the device.
- No motion detection alerts: Verify motion detection is enabled in the app settings. Check activity zone configuration. Ensure the PIR sensor is not obstructed.
- Poor video quality: Check your internet connection speed. Ensure the camera lens is clean. Adjust camera placement for optimal lighting.
- Battery draining quickly: Ensure the solar panel receives adequate direct sunlight. Reduce the frequency of motion detection events or live view access if possible. Check power settings in the app.
- Two-way audio issues: Ensure microphone and speaker permissions are granted to the Vicohome app on your phone. Check device volume settings.
7. Specifications
| Feature | Specification |
|---|---|
| Video Resolution | 2K (3 Megapixels) |
| Weather Resistance | IP65 |
| Battery Capacity | 2 x 5000mAh (21700 type) |
| Storage Options | MicroSD card (up to 128GB, not included), Cloud Storage (subscription required) |
| Operating Temperature | -10°C to 45°C (14°F to 113°F) |
| Connectivity | 2.4GHz Wi-Fi |
| Solar Panel Efficiency | Up to 23% (Monocrystalline silicon) |
8. Warranty and Support
8.1 180 Days Exchange Policy
SOVMIKU offers a 180-day exchange policy. If you are not satisfied with the product, you may submit a request for a solution within 24 hours.
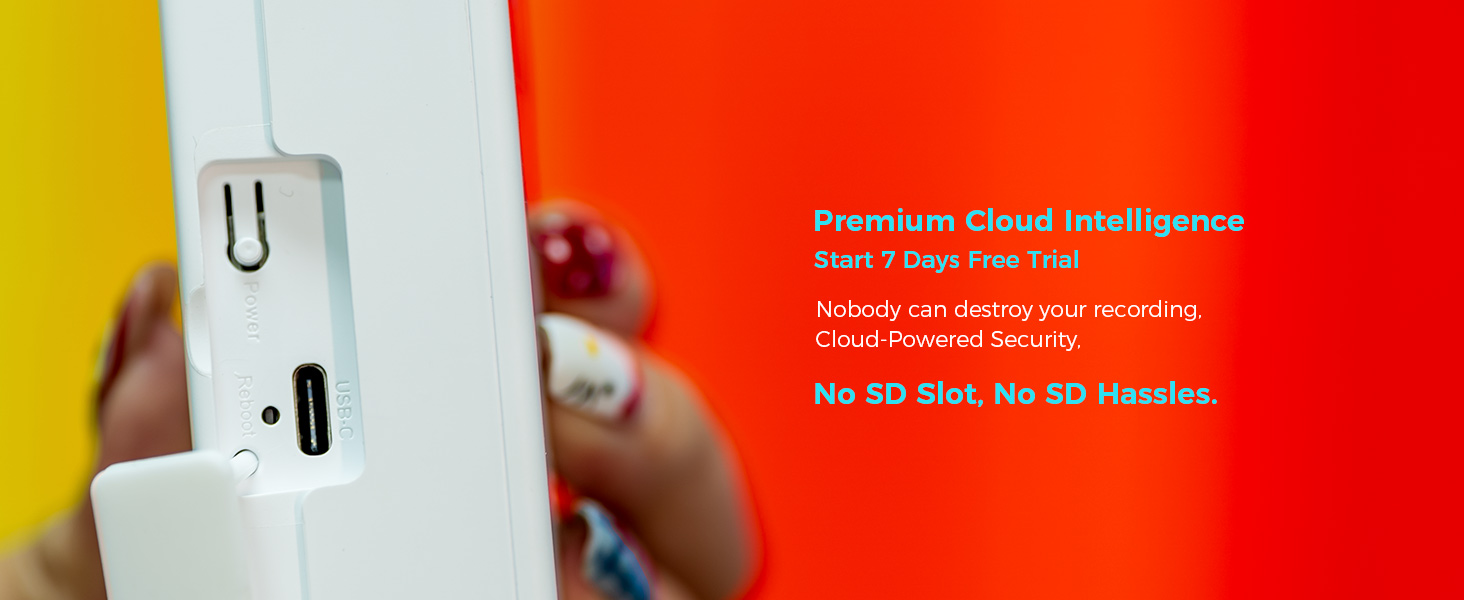
Image 8.1: Visual representation of the 180-day exchange policy, showing steps to submit a request and receive a replacement.
8.2 Customer Support
For any inquiries or support, please contact SOVMIKU customer service:
- Email: Sovmiku@163.com
SOVMIKU is committed to providing assistance and aims to reply to emails within 12 hours. Your feedback is valuable for product improvement.

Image 8.2: SOVMIKU customer support details, including email address.
9. Compliance and Certifications
This product complies with various international standards and certifications, including:
- CE (Conformité Européenne) Mark
- FCC (Federal Communications Commission)
- RoHS (Restriction of Hazardous Substances Directive)
- WEEE (Waste from Electrical and Electronic Equipment)
- MSDS (Material Safety Data Sheet)
- UN 38.3 Certification for Lithium Batteries

Image 9.1: Icons representing various product certifications including CE, FCC, RoHS, WEEE, MSDS, and UN38.3.


