1. Introduction
Thank you for purchasing the AUBOR MENTECH 4K Projector. This manual provides essential information for setting up, operating, and maintaining your projector. Please read it thoroughly before use to ensure optimal performance and longevity of the device.
The AUBOR MENTECH 4K Projector offers native 1080P resolution with 4K decoding support, integrated WiFi 6 and Bluetooth 5.2, and a 180° rotatable design for flexible viewing. It features automatic keystone correction and motorized focus for a clear image in various environments.
2. Safety Information
- Do not look directly into the projector lens when the lamp is on.
- Ensure proper ventilation around the projector to prevent overheating.
- Keep the projector away from water or other liquids.
- Use only the power adapter provided with the device.
- Avoid placing the projector on unstable surfaces.
- Do not attempt to disassemble or repair the projector yourself. Contact customer support for assistance.
- Keep out of reach of children.
3. Package Contents
Verify that all items are present in the package:
- AUBOR MENTECH 4K Projector
- Remote Control (requires 2 AAA batteries, not included)
- HDMI Cable
- Power Cord
- User Manual (this document)
4. Product Overview
Familiarize yourself with the main components of your AUBOR MENTECH projector.

Figure 4.1: Front view of the AUBOR MENTECH 4K Projector with remote and projected interface.
4.1 Projector Components
- Projection Lens: Emits the image.
- Power Button: Turns the projector on/off.
- Focus Adjustment: Motorized focus for image clarity.
- Input Ports: HDMI, USB, Audio Out.
- Built-in Speaker: Provides audio output.
- 180° Rotatable Stand: Allows flexible projection angles.
4.2 Remote Control
The remote control allows you to navigate the projector's interface, adjust settings, and control media playback. Insert two AAA batteries (not included) into the remote before use.
5. Setup
5.1 Placement
Position the projector on a stable, flat surface. The 180° rotatable stand allows for versatile placement, including projecting onto walls or ceilings. Ensure there are no obstructions blocking the lens or ventilation ports.
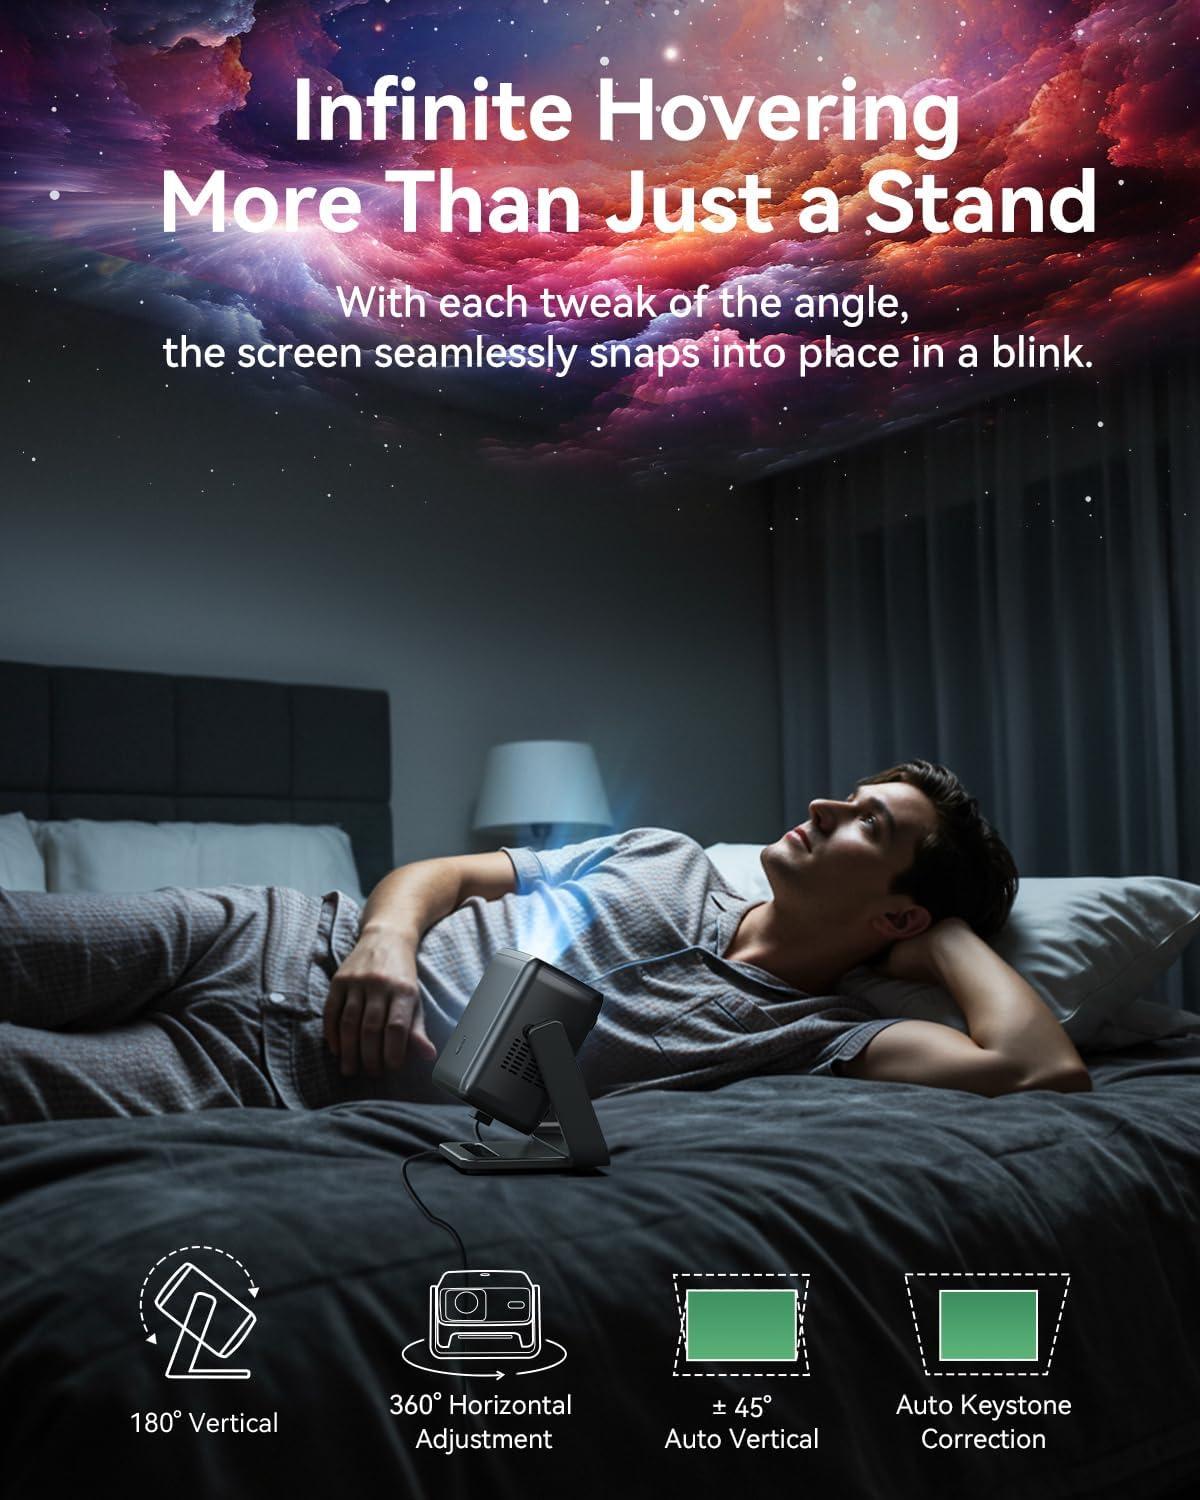
Figure 5.1: Flexible placement options with the 180° rotatable stand.
The projector can create a screen size from 40 inches up to 200 inches. Adjust the distance from the projection surface to achieve your desired screen size.
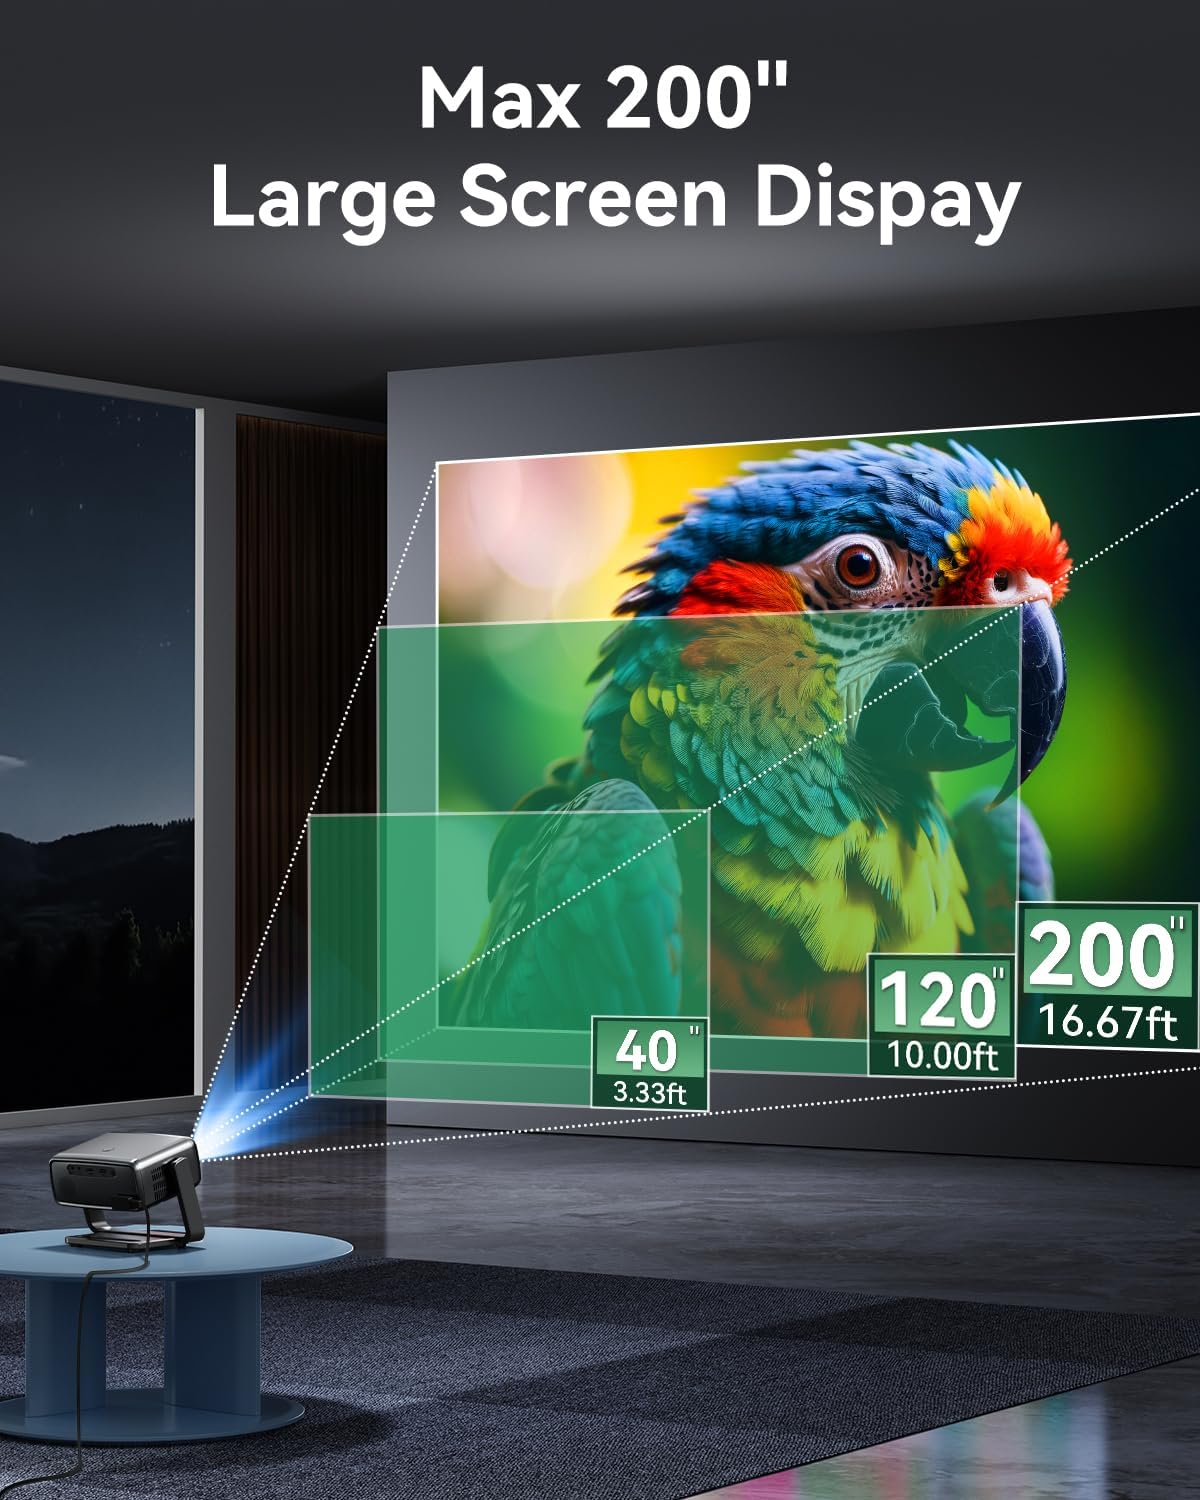
Figure 5.2: Recommended projection distances for various screen sizes.
5.2 Power Connection
- Connect the power cord to the projector's power input port.
- Plug the other end of the power cord into a power outlet.
- Press the power button on the projector or remote control to turn it on.
5.3 Focus and Keystone Adjustment
The projector features motorized focus and automatic keystone correction to ensure a clear and properly shaped image.
- Motorized Focus: The projector will automatically adjust focus upon startup. You can fine-tune it using the remote control if needed.
- Auto Keystone Correction: The projector automatically corrects vertical distortion.
- 4-Point and 4-Side Keystone Correction: For advanced adjustments, navigate to the settings menu to manually correct horizontal and vertical distortions from any angle.
- Zoom Function: Adjust the image size from 50% to 100% without moving the projector.
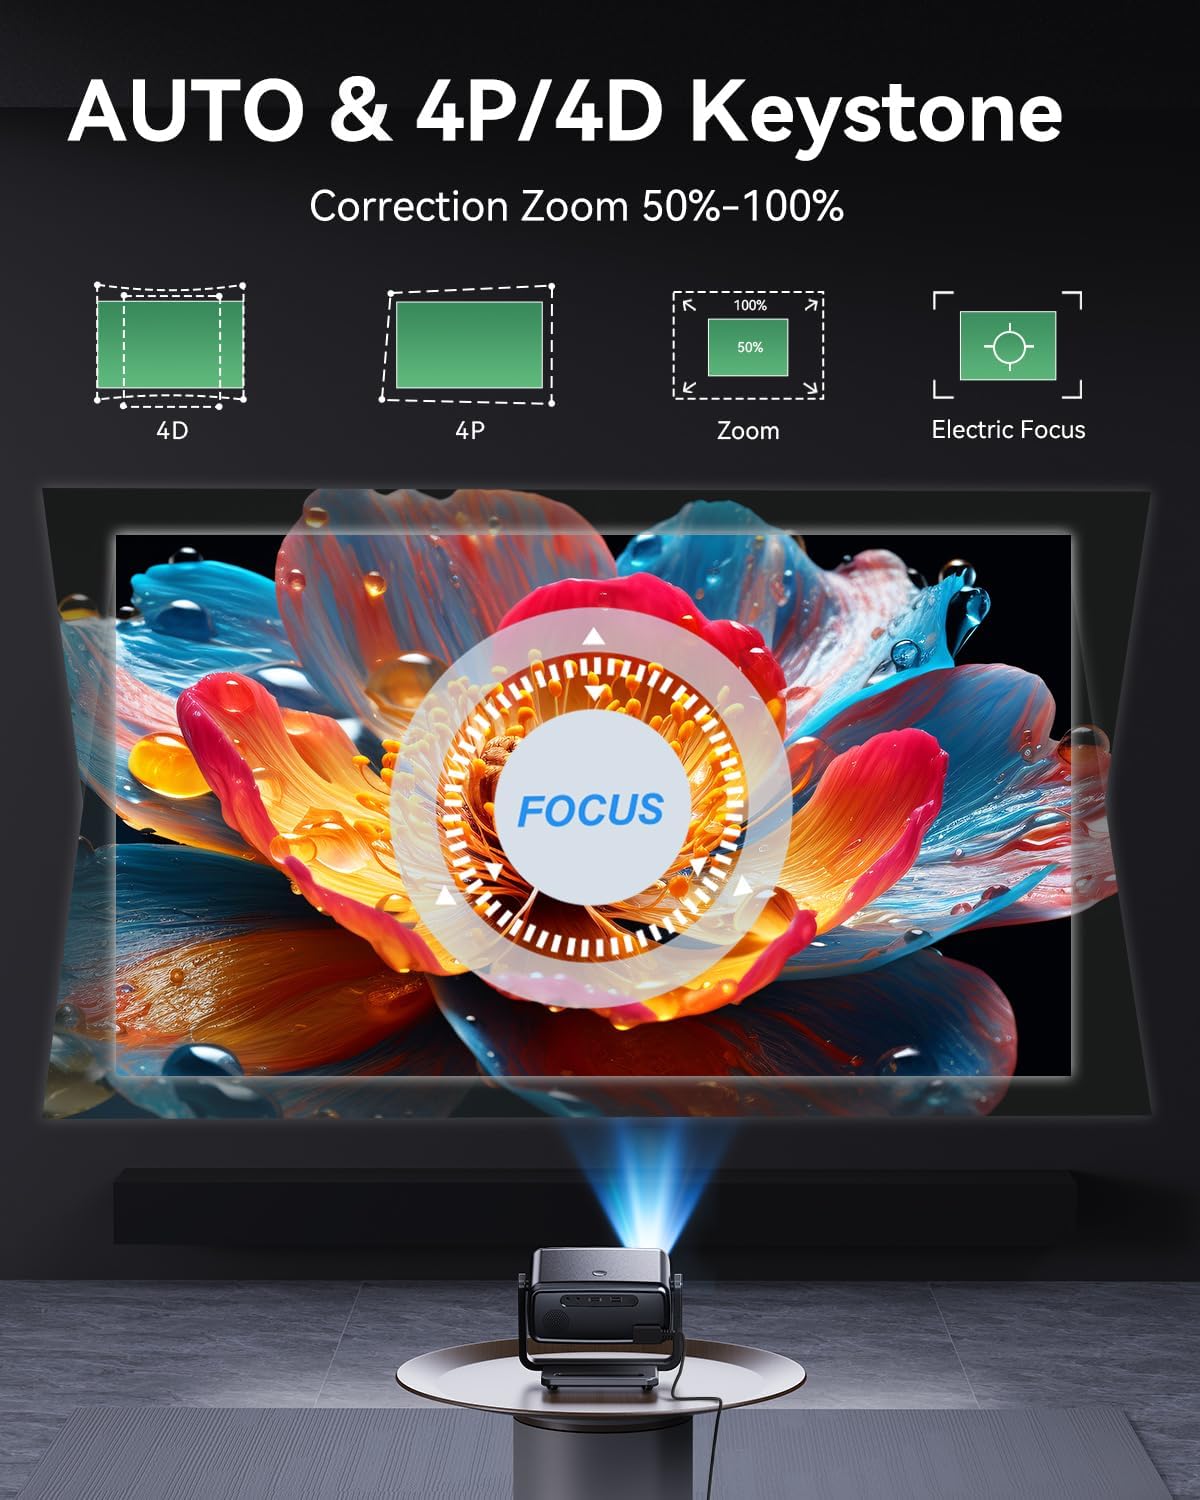
Figure 5.3: Automatic and manual image correction features.
5.4 Network Connection (Wi-Fi)
Connect your projector to a Wi-Fi network to access streaming services and online content.
- From the home screen, navigate to Settings.
- Select Network & Internet.
- Turn on Wi-Fi and select your desired network from the list.
- Enter the Wi-Fi password using the on-screen keyboard and select Connect.
The projector supports Dual-Band WiFi 6 (2.4G/5G/6G) for faster and more stable wireless streaming.
5.5 Bluetooth Pairing
Pair Bluetooth devices like speakers or headphones for an enhanced audio experience.
- From the home screen, navigate to Settings.
- Select Bluetooth.
- Ensure Bluetooth is enabled on both the projector and your external audio device.
- Select your device from the list of available devices to pair.
The projector features Bluetooth 5.2 for reliable connections.

Figure 5.4: Connecting to external Bluetooth speakers.
6. Operating Instructions
6.1 Navigating the Smart OS
The projector comes with a built-in Smart OS, providing direct access to popular streaming applications.
- Use the remote control's directional buttons and 'OK' button to navigate the home screen and select applications.
- Pre-installed applications include Netflix, Prime Video, and YouTube.
- Regular Over-The-Air (OTA) updates ensure optimal performance and access to the latest features.
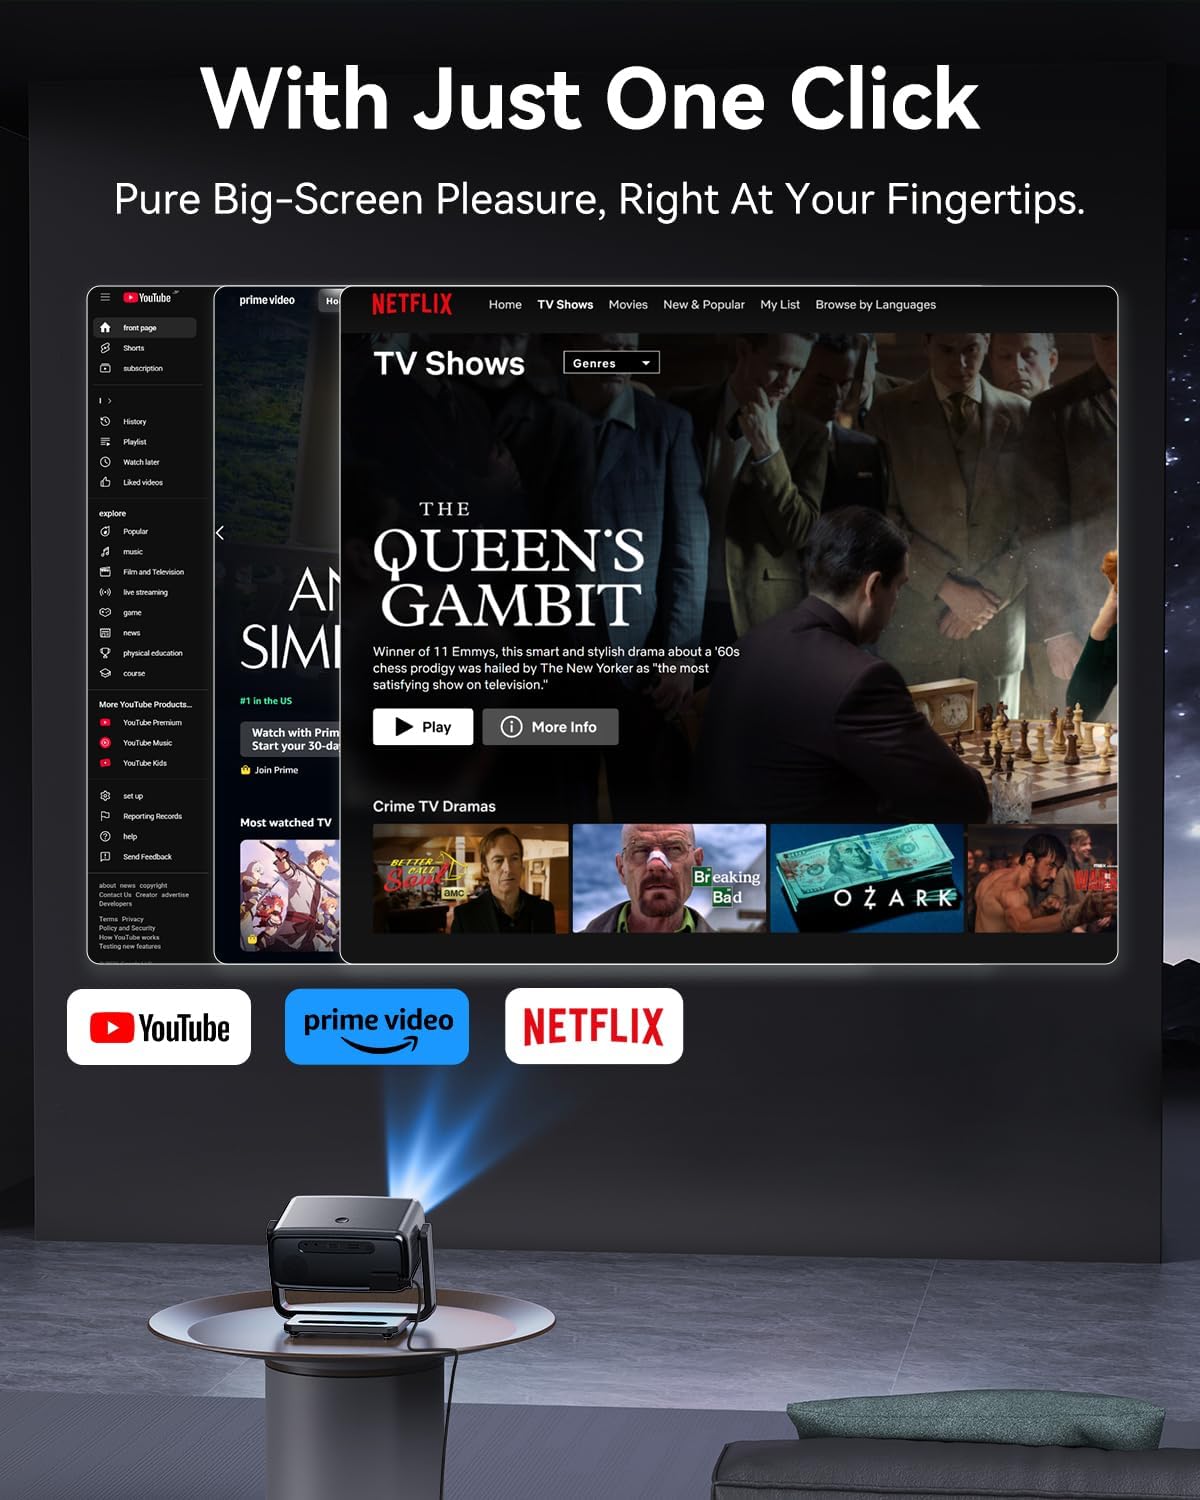
Figure 6.1: Smart OS interface with streaming applications.
6.2 Screen Mirroring
Mirror content from your smartphone or computer to the projector wirelessly.
- Ensure your device and the projector are connected to the same Wi-Fi network.
- On the projector's home screen, select the Screen Mirroring application.
- Follow the on-screen instructions to connect your iOS (AirPlay) or Android (Miracast) device.

Figure 6.2: Wireless screen mirroring from mobile devices and computers.
6.3 Connecting External Devices
The projector supports various external devices via its input ports:
- HDMI Port: Connect laptops, gaming consoles, TV sticks, and other HDMI-enabled devices using the provided HDMI cable.
- USB Port: Play media files directly from a USB drive.
- Audio Out Port: Connect wired headphones or external speakers.
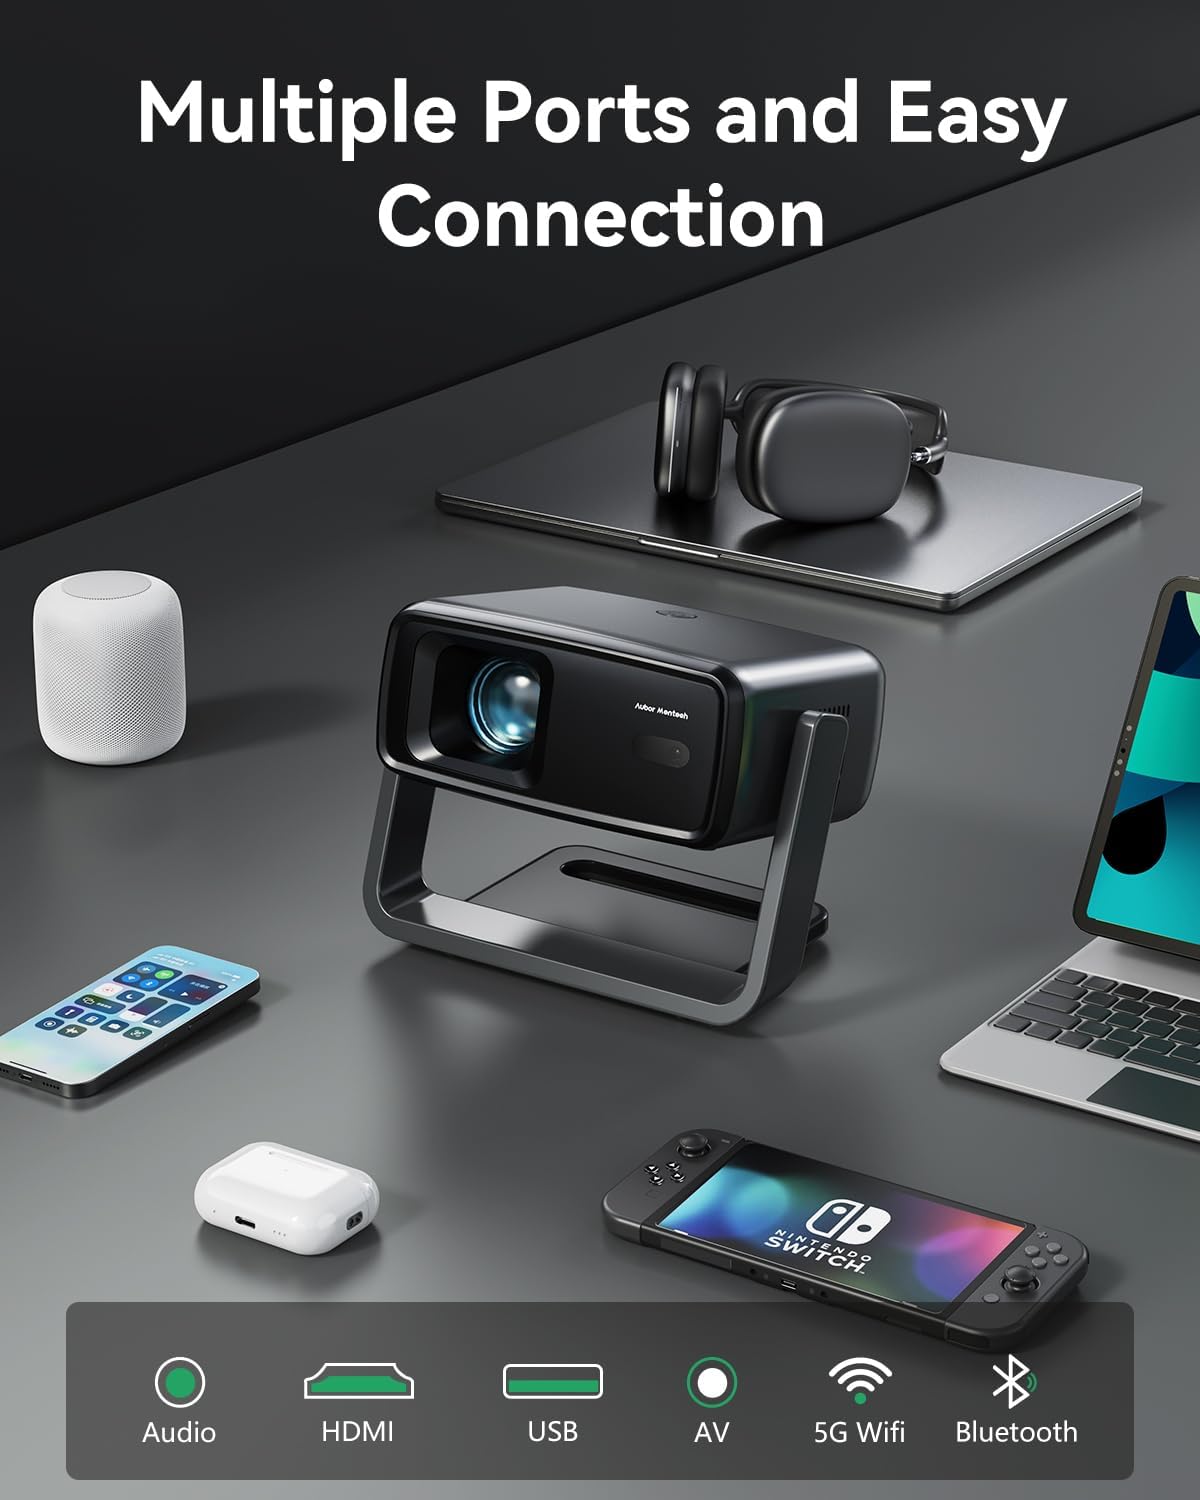
Figure 6.3: Multiple connectivity options for external devices.
6.4 Audio Settings
The projector features dual 20W Dolby-certified HiFi stereo speakers with AI audio balancing. For customized audio, adjust settings in the audio menu or connect external audio devices via Bluetooth or the audio out port.

Figure 6.4: Immersive sound features.
7. Maintenance
7.1 Cleaning the Projector
- Lens: Use a soft, lint-free cloth specifically designed for optical lenses. Gently wipe the lens to remove dust or smudges. Do not use abrasive cleaners.
- Exterior: Wipe the projector's exterior with a soft, dry cloth. For stubborn marks, slightly dampen the cloth with water.
- Ventilation Ports: Periodically check and gently clean the ventilation ports to ensure proper airflow. A small brush or compressed air can be used carefully.
7.2 Storage
When not in use for extended periods, store the projector in a cool, dry place, away from direct sunlight and extreme temperatures. It is recommended to use the original packaging or a protective case to prevent dust accumulation and damage.
7.3 Cooling System
The projector features a dual-fan cooling system and a sealed optical engine for dustproof and overheating protection. Automatic temperature control ensures stable long-term performance. Ensure the ventilation ports are never blocked during operation.
8. Troubleshooting
8.1 No Image or Blurry Image
- Check if the projector is powered on and the lens cap is removed.
- Adjust the motorized focus using the remote control.
- Ensure the projection surface is flat and the projector is positioned correctly.
- Perform keystone correction (auto or manual) if the image is distorted.
- Verify the input source is correctly selected if an external device is connected.
8.2 No Sound
- Check the volume level on the projector and any connected external audio devices.
- Ensure external speakers or headphones are properly connected or paired via Bluetooth.
- Verify that the audio output setting on the projector is correct.
- If using an external source (e.g., HDMI), check its audio output settings.
8.3 Connectivity Issues (Wi-Fi/Bluetooth)
- Restart the projector and your router/Bluetooth device.
- Ensure the projector is within range of your Wi-Fi router or Bluetooth device.
- Re-enter the Wi-Fi password to ensure it is correct.
- For screen mirroring, ensure both devices are on the same Wi-Fi network.
8.4 Projector Overheating
- Ensure the ventilation ports are not blocked.
- Operate the projector in a well-ventilated area.
- Allow the projector to cool down if it automatically shuts off due to overheating.
9. Specifications
| Feature | Detail |
|---|---|
| Brand | AUBOR MENTECH |
| Model | B0FD3K46QL |
| Native Resolution | 1920 x 1080 (Native 1080P) |
| Decoding Support | 4K |
| Brightness | 1200 ANSI Lumens |
| Color Gamut | 98% NTSC |
| HDR Support | HDR10 |
| Projection Size | 40-200 inches |
| Rotation Angle | 180° Flexible Viewing |
| Focus | Motorized Focus |
| Keystone Correction | Auto Keystone, 4-Point, 4-Side Correction |
| Zoom Function | 50%-100% |
| Operating System | Built-in Smart OS with Official Streaming Apps (Netflix, Prime Video, YouTube) |
| Wi-Fi Connectivity | Dual-Band WiFi 6 (2.4G/5G/6G) |
| Bluetooth | Bluetooth 5.2 |
| Screen Mirroring | Supported (Smartphones, Computers) |
| Audio | Dual 20W Speakers, Dolby Certified, AI Audio Balancing |
| Ports | HDMI, USB, Audio Out |
| LED Light Source Lifespan | Up to 50,000 hours |
| Cooling System | Dual-fan, Sealed Optical Engine |
| Item Weight | 12.8 ounces |
| Product Dimensions | 5.51 x 5.16 x 7.68 inches |
10. Warranty and Support
AUBOR MENTECH products are designed and manufactured to the highest quality standards. For information regarding warranty coverage, please refer to the warranty card included with your purchase or visit the official AUBOR MENTECH website.
If you encounter any issues or have questions not covered in this manual, please contact AUBOR MENTECH customer support for assistance. Contact details can typically be found on the product packaging, the official website, or through your purchase platform.