1. Introduction
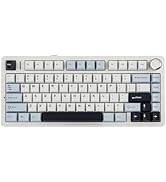
The EPOMAKER EK21 VIA Gasket Number Pad is a versatile and highly functional numeric keypad designed for professionals and gamers. It features a 20-key layout, a premium aluminum alloy knob, and offers triple connectivity modes (Wired, Bluetooth, 2.4GHz Wireless). This manual provides detailed instructions for setup, operation, customization, and maintenance to ensure optimal performance and user experience.
2. Package Contents
Please verify that all items are present in your package:
- 1x EPOMAKER EK21 20% Number Pad
- 1x 2-in-1 Keycap-and-Switch Puller
- 1x Extra “Back” Keycap
- 1x 1.8m Detachable USB A-to-C Braided Cable
- 1x 2.4GHz Wireless Dongle
- 1x User Manual (this document)
3. Product Overview
The EK21 features a compact and ergonomic design with a multi-functional aluminum alloy knob and customizable RGB lighting. It is built with a gasket structure for a cushioned typing experience and hot-swappable PCB for easy switch replacement.


4. Setup and Connectivity
The EK21 offers three modes of connection: Wired, Bluetooth, and 2.4GHz Wireless.

4.1. Wired Connection (USB-C)
- Locate the USB-C port on the EK21.
- Connect the provided USB A-to-C braided cable to the number pad and your computer.
- The number pad will be automatically recognized and ready for use.
4.2. 2.4GHz Wireless Connection
- Locate the 2.4GHz wireless dongle in the package.
- Plug the dongle into an available USB port on your computer.
- Switch the mode selector on the EK21 to 2.4GHz wireless mode. The number pad will connect automatically.
4.3. Bluetooth 5.0 Connection
- Switch the mode selector on the EK21 to Bluetooth mode.
- On your device (computer, tablet, or smartphone), enable Bluetooth and search for new devices.
- Select "EPOMAKER EK21" from the list of available devices to pair.
5. Operating Instructions
5.1. Basic Key Functions
The EK21 features a standard numeric keypad layout with additional function keys for enhanced productivity.
- Numeric Keys (0-9): Standard number input.
- Operators (+, -, *, /): Basic arithmetic operations.
- Enter: Confirms input or moves to the next line.
- Num Lock: Toggles numeric keypad functionality.
- Esc: Escape function.
- Tab: Tab function.
- Fn: Function key for secondary key commands.
5.2. Multi-functional Aluminum Alloy Knob
The knob on the EK21 provides intuitive control over various functions:
- Rotate Clockwise/Counter-clockwise: Default for volume adjustment (Volume + / Volume -).
- Press: Default for Mute/Unmute audio.
- Customizable via VIA software for other functions.
5.3. RGB Lighting Control
The EK21 features dynamic RGB backlighting. Use the following key combinations for on-device control:
- Fn + . (Period): Check battery level.
- Fn + Enter: Toggle backlight effect.
- Fn + - (Minus): Adjust backlight brightness.

5.4. VIA Software Customization
The EK21 is fully programmable via VIA software, allowing for extensive customization of key assignments, macros, and lighting effects. To get started:
- Download the VIA software from the official website.
- Download the specific EK21 JSON file from the EPOMAKER website. This file is necessary for VIA to recognize and configure your EK21.
- Open VIA software, load the EK21 JSON file, and connect your number pad.
- You can now remap keys, create complex macros, configure multiple layers, and fine-tune RGB lighting to suit your workflow.
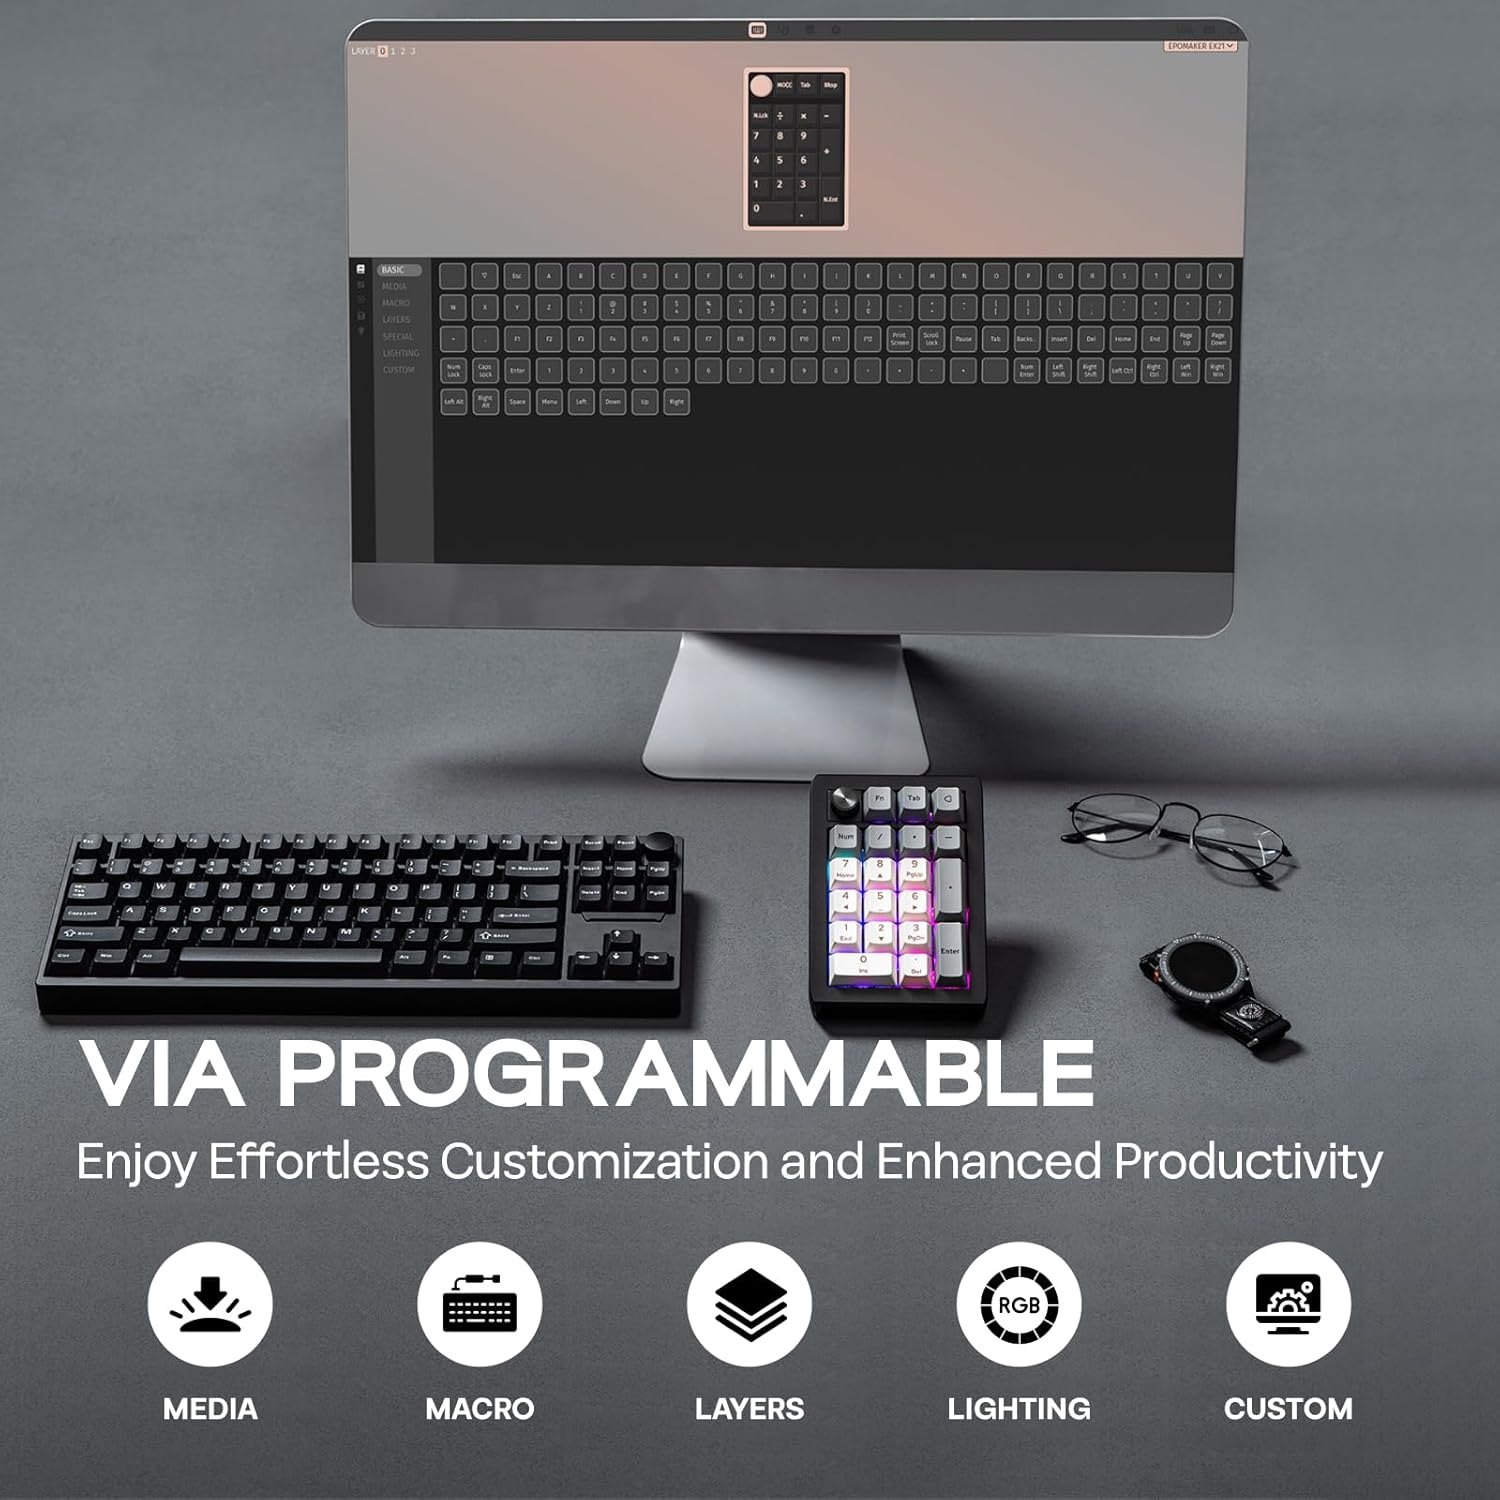
Video 1: How to Use VIA. This video provides a tutorial on how to set up and use the VIA software for customizing the EK21 number pad, including key remapping and macro creation.
6. Battery Management
The EK21 is equipped with a 1000mAh battery for extended wireless usage.

- Charging: Connect the number pad via the USB-C cable to a power source (computer USB port or wall adapter). The RGB lighting may indicate charging status.
- Battery Check: Press Fn + . (Period) to display the current battery level via the RGB lighting.
7. Maintenance
7.1. Hot-Swappable Switches and Keycaps
The EK21 features a hot-swappable PCB, allowing you to easily change mechanical switches without soldering. The keycaps are also removable for customization or cleaning.
- Use the provided 2-in-1 keycap-and-switch puller.
- To remove a keycap, gently pull it upwards with the keycap puller.
- To remove a switch, use the switch puller to grip the top and bottom clips of the switch and pull upwards.
- To install a new switch, align its pins with the holes on the PCB and press down firmly until it clicks into place. Ensure pins are straight to avoid bending.
- To install a new keycap, align it with the switch stem and press down.
7.2. Cleaning
- Disconnect the number pad from all power sources before cleaning.
- Use a soft, dry cloth to wipe the surface of the number pad.
- For deeper cleaning, remove keycaps and use compressed air to clear debris from between switches.
8. Troubleshooting
- Number Pad Not Responding:
- Ensure the number pad is properly connected (wired) or paired (wireless/Bluetooth).
- Check the battery level and charge if necessary.
- Try switching between connectivity modes.
- VIA Software Not Detecting EK21:
- Ensure the EK21 is connected via USB-C.
- Verify that the correct EK21 JSON file has been loaded into the VIA software.
- Some users have reported needing a firmware update for VIA compatibility. Check the EPOMAKER support page for the latest firmware and instructions.
- RGB Lighting Issues:
- Adjust brightness using Fn + - (Minus).
- Toggle effects using Fn + Enter.
- Customize lighting further using VIA software.
- Poor Battery Life:
- Reduce RGB brightness or turn off lighting when not needed.
- Ensure the number pad is fully charged.
9. Technical Specifications
| Feature | Specification |
|---|---|
| Brand | EPOMAKER |
| Model | EK21 |
| Layout | 20 Keys and 1 Knob |
| Battery Capacity | 1000mAh |
| Connectivity | 2.4GHz Wireless, Bluetooth 5.0, USB-C Wired |
| Case Material | ABS Plastic |
| Plate Material | PC |
| Hot-Swappable PCB | Yes |
| Backlighting | RGB |
| Product Dimensions | 3.66"L x 5.43"W x 1.14"H |
| Item Weight | 13.4 ounces |
| Compatible Devices | Laptop, PC, Smartphone, Tablet |
10. Additional Resources
Video 2: EK21 VIA Numeric Keypad Unboxing Video. This video demonstrates the unboxing experience of the EK21 number pad, showcasing its contents and initial appearance.
Video 3: EPOMAKER EK21 QMK Typing Video. This video provides an audio and visual demonstration of the typing experience on the EK21 number pad, highlighting key sounds and responsiveness.
Video 4: EK21 VIA Numeric Keypad Lighting Display. This video showcases the various dynamic RGB lighting effects available on the EK21 number pad.
11. Warranty and Support
EPOMAKER products come with a standard warranty. For specific warranty details, technical support, or further assistance, please visit the official EPOMAKER website or contact their customer service. Keep your purchase receipt for warranty claims.


