
1. Introduction
This user manual provides comprehensive instructions for the safe and efficient operation, installation, and maintenance of your Whirlpool WEX9024DCFF2 built-in induction hob. Please read this manual thoroughly before using the appliance and keep it for future reference.
The Whirlpool WEX9024DCFF2 is a modern, black, built-in induction hob featuring 5 cooking zones and intuitive touch controls. It incorporates Whirlpool's 6TH SENSE technology for optimized cooking performance.
2. Safety Information
Important Safety Instructions:
- Read all instructions before using the appliance.
- This appliance is intended for domestic use only.
- Do not touch hot surfaces. Use handles or knobs.
- To protect against electric shock, do not immerse cord, plugs, or the appliance in water or other liquid.
- Close supervision is necessary when any appliance is used by or near children.
- Unplug from outlet when not in use and before cleaning. Allow to cool before putting on or taking off parts.
- Do not operate any appliance with a damaged cord or plug or after the appliance malfunctions or has been damaged in any manner.
- The use of accessory attachments not recommended by the appliance manufacturer may cause injuries.
- Do not use outdoors.
- Do not let cord hang over edge of table or counter, or touch hot surfaces.
- Do not place on or near a hot gas or electric burner, or in a heated oven.
- Extreme caution must be used when moving an appliance containing hot oil or other hot liquids.
- Always attach plug to appliance first, then plug cord into the wall outlet. To disconnect, turn any control to 'off', then remove plug from wall outlet.
- Do not use appliance for other than intended use.
- Persons with pacemakers or similar medical devices should exercise caution when using induction hobs. Consult your doctor or device manufacturer for specific guidelines.
- Metallic objects such as knives, forks, spoons and lids should not be placed on the hob surface since they can get hot.
3. Installation and Setup
The Whirlpool WEX9024DCFF2 is designed for built-in installation into a kitchen countertop. Proper installation is crucial for safety and optimal performance. It is recommended that installation be performed by a qualified technician.
3.1 Unpacking
Carefully remove the hob from its packaging. Inspect the appliance for any damage during transit. Do not install a damaged appliance. Keep packaging materials away from children.
3.2 Countertop Preparation
Ensure the countertop material is heat-resistant and suitable for built-in appliance installation. Cut an opening in the countertop according to the dimensions provided in the specifications section. Ensure adequate ventilation space below the hob as indicated in the installation diagram.
3.3 Electrical Connection
The appliance requires a dedicated electrical circuit. The aggregate power is 11100 W, with an AC input voltage of 220-240 V and frequency of 50/60 Hz. The electrical connection must comply with local wiring regulations. Ensure the power supply is disconnected before making any electrical connections.

Image: Underside of the hob, illustrating the electrical connections and cooling system.
3.4 Securing the Hob
Place the hob into the prepared opening. Use the provided mounting clips and screws to secure the hob firmly to the countertop, ensuring a flush and stable fit.

Image: The induction hob seamlessly integrated into a kitchen island.
4. Operating Instructions
The Whirlpool WEX9024DCFF2 induction hob features intuitive touch controls for precise cooking. Familiarize yourself with the control panel before use.

Image: Overhead view of the hob, highlighting the cooking zones and control area.
4.1 Control Panel Overview
The control panel is located at the front-top of the hob. It consists of touch-sensitive buttons and a digital display for each cooking zone.

Image: Detailed view of the touch control interface with active settings displayed.
4.2 Turning On/Off
- To turn on: Touch the main power symbol. The display will show '0' for each zone.
- To turn off: Touch the main power symbol again.
4.3 Selecting a Cooking Zone and Power Level
- Place suitable induction cookware on the desired cooking zone.
- Touch the corresponding zone selection button.
- Use the '+' or '-' buttons, or slide control (if available) to set the desired power level (1-9).
4.4 6TH SENSE Technology
The 6TH SENSE technology automatically adjusts power levels to optimize cooking results for various dishes. Refer to the specific cooking programs in the full manual for detailed usage.
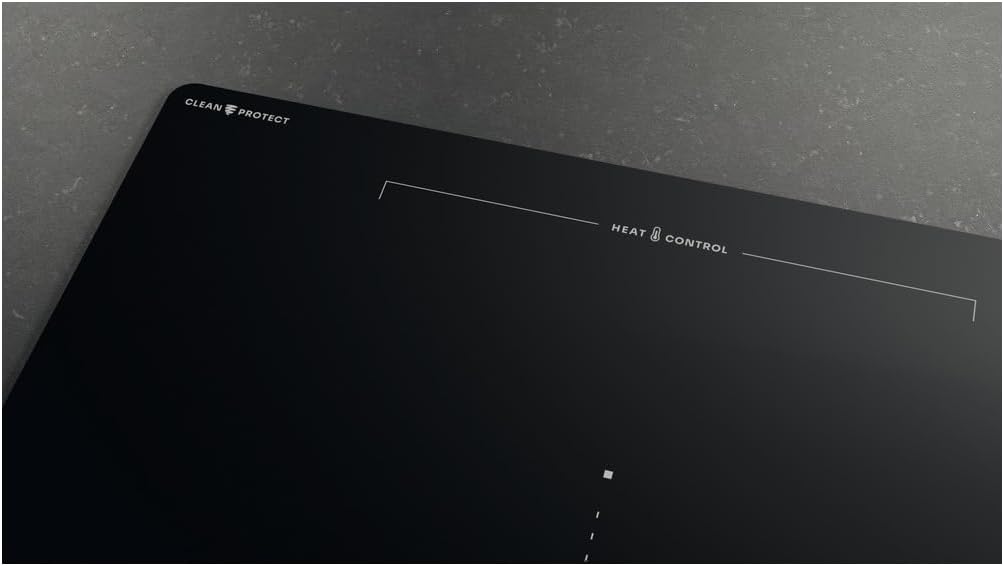
Image: Detail of the hob surface, indicating special features like 'CLEAN PROTECT' and 'HEAT CONTROL'.
4.5 Timer Function
The digital timer can be set for individual cooking zones or as a general minute minder. Consult the full manual for detailed timer programming instructions.
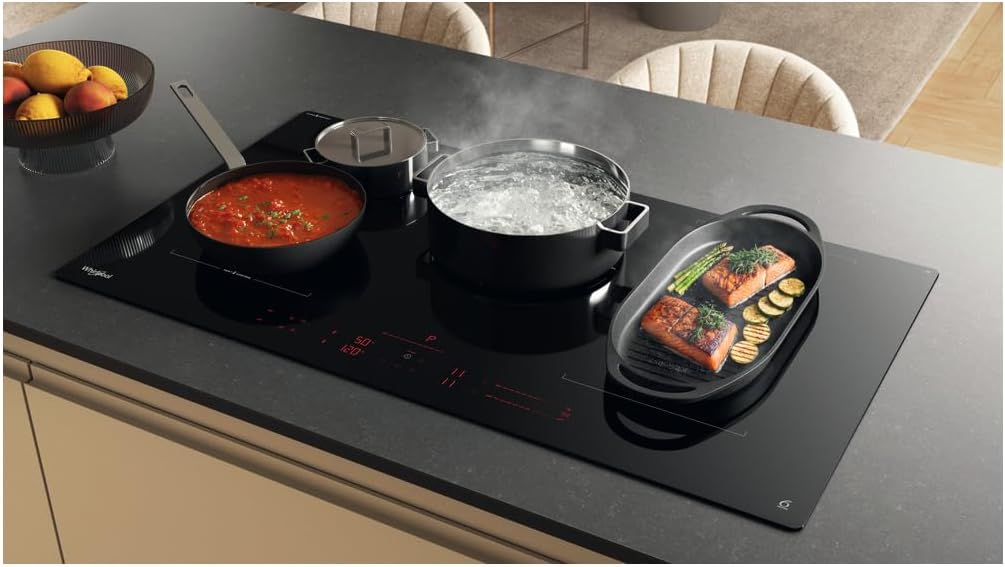
Image: The induction hob actively cooking, demonstrating its multi-zone capability and digital displays.
5. Maintenance and Cleaning
Regular cleaning and maintenance will ensure the longevity and optimal performance of your induction hob.
5.1 Daily Cleaning
- Always ensure the hob is cool before cleaning.
- Wipe the glass-ceramic surface with a soft cloth and warm soapy water.
- For stubborn stains, use a specialized ceramic hob cleaner.
- Rinse thoroughly and dry with a clean cloth to prevent water marks.
5.2 Avoiding Damage
- Do not use abrasive cleaners, scouring pads, or harsh chemicals.
- Avoid dropping heavy or sharp objects on the glass surface.
- Do not drag cookware across the surface, as this can cause scratches.
- Clean up spills immediately, especially sugary liquids, to prevent permanent damage.
6. Troubleshooting
If you encounter issues with your hob, refer to the following common problems and solutions before contacting service.
| Problem | Possible Cause | Solution |
|---|---|---|
| Hob does not turn on | No power supply; Control panel locked | Check circuit breaker; Unlock control panel (refer to full manual) |
| Cooking zone not heating | Incorrect cookware; No cookware detected | Use induction-compatible cookware; Ensure cookware is centered on the zone |
| Error code displayed | Specific malfunction | Refer to the full user manual for a list of error codes and their solutions. If the issue persists, contact customer support. |
| Unusual noises during operation | Normal induction operation (humming, clicking); Cookware resonance | These sounds are normal for induction technology. Ensure cookware is flat-bottomed. |
7. Specifications
Detailed technical specifications for the Whirlpool WEX9024DCFF2 induction hob:
| Specification | Value |
|---|---|
| Product Color | Black |
| Appliance Placement | Built-in |
| Hob Width | 91 cm |
| Control Type | Touch |
| Control Position | Front Top |
| Timer Type | Digital |
| Aggregate Power (Electric) | 11100 W |
| AC Input Voltage | 220 - 240 V |
| AC Input Frequency | 50/60 Hz |
| Whirlpool Technologies (Cooking) | 6TH SENSE |
| Width | 910 mm |
| Depth | 510 mm |
| Height | 54 mm |
| Weight | 17.5 kg |
| Number of Cooking Zones | 5 |
| Surface Type | Glass-ceramic |
| Efficiency Class (10 classes) | A+++ to G |
| Efficiency | F |
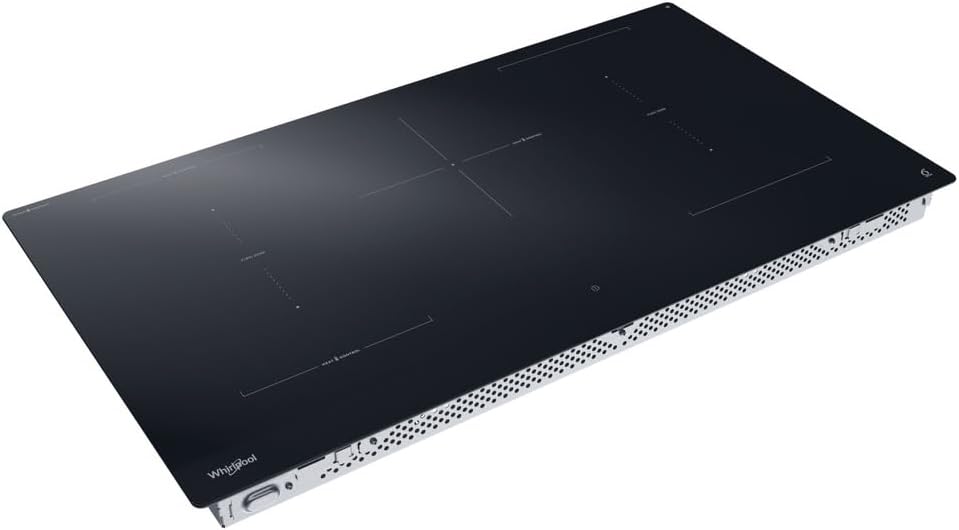
Image: The Whirlpool WEX9024DCFF2 induction hob from an angled perspective.
8. Warranty and Support
Your Whirlpool WEX9024DCFF2 induction hob comes with a manufacturer's warranty. Please refer to the warranty card included with your product for specific terms and conditions, including the duration and coverage.
For technical assistance, spare parts, or to schedule a service appointment, please contact Whirlpool customer support. You can find contact information on the official Whirlpool website or in the documentation provided with your appliance.
When contacting support, please have your model number (WEX9024DCFF2) and serial number ready to assist the service representative.


