1. Introduction
The Gens ace iMars D300 Plus is an advanced dual-channel smart charger, building upon the core features of the G-Tech system. This enhanced version integrates Bluetooth remote control, allowing RC enthusiasts to manage and monitor real-time data and historical records directly from the Gens Ace mobile application. This integration simplifies the charging experience, improves efficiency, and enhances safety during operation.
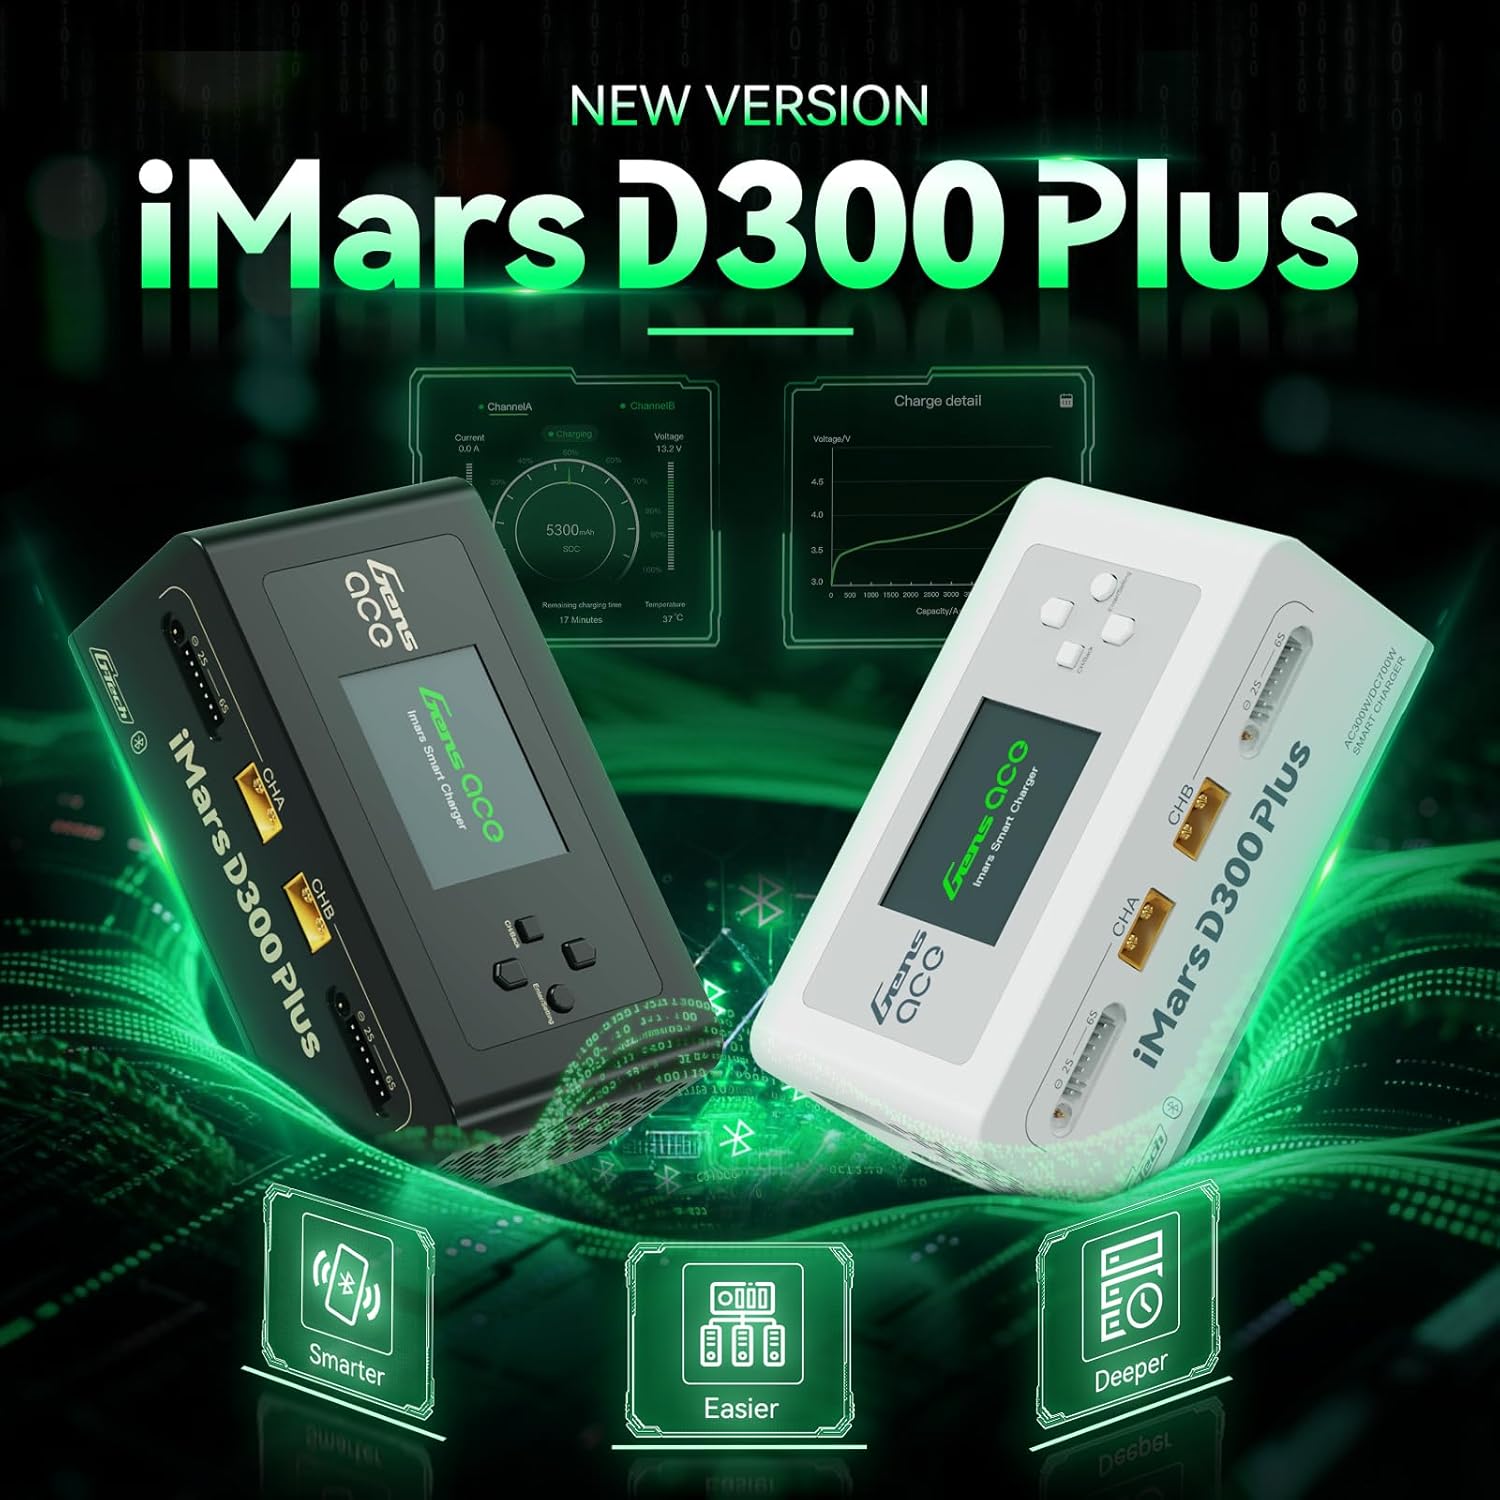
Figure 1.1: Gens ace iMars D300 Plus Lipo Charger, showcasing both black and white models.
2. Safety Information
Always prioritize safety when operating the Gens ace iMars D300 Plus charger. Improper use can lead to property damage or personal injury. Adhere to the following safety guidelines:
- Read the Manual: Thoroughly read and understand this entire instruction manual before using the charger.
- Ventilation: Operate the charger in a well-ventilated area, away from flammable materials.
- Power Source: Use only the specified input voltage (AC100-240V or DC7-30V).
- Battery Compatibility: Ensure the battery type and cell count match the charger settings. Incorrect settings can cause severe damage.
- Supervision: Never leave the charger unattended while in operation.
- Connection: Always connect the balance lead and main power lead correctly. Incorrect polarity can cause damage.
- Damage: Do not use the charger if it or any connected components appear damaged.
2.1. 8-Level Protection System
The iMars D300 Plus is equipped with an 8-level protection system to ensure safe charging:
- Overheating Protection: Prevents damage from excessive temperatures.
- Current Limiting Protection: Regulates current to prevent overcurrent conditions.
- Over Voltage Protection: Safeguards against voltage surges.
- Wire Break Protection: Detects and alerts for broken charging wires.
- Reverse Polarity Protection: Prevents damage from incorrect battery connection.
- Short Circuit Protection: Automatically shuts down in case of a short circuit.
- Cell Count Mismatch Alert: Warns if the detected cell count does not match the setting.
- Abnormal Voltage Alert: Notifies of unusual voltage readings.
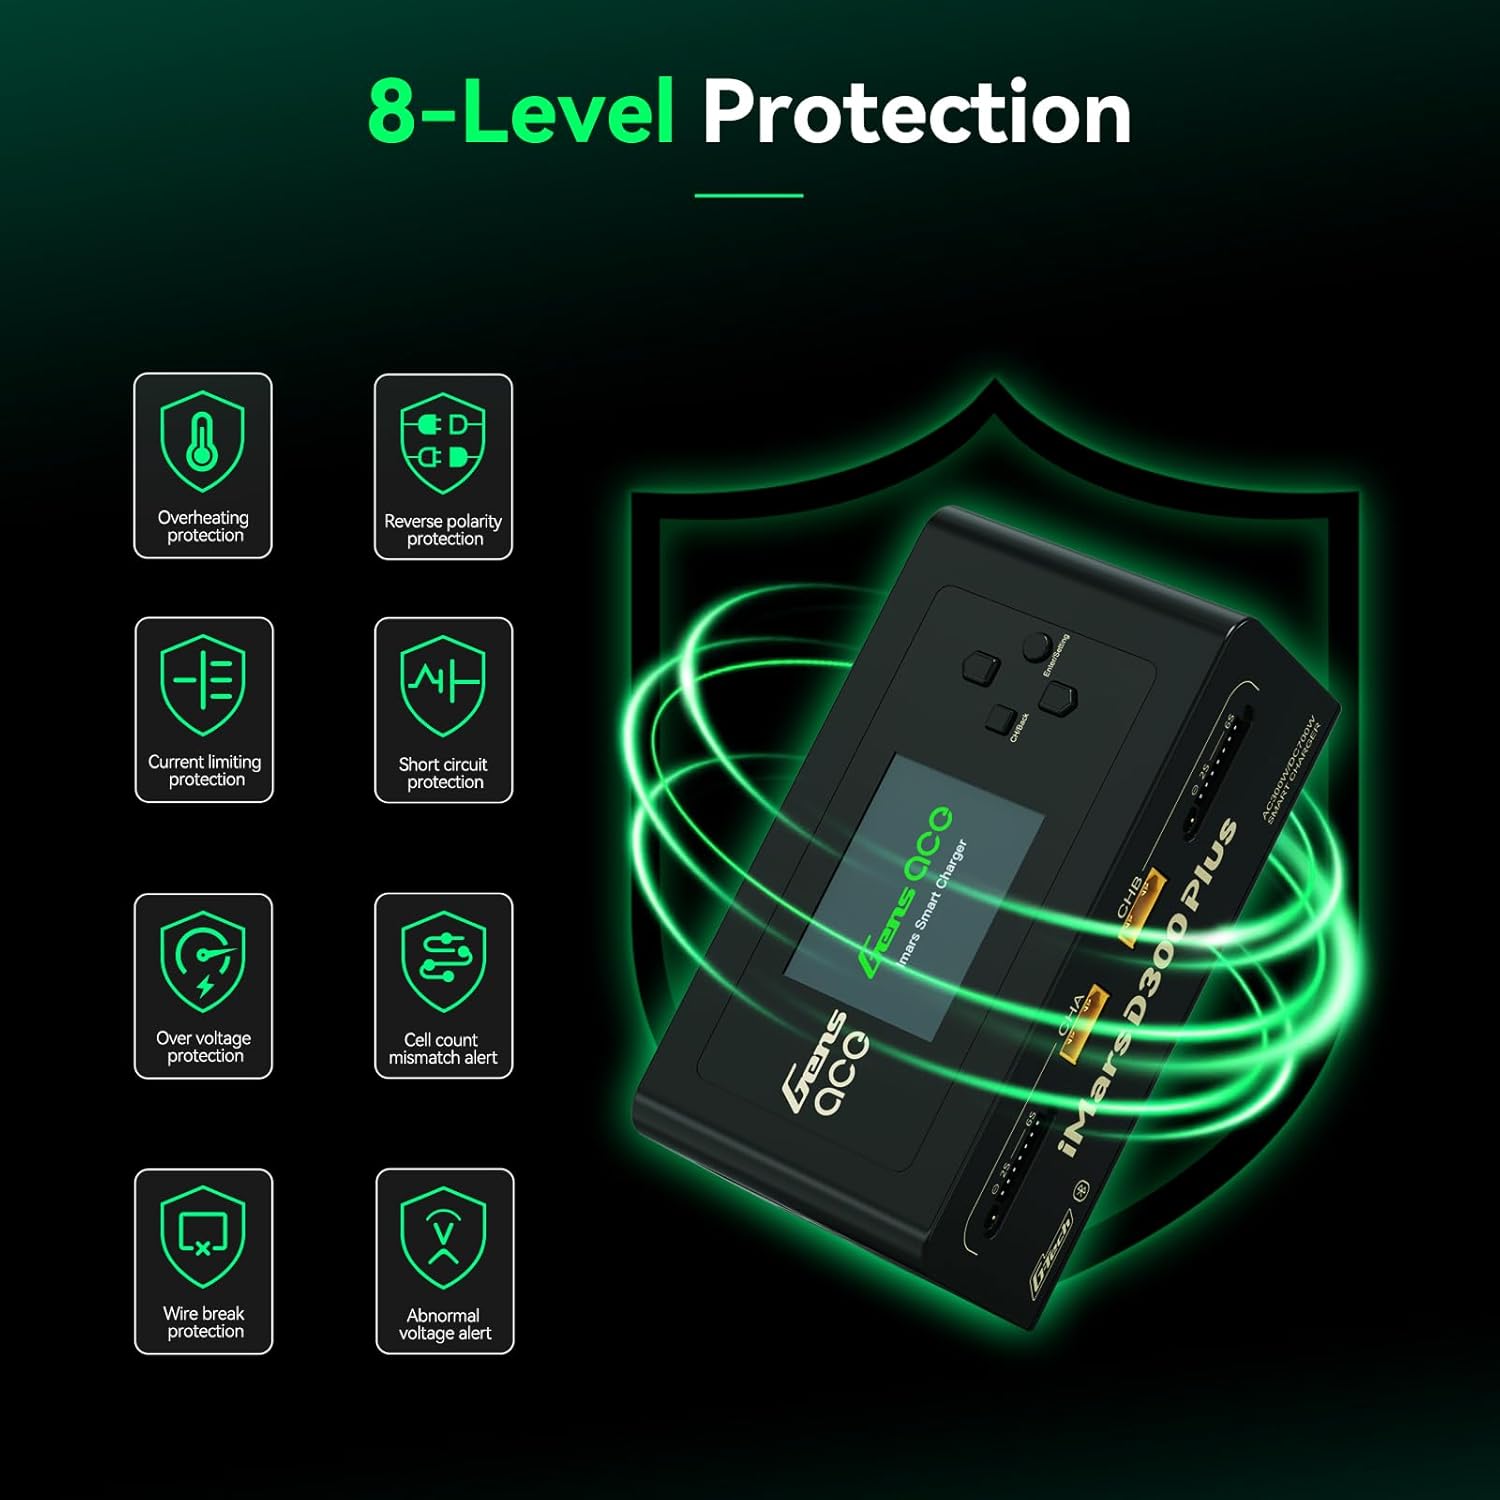
Figure 2.1: Visual representation of the 8-level protection system integrated into the iMars D300 Plus charger.
3. Package Contents
Verify that all items listed below are included in your package:
- Gens ace iMars D300 Plus Lipo Charger
- AC Input Cable
- XT60-T Adapter (x2)
- XT60-EC5 Adapter (x2)
- XT60-EC3 Adapter (x2)
- User Manual

Figure 3.1: All components included in the Gens ace iMars D300 Plus product package.
3.1. Unboxing Video
Video 3.1: An official unboxing video demonstrating the contents and initial presentation of the iMars D300 Plus charger.
4. Product Features
The Gens ace iMars D300 Plus charger offers a range of features designed for convenience, efficiency, and safety:
- Dual-Channel Charging: Simultaneously charge two batteries independently.
- Bluetooth Connectivity: Remote control and monitoring via the Gens Ace mobile app.
- G-Tech System: Automatic parameter detection for G-Tech batteries, simplifying setup.
- Real-time Monitoring: View charging status, cell data, and battery information in real-time.
- History Record: Access past charging and discharging data for analysis.
- Compact Design: Built-in power supply for portability and ease of travel.

Figure 4.1: The compact and lightweight design of the iMars D300 Plus, ideal for portability.
4.1. Product Introduction Video
Video 4.1: An official introduction video showcasing the key features and functionalities of the iMars D300 Plus charger.
5. Setup
Follow these steps for initial setup of your Gens ace iMars D300 Plus charger:
- Connect Power: Plug the AC input cable into the charger and then into a suitable power outlet (AC100-240V). Alternatively, connect a DC power source (DC7-30V) to the DC input port.
- Power On: The charger will power on automatically.
- Connect Battery: Connect your battery's main power lead to the appropriate XT60 port (CHA or CHB) and the balance lead to the corresponding balance port (2S-6S). Use the provided adapters if necessary.
- Automatic Detection (G-Tech): For Gens Ace G-Tech batteries, the charger will automatically detect battery parameters.
- Manual Setup (Non-G-Tech): For non-G-Tech batteries, you will need to manually set the battery type, target voltage, cell count, and target current.

Figure 5.1: The 'Plug and Play' functionality of the iMars D300 Plus, showing battery connections.
6. Operating Instructions
The iMars D300 Plus offers intuitive operation through its onboard interface and the Gens Ace mobile app.
6.1. Onboard Operation
- Select Channel: Use the navigation buttons to select Channel A (CHA) or Channel B (CHB).
- Task Setting: Press the 'Enter/Setting' button to access the task settings.
- Adjust Parameters: Navigate through options like 'Select Task' (Charge, Discharge, Storage), 'Battery Type' (LiPo, Li-ion, LiHV, LiFe, NiMH/Cd), 'Target Voltage', 'Cell Count', and 'Target Current'. Adjust values using the up/down buttons.
- Start Task: Once all parameters are set, select 'Start Task' and confirm to begin the operation.
- Monitor Progress: The display will show real-time charging/discharging status, current, voltage, and capacity.
6.2. App Control (Bluetooth)
The Gens Ace app provides enhanced control and monitoring capabilities:
- Download App: Download the official Gens Ace app from your device's app store.
- Connect via Bluetooth: Enable Bluetooth on your mobile device and pair with the iMars D300 Plus charger.
- Remote Control: From the app, you can remotely start, stop, and adjust charging/discharging tasks for both channels.
- Real-time Data: View detailed real-time data, including individual cell voltages, temperature, charging percentage, and remaining time.
- History Records: Access a comprehensive history log of all charging and discharging cycles, including detailed graphs and parameters.

Figure 6.1: The Gens Ace mobile application interface for controlling and monitoring the charger.
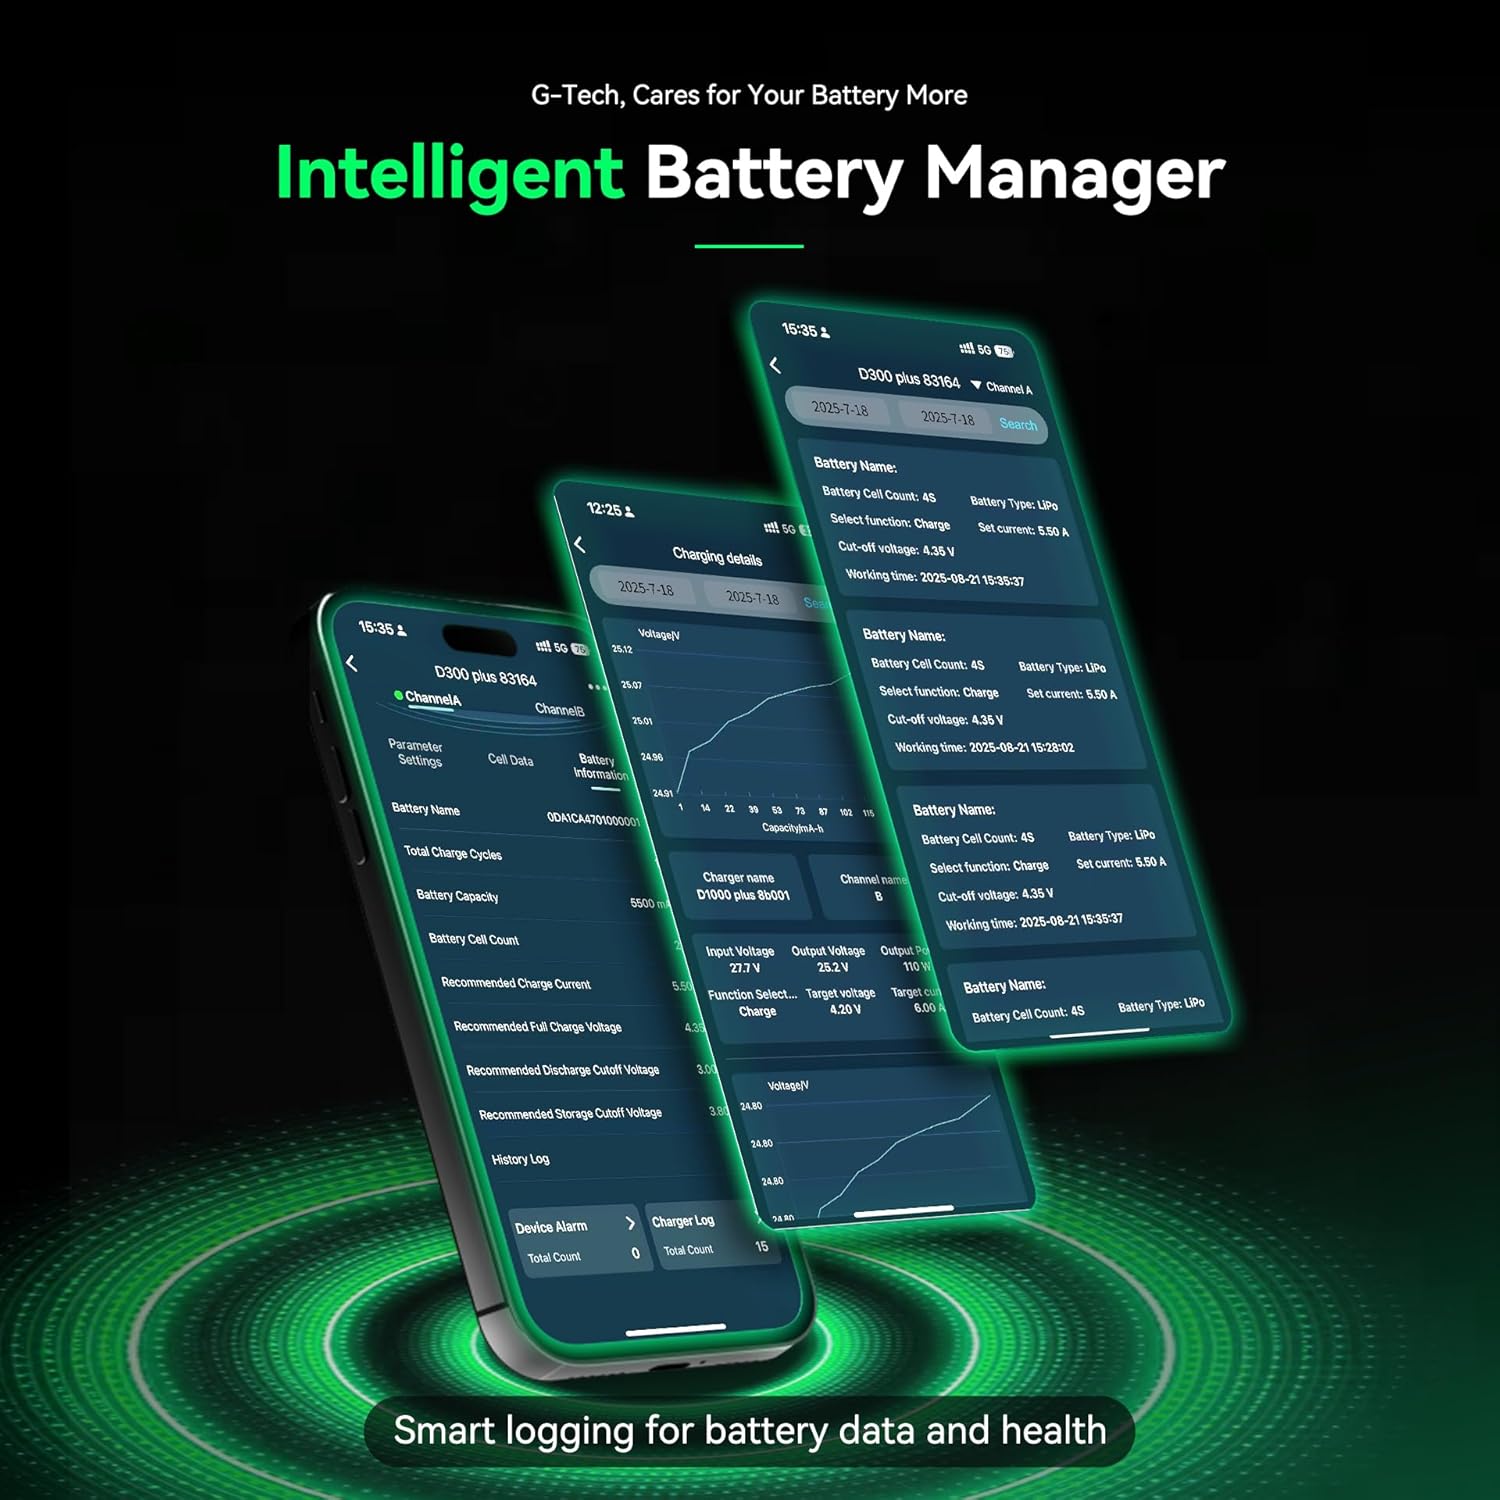
Figure 6.2: Detailed battery management and history logs available through the Gens Ace app.
7. Maintenance
Proper maintenance ensures the longevity and optimal performance of your iMars D300 Plus charger:
- Cleaning: Regularly clean the charger's exterior with a soft, dry cloth. Avoid using solvents or abrasive cleaners.
- Ventilation: Ensure the ventilation openings are clear of dust and debris to prevent overheating.
- Storage: Store the charger in a cool, dry place away from direct sunlight and extreme temperatures when not in use.
- Cable Inspection: Periodically inspect all cables and connectors for signs of wear or damage. Replace any damaged components immediately.
8. Troubleshooting
If you encounter issues with your iMars D300 Plus charger, refer to the following common troubleshooting steps:
- Charger Not Powering On:
- Check if the AC input cable or DC power source is securely connected.
- Verify the power outlet is functional.
- Battery Not Charging:
- Ensure the battery's main power lead and balance lead are correctly connected.
- Check if the battery type, cell count, and charging parameters are correctly set on the charger or app.
- Inspect battery and charger connectors for damage.
- Verify the battery is not over-discharged or severely damaged.
- Error Messages:
- Refer to the 8-level protection system in Section 2.1. The error message on the screen will often indicate the specific protection triggered (e.g., 'Over Voltage', 'Cell Count Mismatch').
- Address the underlying cause of the alert before resuming operation.
- Bluetooth Connectivity Issues:
- Ensure Bluetooth is enabled on your mobile device and the charger.
- Make sure the device is within the effective Bluetooth range.
- Try restarting both the charger and your mobile device.
9. Specifications
Detailed technical specifications for the Gens ace iMars D300 Plus Lipo Charger:
| Item | Specification |
|---|---|
| Input Voltage | AC 100-240V; DC 7-30V |
| Output Voltage | DC 1-30V |
| Max. Input Current | DC 34A |
| Max. Discharging Power | 15W x 2 |
| Maximum Charging Power | AC 300W x 2; DC 350W x 2 |
| Charge Current | 0.1-16A x 2 |
| Discharge Current | 0.1-3A x 2 |
| Cell Balancing | 1-6S |
| USB Output | 5V / 2.4A |
| Display Type | 2.4 inch IPS LCD Display |
| Supported Battery Chemistries | LiPo / Li-ion / LIHV / LiFe 1-6S; NiMH 1-16S |
| Dimensions (L x W x H) | 145 x 76 x 62 mm (5.7"W x 3"D x 2.4"H) |
| Product Net Weight | 530g |

Figure 9.1: Visual representation of the product specifications and dimensions.
10. Warranty
The Gens ace iMars D300 Plus Lipo Charger comes with a 180-day warranty from the date of purchase. This warranty covers manufacturing defects and malfunctions under normal use. Please retain your proof of purchase for warranty claims. The warranty does not cover damage caused by misuse, accident, modification, or unauthorized repair.
11. Support
For technical assistance, troubleshooting beyond this manual, or warranty inquiries, please contact Gens ace customer support through their official website or the contact information provided with your product packaging. Ensure you have your product model number and proof of purchase ready when contacting support.