1. Introduction
This manual provides instructions for the installation, operation, and maintenance of your Fuers 8-Channel Hybrid 4-in-1 Security DVR Recorder with a pre-installed 500GB Hard Disk Drive (HDD). This system is designed to provide comprehensive surveillance for various environments, supporting a range of camera types and offering remote access capabilities.
Key Features:
- Security-Grade 500GB HDD & H.265+ Coding: The DVR includes a 500GB hard drive and utilizes H.265+ video compression, which optimizes storage space by up to 50% compared to H.264 systems, allowing for extended recording times. This ensures efficient storage and smooth streaming.
- 4-in-1 Hybrid DVR: This expandable digital video recorder supports up to 8 cameras, compatible with TVI, AHD, XVI, and IP camera types. This flexibility allows for integration with various surveillance camera technologies. Optimal performance is achieved when paired with Fuers wired cameras.
- 2MP HD 1080P 5-in-1 Security Camera Compatibility: The system is compatible with 5-in-1 TVI/CVI/AHD/XVI/CVBS bullet cameras. It supports various resolutions including 960H, 720P, 1080P, 3MP, 5MP, and 8MP/4K HD-TVI, AHD, CVI, XVI, and CVBS/960H analog DVRs. The default video mode is 960H, with 1080P mode requiring adjustment based on your 1080P DVR type.
- IP66 Weatherproof Cameras: Cameras designed for this system feature an IP66 weatherproof housing, providing protection against dust and water. Constructed from aluminum alloy, they are suitable for both indoor and harsh outdoor conditions.
2. Product Components Overview
The Fuers security system typically includes the DVR unit and compatible cameras. Please verify your package contents against the product listing.

Figure 2.1: Overview of the Fuers 8-Channel DVR and two bullet-style security cameras. The DVR is a compact black unit, and the cameras are black cylindrical designs with mounting brackets.
2.1 Digital Video Recorder (DVR)
The DVR is the central recording and management unit for your surveillance system. It processes video feeds, stores recordings on the internal 500GB HDD, and provides connectivity for monitors and network access.
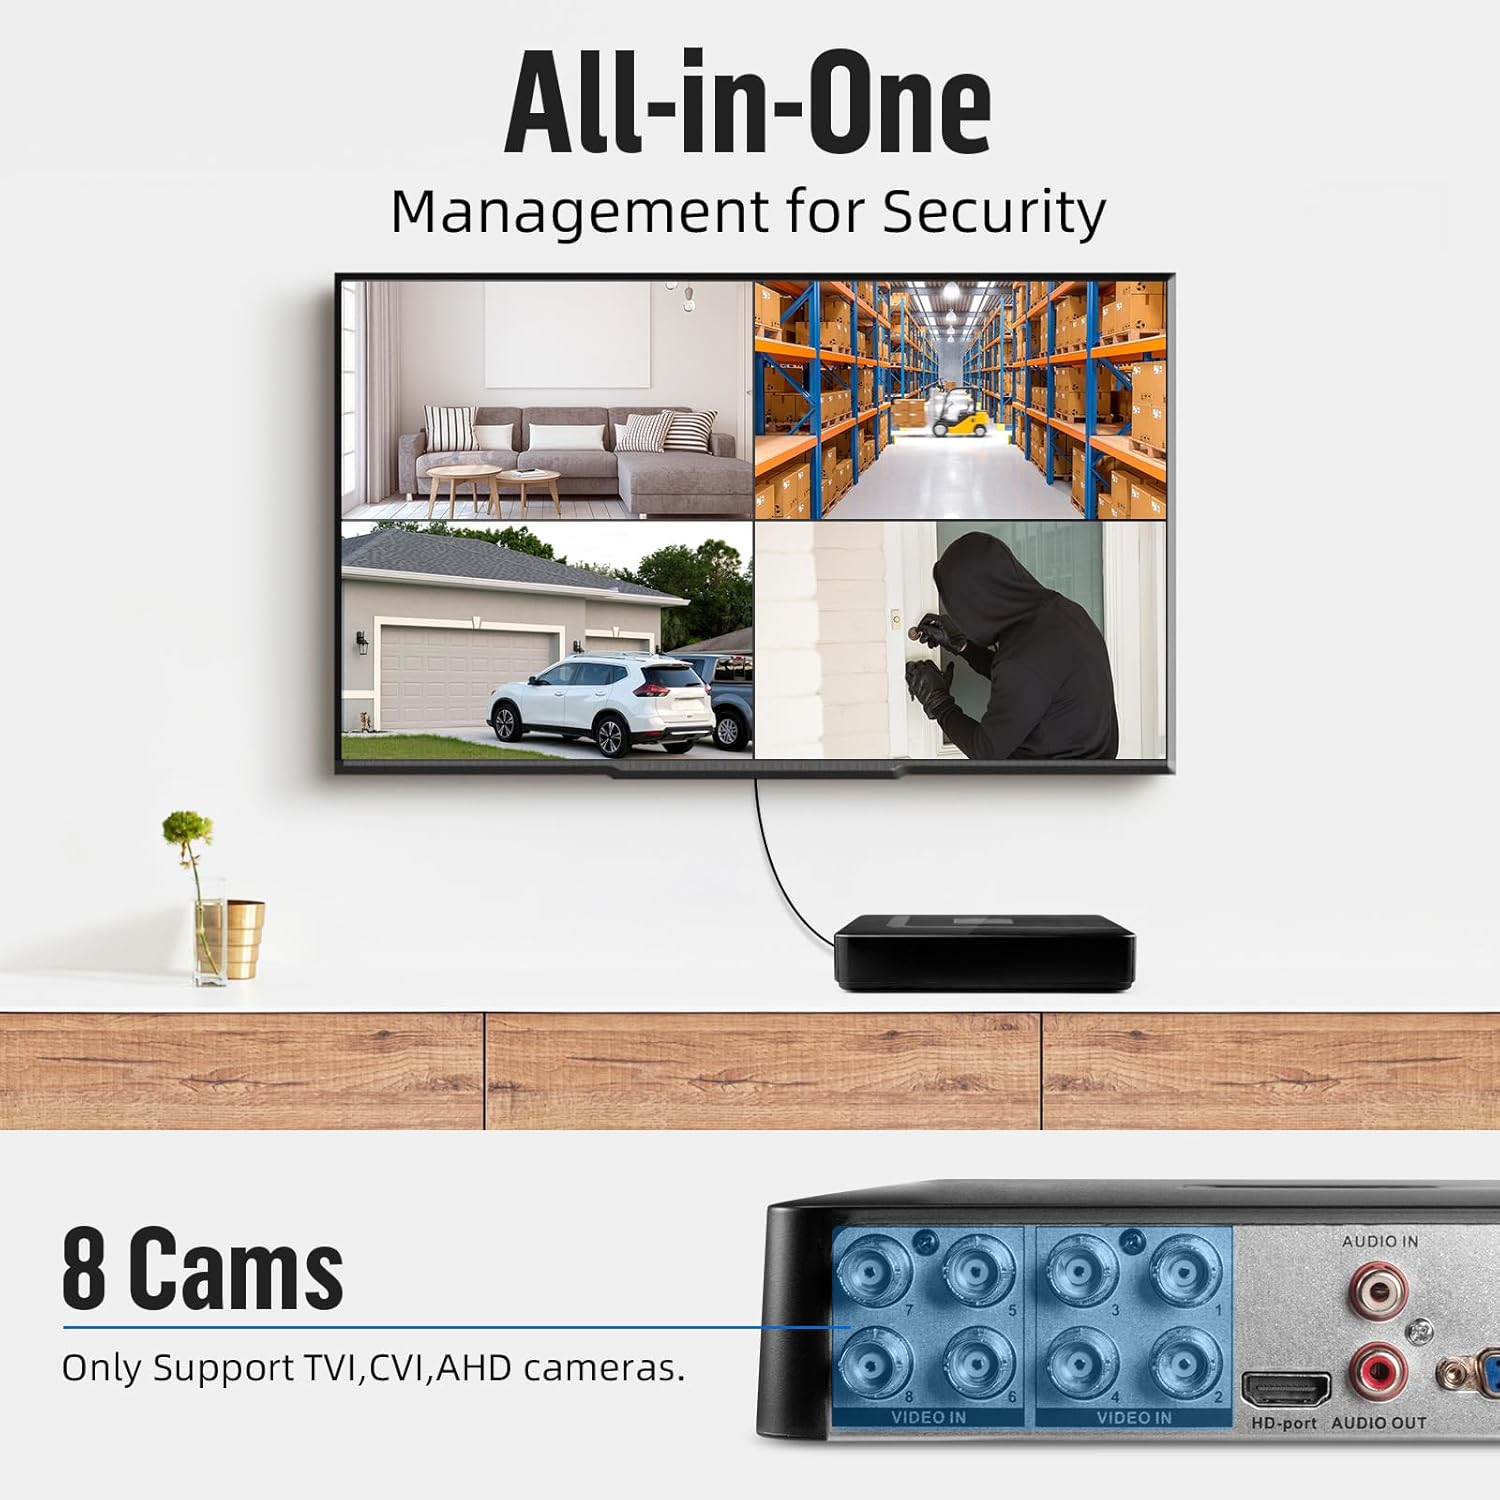
Figure 2.2: Rear panel of the DVR, illustrating the video input (BNC), audio input/output (RCA), HD-port, VGA, USB ports, Ethernet (NET), and DC 12V power input.
2.2 Security Cameras
The bullet-style cameras are designed for versatile placement, offering high-definition video capture and robust weather resistance.

Figure 2.3: Two bullet-style security cameras, each featuring a mounting bracket and dual cables for video (BNC) and power connection.

Figure 2.4: A single 1080P HD 5-in-1 security camera. Labels indicate features such as IP66 waterproof rating, 3.6mm lens, IR-CUT filter, power port, and video output.
3. Setup Guide
Follow these steps to set up your Fuers security DVR system.

Figure 3.1: Visual guide for the initial setup process, covering physical connections, network setup, and mobile application installation.
3.1 DVR Initial Connection
- Connect a monitor to the DVR's HD-port or VGA port.
- Connect a USB mouse to one of the DVR's USB ports for navigation.
- Connect the provided power adapter to the DVR's DC 12V input and plug it into a power outlet.
3.2 Camera Connection
- Connect the BNC video cable from each camera to the corresponding 'VIDEO IN' ports on the rear of the DVR (ports 1-8).
- Connect the power cable from each camera to a separate power adapter (not included) or a multi-channel power supply unit. Ensure all cameras receive adequate power.
3.3 Network Configuration
To enable remote viewing and network features, connect the DVR to your local network:
- Connect an Ethernet cable from your router or network switch to the 'NET' port on the DVR.
- Once connected, the DVR should automatically obtain an IP address via DHCP. You may need to configure network settings further through the DVR's on-screen menu if a static IP is required.
3.4 Mobile App Setup (iCSee)
For remote access and live viewing on your smartphone, download and configure the iCSee mobile application:
- Download the iCSee app from your device's app store:
- For Android: Google Play Store
- For iOS: Apple App Store
- Install the app and create an account if prompted.
- Add your DVR device to the app by scanning the QR code displayed on the DVR's monitor or by manually entering the device ID.
- Follow the in-app instructions to complete the device pairing process.
4. Operation
4.1 Live View
After successful setup, you can view live camera feeds:
- Local Monitor: The connected monitor will display the live feeds from all connected cameras. Use the USB mouse to navigate the DVR's interface, switch views, and access settings.
- Mobile App (iCSee): Open the iCSee app on your smartphone. Once your DVR is added, you can select it to view live feeds from anywhere with an internet connection.

Figure 4.1: Remote access to live video feeds via the iCSee mobile application, showing a typical interface for viewing and controlling cameras.
4.2 Recording and Playback
The DVR continuously records video to the pre-installed 500GB HDD. Recording settings can be configured via the DVR's menu, including:
- Continuous Recording: Records 24/7.
- Motion Detection Recording: Records only when motion is detected, saving storage space.
- Scheduled Recording: Records during specific time periods.
To play back recorded footage, access the playback function through the DVR's menu or the iCSee app. You can search by date, time, and event type.
5. Maintenance
Proper maintenance ensures the longevity and optimal performance of your security system.
- Camera Cleaning: Periodically clean the camera lenses with a soft, damp cloth to remove dust and dirt that may obstruct the view. Avoid abrasive cleaners.
- Weather Resistance: The cameras are IP66 weatherproof, designed to withstand outdoor elements. However, ensure mounting is secure and cables are properly sealed to prevent water ingress.
- DVR Placement: Place the DVR in a well-ventilated area, away from direct sunlight, heat sources, and excessive dust to prevent overheating.
- Firmware Updates: Check the manufacturer's website periodically for firmware updates for your DVR to ensure optimal performance and security.

Figure 5.1: An outdoor-mounted security camera, highlighting its IP66 weatherproof rating and operational temperature range of -10°C to 60°C, suitable for various environments.
6. Troubleshooting
If you encounter issues with your Fuers security system, consider the following common troubleshooting steps:
- No Video Display:
- Check if the DVR is powered on and the power indicator light is active.
- Verify that the monitor is correctly connected to the DVR's HD-port or VGA port and is set to the correct input source.
- Ensure all camera video cables (BNC) are securely connected to the DVR and the cameras are receiving power.
- No Remote Access:
- Confirm the DVR is connected to the internet via the Ethernet cable and your router is functioning correctly.
- Check your mobile device's internet connection.
- Ensure the iCSee app is updated to the latest version and the DVR is correctly added to your account.
- Poor Image Quality:
- Clean the camera lens for any obstructions or smudges.
- Check cable connections for any damage or loose contacts.
- Ensure the camera's video mode is compatible with your DVR's settings (e.g., 1080P mode for 1080P DVRs).
If issues persist, consult the manufacturer's support resources or contact customer service.
7. Specifications
| Feature | Specification |
|---|---|
| DVR Channels | 8 Channels |
| HDD Capacity | 500GB (Pre-installed) |
| Video Compression | H.265+ |
| DVR Compatibility | 4-in-1 Hybrid (TVI, AHD, XVI, IP Cameras) |
| Camera Type Compatibility | 5-in-1 (TVI, CVI, AHD, XVI, CVBS) |
| Camera Resolution | 2MP HD 1080P (Compatible with 960H, 720P, 3MP, 5MP, 8MP, 4K DVRs) |
| Camera Weatherproof Rating | IP66 |
| Camera Material | Aluminum Alloy |
| First Available Date | December 23, 2024 |
| ASIN | B0FCS8TYPS |
8. Warranty and Support Information
Specific warranty details for this product were not provided in the available information. Please refer to the product packaging, the seller's website, or contact Fuers customer support directly for warranty terms and technical assistance.
For further support, you may visit the Fuers Store on Amazon.


