1. Introduction
This instruction manual provides detailed information on the safe operation, maintenance, and troubleshooting of your Keurig KD5600 K-Duo Hot & Iced Single Serve & Carafe Coffee Maker. Please read all instructions carefully before using your appliance to ensure proper function and to prevent injury or damage.
The Keurig K-Duo coffee maker offers the versatility to brew both a single cup using K-Cup pods and a full carafe using ground coffee. It features MultiStream Technology for enhanced flavor extraction and options for brewing over ice, strong brew, and extra hot coffee.
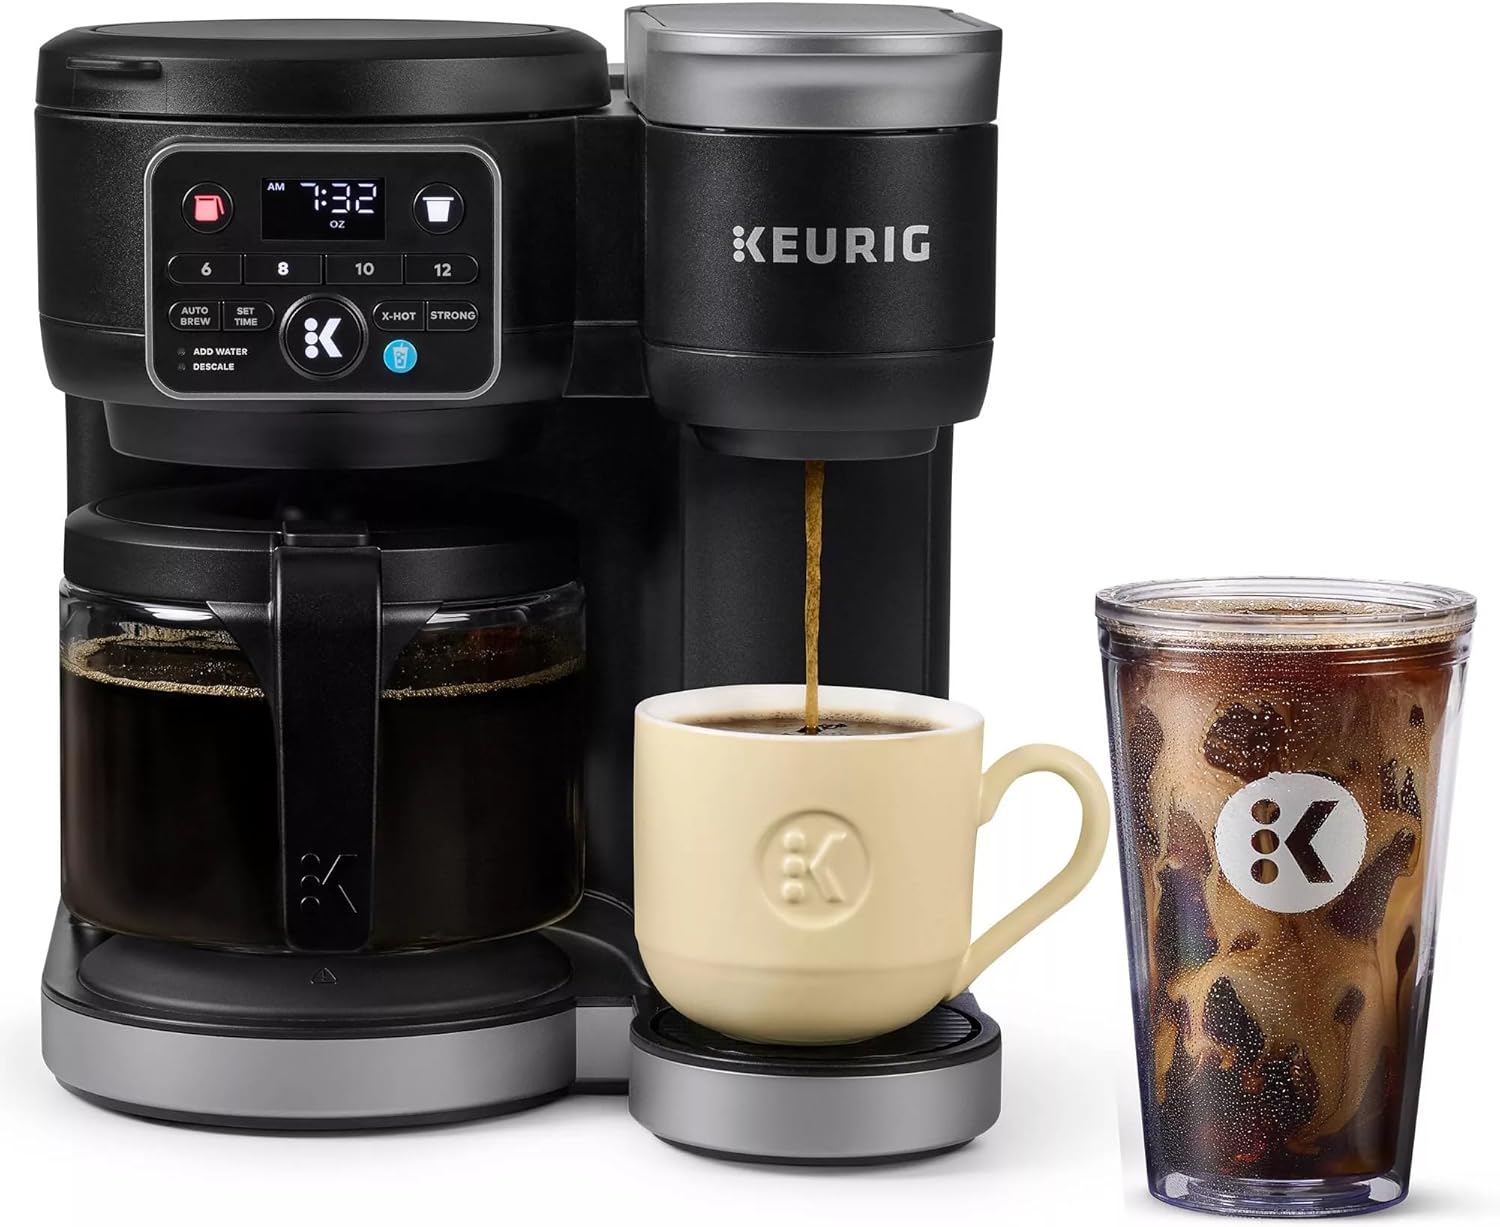
Image 1.1: The Keurig K-Duo coffee maker, demonstrating its dual brewing capabilities for hot and iced coffee.
2. Important Safeguards
When using electrical appliances, basic safety precautions should always be followed, including the following:
- Read all instructions before use.
- Do not touch hot surfaces. Use handles or knobs.
- To protect against fire, electric shock, and injury to persons, do not immerse cord, plugs, or the appliance in water or other liquid.
- Close supervision is necessary when any appliance is used by or near children.
- Unplug from outlet when not in use and before cleaning. Allow to cool before putting on or taking off parts, and before cleaning the appliance.
- Do not operate any appliance with a damaged cord or plug or after the appliance malfunctions, or has been damaged in any manner. Return appliance to the nearest authorized service facility for examination, repair, or adjustment.
- The use of accessory attachments not recommended by the appliance manufacturer may result in fire, electric shock, or injury to persons.
- Do not use outdoors.
- Do not let cord hang over edge of table or counter, or touch hot surfaces.
- Do not place on or near a hot gas or electric burner, or in a heated oven.
- Always attach plug to appliance first, then plug cord into the wall outlet. To disconnect, turn any control to "off", then remove plug from wall outlet.
- Do not use appliance for other than intended use.
3. What's in the Box
Upon opening your Keurig KD5600 K-Duo coffee maker package, you should find the following components:
- Keurig KD5600 K-Duo Coffee Maker
- 12-cup Glass Carafe
- Drip Tray
- Removable 72oz Water Reservoir
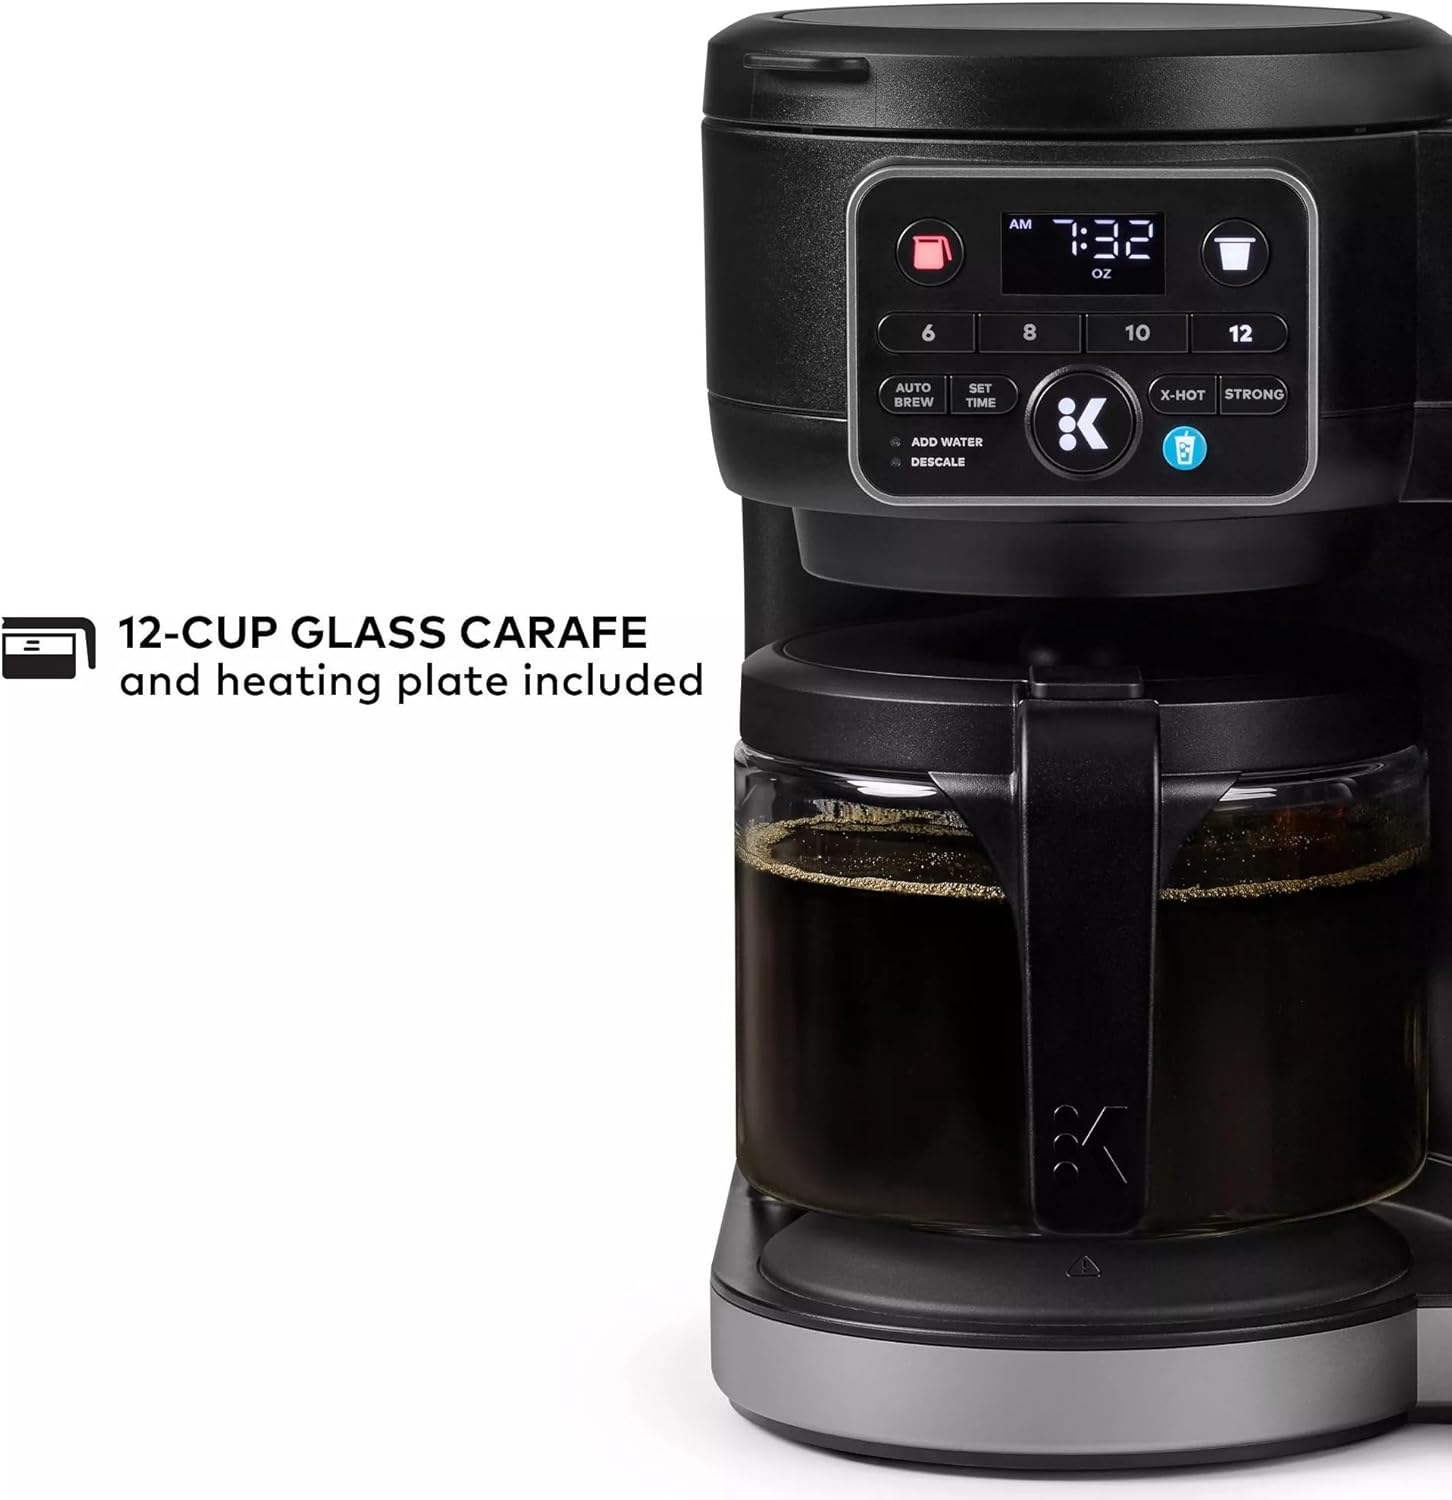
Image 3.1: The included 12-cup glass carafe and its heating plate.
4. Key Features
The Keurig KD5600 K-Duo coffee maker is designed with several features to enhance your brewing experience:
- Brew by the Cup or Carafe: Brews both K-Cup pods and coffee grounds, offering flexibility for single servings or larger batches.
- MultiStream Technology: Saturates the grounds evenly to extract full flavor and aroma in every cup, whether hot or cold.
- Brew Over Ice: Automatically adjusts temperature for maximum flavor and less ice melt, specifically for single-cup iced coffees and teas.
- Strong Brew & Extra Hot Functionality: Brews a stronger, more intense-flavored cup and the extra hot feature brews a hotter single cup.
- Multiple Brew Sizes: Offers single cup sizes of 6, 8, 10, or 12oz, and carafe sizes of 6, 8, 10, or 12 cups.
- One 72oz Reservoir: The extra-large, removable reservoir is shared by both brewing sides for fast, convenient brewing with fewer refills.
- Front-Facing Control Panel: Intuitive interface for selecting all your brewing preferences.
- Programmable Carafe Auto Brew: Set a time for your coffee maker to automatically brew a carafe up to 24 hours in advance.
- Compact Design: Combines the versatility of two kinds of brewers in one space-saving unit.
- Pause & Pour: Automatically pauses your coffee maker mid-brew for 20 seconds, allowing the carafe to be poured without waiting for the full brew cycle.

Image 4.1: Visual representation of the K-Duo's core brewing technologies and options.
5. Setup Guide
5.1. Before First Use
- Remove Packaging: Carefully remove all packaging materials, including tape and labels, from the coffee maker.
- Place on Stable Surface: Place the coffee maker upright on a stable, flat surface.
- Clean Components: Wash the carafe and carafe lid in warm, soapy water. Rinse thoroughly and dry. The water reservoir and drip tray can also be washed in warm, soapy water.
- Fill Water Reservoir: Fill the 72oz removable water reservoir with fresh, filtered water up to the MAX fill line.
- Plug In: Plug the coffee maker into a grounded outlet.

Image 5.1: Filling the 72oz removable water reservoir.
5.2. Initial Cleansing Brew
Before brewing your first cup or carafe of coffee, perform a cleansing brew to ensure the internal components are clean.
- Single Serve Side: Place a large mug on the drip tray. Open and close the K-Cup pod holder without inserting a K-Cup pod. Select a 12oz brew size and press the brew button. Discard the hot water.
- Carafe Side: Place the empty carafe on the heating plate. Open the carafe brew basket and ensure it is empty. Close the lid. Select a 12-cup brew size and press the brew button. Discard the hot water.
Your Keurig K-Duo coffee maker is now ready for use.
6. Operating Instructions
6.1. Brewing a Single Cup (K-Cup Pod)
- Fill Reservoir: Ensure the water reservoir is filled with fresh water.
- Place Mug: Place a mug on the drip tray.
- Insert K-Cup Pod: Lift the handle to open the K-Cup pod holder. Insert a K-Cup pod into the holder. Close the handle firmly.
- Select Brew Size: On the control panel, select your desired brew size (6, 8, 10, or 12oz).
- Optional Settings:
- For a stronger brew, press the STRONG button.
- For an extra hot brew, press the X-HOT button.
- For iced coffee, ensure your mug is filled with ice and press the BREW OVER ICE button (if available on your model, this model supports it).
- Start Brewing: Press the illuminated brew button. The button will flash while brewing and remain solid when complete.
- Remove Pod: After brewing, lift the handle and carefully remove the hot K-Cup pod.

Image 6.1: Inserting a K-Cup pod into the single-serve brewer.
6.2. Brewing a Carafe (Ground Coffee)
- Fill Reservoir: Ensure the water reservoir is filled with fresh water.
- Add Ground Coffee: Open the carafe brew basket lid. Insert a paper filter (basket style) into the brew basket. Add your desired amount of ground coffee (e.g., 1 tablespoon per cup for medium strength). Close the lid firmly.
- Place Carafe: Place the empty 12-cup glass carafe on the heating plate.
- Select Brew Size: On the control panel, select your desired carafe brew size (6, 8, 10, or 12 cups).
- Start Brewing: Press the illuminated brew button. The button will flash while brewing and remain solid when complete.
- Pause & Pour: If you need to pour a cup before the brew cycle is complete, you can remove the carafe for up to 20 seconds. The brewing will automatically pause and resume when the carafe is returned.

Image 6.2: Pouring coffee from the carafe.
6.3. Programmable Auto Brew (Carafe Only)
You can program the carafe side to automatically brew at a set time up to 24 hours in advance.
- Prepare Carafe Side: Follow steps 1 and 2 from "Brewing a Carafe (Ground Coffee)" to add water and ground coffee.
- Set Clock: If not already set, press and hold the SET TIME button until the clock flashes. Use the hour and minute buttons to set the current time. Press SET TIME again to confirm.
- Set Auto Brew Time: Press and hold the AUTO BREW button until the clock flashes. Use the hour and minute buttons to set your desired brew time. Press AUTO BREW again to confirm.
- Select Brew Size: Select your desired carafe brew size (6, 8, 10, or 12 cups).
- Activate Auto Brew: Press the AUTO BREW button once more. The indicator light will illuminate, confirming the auto brew is set.
7. Maintenance and Cleaning
Regular cleaning and maintenance will ensure the longevity and optimal performance of your Keurig K-Duo coffee maker.
7.1. Daily Cleaning
- Drip Tray: The drip tray can accumulate spills and should be removed and rinsed daily. It is top-rack dishwasher safe.
- Carafe and Lid: Wash the glass carafe and its lid after each use with warm, soapy water. Rinse thoroughly.
- Exterior: Wipe the exterior of the coffee maker with a damp, non-abrasive cloth.
7.2. Descaling
Mineral deposits (calcium) can build up in your coffee maker over time, affecting performance. The "DESCALE" indicator light will illuminate when descaling is recommended. The frequency depends on the mineral content of your water.
Descaling Procedure:
- Prepare Solution: Turn off the coffee maker. Empty the water reservoir. Pour an entire bottle of Keurig Descaling Solution into the reservoir. Fill the empty bottle with water and pour it into the reservoir.
- First Descale Brew (Single Serve): Place a large mug on the drip tray. Lift and lower the handle. Select the largest single-serve brew size and press the brew button. Discard the hot liquid.
- First Descale Brew (Carafe): Place the empty carafe on the heating plate. Open and close the carafe brew basket. Select the largest carafe brew size and press the brew button. Discard the hot liquid.
- Soak: Let the coffee maker stand for at least 30 minutes.
- Rinse Brews: After soaking, empty the reservoir and rinse it thoroughly with fresh water. Fill the reservoir with fresh water up to the MAX fill line. Perform at least 12 single-serve cleansing brews (using the largest size) and 3 carafe cleansing brews (using the largest size), discarding the water after each. Continue until the "DESCALE" light turns off.
Note: If the "DESCALE" light remains on, repeat the descaling procedure.
8. Troubleshooting
Here are some common issues and their solutions:
| Problem | Possible Cause | Solution |
|---|---|---|
| Coffee maker does not turn on. | Not plugged in; power outage; circuit breaker tripped. | Ensure the coffee maker is securely plugged into a working outlet. Check your home's circuit breaker. |
| "ADD WATER" light is on. | Water reservoir is low or empty. | Fill the water reservoir to the MAX fill line. |
| Coffee is not brewing. | K-Cup pod not properly seated; carafe not on heating plate; air in water lines; descaling needed. | Ensure K-Cup pod is firmly inserted. Ensure carafe is correctly placed. Perform a cleansing brew without a pod/grounds. Descale if the light is on. |
| Coffee tastes weak or watery. | Incorrect brew size selected; coffee grounds too coarse; descaling needed. | Select a smaller brew size. Use finer ground coffee for carafe. Descale the brewer. Use the STRONG brew option. |
| "DESCALE" light remains on after descaling. | Descaling process not fully completed or insufficient rinsing. | Repeat the descaling procedure, ensuring all steps are followed, especially the rinsing phase. |
9. Product Specifications
| Attribute | Detail |
|---|---|
| Brand | Keurig |
| Model Name | Keurig K-Duo Gen 2 |
| Color | Black |
| Style | K-Duo Gen-2 |
| Special Feature | Removable Tank |
| Specific Uses For Product | Iced Coffee & Hot Coffee |
| Included Components | Carafe |
| Water Reservoir Capacity | 72 ounces |
| Product Dimensions | 12.9 x 11.1 x 12.7 inches |
| Item Weight | 10 pounds |
| UPC | 724129291858 |
10. Warranty and Support
Keurig products typically come with a limited one-year warranty from the date of purchase. This warranty covers defects in materials or workmanship under normal home use. For specific warranty details, including terms, conditions, and exclusions, please refer to the warranty card included with your product or visit the official Keurig website.
For technical support, troubleshooting assistance, or to inquire about replacement parts, please contact Keurig Customer Service:
- Website: www.keurig.com/support
- Phone: Refer to the Keurig website for the most current contact numbers for your region.
When contacting support, please have your product model number (KD5600 K-Duo Gen 2) and serial number (usually found on the bottom of the unit) ready.


