
Introduction
This manual provides comprehensive instructions for assembling your 4D Build Star Wars Stormtrooper Helmet 3D Cardstock Model Kit. This kit allows you to construct a detailed replica of the iconic Stormtrooper helmet using high-quality cardstock pieces. Please read all instructions carefully before beginning assembly.
Package Contents
- 6 sheets of cardboard puzzle pieces
- 1 tube of glue
- 1 display stand
- Instruction manual
No additional tools are required for assembly.
Assembly Instructions
Follow these steps to assemble your 4D Build Stormtrooper Helmet model. Take your time and ensure each piece is correctly placed for the best result.
Step 1: Unpack and Prepare
Carefully remove all components from the packaging. You will find six sheets of pre-cut cardstock pieces, a tube of glue, and the display stand components. Familiarize yourself with the instruction manual provided.

Image: The six sheets of pre-cut cardstock pieces, ready for assembly.
Step 2: Identify and Detach Pieces
Each piece is numbered and designed to fit together precisely. Gently detach the pieces from the cardstock sheets. It is recommended to detach pieces as needed for each step to avoid confusion. Refer to the instruction manual for the correct sequence and piece identification.
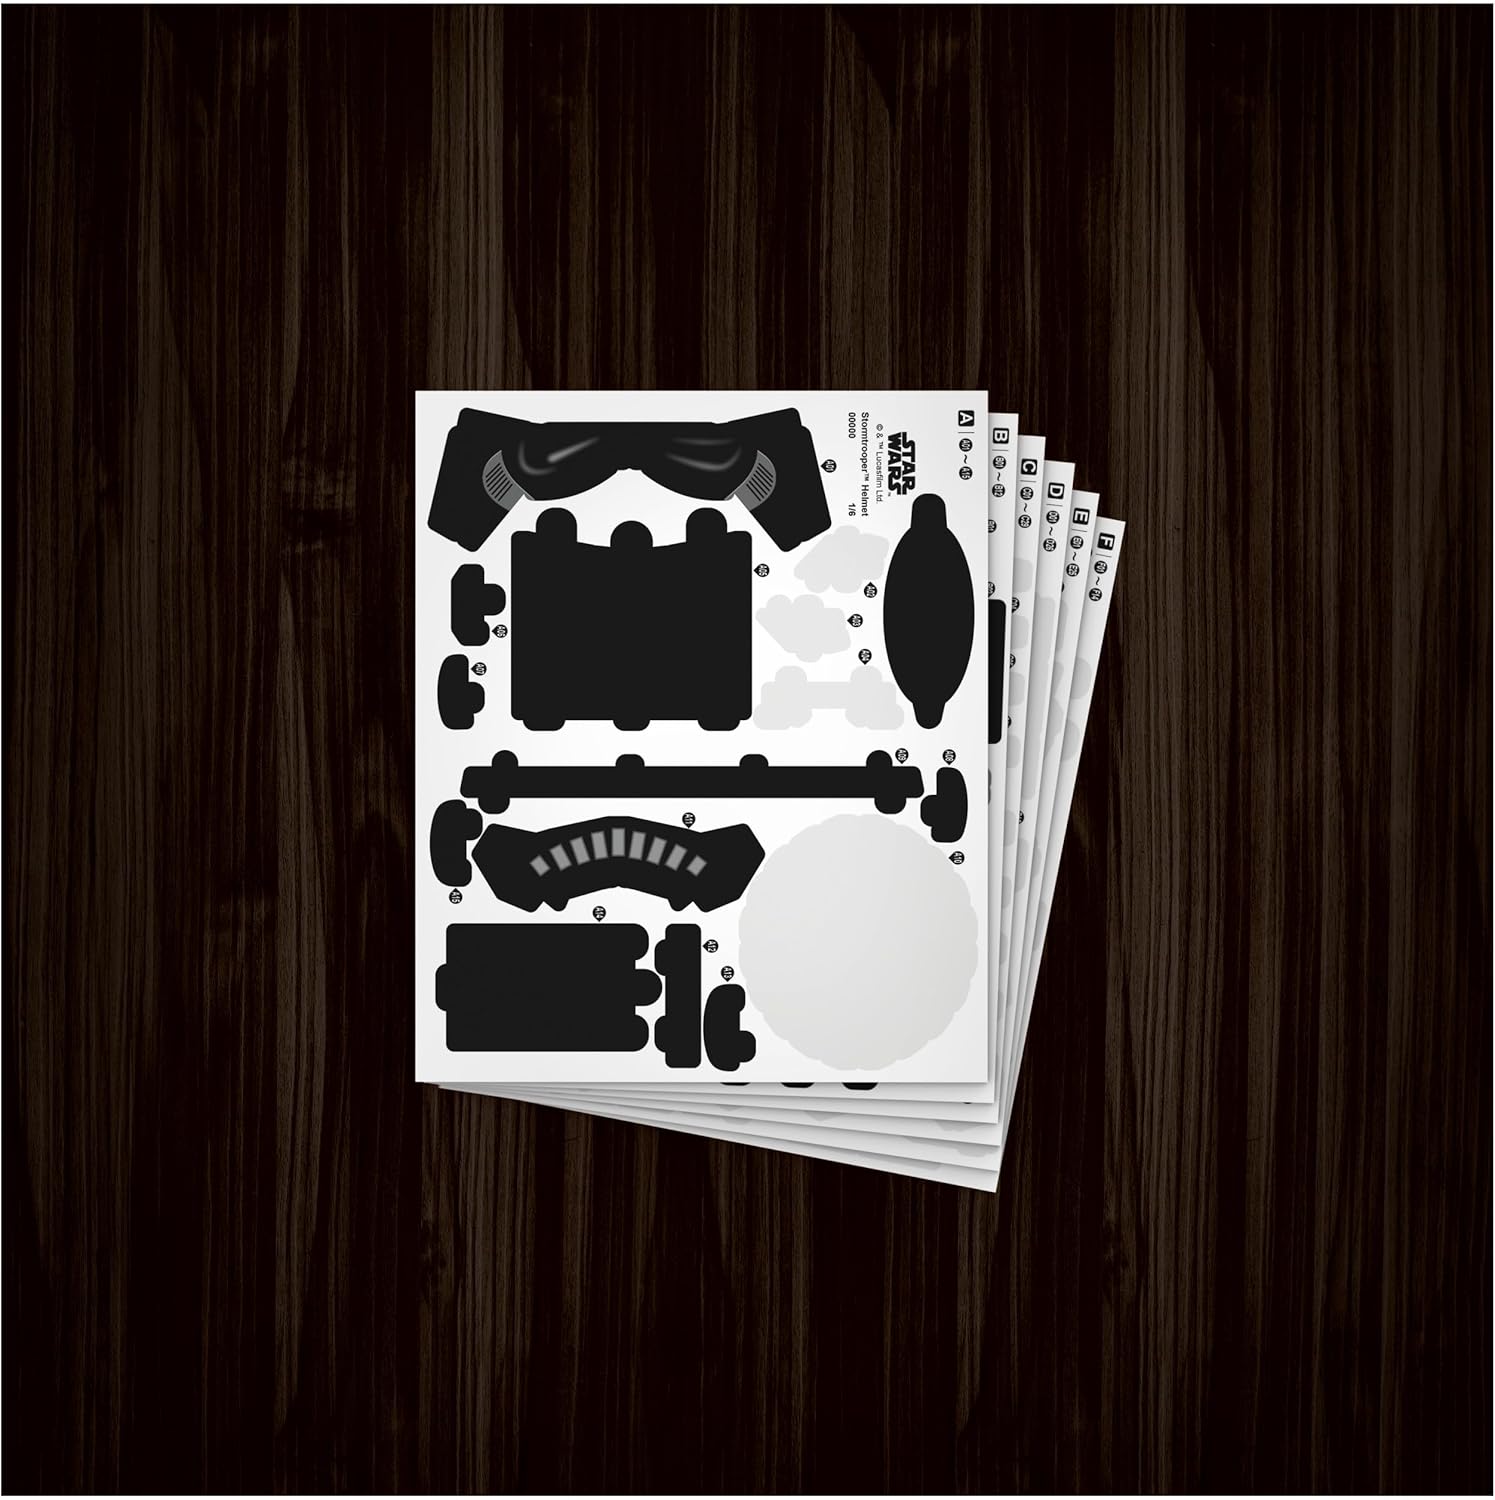
Image: Detached pieces laid out, with a partially constructed helmet and stand components.
Step 3: Assemble the Helmet Structure
Begin assembling the helmet by following the numerical order indicated in the instruction manual. Apply a small amount of the provided glue to the designated tabs and carefully connect the pieces. Hold them in place for a few seconds to allow the glue to set. Work systematically, building the helmet layer by layer.
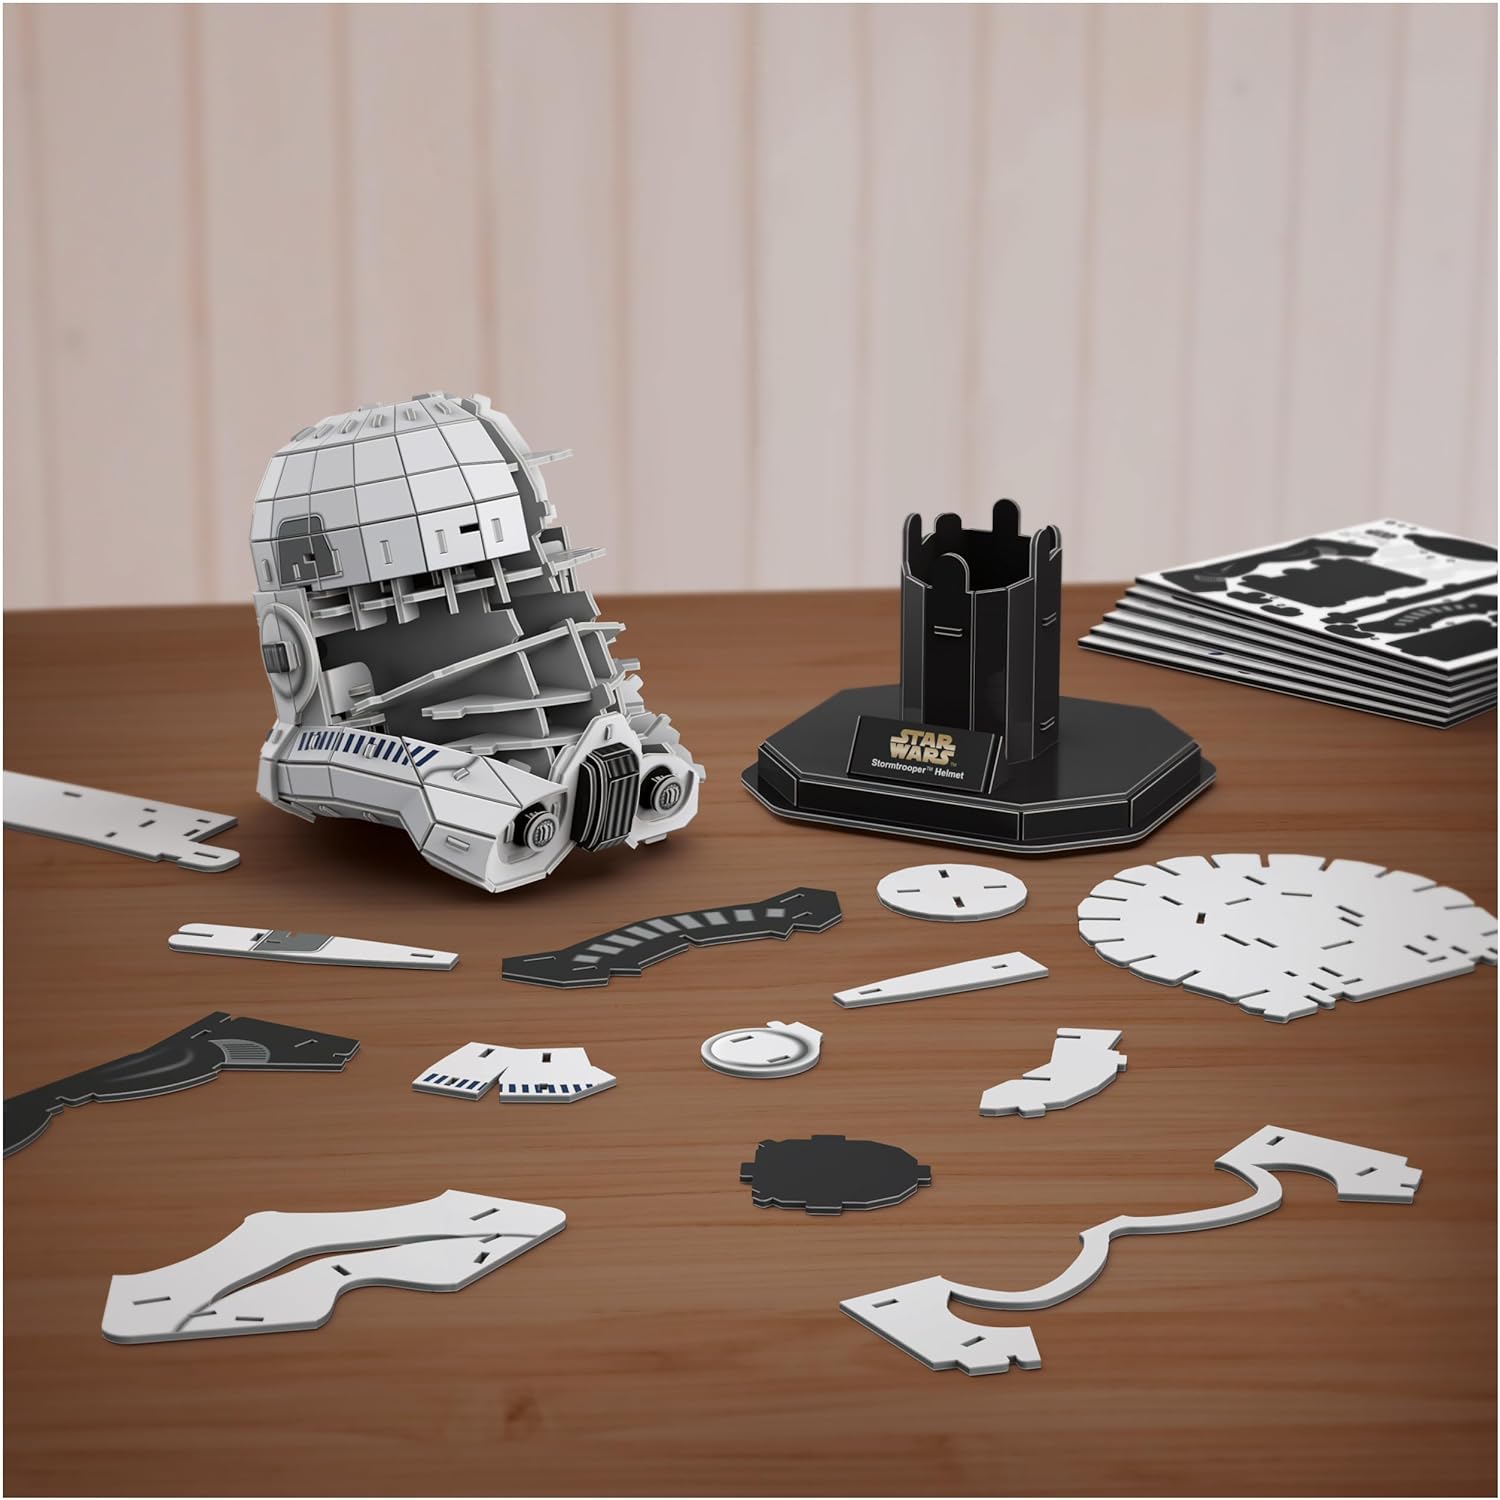
Image: A close-up of hands joining two pieces of the helmet, demonstrating the assembly process.
Step 4: Assemble the Display Stand
Once the helmet is fully assembled, construct the display stand according to its specific instructions. The stand is designed to securely hold your finished Stormtrooper helmet model.
Step 5: Place Helmet on Stand
Carefully place the completed Stormtrooper helmet onto its display stand. Ensure it is stable and properly seated. Your 4D Build model is now ready for display.
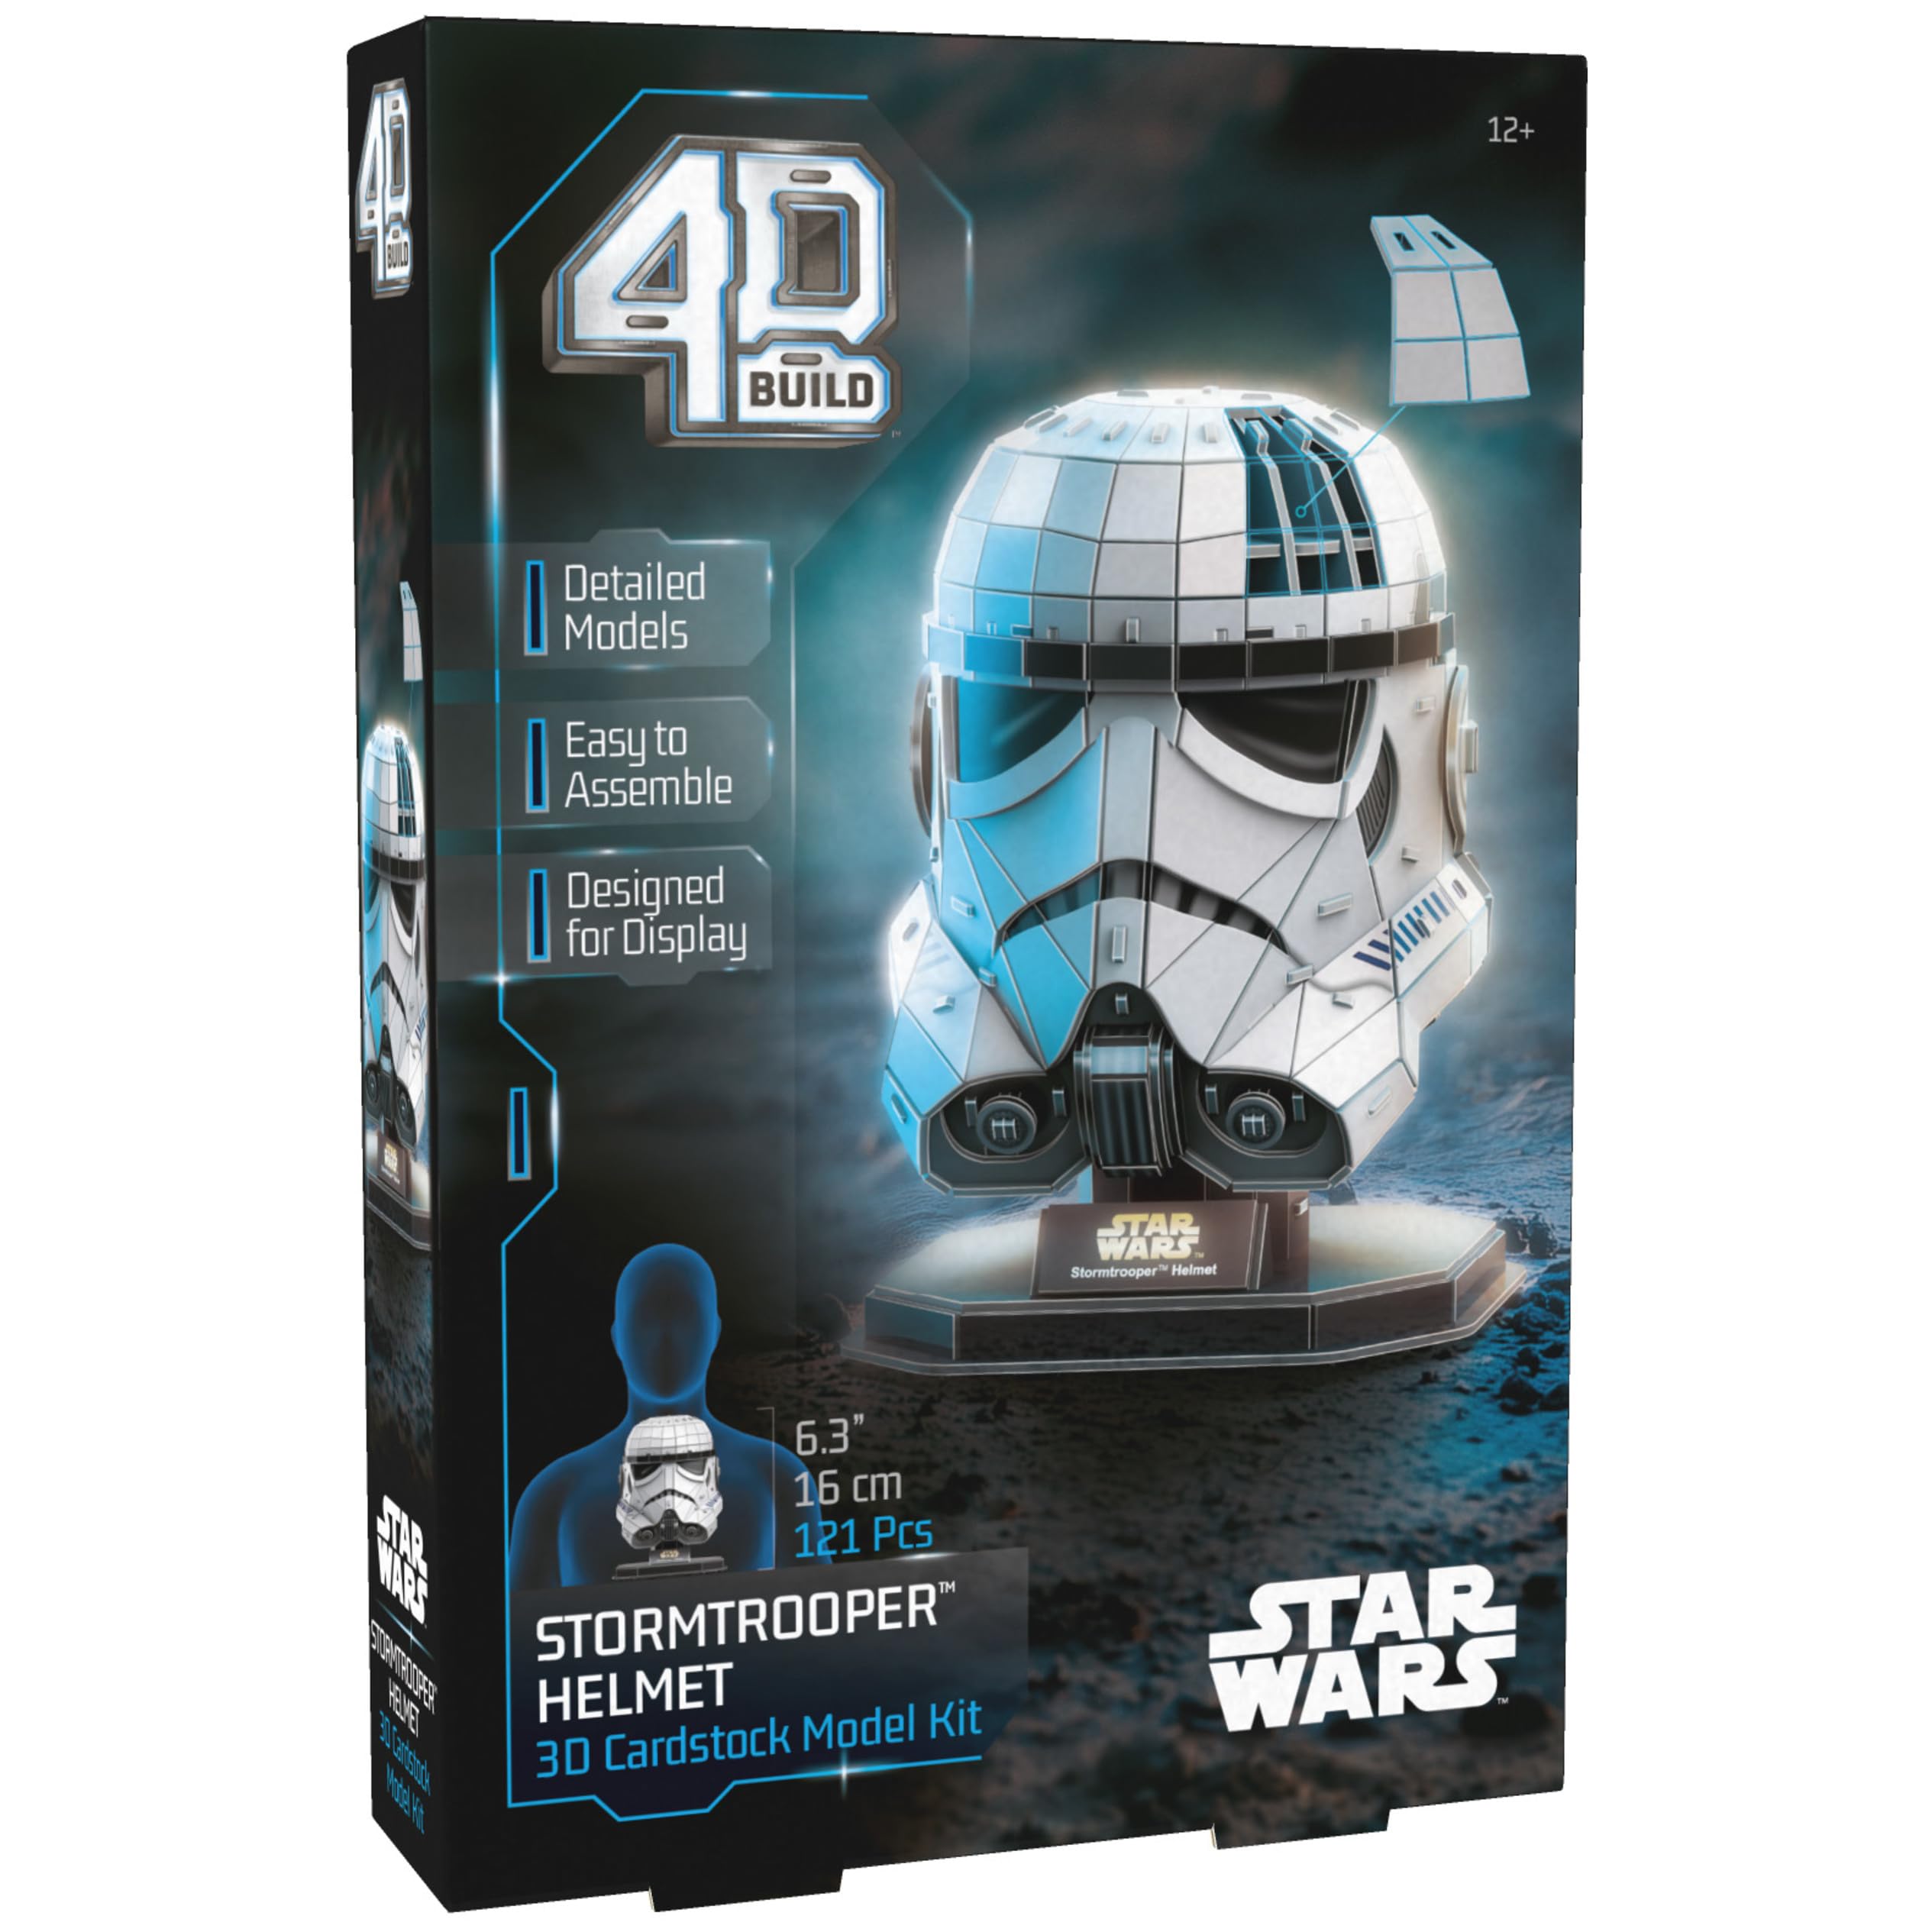
Image: The completed Stormtrooper helmet model, standing proudly on its display base.
Care and Maintenance
To ensure the longevity of your 4D Build model, follow these care guidelines:
- Dusting: Gently dust the model with a soft, dry cloth or a soft brush. Avoid abrasive materials.
- Placement: Display the model in a cool, dry place away from direct sunlight, excessive heat, or humidity to prevent warping or fading of the cardstock.
- Handling: Handle the model with care, especially when moving it, to avoid detaching pieces.
Troubleshooting
- Pieces do not fit together:
- Ensure you are using the correct pieces for the current step as indicated in the instruction manual. Some pieces may require gentle pressure to fit snugly. Do not force pieces, as this may cause damage.
- Glue is not holding:
- Apply a small, even amount of glue to the tabs. Hold the pieces together firmly for a few seconds to allow the glue to bond. Ensure the surfaces are clean and dry before applying glue. If necessary, allow more drying time.
- Missing pieces:
- Double-check all cardstock sheets and packaging. If pieces are genuinely missing, contact customer support for assistance.
Specifications
| Brand: | 4D Build |
| Model Number: | 6074275 |
| Number of Pieces: | 121 |
| Assembled Dimensions: | 12 x 12 x 16 cm (approximately 4.7 x 4.7 x 6.3 inches) |
| Material: | Cardboard |
| Theme: | Star Wars (Stormtrooper Helmet) |
| Recommended Age: | 12 years and up (Manufacturer Minimum Age: 168 months) |
Safety Information
WARNING: CHOKING HAZARD - Small parts. Not suitable for children under 3 years.
Adult supervision is recommended during assembly, especially for younger users, due to small parts and the use of glue.