1. Introduction
This manual provides detailed instructions for the installation, operation, and maintenance of your Bewinner Solar Powered 4G LTE WiFi 6 Outdoor Router. This device is designed to provide reliable internet connectivity in outdoor and remote environments, utilizing solar power and a 4G LTE connection. Please read this manual thoroughly before using the product to ensure proper function and safety.
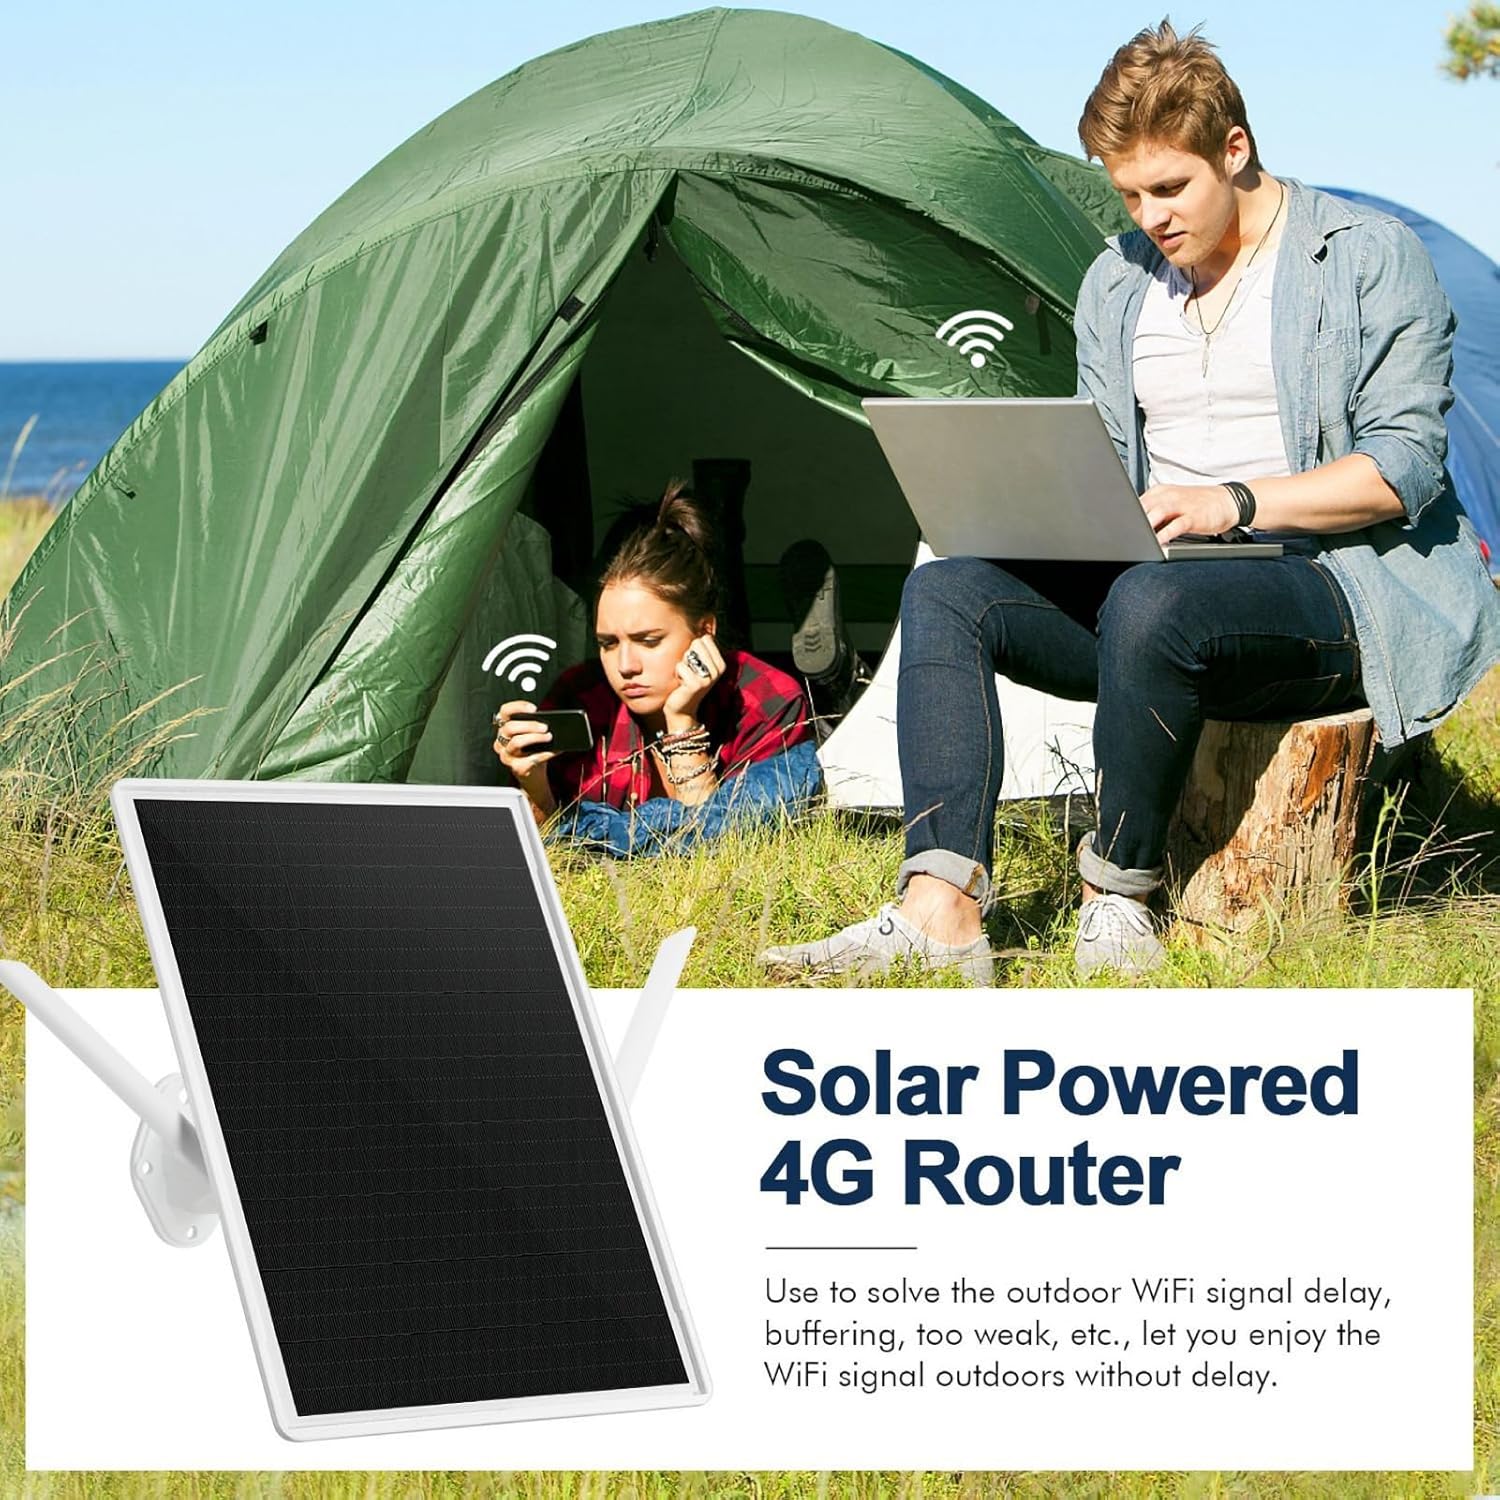
Image 1: The Bewinner Solar Powered 4G Router providing internet access to individuals in an outdoor camping setting.
2. Product Overview
Key Features:
- Solar Charging: Integrated 15W solar panel for continuous power without external cabling.
- Reliable Power: Built-in 20000mAh battery provides up to 7 days of operation, even during rainy weather.
- Extended Coverage: WiFi 6 technology extends coverage up to 50 meters (164 feet) with 300 Mbps speed and 2.4G WiFi compatibility.
- Weatherproof Design: IP66-rated enclosure withstands humidity (10% to 90% non-condensing) and extreme temperatures (-40°C to +80°C).
- Outdoor Suitability: Ideal for camping, RV travel, hiking, fishing, and other remote outdoor activities.
What's in the Box:
- Bewinner Solar Powered 4G LTE WiFi 6 Outdoor Router Unit
- Mounting Bracket and Hardware
- User Manual
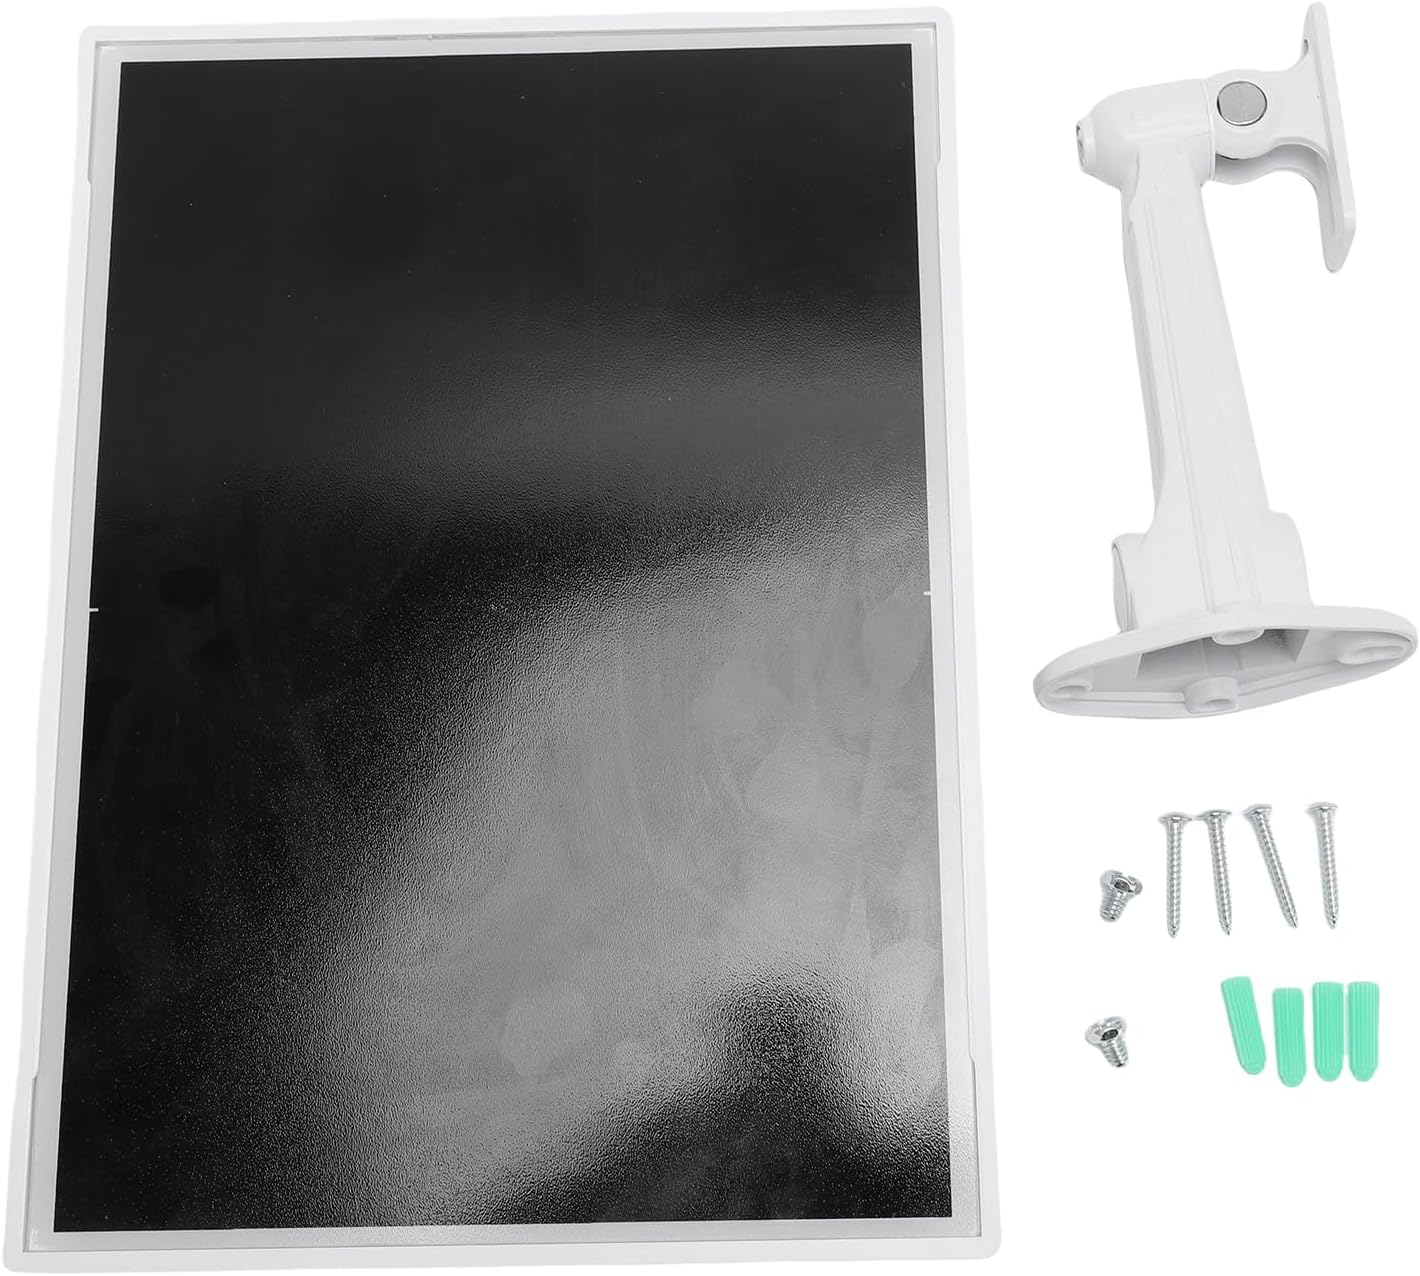
Image 2: The main components included with the router: the solar panel unit and its mounting bracket with screws.

Image 3: Rear view of the router unit, highlighting the external antennas for WiFi and cellular connectivity.
3. Setup Instructions
3.1 SIM Card Installation
- Locate the SIM card slot on the router unit. It is usually protected by a rubber cover.
- Carefully open the rubber cover.
- Insert a standard 4G LTE SIM card into the slot with the gold contacts facing down and the notched corner aligned correctly.
- Gently push the SIM card until it clicks into place.
- Close the rubber cover securely to maintain the IP66 waterproof rating.
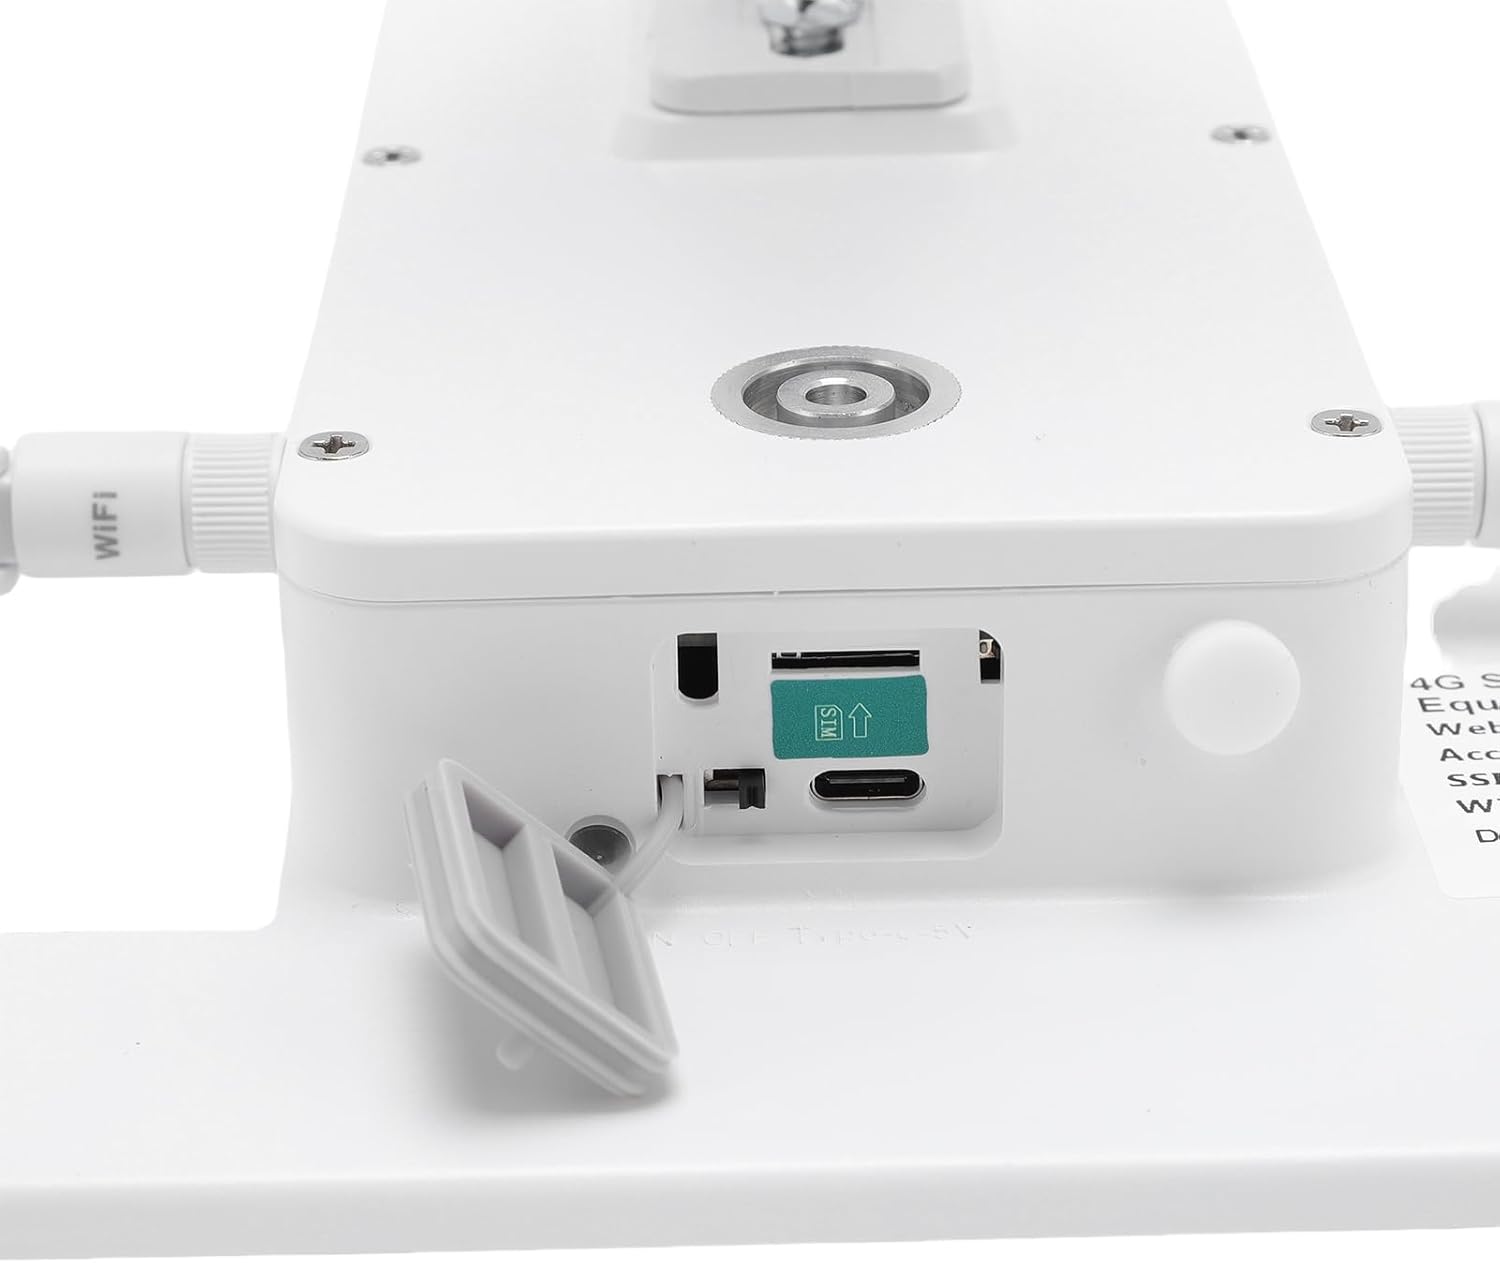
Image 4: Detailed view of the SIM card slot, showing the correct orientation for insertion.
3.2 Mounting the Router
The router is designed for outdoor installation. Choose a location that receives ample direct sunlight for optimal solar charging and has a clear line of sight for WiFi coverage.
- Attach the mounting bracket to the back of the router unit using the provided screws.
- Secure the bracket to a sturdy surface (e.g., wall, pole, tree) using appropriate mounting hardware. Ensure the solar panel faces the sun.
- Adjust the angle of the solar panel for maximum sun exposure throughout the day.

Image 5: The router unit installed on the exterior of a building, demonstrating a typical outdoor mounting scenario.
3.3 Powering On and Initial Connection
- Once the SIM card is installed and the unit is mounted, the router will automatically begin charging via its solar panel.
- The device should power on automatically. Look for indicator lights (if present) to confirm operation.
- On your device (smartphone, laptop), search for available WiFi networks.
- Connect to the network name (SSID) provided on the router's label or in the quick start guide.
- Enter the default WiFi password (if any) found on the router's label.
4. Operating Instructions
4.1 Basic Operation
After successful setup, the router will provide a WiFi signal for your devices. Ensure your devices are within the 50-meter coverage range for optimal performance.

Image 6: Illustrates the 50-meter WiFi coverage area, allowing users to stay connected even in open outdoor spaces.
4.2 Optimizing WiFi Performance
- Placement: Position the router in a central location within your desired coverage area, free from obstructions like thick walls or large metal objects.
- Line of Sight: For best results, ensure a clear line of sight between the router and your connected devices.
- Antenna Orientation: If adjustable, orient the external antennas for optimal signal reception.

Image 7: The router ensures a stable WiFi connection for multiple devices, including a laptop and a surveillance camera, in an outdoor home setting.
5. Maintenance
5.1 Cleaning
Periodically clean the solar panel surface to ensure maximum charging efficiency. Use a soft, damp cloth to wipe away dust, dirt, or debris. Avoid abrasive cleaners or harsh chemicals.
5.2 Environmental Considerations
The router is designed to be IP66 weatherproof, protecting it from dust and strong jets of water. It can operate in temperatures ranging from -40°C to +80°C and humidity from 10% to 90% (non-condensing). While robust, avoid submerging the device in water or exposing it to extreme physical impact.

Image 8: The router's robust design allows it to withstand diverse outdoor weather conditions, including sun, rain, snow, and wind.
6. Troubleshooting
Common Issues and Solutions:
- No Power:
- Ensure the solar panel is receiving direct sunlight.
- Check if the battery is fully depleted. Allow time for solar charging.
- No 4G Signal:
- Verify the SIM card is correctly inserted and activated with a data plan.
- Check your location for 4G network coverage. Move to an area with better signal if possible.
- Ensure the cellular antennas are securely attached and oriented correctly.
- No WiFi Signal / Cannot Connect:
- Confirm the router is powered on.
- Ensure your device is within the 50-meter WiFi range.
- Double-check the WiFi network name (SSID) and password.
- Restart the router by temporarily covering the solar panel and then exposing it again, or if there's a power button, use it.
- Slow Internet Speed:
- Check your 4G signal strength. Weak cellular signal will result in slow internet.
- Reduce the number of connected devices or bandwidth-intensive activities.
- Ensure there are no obstructions between your device and the router.
7. Specifications
| Brand | Bewinner |
| Model | Solar Powered 4G LTE WiFi 6 Outdoor Router |
| Connectivity | 4G LTE, WiFi 6 (2.4G) |
| WiFi Speed | Up to 300 Mbps |
| WiFi Range | Up to 50 meters (164 feet) |
| Solar Panel Power | 15W |
| Battery Capacity | 20000mAh |
| Battery Life (Rainy Days) | Up to 7 days |
| Waterproof Rating | IP66 |
| Operating Temperature | -40°C to +80°C |
| Operating Humidity | 10% to 90% (non-condensing) |
8. Warranty and Support
Warranty Information:
This Bewinner product comes with a manufacturer's warranty of 90 days from the date of purchase. This warranty covers defects in materials and workmanship under normal use. It does not cover damage caused by misuse, accidents, unauthorized modifications, or improper installation.
Customer Support:
For technical assistance, troubleshooting, or warranty claims, please contact Bewinner customer support through your retailer or the official Bewinner website. Please have your purchase receipt and product model information ready when contacting support.


