1. Introduction and Overview
The Berrcom 3-in-1 Digital Infrared Thermometer is designed for quick, accurate, and non-contact temperature measurements. It is suitable for all ages, including infants, newborns, adults, and the elderly. This versatile device can measure body temperature (forehead and ear), room temperature, and object surface temperature, providing results in just one second. Its intelligent fever alert system uses color-coded backlights for easy interpretation of readings.

Figure 1: Berrcom 3-in-1 Digital Infrared Thermometer
2. Product Features
- State-of-the-Art Infrared Technology: Utilizes advanced infrared scan technology to measure radiation emitted by the eardrum or forehead, providing accurate body temperature readings.
- Quick Readings and Fever Warning: Delivers temperature results in one second. Three quick beeps and a red warning light alert you to fever.
- Versatile Usage: Features a mode to measure room or object temperatures. Automatically shuts down after 30 seconds of inactivity to conserve battery life. Easily switch between Celsius (°C) and Fahrenheit (°F).
- Convenient & User-Friendly: Equipped with an easy-to-read, color-coded display visible even at night. Stores up to 20 memory recalls to track health trends. Includes a mute function for quiet operation, ideal for not disturbing sleeping individuals.

Figure 2: Key features of the Berrcom Thermometer.
3. What's in the Box
Upon opening your Berrcom 3-in-1 Digital Infrared Thermometer package, you should find the following items:
- 1 × Berrcom Thermometer
- 2 × AA Batteries
- 1 × Instruction Manual (this document)
- 1 × Quick User Guide

Figure 3: Package contents of the Berrcom Thermometer.
4. Setup
4.1 Battery Installation
The Berrcom thermometer requires two AA batteries for operation. To install or replace batteries:
- Locate the battery compartment cover on the handle of the thermometer.
- Gently slide or unclip the cover to open the compartment.
- Insert two AA batteries, ensuring the positive (+) and negative (-) terminals align correctly with the indicators inside the compartment.
- Close the battery compartment cover securely until it clicks into place.
The thermometer will power on automatically once batteries are correctly installed.
5. Operating Instructions
5.1 Power On/Off
The thermometer powers on automatically when a button is pressed or batteries are inserted. It will automatically shut off after 30 seconds of inactivity to save battery life.
5.2 Selecting Measurement Mode
The thermometer offers three measurement modes: Body, Room, and Object. To switch between modes:
- Press the "MODE" button (typically the leftmost button on the control panel).
- Each press will cycle through the available modes: Body, Room, Object.
- Ensure the correct mode is selected for your desired measurement.

Figure 4: The thermometer supports multiple measurement modes.
5.3 Taking a Measurement
To take a temperature reading:
- Ensure the thermometer is in the desired measurement mode (Body, Room, or Object).
- For body temperature:
- For forehead measurement, ensure the probe cover is on. Point the thermometer at the center of the forehead from a distance of 1.2-2.0 inches (3-5 cm).
- For ear measurement, remove the probe cover. Gently insert the probe into the ear canal.
- For room or object temperature, point the thermometer at the desired surface or area.
- Press the "START" button (typically the top button). The reading will appear on the display within one second.

Figure 5: Taking a non-contact forehead temperature measurement.
5.4 Fever Alert System
The thermometer's display changes color to indicate temperature status:
- Green Backlight: Indicates a normal temperature.
- Orange Backlight: Indicates a slightly elevated temperature.
- Red Backlight: Indicates a fever (accompanied by three quick beeps).

Figure 6: Color-coded backlight indicators for temperature status.
5.5 Mute Function
To mute or unmute the beeping sound:
- Press the middle button (often indicated by a speaker icon).
- This is particularly useful for taking measurements without disturbing sleeping individuals.
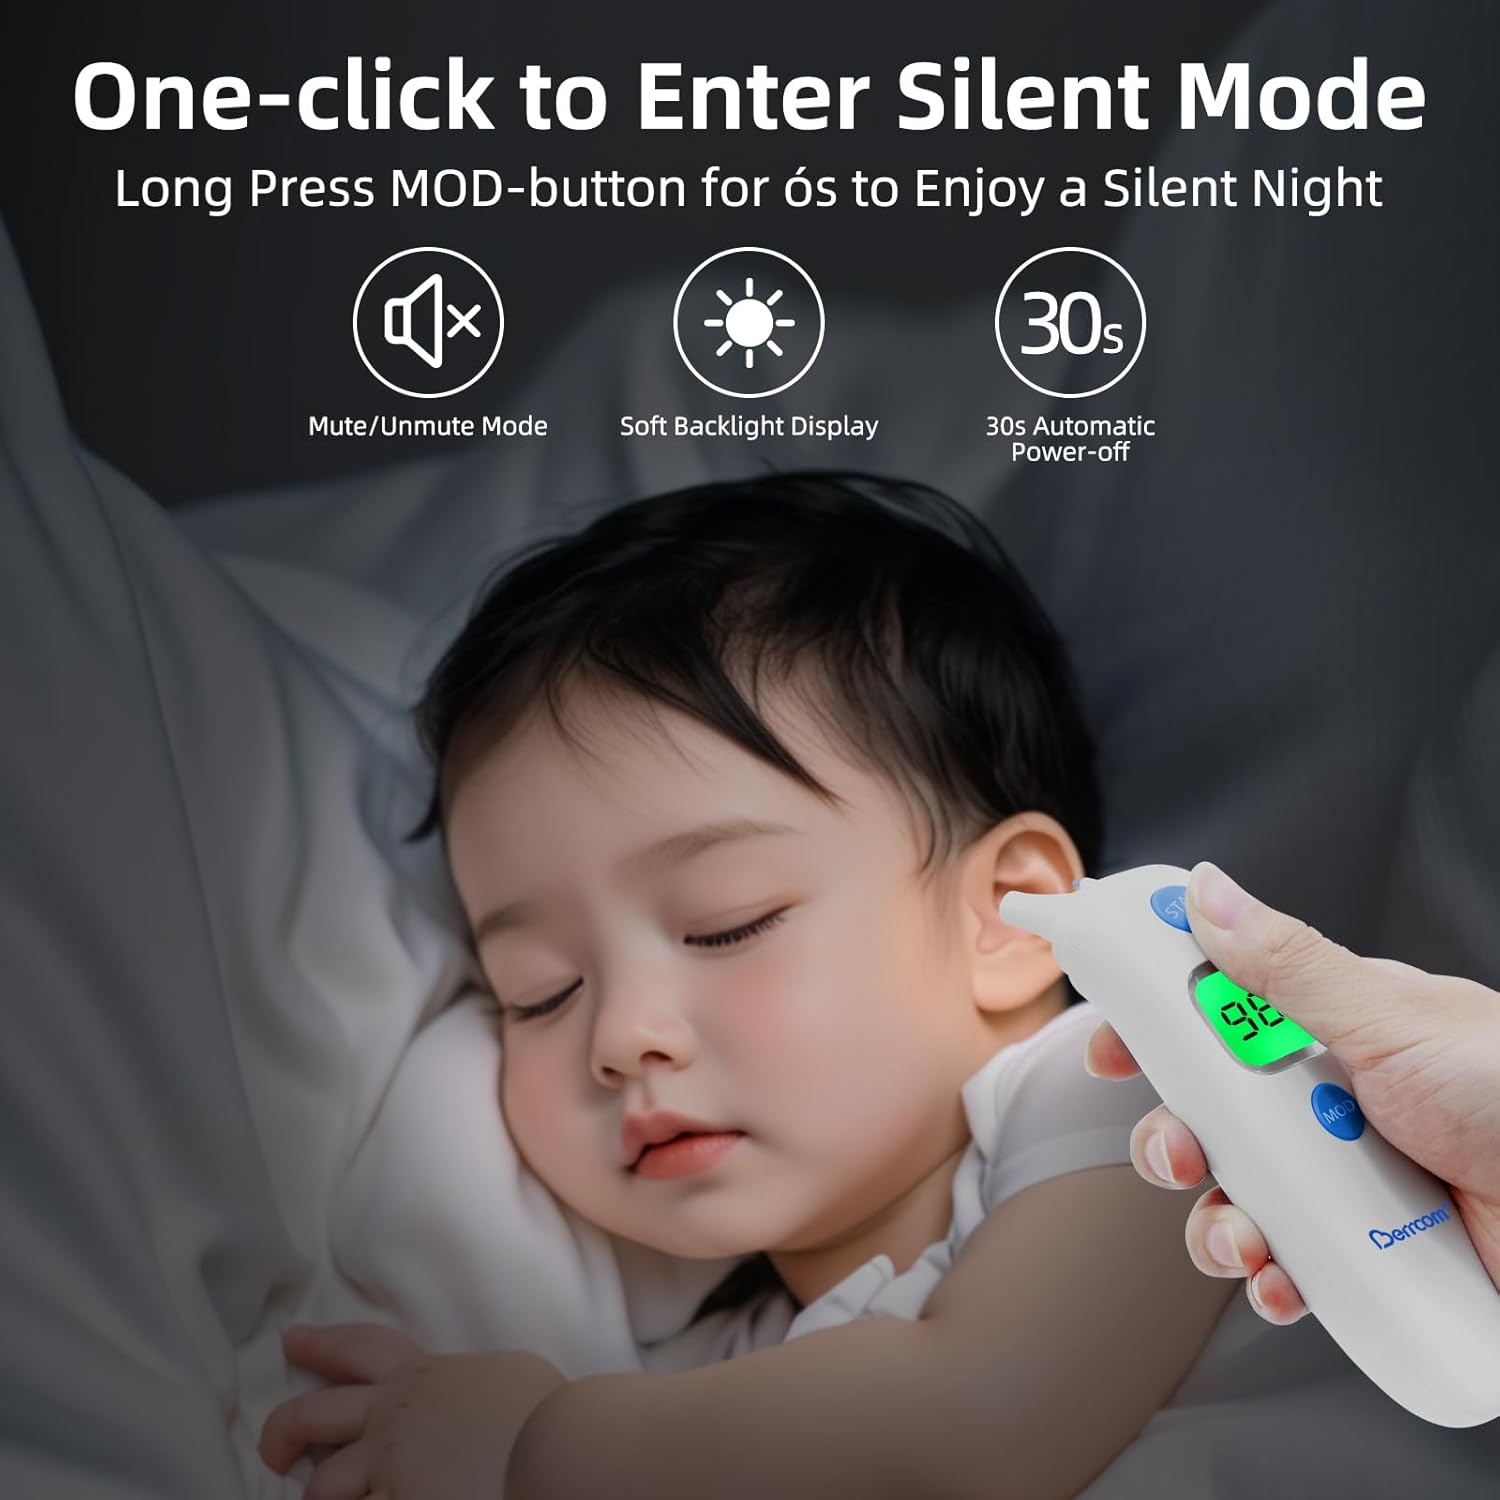
Figure 7: Using the thermometer in silent mode for undisturbed measurements.
5.6 Memory Recall
The thermometer can store up to 20 previous readings. To access the memory:
- Press the "MEM" button (typically the rightmost button on the control panel).
- Each press will cycle through the stored readings, allowing you to track temperature changes over time.
5.7 Switching Temperature Units (°C/°F)
To switch between Celsius (°C) and Fahrenheit (°F):
- While the thermometer is on, press and hold the "MODE" button for a few seconds until the unit changes.
- Release the button once your desired unit is displayed.

Figure 8: Easily switch between Celsius and Fahrenheit temperature units.
6. Maintenance
Proper maintenance ensures the longevity and accuracy of your Berrcom thermometer:
- Cleaning: Wipe the thermometer clean with a soft, dry cloth after each use. For disinfection, use an alcohol swab or a cloth dampened with rubbing alcohol. Do not immerse the thermometer in water or any other liquid.
- Storage: Store the thermometer in a cool, dry place, away from direct sunlight, extreme temperatures, and humidity. Keep it out of reach of children.
- Battery Care: Remove batteries if the thermometer will not be used for an extended period to prevent battery leakage and damage to the device.
7. Troubleshooting
If you encounter issues with your Berrcom thermometer, consider the following common troubleshooting steps:
- No Display/Power Issues:
- Check if the batteries are inserted correctly with the correct polarity.
- Replace old batteries with new AA batteries.
- Inaccurate Readings:
- Ensure the correct measurement mode (Body, Room, Object) is selected.
- Verify the distance from the forehead (1.2-2.0 inches) for non-contact measurements.
- Ensure the sensor lens is clean and free from dirt or debris.
- Allow the thermometer to acclimate to room temperature for at least 30 minutes if it has been in an environment with a significantly different temperature.
- Displaying "HI" or "LO":
- "HI" indicates the measured temperature is higher than the measurable range.
- "LO" indicates the measured temperature is lower than the measurable range.
- Ensure proper measurement technique and environmental conditions are within the specified operating range.
If problems persist, please refer to the Warranty and Support section for further assistance.
8. Specifications
| Specification | Value |
|---|---|
| Item Model Number | ET003 |
| Brand | Berrcom |
| Power Source | Battery Powered (2 AA batteries required) |
| Display Type | Digital |
| Special Feature | Backlit, Alarm, Auto Off, High Accuracy |
| Age Range (Description) | Adult, Kid, Infant, Baby, Toddler |
| Outer Material | Plastic |
| Product Care Instructions | Wipe Clean |
| Package Dimensions | 7.36 x 2.99 x 2.4 inches |
| Item Weight | 5.47 ounces |
| Country of Origin | China |
Note: The product specifications are subject to change without prior notice for product improvement.
9. Warranty and Support
Your Berrcom 3-in-1 Digital Infrared Thermometer comes with a 12-month replacement warranty. For any product-related inquiries, technical assistance, or warranty claims, please contact Berrcom customer support. We offer 24/7 friendly customer support to ensure your satisfaction.
Please retain your purchase receipt as proof of purchase for warranty purposes.


