
1. Introduction
Thank you for choosing the SEALIGHT SUV Tent. This manual provides essential information for the proper setup, operation, maintenance, and troubleshooting of your new tent. Please read this manual thoroughly before use to ensure a safe and enjoyable camping experience.
The SEALIGHT SUV Tent is designed for versatility and ease of use, offering a comfortable and secure shelter for your outdoor adventures. It can be attached to the rear of most SUVs and CUVs or used as a standalone tent.

Image 1.1: The SEALIGHT SUV Tent in its primary configuration, attached to the rear of a vehicle, showcasing its spacious design and integration with the vehicle's cargo area.
2. Product Components
Before beginning setup, ensure all components are present and accounted for. The package includes the following items:
- Tent body
- Rainfly
- Tent Bag
- Stake Bag
- Connectors
- Suction Cups (2)
- Stakes (8)
- Guy Lines (4)
- Clasps (4)

Image 2.1: An illustration detailing the various components included with the SEALIGHT SUV Tent, along with its overall dimensions: 10FT long, 8FT wide, and 7.2FT high.
3. Setup Instructions
The SEALIGHT SUV Tent features a quick-open design for easy setup, typically taking 3-5 minutes with 1-2 people. Follow these steps for proper installation:
- Step 1: Unfold the Tent
Lay the tent flat on the ground in your desired camping spot. Ensure there is enough clear space around the tent for full extension. - Step 2: Extend the Poles
Locate the quick-release bracket at the top of the tent. Gently pull the poles outwards until they click into place, forming the tent's frame. - Step 3: Secure Pole Clips
Attach the tent fabric to the poles using the integrated clips. Ensure all clips are securely fastened along the pole structure. - Step 4: Attach to Vehicle (Optional)
Position the tent's rear opening against the back of your SUV or CUV. Use the adjustable straps and connectors to secure the tent to the vehicle's tailgate or roof rack. - Step 5: Use Suction Cups
For additional stability and sealing, attach the included suction cups to smooth surfaces on your vehicle, such as windows or the tailgate, and connect them to the tent's attachment points. - Step 6: Stake Down the Tent
Use the provided stakes to secure the tent to the ground. Drive the stakes through the tent's loops at the base and any guy lines for maximum stability, especially in windy conditions. - Step 7: Install Rainfly
Drape the rainfly over the tent, aligning it with the tent's structure. Secure the rainfly to the tent poles or base using its integrated buckles or ties.
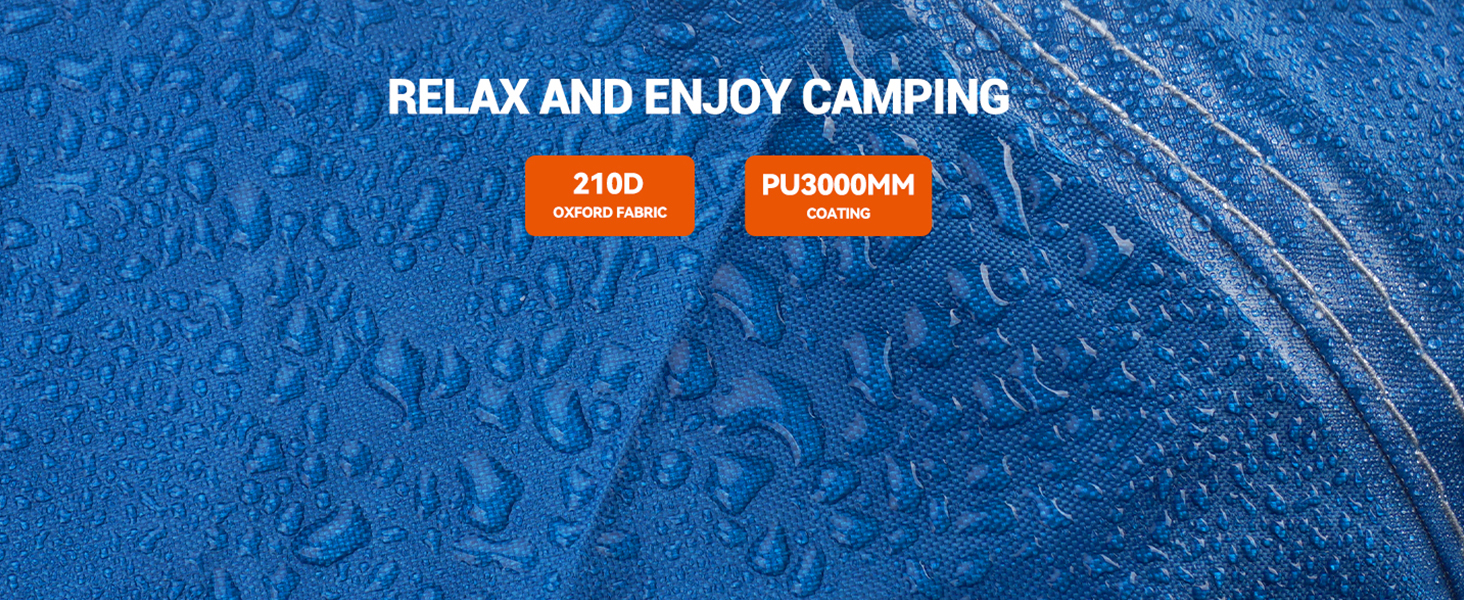
Image 3.1: Detail of the quick release bracket mechanism, designed for automatic and rapid tent frame assembly.

Image 3.2: A close-up view of a tent fabric clip securely attached to a tent pole, illustrating the method for securing the tent body to its frame.

Image 3.3: A tent attachment strap fastened around a car door handle, demonstrating one method of securing the tent to the vehicle.

Image 3.4: A suction cup attached to a car window for tent stability, alongside a strap secured around a vehicle tire, illustrating two key attachment points.

Image 3.5: A tent stake being driven into the ground to secure the tent's base, ensuring stability against wind and movement.
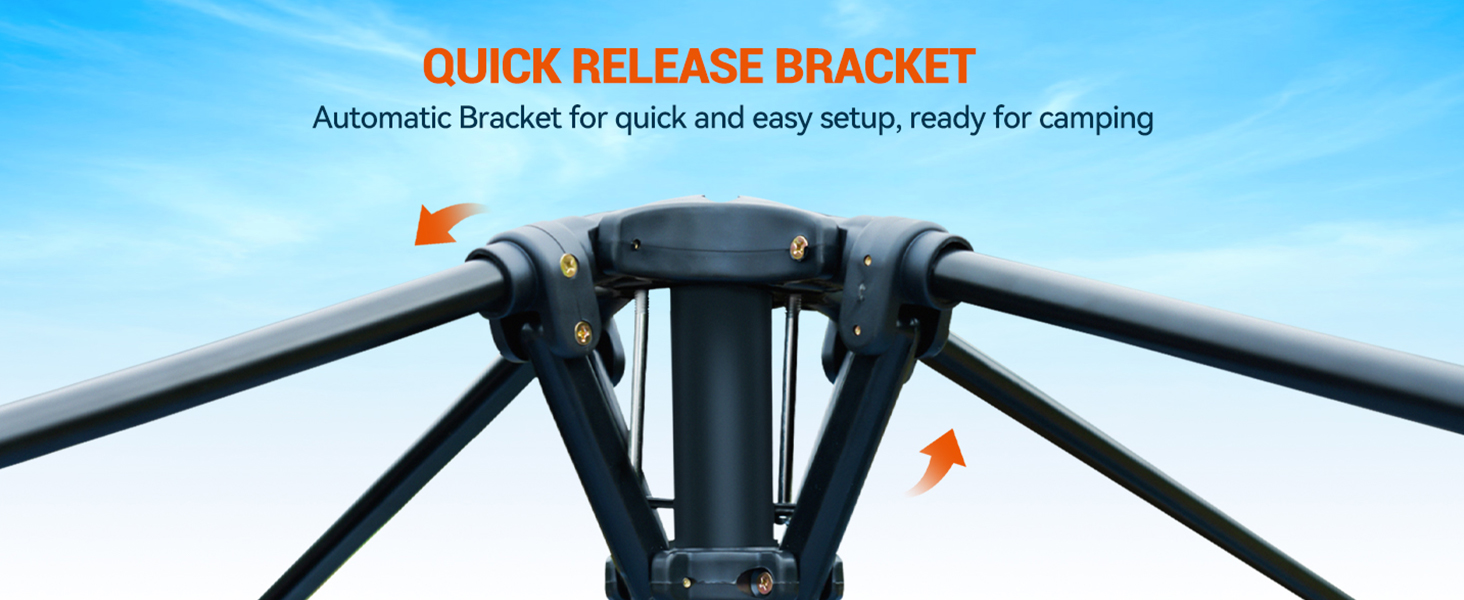
Image 3.6: A comprehensive visual guide showing eight sequential steps for quickly installing the SEALIGHT SUV Tent, from unfolding to final setup.
4. Operation and Features
The SEALIGHT SUV Tent is designed for comfort and convenience, offering several features to enhance your camping experience:
- 2-in-1 Use: This tent can be used attached to the rear of compatible vehicles (CUVs, SUVs like Toyota RAV4, Tesla Model Y, Honda CRV, Ford Explorer, Jeep Grand Cherokee) or as a standalone tent when detached.
- Maximum Ventilation: Three large mesh windows and a skylight ensure excellent airflow, reducing condensation and providing panoramic views.
- Spacious Interior: Measuring 8ft long, 7.2ft wide, and 10ft high, the tent offers comfortable standing room and accommodates 4-6 people.
- Storage Pockets: Conveniently located internal storage pockets help keep your essentials organized and within reach. A sturdy hanging lamp hook supports up to 2kg for lighting.

Image 4.1: A family enjoying their camping trip with the tent attached to their SUV, alongside an inset showing the tent's versatility as a standalone unit.

Image 4.2: An interior perspective of the tent, highlighting the expansive views and ample ventilation provided by the large mesh windows.
5. Maintenance and Care
Proper maintenance will extend the life of your SEALIGHT SUV Tent:
- Cleaning: The tent fabric is made from 210D Oxford fabric with a PU 3000mm coating. For cleaning, dry clean only is recommended. Avoid harsh chemicals or abrasive cleaners that could damage the waterproof coating.
- Waterproofing: The tent features a PU 3000mm waterproof coating and factory-sealed seams for excellent rain protection. Ensure the rainfly is properly installed during wet conditions.
- Drying: Always ensure the tent is completely dry before packing it away to prevent mildew and odor. If you must pack it wet, unpack and dry it as soon as possible.
- Storage: Store the tent in its original tent bag in a cool, dry place, away from direct sunlight and extreme temperatures.

Image 5.1: A magnified view of the tent's fabric surface, showing water beading on its waterproof coating, illustrating its excellent water resistance.
6. Troubleshooting
Here are some common issues and their potential solutions:
| Problem | Possible Cause | Solution |
|---|---|---|
| Tent not standing upright/stable | Poles not fully extended or locked; insufficient staking; loose guy lines. | Ensure all quick-release brackets are locked. Re-stake the tent firmly, using all provided stakes and adjusting guy lines for tension. |
| Water leakage | Rainfly not properly installed; damaged fabric/seams. | Verify rainfly is correctly positioned and secured. Check for visible damage; if significant, contact support. |
| Condensation inside tent | Insufficient ventilation; high humidity. | Open mesh windows and skylight for better airflow. Ensure proper air circulation. |
| Difficulty attaching to vehicle | Incorrect positioning; straps not adjusted properly. | Ensure vehicle is parked on level ground. Adjust straps and suction cups for a snug fit around the tailgate or roof rack. Refer to setup instructions. |
7. Specifications
| Brand | SEALIGHT |
| Model Name | SUV TENT |
| Product Dimensions (L x W x H) | 96.5" x 86.6" x 120.1" (10FT x 8FT x 7.3FT) |
| Item Weight | 9.8 Kilograms (21.6 Pounds) |
| Occupancy | 4-6 Person |
| Seasons | 4 Season |
| Material | 210D Oxford fabric (Tent), Polyester (Rainfly) |
| Water Resistance Technology | PU 3000mm coating |
| Installation Type | Attached to Vehicle Back / Standalone |
| Assembly Required | Yes |
8. Warranty and Support
The SEALIGHT SUV Tent comes with a 1-Year Warranty from the date of purchase, covering manufacturing defects. Please retain your proof of purchase for warranty claims.
For technical support, warranty inquiries, or any questions regarding your SEALIGHT SUV Tent, please contact SEALIGHT customer service through the official brand store or website. Provide your product model and purchase details for efficient assistance.
Visit the SEALIGHT Store on Amazon for more information and contact options.