
ChooChoo MC2501-WH
ChooChoo Wall Mounted Cabinet MC2501-WH Instruction Manual
Model: MC2501-WH
Introduction
Thank you for choosing the ChooChoo Wall Mounted Cabinet. This manual provides detailed instructions for assembly, operation, and maintenance to ensure safe and proper use of your new cabinet. This versatile storage solution is designed for various spaces including bathrooms, kitchens, and laundry rooms.
Safety Information
- Ensure proper mounting to prevent falling.
- Do not exceed the recommended load limit for shelves and the cabinet itself.
- Be cautious of pinch points and hazards related to doors and shelves during assembly and use.
- Keep small parts away from children during assembly.
Parts List
Before beginning assembly, verify that all parts are present and undamaged. Refer to the included hardware and panel diagrams for identification.
Hardware Components:
- A: Cam Bolts
- B: Cam Locks
- C: Screws (various sizes)
- D: Wooden Dowels
- E: Magnetic Catches
- F: Magnetic Plates
- G: Hinges
- H: Knobs
- I: Knob Screws
- J: Door Shelf Brackets
- K: Back Panel Strips
- L: Shelf Pins
- M: Wall Anchors
- N: Wall Screws
- O: Back Panel Screws
- P: Metal Rods for Door Shelves
- Q: Small Screwdriver (for assembly)
Panel Components:
- Numbered panels (1-15) as per the assembly diagram.
Assembly Instructions
Follow these steps carefully for proper assembly. It is recommended to assemble the cabinet on a soft, clean surface to prevent scratches.
Official Assembly Video:
Video: Detailed step-by-step guide on how to assemble the ChooChoo Bathroom Wall Cabinet.
- Step 1: Prepare Side Panels (Parts 1 & 2)
Insert 4 Cam Bolts (A) and 4 Wooden Dowels (D) into the designated holes on panels 1 and 2. Ensure they are securely fastened.

Image: Securing cam bolts and wooden dowels into the side panels.
- Step 2: Attach Bottom Panel (Part 5) and Back Support (Part 7)
Connect panel 5 (bottom panel) to panel 2 using cam locks (B). Attach panel 7 (back support) to panel 5 using cam locks (B).
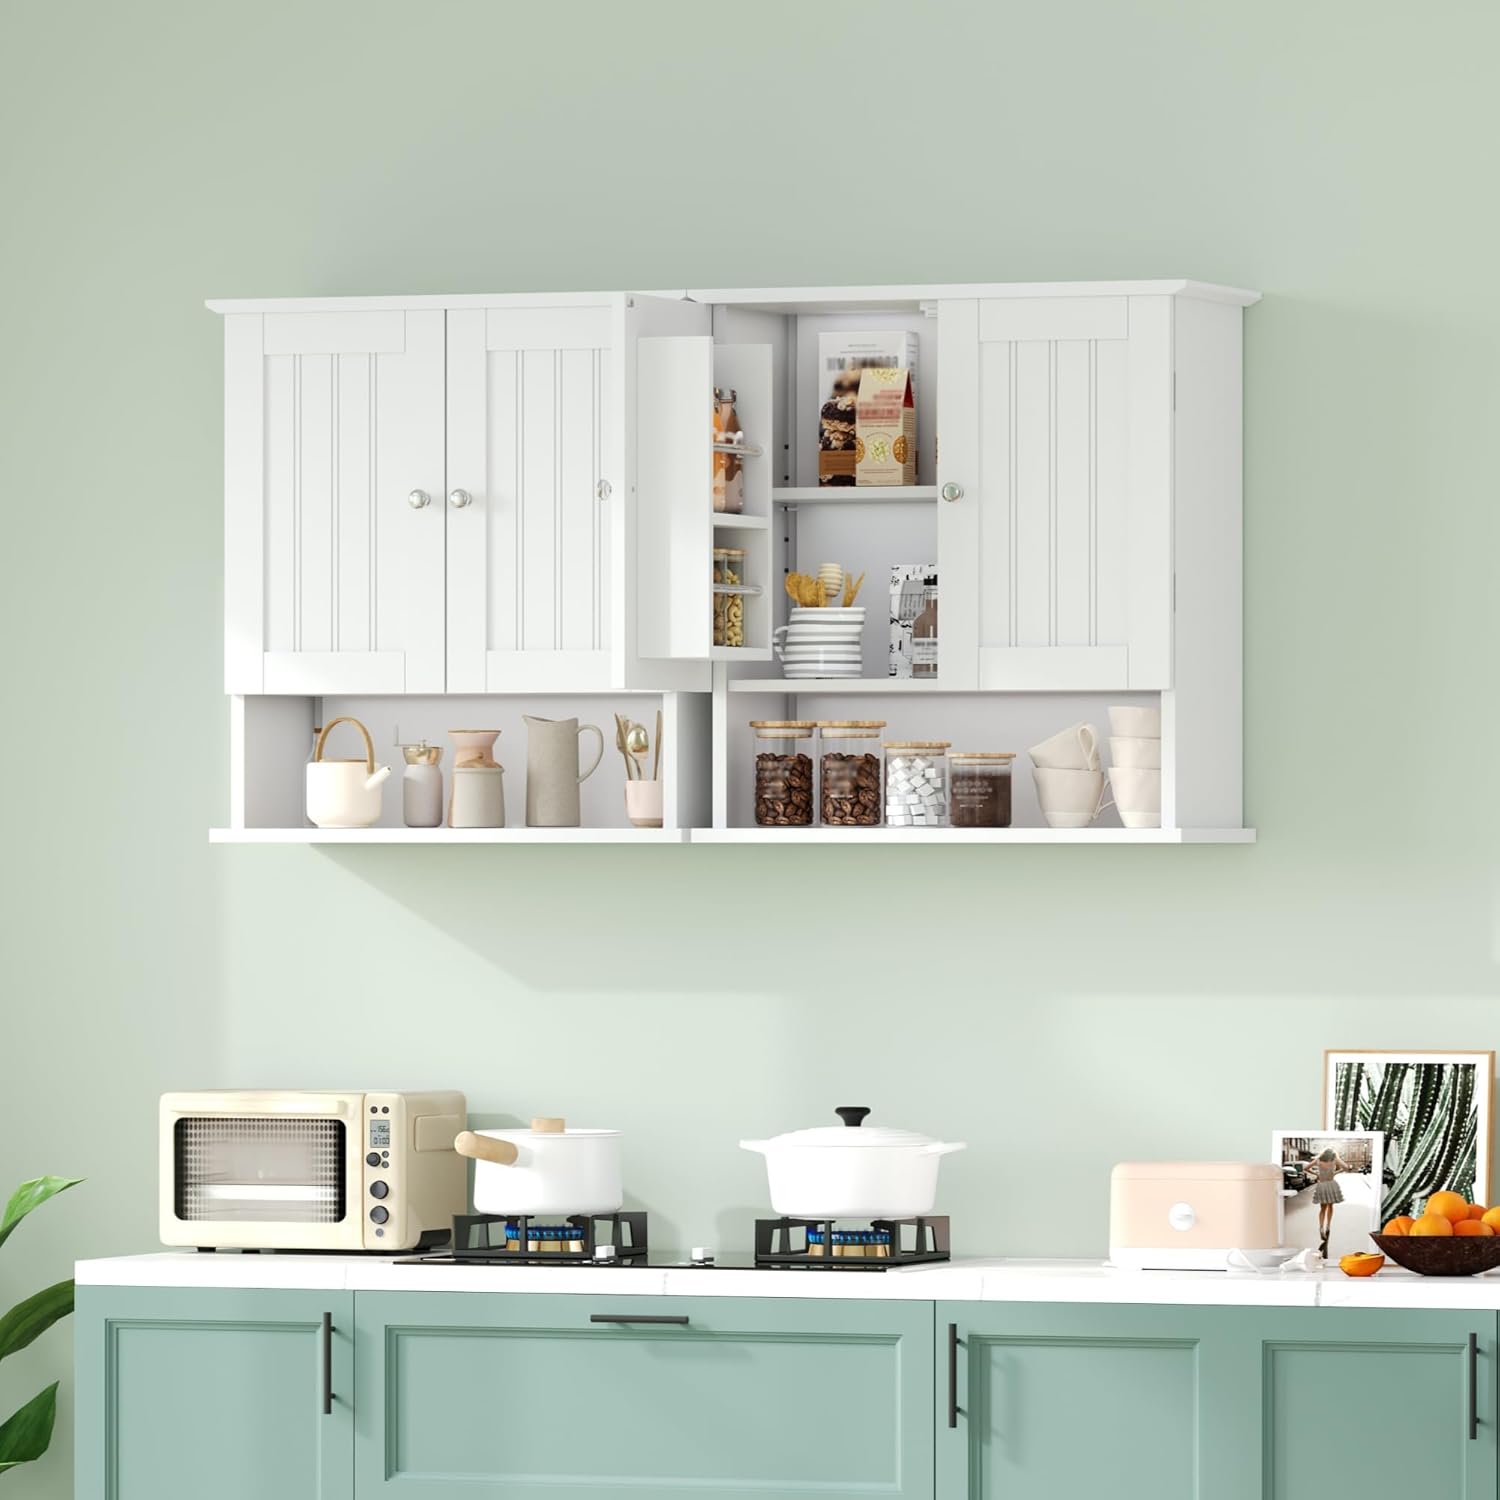
Image: Connecting the bottom panel to the side structure.
- Step 3: Attach Top Panel (Part 1)
Connect panel 1 (top panel) to the assembled structure using cam locks (B).
- Step 4: Insert Middle Shelf (Part 10)
Slide panel 10 (middle shelf) into the grooves on the side panels. Secure with wooden dowels (D).
- Step 5: Attach Back Panel (Part 6)
Slide panel 6 (back panel) into the rear grooves of the cabinet. Secure with screws (O).
- Step 6: Attach Back Panel Strips (Part 8)
Attach the back panel strips (K) to the top and bottom rear edges of the cabinet (Part 8) using screws.
- Step 7: Install Magnetic Catches (E)
Attach the magnetic catches (E) to the top interior of the cabinet using screws (A).
- Step 8: Assemble Door Shelves (Parts 13, 14, 15)
For each door shelf, insert cam bolts (A) and wooden dowels (D) into panels 13 and 14. Connect panel 15 (door shelf base) to panels 13 and 14 using cam locks (B). Insert metal rods (P) into the designated holes on the door shelves.

Image: Assembling the internal door shelves with metal rods.
- Step 9: Attach Magnetic Plates (F)
Attach the magnetic plates (F) to the inside of the cabinet doors (Parts 11 & 12) using screws (A).
- Step 10: Attach Hinges (G) to Doors
Attach the hinges (G) to the cabinet doors (Parts 11 & 12) using screws (C).
- Step 11: Attach Doors to Cabinet
Align the hinges on the doors with the pre-drilled holes on the main cabinet structure. Secure the doors using screws (C).
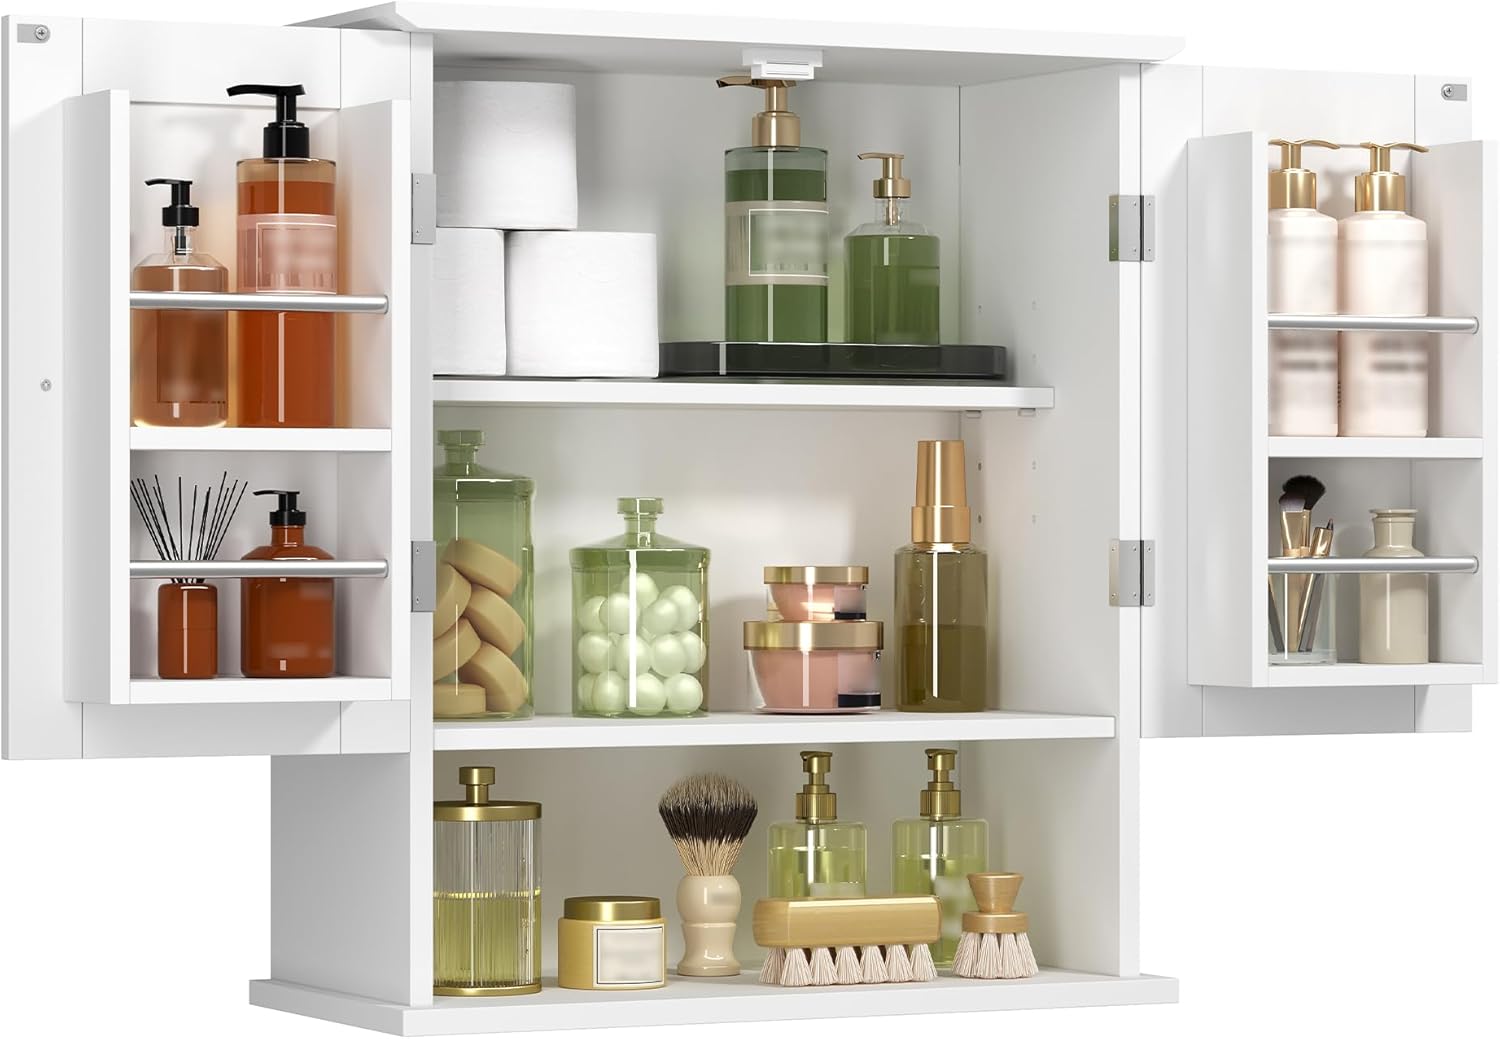
Image: Attaching the doors to the main cabinet body.
- Step 12: Install Knobs (H)
Attach the knobs (H) to the front of the doors using knob screws (I).
- Step 13: Install Adjustable Shelf (Part 4)
Insert shelf pins (L) into the desired height holes inside the main cabinet. Place the adjustable shelf (Part 4) onto the pins.

Image: Installing the adjustable shelf inside the cabinet.
- Step 14: Wall Mounting
Identify a suitable location on the wall. Use the provided wall anchors (M) and wall screws (N) to secure the cabinet to the wall through the pre-drilled holes in the back panel strips. It is recommended to mount into wall studs for maximum stability. If mounting into drywall, use appropriate heavy-duty drywall anchors (not always included, may need to be purchased separately).
Operating Instructions
- Opening/Closing Doors: Gently pull the knobs to open the doors. The magnetic catches will hold them securely closed.
- Adjusting Shelves: The main internal shelf is adjustable. To change its height, remove items from the shelf, lift the shelf, remove the shelf pins, re-insert pins into desired holes, and place the shelf back on the pins.
- Using Door Shelves: The shelves on the inside of the doors are designed for smaller items. The metal rods help prevent items from falling out when the door is opened.
Maintenance
- Cleaning: Wipe the cabinet surfaces with a soft, damp cloth. Avoid abrasive cleaners or harsh chemicals that may damage the finish.
- Moisture: While the cabinet is moisture-resistant, avoid prolonged exposure to excessive water or humidity. Wipe up spills immediately.
- Hardware: Periodically check all screws and fasteners to ensure they are tight. Tighten if necessary to maintain stability.
Troubleshooting
| Problem | Possible Cause | Solution |
|---|---|---|
| Cabinet feels wobbly after mounting. | Improper wall mounting or loose fasteners. | Ensure cabinet is securely mounted to wall studs. Tighten all assembly screws. Consider using stronger wall anchors if not mounted to studs. |
| Doors do not close properly or are misaligned. | Loose hinges or magnetic catches. | Check and tighten hinge screws. Adjust magnetic catches if they are not aligning correctly. |
| Shelf sags or falls. | Overloaded shelf or improperly inserted shelf pins. | Reduce weight on the shelf. Ensure shelf pins are fully inserted into the holes and the shelf is resting evenly. |
Specifications
- Brand: ChooChoo
- Model Name: Medicine Cabinet
- Model Number: MC2501-WH
- Color: White
- Product Dimensions: 10.24"D x 21.65"W x 22.83"H
- Item Weight: 24.2 pounds
- Material: Engineered Wood (P2 grade MDF board)
- Finish Type: Painted
- Mounting Type: Wall Mount
- Special Feature: Adjustable Shelf, Door Shelves
- Assembly Required: Yes
Support
For any questions regarding assembly, missing parts, or product issues, please contact ChooChoo customer support. Our professional team is available to provide assistance and solutions.
Please refer to your purchase documentation for specific contact details.
Ask a question about this manual
Ask about setup, troubleshooting, compatibility, parts, safety, or missing instructions. Manuals+ will review the question and use this page’s manual context to help answer it.