
1. Introduction
Thank you for choosing the Rideplux 35-Speed Electric Bike. This manual provides essential information for the safe operation, assembly, maintenance, and troubleshooting of your new electric bicycle. Please read this manual thoroughly before your first ride to ensure optimal performance and safety.
2. Safety Information
Your safety is paramount. Always wear a helmet and appropriate safety gear when riding. Adhere to all local traffic laws and regulations. Regular inspection and maintenance are crucial for safe operation.
- Ensure all components are securely fastened before each ride.
- Do not operate the bike under the influence of alcohol or drugs.
- Be aware of your surroundings and potential hazards.
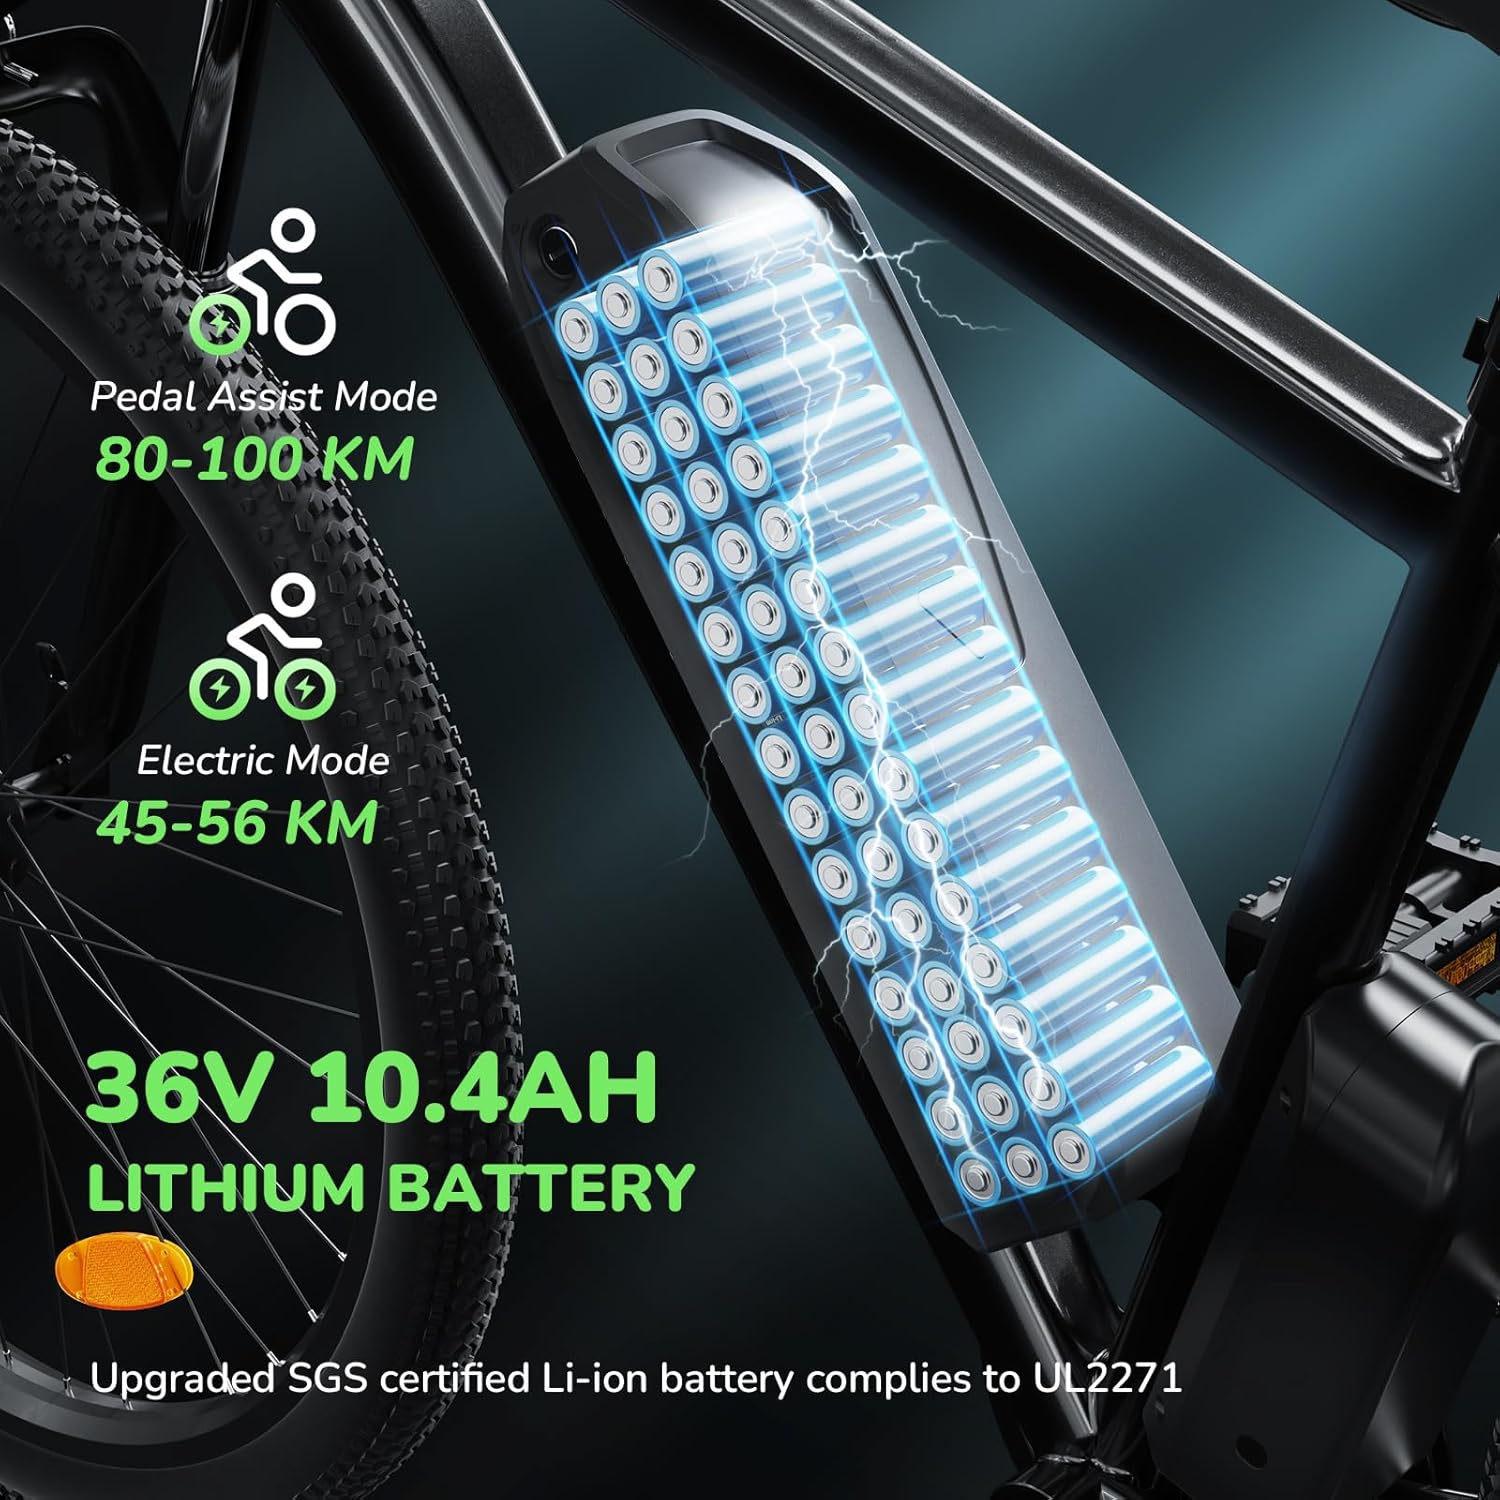
- The battery is UL 2271 certified, and the entire e-bike is UL 2849 certified for safety.
- Do not modify the electrical system or components.
3. Components Overview
Familiarize yourself with the main components of your Rideplux Electric Bike:



4. Setup and Assembly
Your Rideplux Electric Bike arrives 85% pre-assembled. The remaining assembly typically involves attaching the front wheel, handlebars, pedals, and seat. All necessary tools and detailed instructions are included in the package.
- Carefully unpack all components and remove protective packaging.
- Attach the front wheel, ensuring the quick-release skewer is properly secured.
- Install the handlebars, aligning them correctly and tightening the stem bolts.
- Screw in the pedals (note: left and right pedals are distinct).
- Insert the seat post and adjust the seat height for comfortable riding.
- Fully charge the battery before first use (refer to Battery Information section).
- Perform a pre-ride safety check, ensuring all bolts are tight and brakes are functional.
5. Operating Instructions
5.1 Powering On/Off
To power on the bike, press and hold the 'M' button on the LCD display for a few seconds. Repeat to power off.
5.2 Riding Modes
Your e-bike offers multiple riding modes:
- Pure Electric Mode: Use the throttle for propulsion without pedaling. Range: 39-43 miles.
- Pedal Assist Mode (PAS): The motor provides assistance as you pedal. Adjust assist levels using the '+' and '-' buttons on the display. Range: 45-55 miles.
- Normal Bicycle Mode: Ride without electric assistance, like a traditional bicycle.
5.3 Gear Shifting
The professional 35-speed transmission system allows for smooth gear changes. Use the trigger shifters on the handlebars to select the appropriate gear for your terrain and desired speed.
5.4 Lights and Horn
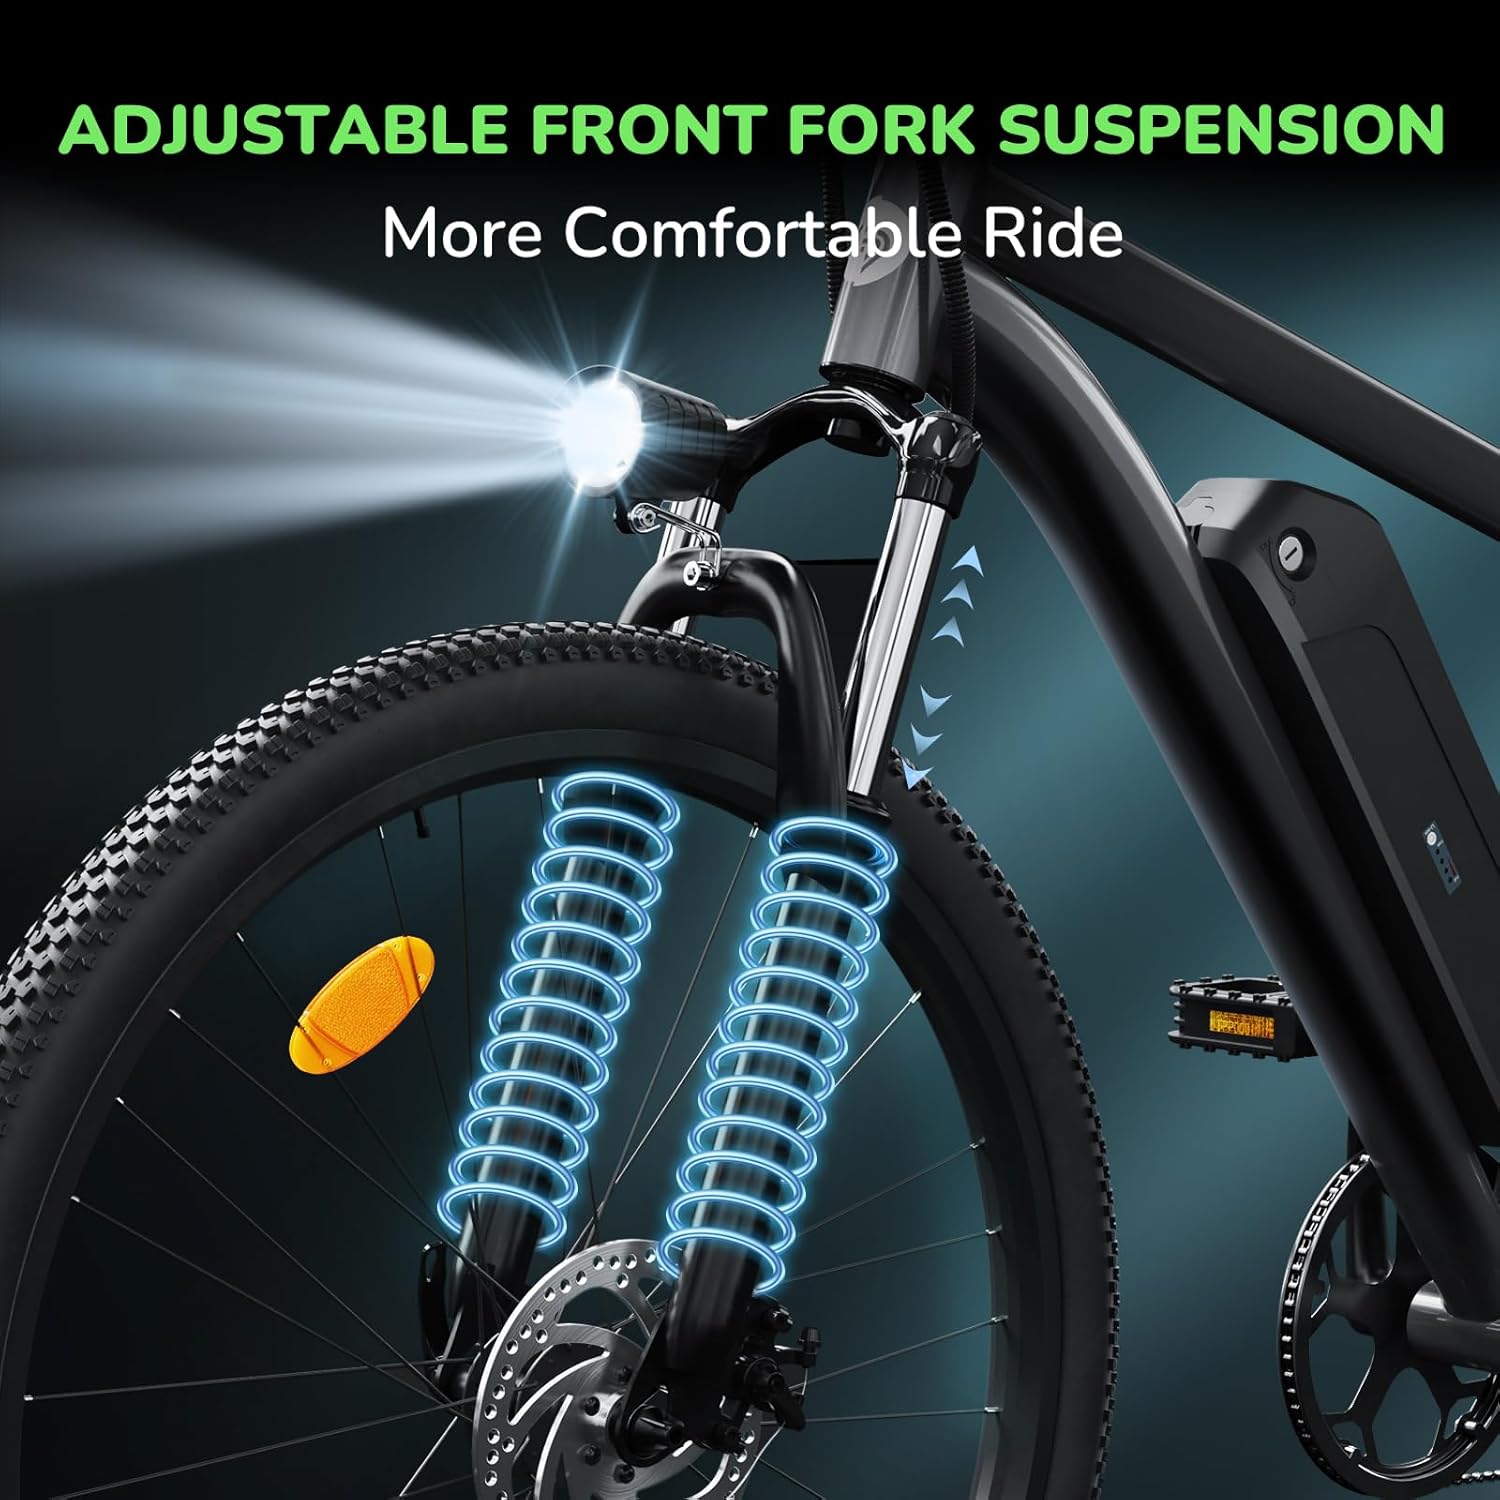
Activate the integrated headlight for improved visibility. The bike also features a horn for alerting others.
5.5 Braking System
The bike is equipped with front and rear mechanical disc brakes for reliable stopping power. Always apply both brakes simultaneously for effective and safe braking.
6. Battery Information
The Rideplux Electric Bike is powered by a 36V 374.4Wh removable Lithium-Ion battery. It is IPX5 waterproof, providing protection against splashes.
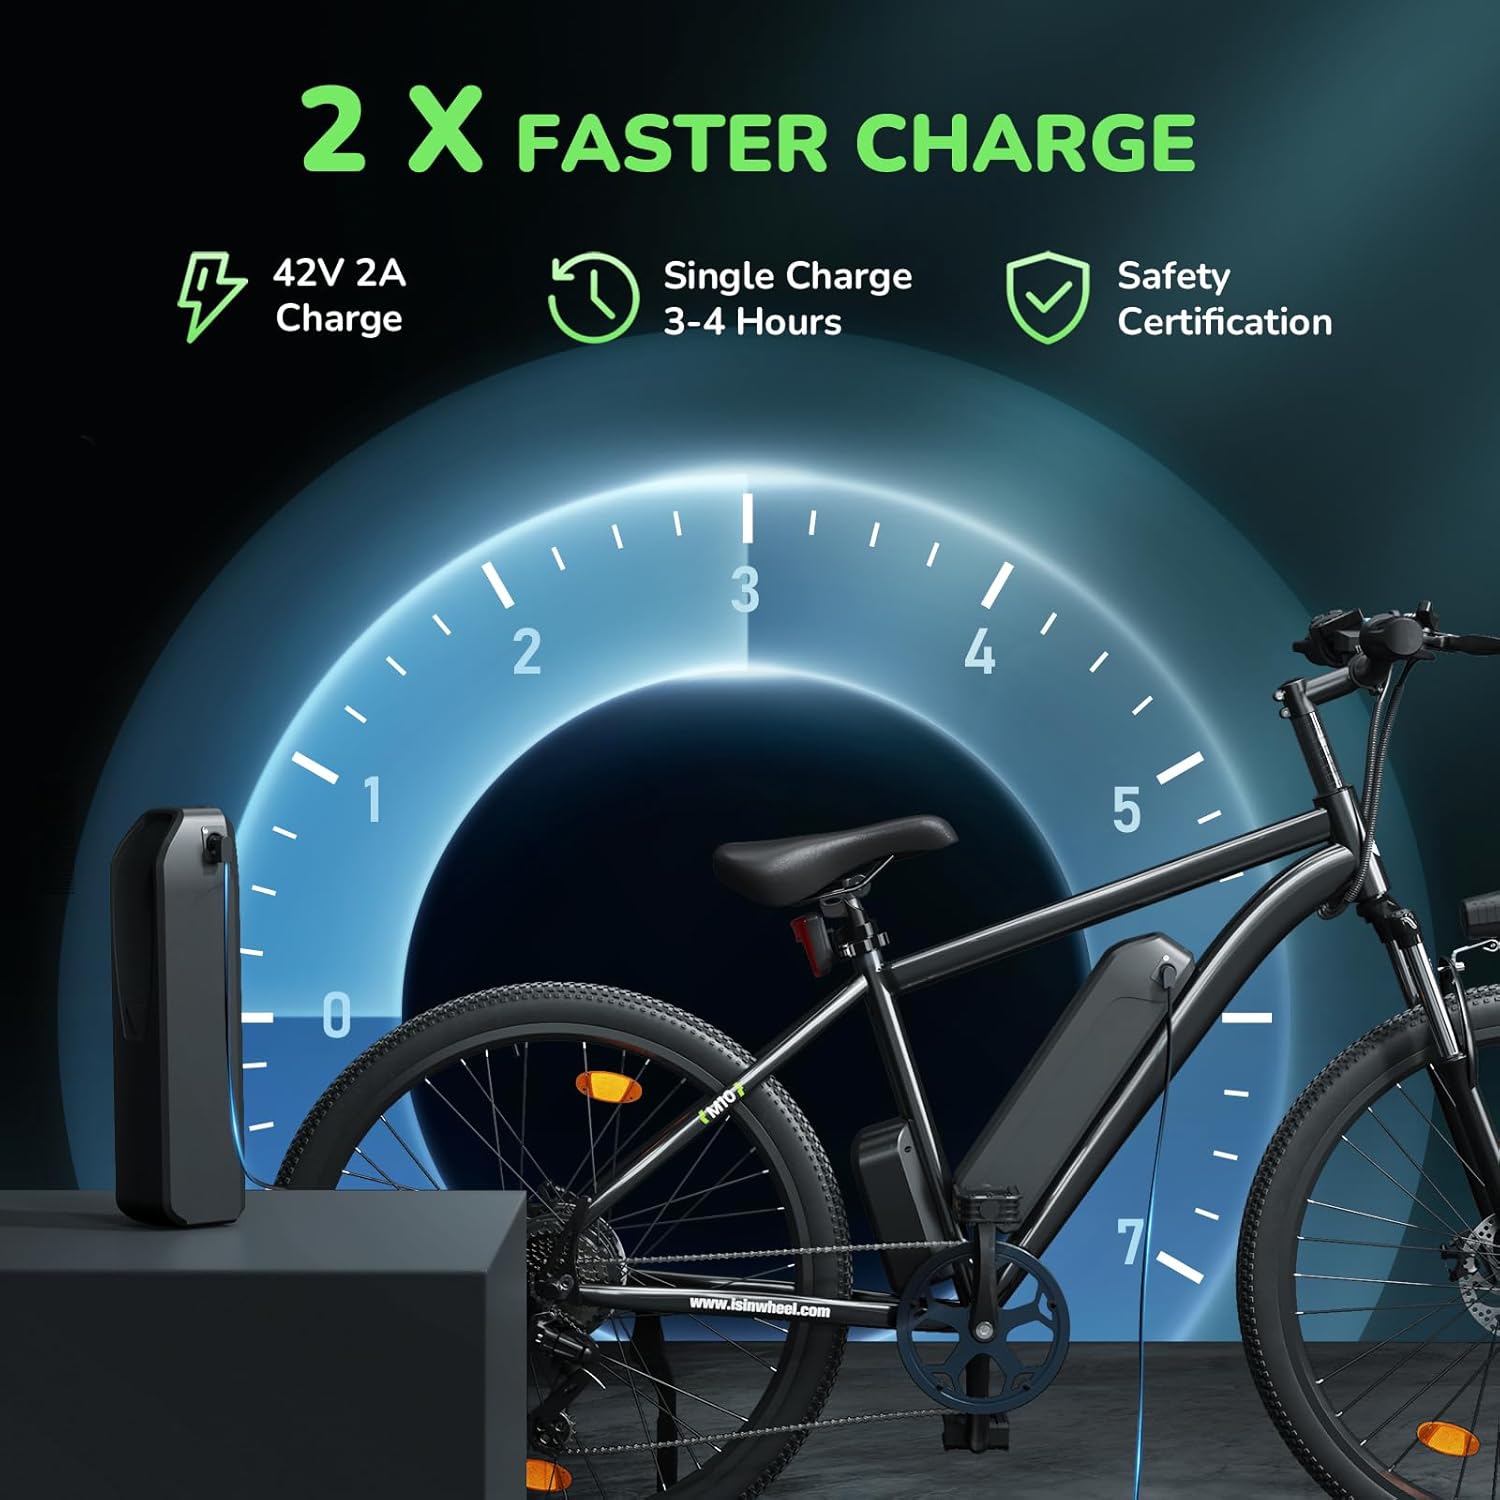
- Charging Time: A full charge takes approximately 3-4 hours using the provided charger.
- Charging Port: The charging port is located on the battery pack, typically near the bottom bracket area of the frame.
- Safety Certifications: The battery is UL 2271 certified, and the entire e-bike is UL 2849 certified, ensuring high safety standards.
- Battery Care: Store the battery in a cool, dry place. Avoid extreme temperatures. Charge regularly, even if not in use, to maintain battery health.
7. Maintenance
Regular maintenance will prolong the life of your electric bike and ensure safe operation:
- Tire Pressure: Check tire pressure before each ride. Maintain recommended PSI for optimal performance and safety.
- Brakes: Regularly inspect brake pads and cables for wear. Adjust as needed to ensure responsive braking.
- Chain: Keep the chain clean and lubricated to prevent rust and ensure smooth gear changes.
- Bolts and Fasteners: Periodically check and tighten all bolts and fasteners, especially on critical components like handlebars, wheels, and seat post.
- Cleaning: Clean the bike with a damp cloth. Avoid high-pressure washing directly on electrical components.
- Battery: Refer to the Battery Information section for proper battery care.
8. Troubleshooting
Here are some common issues and their potential solutions:
| Problem | Possible Cause | Solution |
|---|---|---|
| Bike does not power on | Battery not charged or not properly inserted; 'M' button not held long enough. | Ensure battery is fully charged and securely seated. Press and hold the 'M' button on the display for several seconds. |
| Motor not assisting / No power | Low battery; PAS level set to 0; Loose electrical connection. | Charge battery; Increase PAS level using '+' button; Check all visible electrical connections. |
| Battery not charging | Charger not connected properly; Faulty charger or battery. | Ensure charger is securely plugged into both the battery and the wall outlet. If issue persists, contact customer support. |
| Brakes feel weak | Worn brake pads; Loose brake cables; Contaminated rotors. | Inspect and replace worn brake pads. Adjust brake cable tension. Clean rotors with disc brake cleaner. |
For issues not listed here, or if solutions do not resolve the problem, please contact Rideplux customer support.
9. Specifications
| Feature | Detail |
|---|---|
| Bike Type | Mountain Bike |
| Age Range (Description) | Adult |
| Brand | Rideplux |
| Number of Speeds | 7 |
| Color | Black |
| Wheel Size | 26 Inches |
| Frame Material | Aluminum |
| Suspension Type | Front |
| Special Feature | 750W Brushless Motor, front fork suspension |
| Included Components | 1* Electric Bike |
| Size | Medium |
| Brake Style | Disc |
| Style | Urban |
| Model Name | M10 Black |
| Power Source | Electric motor |
| Wheel Material | Aluminum |
| Year | 2025 |
| Lithium Battery Energy Content | 374.4 Watt Hours |
| Warranty Type | Limited |
| Assembly Required | Yes |
| Bicycle Gear Shifter Type | Trigger |
| Derailleur Configuration | Front |
| Bicycle Drivetrain Type | Derailleur |
| Electric Assist Type | Electric (Pedal Assist) |
| Manufacturer | Shenzhen Xincheng Time Technology Co.,Ltd |
10. Warranty and Support
Your Rideplux Electric Bike comes with a 12-month warranty from the date of purchase. This warranty covers manufacturing defects and issues arising from normal use.
For any questions, technical assistance, or warranty claims, please do not hesitate to contact Rideplux customer support. We are committed to providing prompt assistance and will reply within 24 hours.
Contact Information: Please refer to your purchase documentation or the Rideplux official website for the most current contact details.