
Product Overview
This manual provides detailed instructions for the installation, operation, and maintenance of your Lynnoland 6-Light Farmhouse Chandelier. Please read this manual thoroughly before beginning installation to ensure safe and proper use.
The Lynnoland 6-Light Farmhouse Chandelier (Model X68006) features a modern design with a matte black metal frame and clear glass shades. It is designed for indoor use in various rooms such as dining rooms, kitchen islands, living rooms, and bedrooms. The fixture is height adjustable to suit different ceiling types and room configurations.

Figure 1: Lynnoland 6-Light Farmhouse Chandelier (Model X68006) with matte black finish and clear glass shades.
Safety Information
Always follow basic safety precautions when installing or working with electrical fixtures. Failure to do so may result in fire, electric shock, or serious personal injury.
- WARNING: To avoid electric shock, disconnect power at the circuit breaker or fuse box before installation.
- All electrical connections must be in accordance with local codes, ordinances, or the National Electric Code (NEC). Consult a qualified electrician if you are unfamiliar with proper electrical wiring connections.
- Use only UL-listed wire connectors.
- Do not exceed the maximum wattage specified for the bulbs. This fixture requires 6 E26 base bulbs, maximum 60 watts each.
- Handle glass components with care to prevent breakage.
- Ensure the fixture is securely mounted to a structural element of the ceiling.
Package Contents
Verify that all parts are included in the package before beginning assembly. If any parts are missing or damaged, contact Lynnoland customer service.
| Item | Description | Quantity |
|---|---|---|
| A | Mounting Bracket | 1 |
| B | Canopy | 1 |
| C | Downrods (various lengths) | Multiple |
| D | Fixture Body with Arms | 1 |
| E | Glass Shades | 6 |
| F | Mounting Hardware Kit (screws, wire nuts, etc.) | 1 set |
| G | Instruction Manual | 1 |
Setup and Installation
Estimated Installation Time: 60-90 minutes (for two people)
Tools Required (Not Included): Phillips screwdriver, flathead screwdriver, wire strippers, electrical tape, ladder, safety glasses.
Step 1: Prepare for Installation
- Turn off power at the circuit breaker or fuse box to the outlet box where the fixture will be installed.
- Remove existing fixture and disconnect all electrical wiring.
- Carefully unpack the new fixture and its components. Place all parts on a clean, flat surface to prevent scratches or damage.

Figure 2: All components should be carefully unpacked and laid out before starting installation.
Step 2: Assemble the Fixture Body
- Attach the arms to the central fixture body (D) if they are not pre-assembled. Ensure they are securely tightened.
- Determine the desired hanging height. Connect the appropriate number of downrods (C) to the top of the fixture body (D) and to the canopy (B). The fixture is height adjustable, suitable for flat, sloped, or vaulted ceilings.

Figure 3: The chandelier's dimensions and adjustable height feature, showing suitability for various ceiling types.
Step 3: Install Mounting Bracket
- Secure the mounting bracket (A) to the electrical outlet box using the provided screws. Ensure the bracket is firmly attached and level.
Step 4: Wire the Fixture
- Connect the fixture's black wire to the house's black (hot) wire using a wire nut.
- Connect the fixture's white wire to the house's white (neutral) wire using a wire nut.
- Connect the fixture's ground wire to the house's ground wire (bare copper or green) and to the mounting bracket's ground screw.
- Carefully tuck all wires into the outlet box.
Step 5: Mount the Fixture
- Align the canopy (B) with the mounting bracket (A) and secure it with the decorative nuts or screws provided.
Step 6: Install Glass Shades and Bulbs
- Carefully place each glass shade (E) over its respective bulb socket on the fixture arms. Secure them according to the design (e.g., with a threaded ring).
- Screw in 6 E26 base bulbs (not included) into the sockets. Do not exceed 60 watts per bulb.
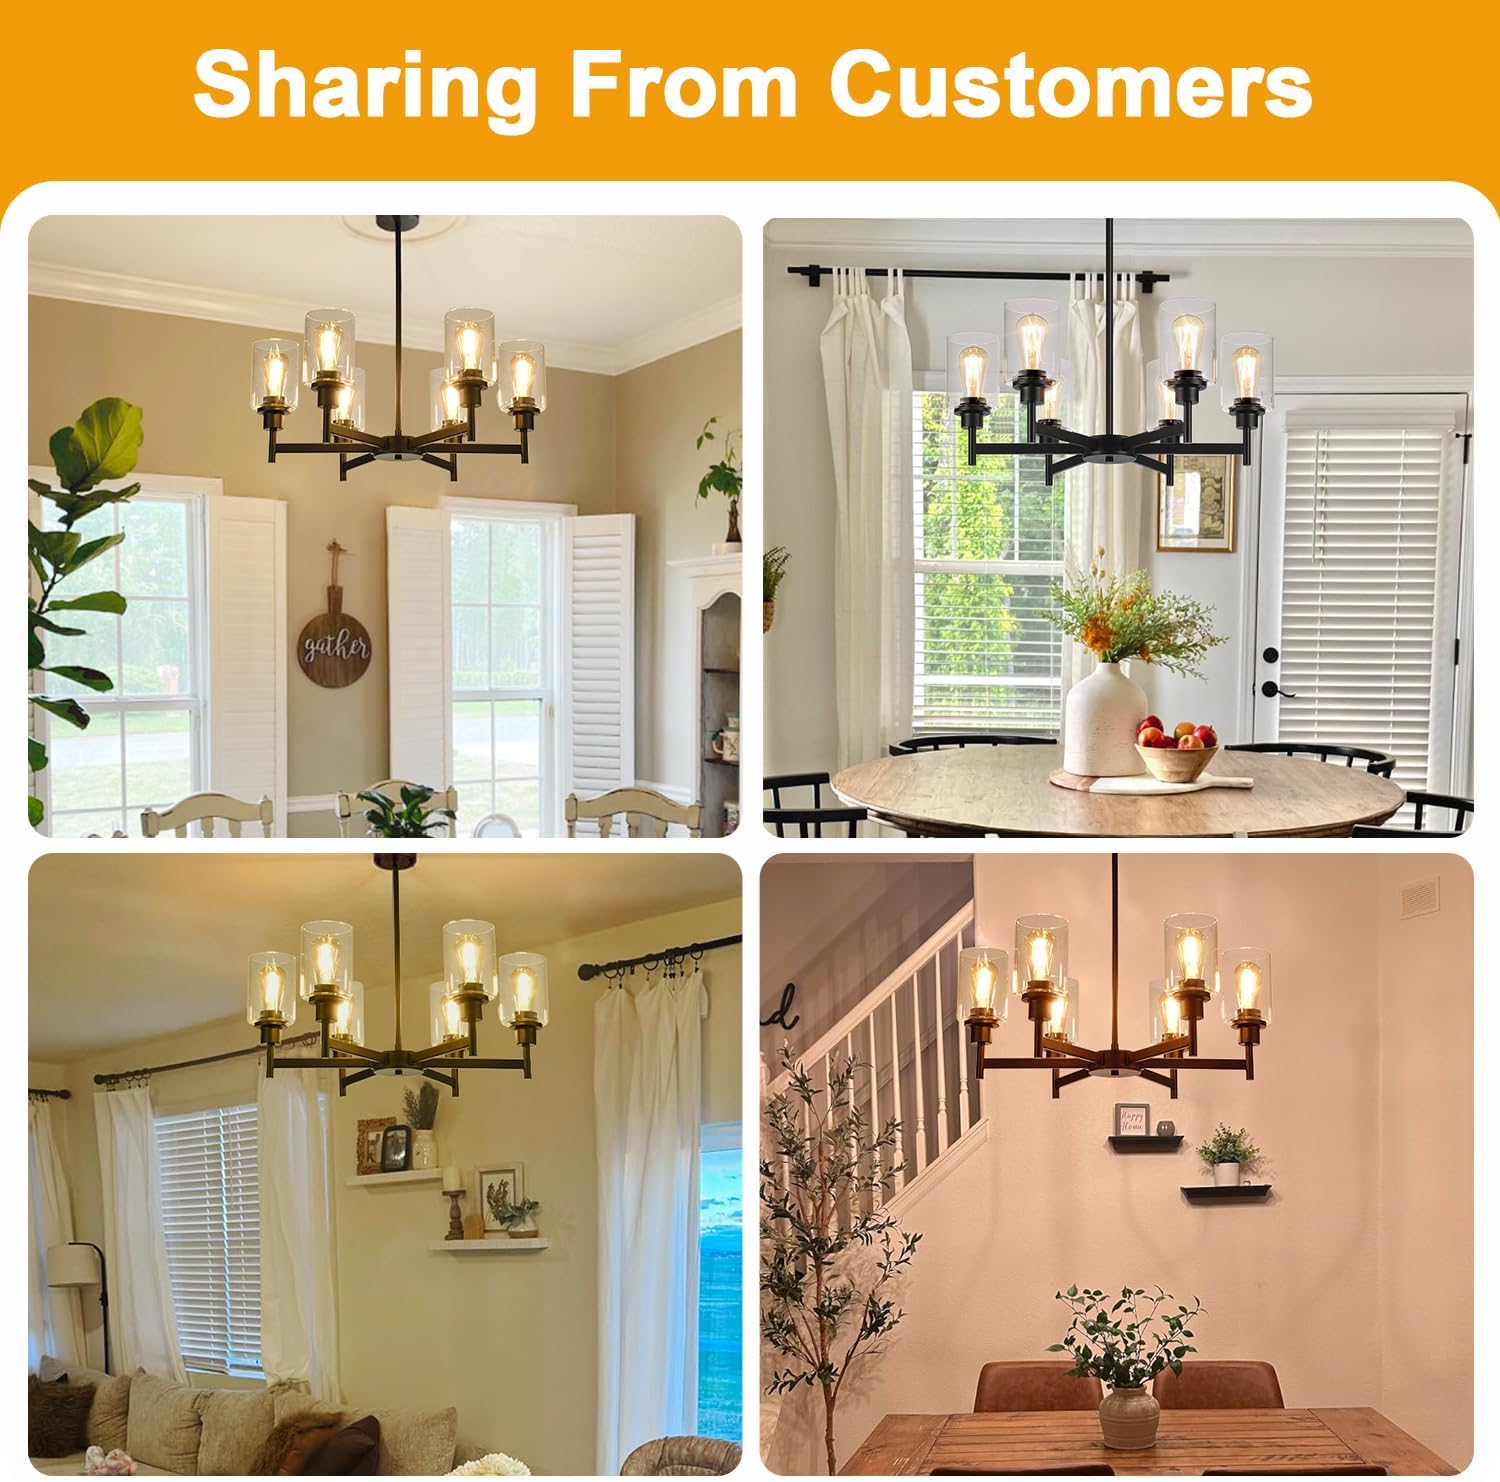
Figure 4: Detail of the clear glass shade and E26 bulb socket. Note the thick, solid glass construction.
Operating Instructions
Once installation is complete and all connections are secure:
- Restore power to the circuit at the breaker or fuse box.
- Turn on the wall switch connected to the fixture.
- The chandelier should illuminate. If it does not, refer to the Troubleshooting section.
Maintenance and Care
- Cleaning: To clean the fixture, turn off the power and allow it to cool. Wipe the metal parts with a soft, dry cloth. Clean glass shades with a mild glass cleaner and a soft cloth. Do not use abrasive cleaners or polishes as they may damage the finish.
- Bulb Replacement: Always turn off power before replacing bulbs. Allow old bulbs to cool before removing. Replace with E26 base bulbs, maximum 60 watts.
- Inspection: Periodically inspect the wiring and connections for any signs of wear or damage. If any issues are found, consult a qualified electrician.
Troubleshooting
| Problem | Possible Cause | Solution |
|---|---|---|
| Fixture does not light | 1. Power is off at circuit breaker. 2. Loose wire connections. 3. Faulty bulb(s). 4. Wall switch is off. | 1. Turn on power at circuit breaker. 2. Check all wire connections and re-secure. 3. Replace bulb(s). 4. Turn on wall switch. |
| Flickering lights | 1. Loose bulb. 2. Loose wire connection. 3. Incompatible dimmer switch (if applicable). | 1. Tighten bulb(s). 2. Check and tighten wire connections. 3. Ensure dimmer switch is compatible with LED/incandescent bulbs. |
| Glass shade broken or chipped | Damage during shipping or handling. | Contact Lynnoland customer service for replacement parts. |
Specifications
- Model: X68006
- Brand: Lynnoland
- Color: Matte Black + Clear Glass
- Material: Alloy Steel, Glass
- Dimensions: 25"L x 25"W x 30"H (Adjustable Height)
- Weight: Approximately 10.06 pounds
- Light Source: 6 x E26 Base Bulbs (not included)
- Max Wattage: 60 Watts per bulb
- Voltage: 110 Volts
- Indoor/Outdoor Usage: Indoor
- Style: Modern Farmhouse Chandelier
Warranty and Support
Lynnoland provides a 36-month warranty and technical support for this product. If you encounter any issues or have questions regarding your chandelier, please contact Lynnoland customer service directly.
Contact Information: Please refer to your purchase documentation or the Lynnoland store page on Amazon for the most current contact methods. You can typically find a "Contact Seller" option on the product page.
Lynnoland is committed to providing a satisfactory solution within 24 hours for any product-related concerns.