
Introduction
Thank you for choosing the HOMCOM Set of 2 Dining Chairs. This manual provides essential information for the safe assembly, proper use, and effective maintenance of your new chairs. Please read these instructions carefully before assembly and retain them for future reference.
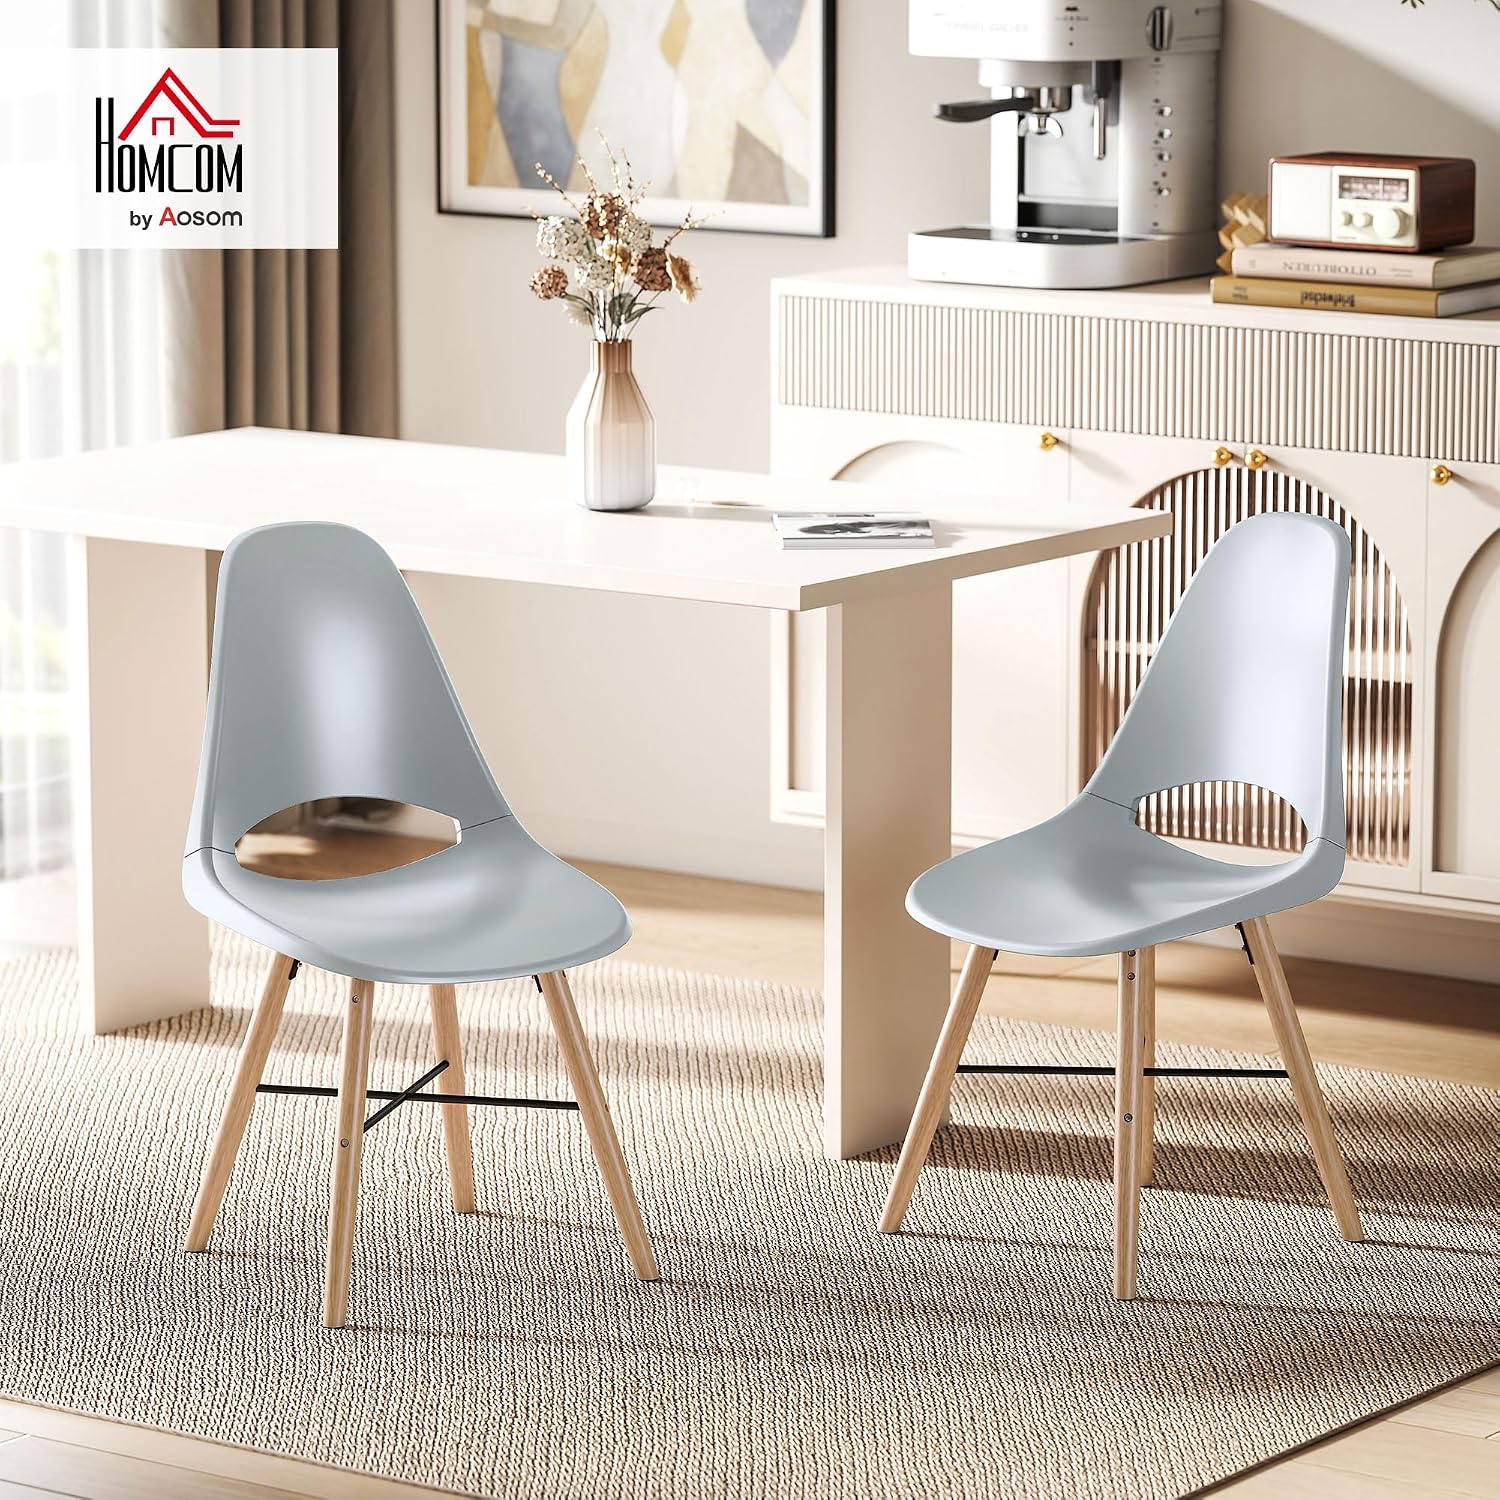
Image: Two HOMCOM dining chairs, grey with wooden legs, positioned in a dining area.
Safety Information
- Maximum Weight Capacity: Do not exceed the maximum weight capacity of 120 kg (265 lbs) per chair. Exceeding this limit may cause damage to the chair and potential injury.
- Stable Use: Always ensure the chair is placed on a flat, stable surface before use. Avoid standing on the chair.
- Assembly: Follow all assembly instructions carefully to ensure the stability and safety of the chair. Verify all connections are secure before use.
- Children: Keep children away from the assembly area. Small parts can be a choking hazard.
- Inspection: Periodically inspect all bolts and connections to ensure they remain tight. Re-tighten if necessary.
Package Contents and Components
Before beginning assembly, please verify that all parts listed below are present and undamaged. If any parts are missing or damaged, do not proceed with assembly and contact customer support.
- Chair Seat (ABS plastic)
- Chair Backrest (integrated with seat)
- Rubberwood Legs (4 per chair)
- Metal Crossbars/Supports (for leg stability)
- Assembly Hardware (screws, washers, Allen key)
- Felt Pads (pre-attached or included for floor protection)

Image: Detail of a rubberwood chair leg with a protective felt pad.
Assembly Instructions
Assembly of each chair typically takes approximately 15 minutes. It is recommended to assemble the chairs on a soft, clean surface to prevent scratching.
- Unpack Components: Carefully remove all parts from the packaging and lay them out on a protected surface.
- Attach Legs to Seat: Identify the four rubberwood legs. Align each leg with the corresponding mounting points on the underside of the chair seat.
- Secure Legs: Using the provided screws and Allen key, securely fasten each leg to the seat. Do not overtighten initially.
- Install Crossbars: Attach the metal crossbars between the legs to enhance stability. Ensure they are correctly oriented and secured with the provided hardware.
- Final Tightening: Once all components are loosely assembled, place the chair upright on a flat surface. Apply gentle pressure to the seat to ensure all legs are evenly touching the ground. Then, fully tighten all screws.
- Check Stability: Before use, gently rock the chair to confirm it is stable and all connections are secure.
Operating Instructions
These chairs are designed for comfortable seating in various indoor environments such as dining rooms, kitchens, bedrooms, offices, or living rooms.
- Proper Seating: Sit centrally on the chair with your back against the backrest for optimal support. The ergonomic design and curved seat are intended to adapt to the body's shape.
- Movement: When moving the chair, lift it rather than dragging it to prevent damage to the legs or floor. The integrated felt pads help protect floors.
- Ventilation: The cut-out design on the backrest promotes air circulation, contributing to comfort during extended use.

Image: A user demonstrating the comfortable seating position on the chair, emphasizing the ergonomic features.
Care and Maintenance
- Cleaning: To clean the plastic seat and backrest, simply wipe with a soft, damp cloth. For stubborn stains, a mild soap solution can be used, followed by wiping with a clean, dry cloth. Avoid abrasive cleaners or harsh chemicals.
- Wood Care: The rubberwood legs can be cleaned with a dry or slightly damp cloth. Avoid excessive moisture.
- Regular Inspection: Periodically check all screws and connections for tightness. Re-tighten as needed to maintain stability.
- Floor Protection: Ensure the felt pads on the chair legs are intact to prevent scratching floors. Replace worn pads if necessary.
- Avoid Direct Sunlight: Prolonged exposure to direct sunlight may cause fading or material degradation over time.
Troubleshooting
| Problem | Possible Cause | Solution |
|---|---|---|
| Chair wobbles or is unstable. | Loose screws or uneven leg assembly. | Place the chair on a flat surface. Loosen all leg screws slightly, apply gentle pressure to the seat to ensure all legs touch the ground, then re-tighten all screws firmly. |
| Squeaking noises during use. | Loose connections or friction between parts. | Check and tighten all assembly hardware. If squeaking persists, disassemble and reassemble, ensuring all parts are correctly aligned. |
| Scratches on floor. | Worn or missing felt pads. | Inspect felt pads on chair legs. Replace any worn or missing pads with new ones. |
Technical Specifications
- Brand: HOMCOM
- Model: IT83A-190V00GY0631
- Color: Grey
- Material: ABS Plastic, Rubberwood
- Overall Dimensions (per chair): 47 cm (L) x 49 cm (W) x 84 cm (H)
- Seat Height: Approximately 43.5 cm
- Weight (per chair): Approximately 4.5 kg (Total package weight 9 kg for 2 chairs)
- Maximum Weight Capacity: 120 kg (265 lbs)
- Special Features: Easy to clean, Rubberwood legs, Lightweight, Quick assembly, Ergonomic design, Cut-out backrest.

Image: Detailed dimensional drawing of the chair with key measurements and weight capacity.
Warranty Information
HOMCOM products are manufactured to high-quality standards. For specific warranty details regarding your purchase, please refer to the warranty card included with your product or visit the official HOMCOM website. Keep your proof of purchase for any warranty claims.
Customer Support
If you have any questions, require assistance with assembly, or encounter any issues with your HOMCOM dining chairs, please contact our customer support team. You can find contact information on the HOMCOM official website or through your retailer.
For more information, visit: HOMCOM Official Website