
1. Introduction
This manual provides essential instructions for setting up, operating, and maintaining your ARCCTV C2 4MP Wireless Outdoor Security Camera with Solar Panel. Please read this guide thoroughly before installation and use to ensure optimal performance and safety. This camera is designed for outdoor surveillance, offering high-resolution video, motion detection, and flexible power options.
2. What's in the Box
Verify that all components are present before proceeding with installation.
- ARCCTV C2 4MP Wireless Outdoor Security Camera
- Solar Panel
- Mounting Bracket for Camera
- Mounting Bracket for Solar Panel
- USB-C Charging Cable
- Mounting Screws and Wall Anchors
- Positioning Stickers/Templates
- User Manual (this document)

Figure 2.1: All components included in the ARCCTV C2 package.
3. Product Features
3.1. 4MP Ultra HD Resolution
The camera records in 4MP Ultra HD (2560×1440 pixels), providing clear and detailed images, offering twice the clarity of standard 1080p cameras. This allows for better identification of facial features and license plates.

Figure 3.1: Visual comparison of 4MP Ultra HD versus 1080p resolution.
3.2. Battery and Solar Powered
Equipped with a built-in rechargeable battery and an included solar panel, the camera operates independently of external power outlets. A full charge typically lasts one to three months, even without continuous sunlight, ensuring continuous operation.

Figure 3.2: The camera and solar panel setup for continuous power.
3.3. Dual-Band WiFi Connectivity
The camera supports both 2.4GHz and 5GHz WiFi bands. The 2.4GHz band offers longer range, while the 5GHz band provides faster speeds. The camera automatically selects the optimal band for a strong and stable connection to your network.

Figure 3.3: Dual-band WiFi for enhanced connectivity.
3.4. Smart AI Motion Detection
Advanced AI algorithms differentiate between people, vehicles, and animals, reducing false alarms from irrelevant motion. You can customize detection zones to monitor specific areas of interest, receiving accurate alerts on your smartphone.

Figure 3.4: Smart AI motion detection in action.
3.5. Flexible Storage Options
Choose between local storage using a microSD card (up to 128GB, not included) or secure cloud storage (subscription required). Both options ensure your footage is accessible and protected.
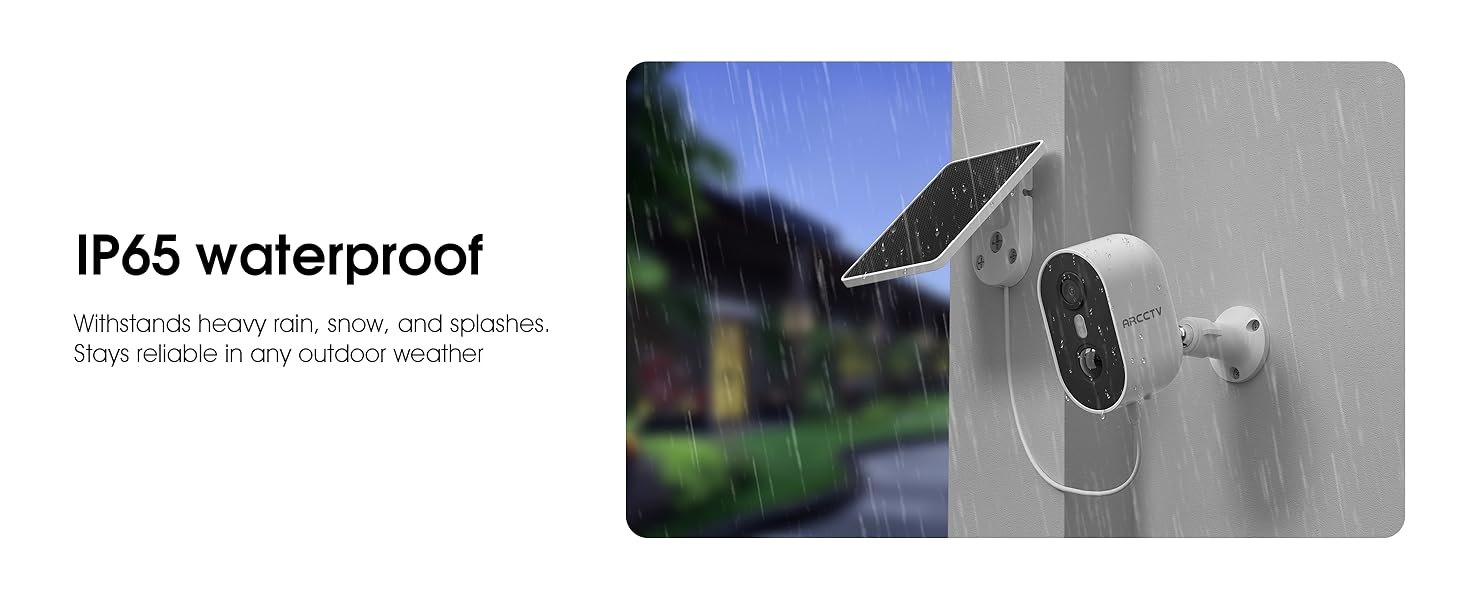
Figure 3.5: MicroSD card slot and cloud storage options.
3.6. Color Night Vision
The camera provides clear color night vision, allowing for vivid hues and sharp details even in low-light conditions, enhancing visibility after dark.

Figure 3.6: Full-color night vision capability.
3.7. Two-Way Audio
Communicate directly through the camera using the built-in two-way audio feature. This allows you to speak with visitors or deter intruders from your smartphone, even when you are away from home.
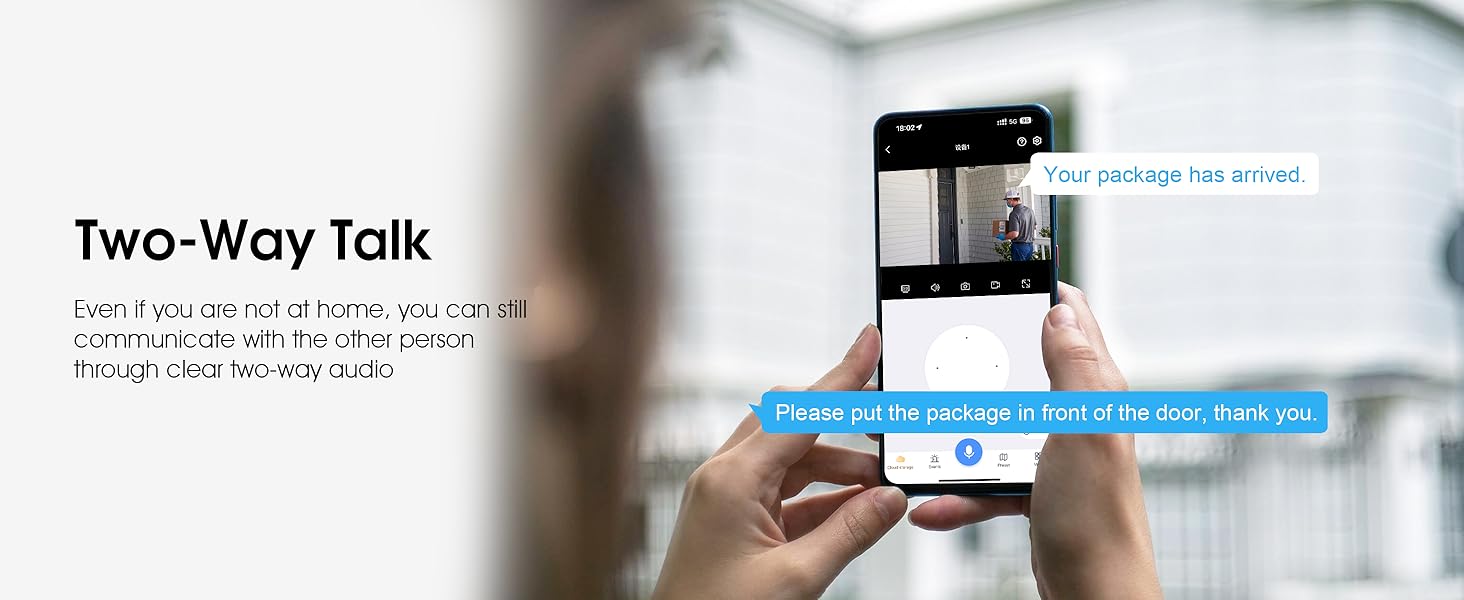
Figure 3.7: Using two-way audio via the mobile app.
3.8. Weatherproof Design (IP65)
The camera boasts an IP65 waterproof rating, ensuring reliable operation in various outdoor weather conditions, including heavy rain, snow, and splashes.
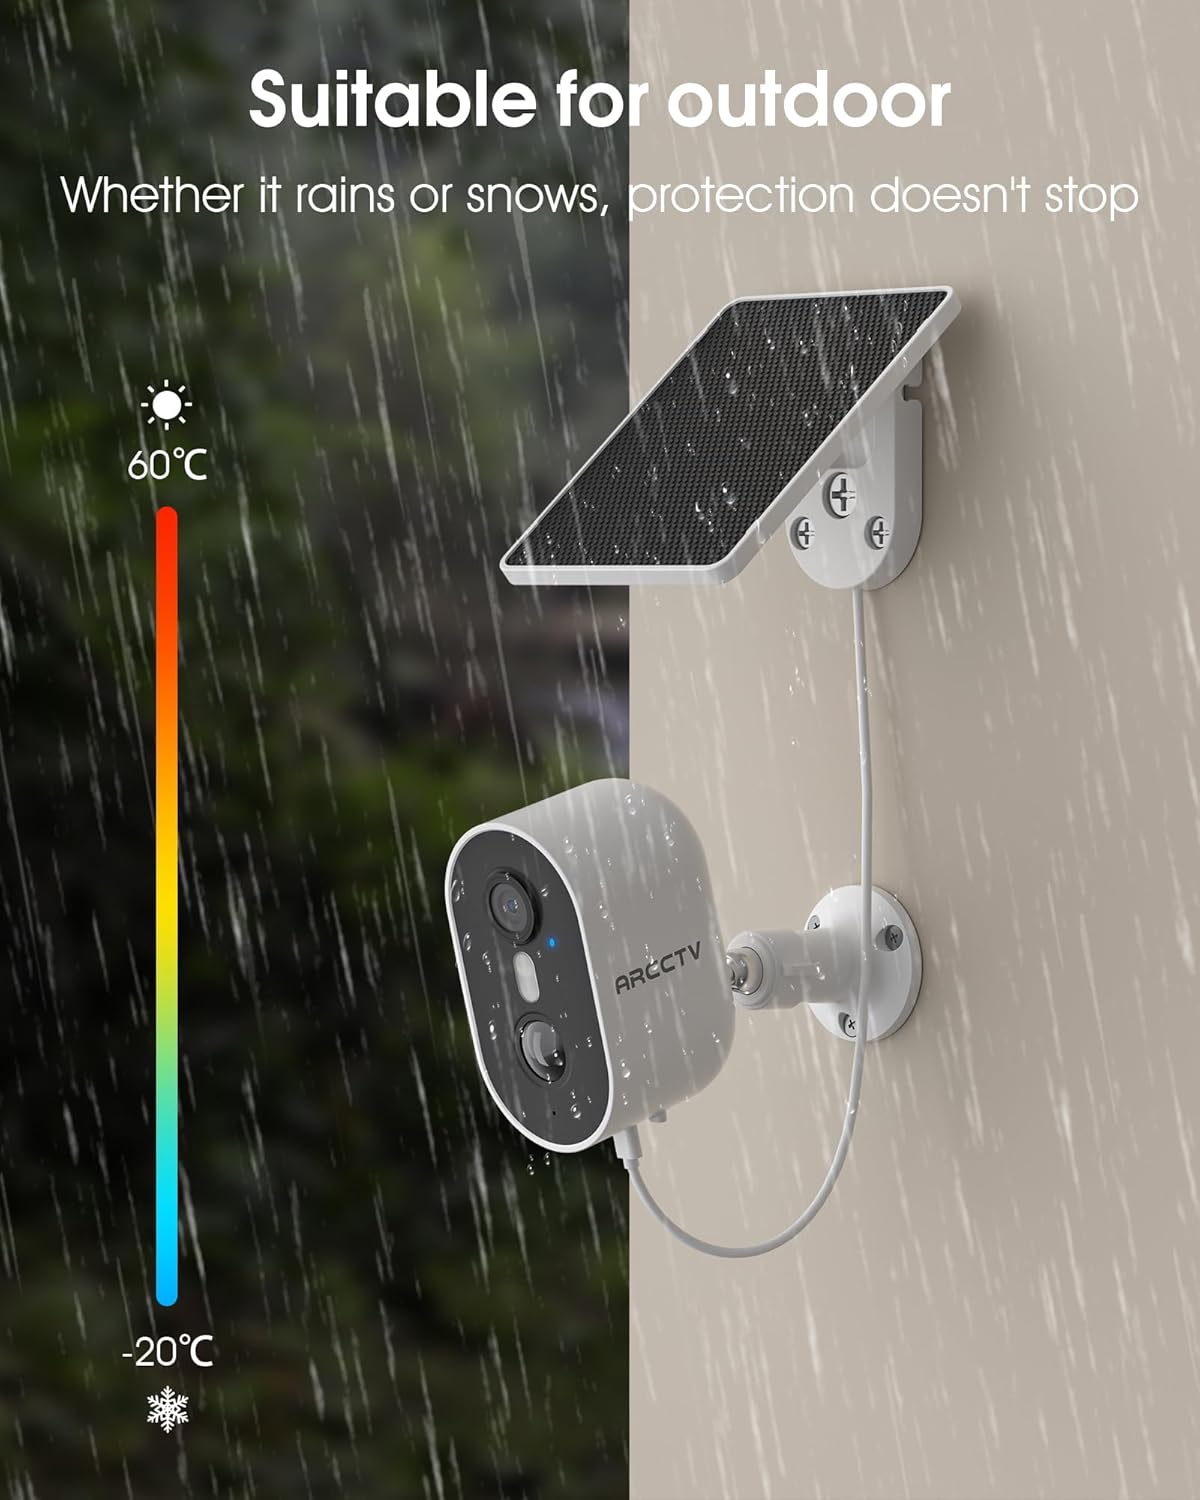
Figure 3.8: Camera operating reliably in rainy conditions.
3.9. Smart Home Compatibility
The ARCCTV C2 camera is compatible with Amazon Alexa, allowing for voice-controlled operation and integration into your smart home ecosystem.
Figure 3.9: Alexa integration for convenient control.
4. Setup
4.1. Initial Charging
Before installation, fully charge the camera's built-in battery using the provided USB-C cable and a standard USB power adapter (not included). A full charge ensures the camera has sufficient power for initial setup and operation, especially if solar charging is not immediately optimal.
4.2. Mounting the Camera and Solar Panel
The camera and solar panel can be mounted separately to optimize solar exposure and camera viewing angle. Use the provided positioning stickers to mark drill holes accurately. Secure the mounting brackets with screws and wall anchors. Attach the camera to its bracket and the solar panel to its bracket, ensuring the solar panel is positioned to receive maximum direct sunlight.

Figure 4.1: Easy installation of the camera.
4.3. App Installation and Pairing
Download the dedicated ARCCTV app from your smartphone's app store. Follow the in-app instructions to create an account and pair your camera. Ensure your phone, camera, and WiFi router are within 2 meters of each other during the pairing process for a stable connection. The app will guide you through network configuration.
Video 4.1: A short video demonstrating the network installation process for the camera.
5. Operating Instructions
5.1. Live Viewing
Open the ARCCTV app and select your camera to access the live feed. You can view real-time video from anywhere with an internet connection.
Video 5.1: Footage streamed from the camera on an overcast day, demonstrating video quality.
5.2. Motion Detection Settings
Within the app, navigate to the camera settings to customize motion detection. You can adjust sensitivity, define specific detection zones, and set up alert schedules to receive notifications only when necessary.
5.3. Two-Way Audio Usage
While viewing the live feed, tap the microphone icon in the app to activate two-way audio. Speak into your phone to communicate through the camera's speaker. Tap the speaker icon to hear audio from the camera's microphone.
5.4. Recording and Playback
Recordings are triggered by motion events or can be initiated manually through the app. Access recorded footage via the 'Playback' or 'Events' section in the app. You can filter recordings by date and time.
5.5. Storage Management
If using a microSD card, ensure it is properly inserted into the camera's slot. Manage cloud storage subscriptions and view cloud-stored footage directly through the app.
6. Maintenance
6.1. Battery Care
Monitor the battery level through the app. If the camera is not receiving sufficient sunlight for solar charging, periodically remove it and charge it via the USB-C port to maintain optimal battery health.
6.2. Solar Panel Cleaning
Regularly inspect and clean the solar panel surface to remove dust, dirt, or debris that may obstruct sunlight. A clean panel ensures efficient charging.
6.3. Firmware Updates
Check the app periodically for available firmware updates. Keeping your camera's firmware up-to-date ensures you have the latest features, security patches, and performance improvements.
7. Troubleshooting
- Camera not connecting to WiFi: Ensure the camera is within range of your router. Verify your WiFi password and ensure you are connecting to a 2.4GHz or 5GHz network as supported. Try resetting the camera and re-pairing it through the app.
- Poor video quality: Check your internet connection speed. Ensure the camera lens is clean and free from obstructions. Adjust the camera's position for better lighting if needed.
- Battery not charging: Ensure the solar panel is clean and receiving direct sunlight for several hours daily. If weather conditions are consistently poor, charge the camera manually via USB-C.
- False motion alerts: Adjust the motion detection sensitivity in the app. Define specific activity zones to exclude areas with frequent irrelevant motion (e.g., swaying trees).
- No audio: Check the audio settings in the app. Ensure your phone's volume is up and the camera's microphone/speaker are not obstructed.
8. Specifications
| Feature | Specification |
|---|---|
| Model Name | C2 |
| Video Capture Resolution | 4MP (2560x1440p) |
| Indoor/Outdoor Usage | Outdoor |
| Power Source | Battery Powered & Solar Powered |
| Connectivity Technology | Wireless (2.4G/5G Dual Band Wi-Fi) |
| Special Features | 2-Way Audio, Built-In Light, HD Resolution, Motion Sensor, Night Vision (Color) |
| Viewing Angle | 360 Degrees (referring to general coverage, not PTZ) |
| Night Vision Range | 33 Feet |
| Water Resistance Level | Waterproof (IP65) |
| Flash Memory Supported Size Maximum | 128 GB (Micro SD, not included) |
| Item Dimensions L x W x H | 5 x 4.3 x 3.5 inches |
| Item Weight | 15.8 ounces (0.45 Kilograms) |
| Material | Plastic |
| Manufacturer | Shenzhen Anran Security Technology Co.,Ltd |
9. Warranty and Support
ARCCTV products come with a standard manufacturer's warranty. For specific warranty details, please refer to the documentation included with your purchase or visit the official ARCCTV website. For technical support, troubleshooting assistance, or any product-related inquiries, please contact ARCCTV customer service through the contact information provided in the product packaging or on their official website.


