1. Introduction
This manual provides comprehensive instructions for the assembly, operation, and maintenance of your Giantex Reception Desk, model GX-10404-BC. Please read these instructions carefully before beginning assembly and retain this manual for future reference. Proper assembly and care will ensure the longevity and optimal performance of your reception desk.
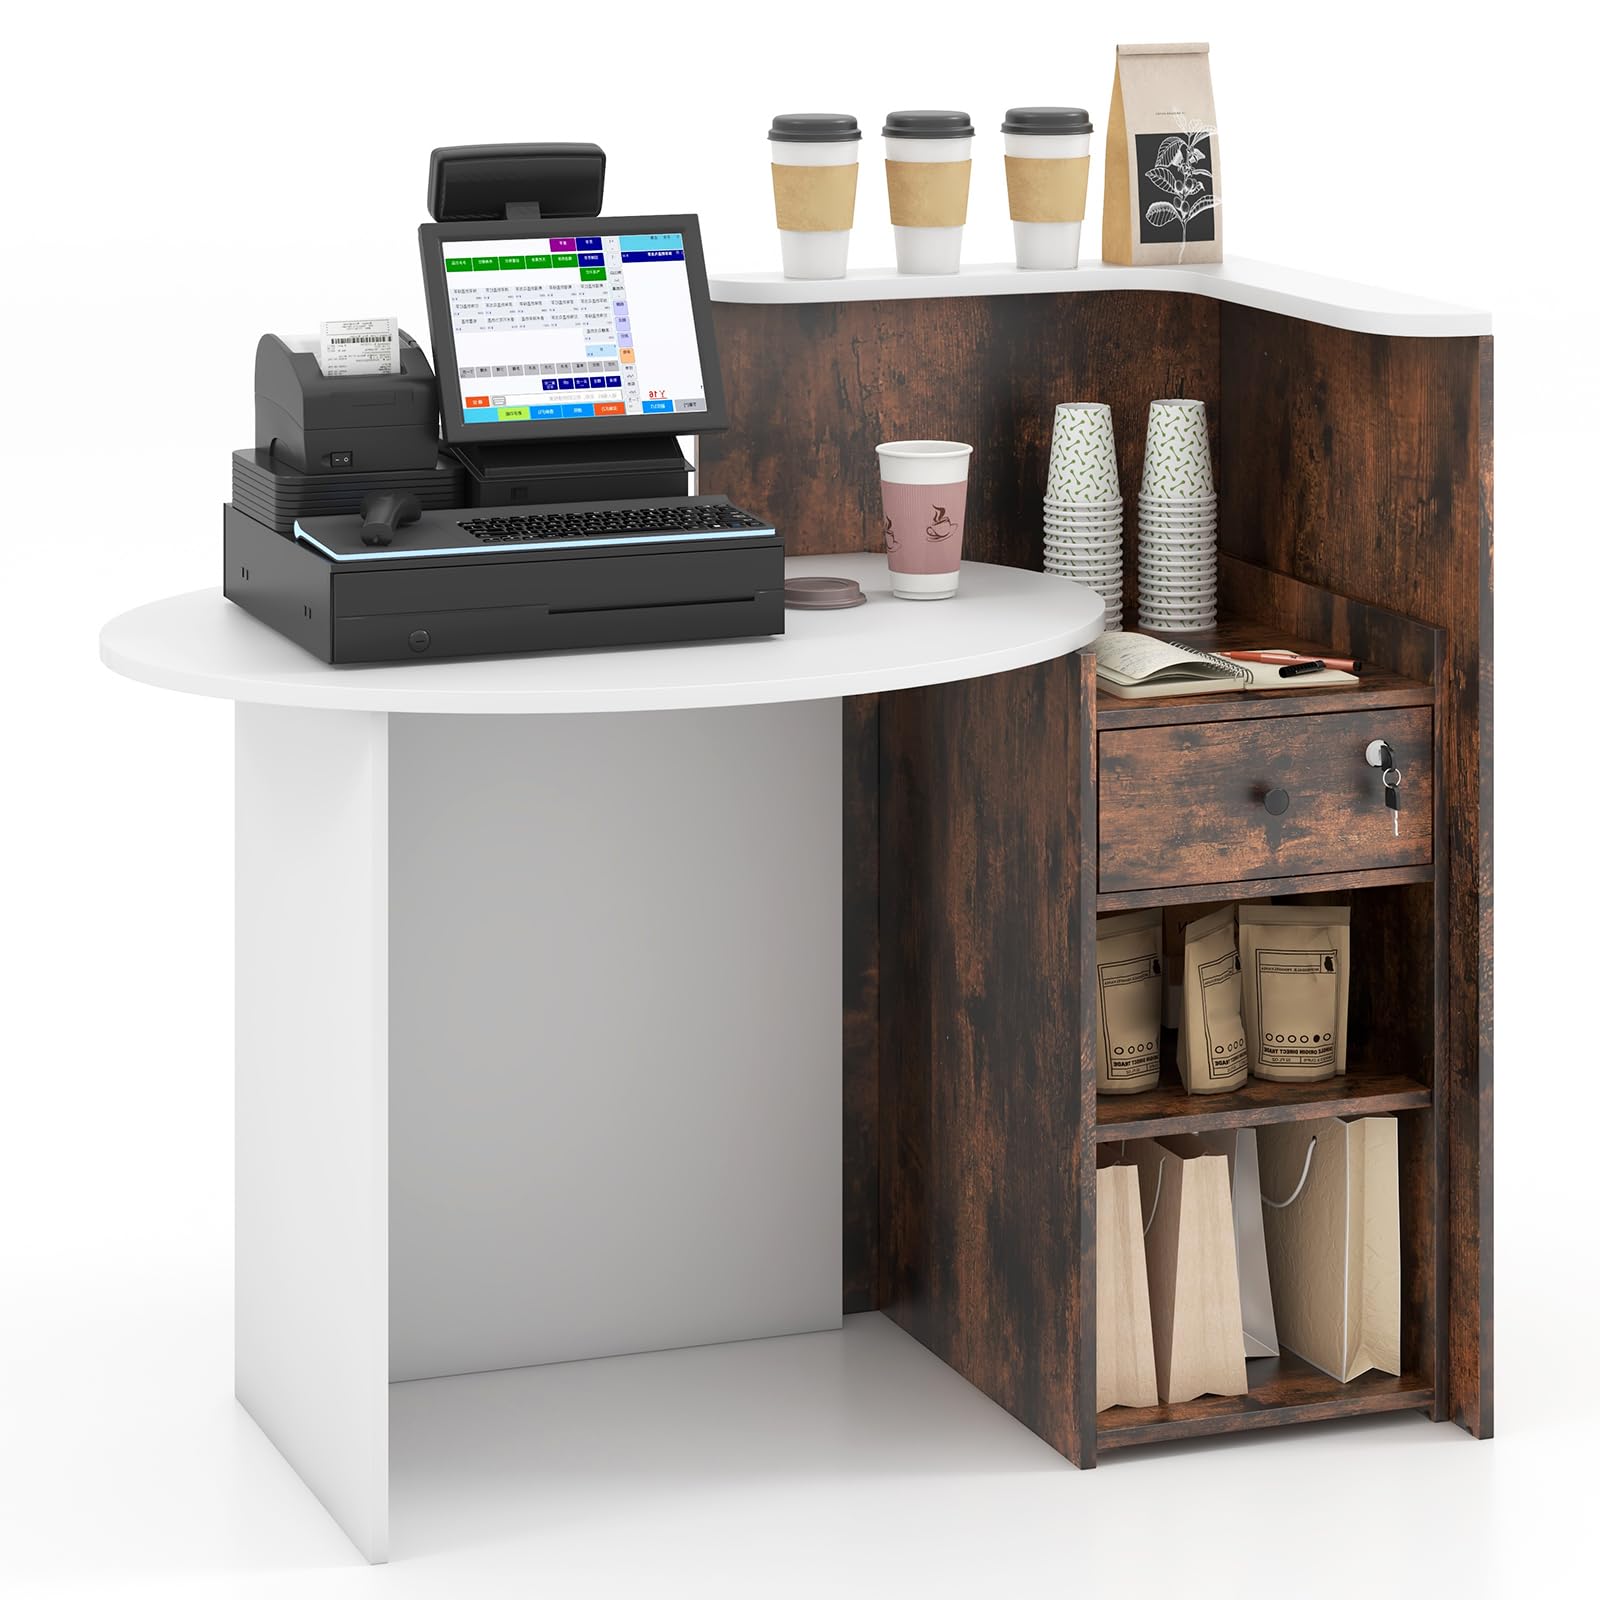
Image 1.1: Overview of the Giantex Reception Desk GX-10404-BC.
2. Safety Information
- Always follow all assembly instructions carefully.
- Keep all small parts and packaging materials away from children to prevent choking hazards.
- Ensure all fasteners (screws, cam locks, etc.) are securely tightened before using the desk. Periodically check and re-tighten as necessary.
- Do not overload the desk or its shelves beyond the specified weight capacities to prevent damage or injury.
- Place the desk on a level and stable surface to prevent tipping.
- Avoid exposing the desk to excessive moisture or direct sunlight, which can cause material damage.
3. Package Contents
Before assembly, verify that all components listed below are present and undamaged. If any parts are missing or damaged, please contact customer support.
- Reception Desk Components (engineered wood panels, shelves, drawer parts)
- Assembly Hardware (screws, dowels, cam locks, drawer slides, etc.)
- 1 x User Guide
- 2 x Keys for Lockable Drawer
4. Setup and Assembly
Assembly typically requires two adults. Please refer to the detailed assembly instructions provided in the included user guide for step-by-step visual guidance. The general process involves:
- Unpacking and Part Identification: Carefully unpack all components and lay them out on a clean, soft surface to prevent scratches. Identify each part using the diagrams in the user guide.
- Frame Assembly: Assemble the main structural panels of the desk using the provided hardware. Ensure all connections are tight and stable.
- Shelf Installation: Install the fixed and adjustable shelves into their designated slots. For the adjustable shelf, select the desired height from the three available positions.
- Drawer Assembly and Installation: Assemble the lockable drawer, ensuring the smooth metal slides are correctly attached. Install the drawer into its compartment.
- Tabletop Attachment: Secure the oval tabletop and the L-shaped corner shelf to the main frame.
- Final Checks: Verify all screws and fasteners are tightened. Attach the protective foot pads to the bottom of the desk to prevent floor scratching.
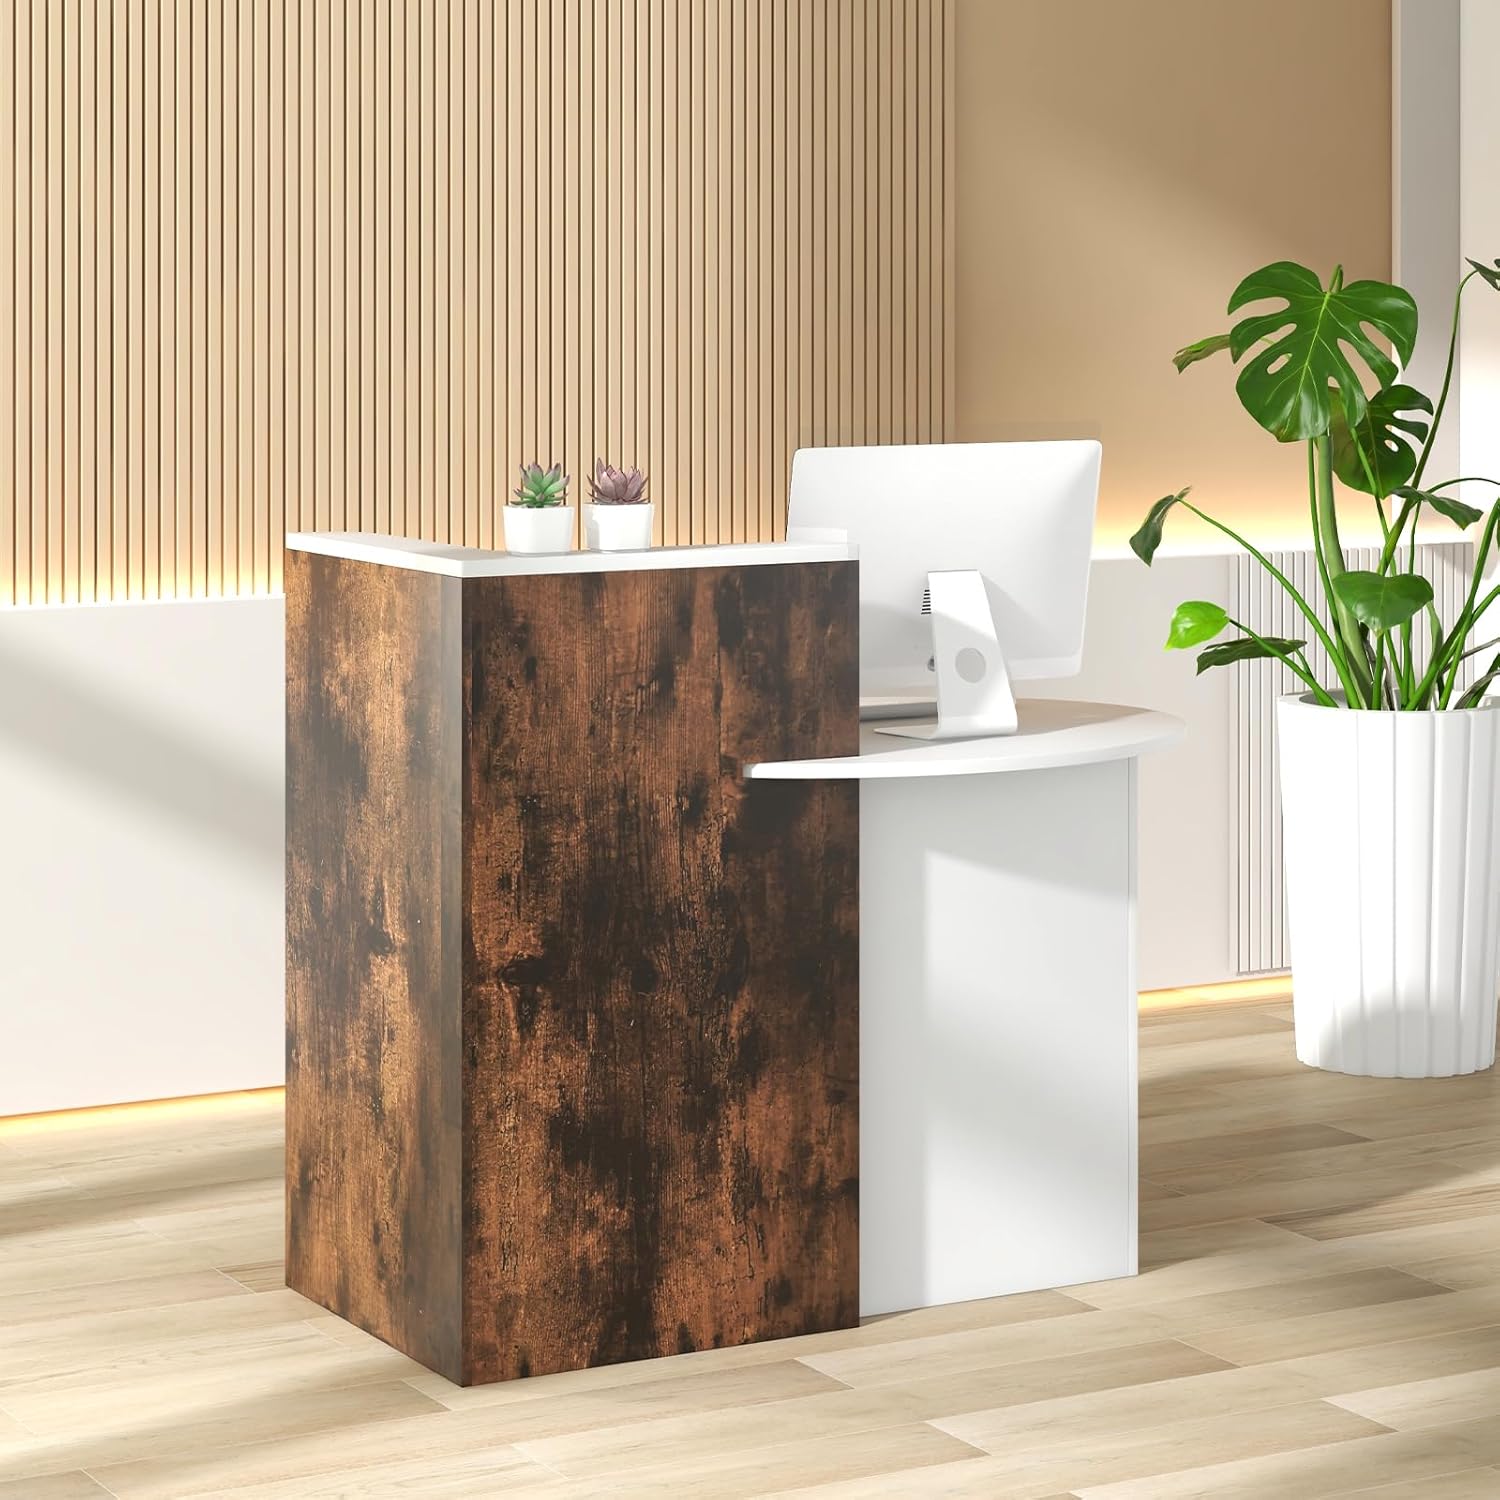
Image 4.1: Detailed dimensions of the reception desk.
For a visual guide to assembly, please watch the detailed video below:
Video 4.2: Detailed assembly and feature overview of the reception desk.
5. Operating Instructions
5.1. Using the Lockable Drawer
The reception desk includes a lockable drawer for securing valuables or private items. Insert one of the provided keys into the lock and turn to lock or unlock the drawer. Ensure the drawer is fully closed before attempting to lock it.
5.2. Adjusting the Open Shelf
The open shelf beneath the lockable drawer is adjustable. To change its height, remove any items from the shelf. Carefully lift the shelf and reposition the shelf pins into one of the three available height settings. Ensure the shelf is securely seated on all four pins before placing items back on it.

Image 5.1: Adjustable open shelf with multiple height options.
5.3. Utilizing Storage Areas
The desk features an oval tabletop for primary workspace, an L-shaped corner shelf for small ornaments or quick access items, a lockable drawer, and two open shelves for additional storage. Organize items according to their size and frequency of use to maintain an efficient workspace.

Image 5.2: Overview of storage compartments.
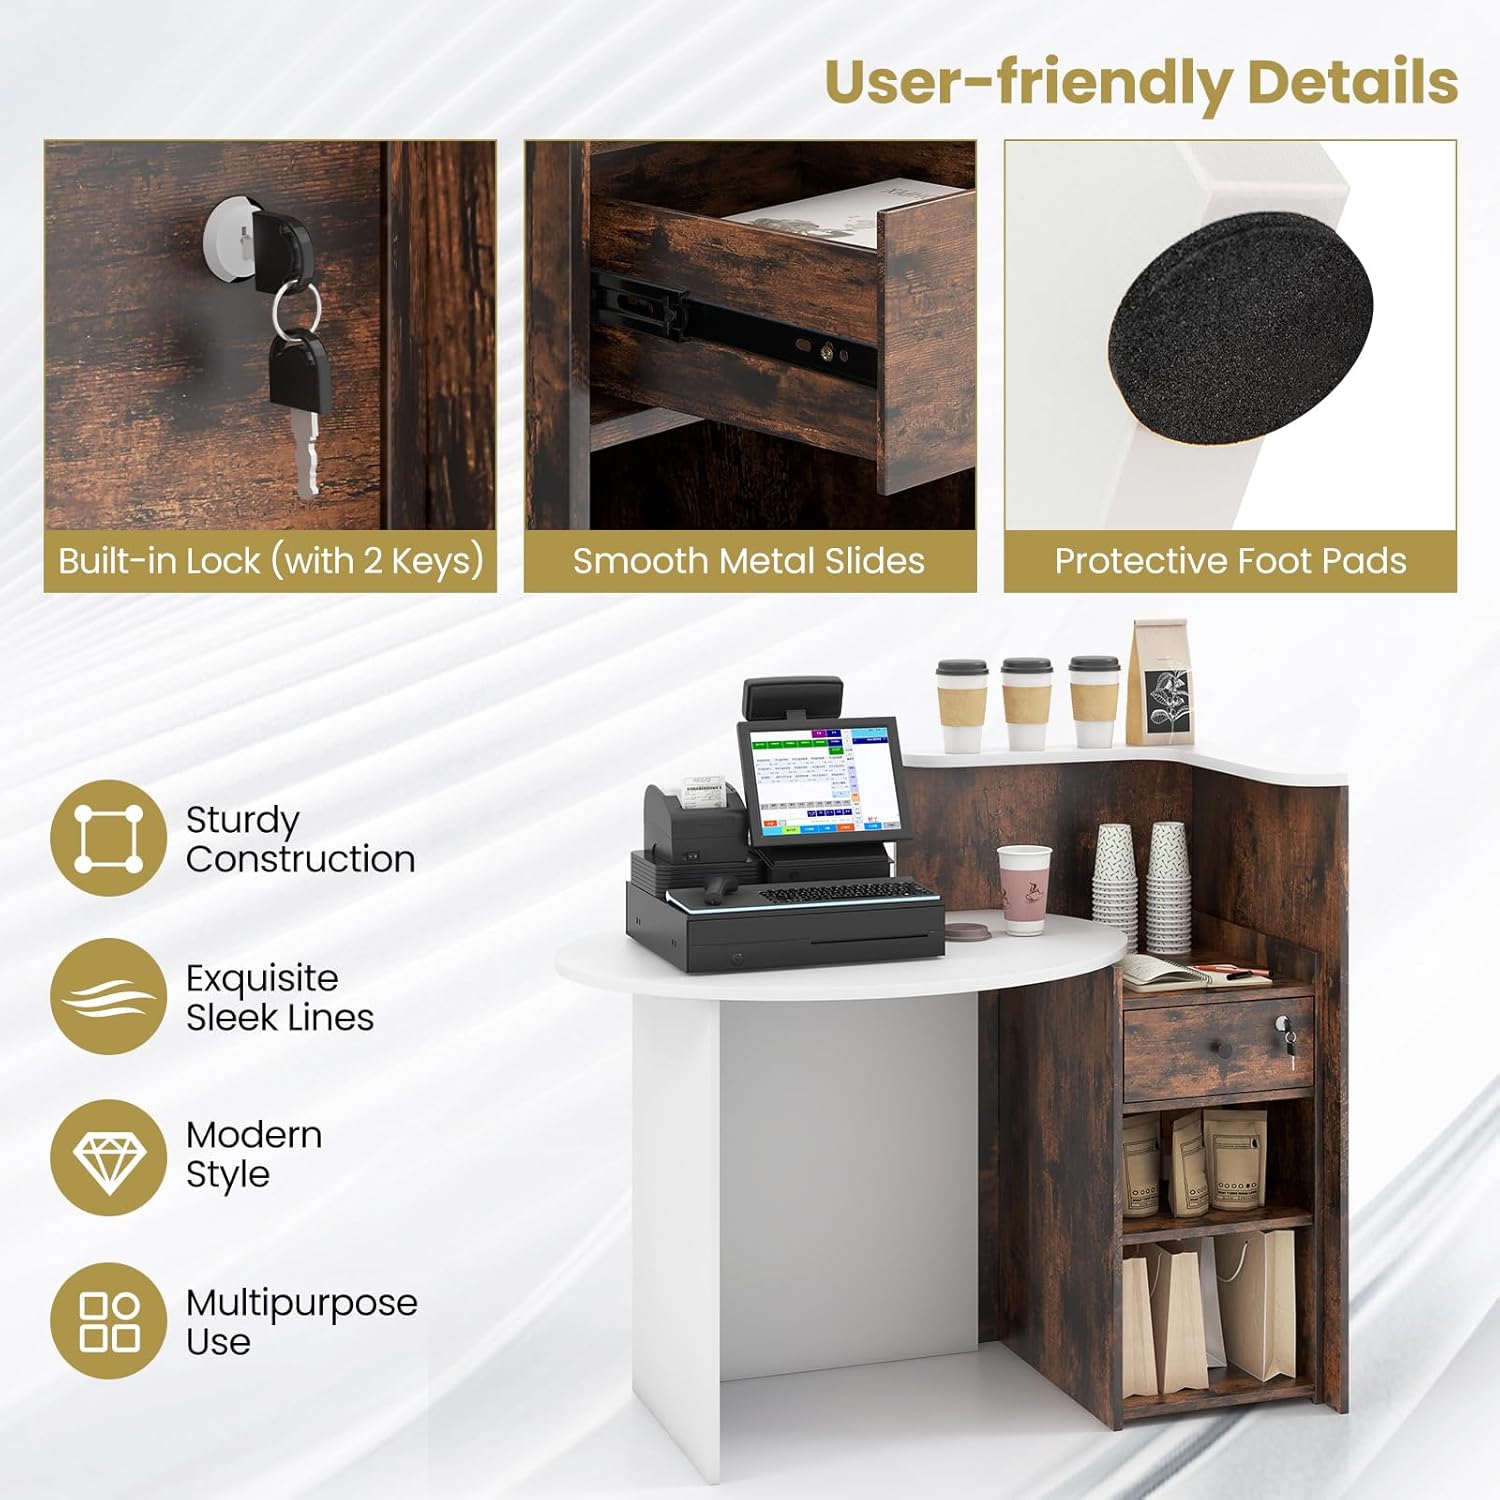
Image 5.3: User-friendly details: lock, drawer slides, and foot pads.
6. Maintenance
- Cleaning: Wipe the desk surfaces with a soft, damp cloth. Avoid using harsh chemicals, abrasive cleaners, or polishes that may damage the finish.
- Fastener Check: Periodically inspect all screws and connections to ensure they remain tight. Re-tighten if any looseness is detected.
- Spill Management: Immediately wipe up any spills to prevent water damage or staining.
- Avoid Extreme Conditions: Do not place hot items directly on the surface without protection. Avoid prolonged exposure to direct sunlight or high humidity.
7. Troubleshooting
- Wobbly Desk: Ensure the desk is on a level surface. Check all assembly fasteners and tighten any loose ones. Adjust protective foot pads if necessary to stabilize.
- Drawer Not Sliding Smoothly: Check that the drawer slides are correctly aligned and free of obstructions. Ensure the drawer is not overloaded.
- Lock Malfunction: Ensure the key is fully inserted and turned correctly. If the lock is stiff, a small amount of graphite lubricant can be applied. Do not force the key.
- Missing Parts: If any parts were missing upon delivery, refer to the warranty and support section for contact information.
8. Specifications
| Feature | Detail |
|---|---|
| Model Number | GX-10404-BC |
| Overall Dimensions (L x W x H) | 48" x 27.5" x 39.5" |
| Material | Engineered Wood, MDF |
| Item Weight | 101 lbs |
| Desktop Weight Capacity | 110 lbs |
| Top Shelf Weight Capacity | 33 lbs |
| Each Shelf Weight Capacity | 22 lbs |
| Drawer Weight Capacity | 11 lbs |
| Color | Brown |
| Included Components | Reception Desk, User Guide |
9. Warranty and Support
For specific warranty information regarding your Giantex Reception Desk, please refer to the warranty card or section within the included user guide. If you require assistance with assembly, have questions about product features, or need to report missing/damaged parts, please contact Giantex customer support through their official website or the contact information provided in your purchase documentation.
You may also find additional product information and support resources on the Giantex Store on Amazon.