
EASYERA AC-WC120A
EASYERA 12" Digital Wall Clock User Manual
Model: AC-WC120A | Brand: EASYERA
1. Introduction and Overview
Thank you for choosing the EASYERA 12" Digital Wall Clock. This clock features a vibrant LED display with RGB lights, Bluetooth time synchronization, dual alarms, automatic Daylight Saving Time (DST) adjustment, a countdown timer, and convenient remote control. Designed for versatility, it is suitable for various settings including classrooms, living rooms, game rooms, and offices, enhancing both functionality and decor.

Figure 1: EASYERA 12" Digital Wall Clock with remote control.
2. Key Features
- Digital LED Display with RGB Lights: 12-inch screen for time display with 11 color modes, including solid colors, multiple colorful lights, and smooth gradient transitions.
- Auto Bluetooth Time Synchronization: Connects to your phone for automatic daily time updates, ensuring accuracy without manual adjustments.
- Flexible Placement: Designed for both wall mounting and desk placement.
- Remote Control: Full control over settings, colors, and alarms from a distance.
- Dual Alarms & Auto DST: Set two independent alarms and benefit from automatic Daylight Saving Time adjustments.
- 99-Minute Timer: Integrated countdown timer function.
- Power Supply: Requires a 5V/2A adapter (included with 11.5 ft cable); not battery operated for primary function. Built-in memory battery saves settings during power outages.
3. Package Contents
Please check the package for the following items:
- EASYERA 12" Digital Wall Clock (Model: AC-WC120A)
- Remote Control
- 5V/2A Power Adapter
- 11.5 ft Power Cable
- User Manual (This document)
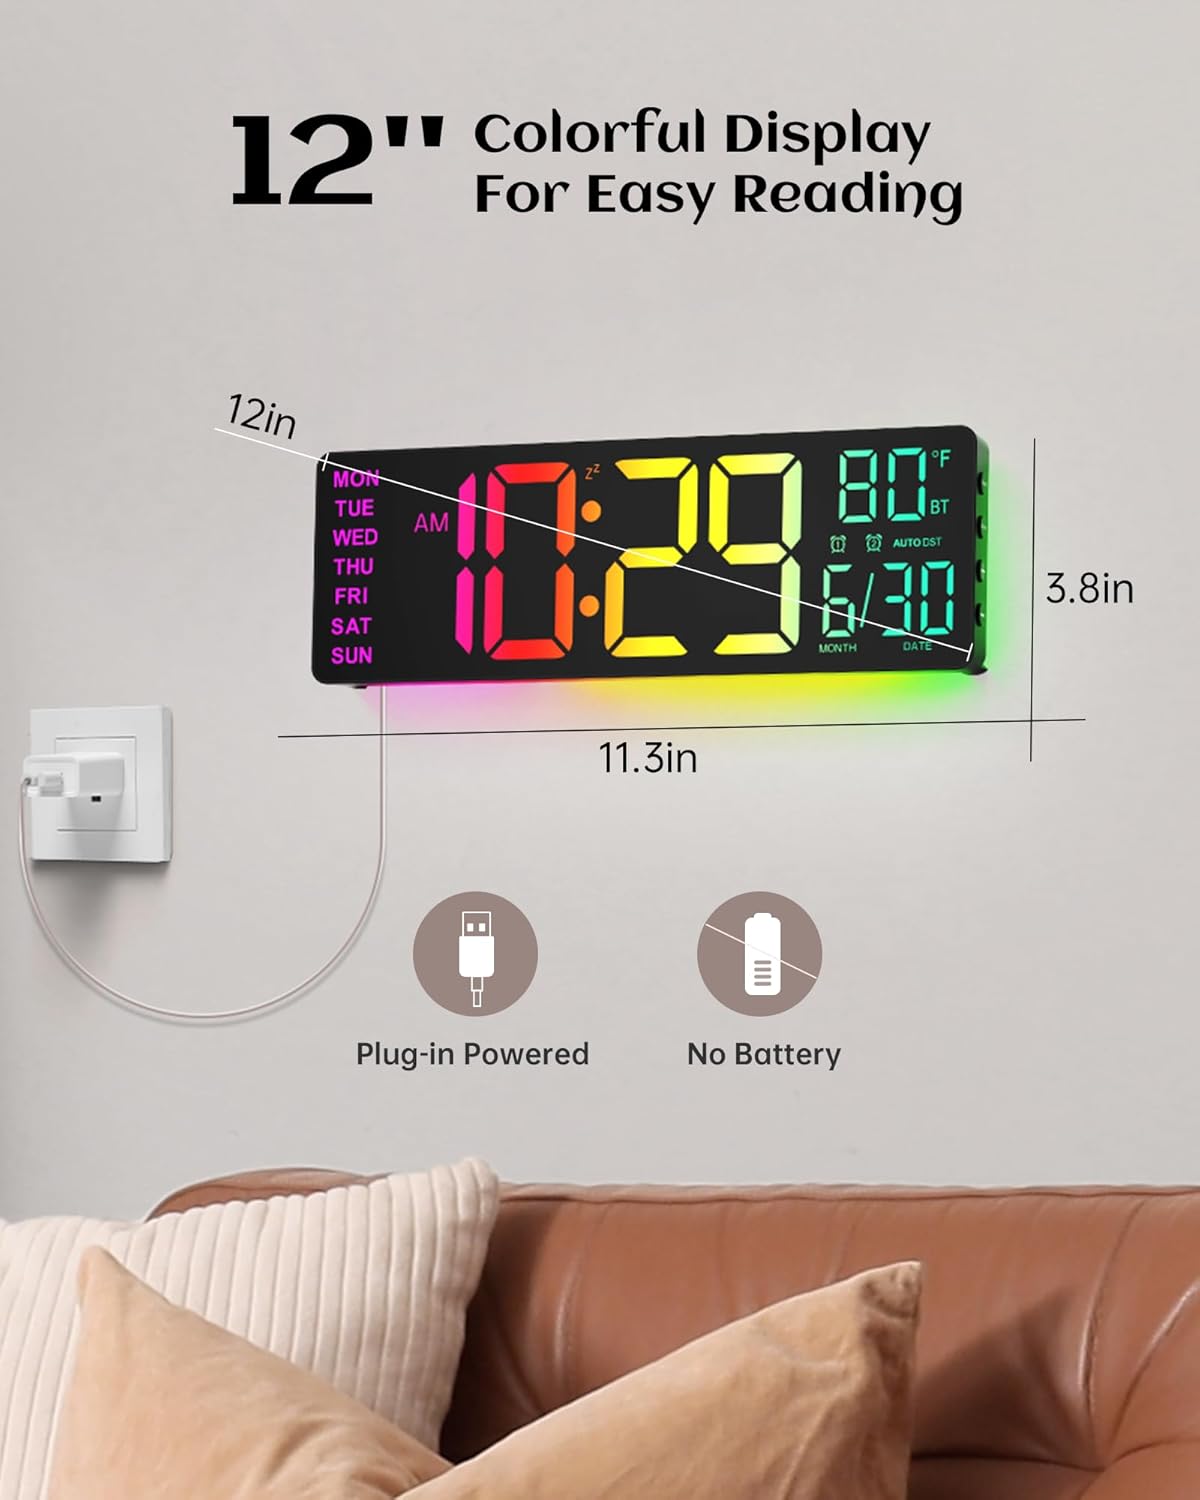
Figure 2: Clock dimensions and power supply information.
4. Setup Guide
4.1 Power Connection
- Connect the provided 11.5 ft power cable to the clock's power input port.
- Plug the 5V/2A power adapter into a standard electrical outlet. The clock display will illuminate.
- The clock is designed to be plug-in powered and does not operate on batteries for its main functions. A built-in memory battery retains settings during power interruptions.
4.2 Placement Options
- Wall Mounting: Use the integrated keyholes on the back of the clock to mount it securely on a wall. Ensure the power cable can reach an outlet.
- Desk Placement: The clock can also be placed on any flat surface, such as a desk, table, or nightstand.
4.3 Bluetooth Time Synchronization
The clock supports automatic time synchronization via Bluetooth with your smartphone.
- Ensure Bluetooth is enabled on your smartphone.
- On your phone, search for available Bluetooth devices. The clock should appear as "EASYERA CLOCK 12" or similar.
- Select the clock to pair. Once connected, the clock will automatically synchronize its time with your phone.
- This feature ensures accurate timekeeping without manual adjustments.
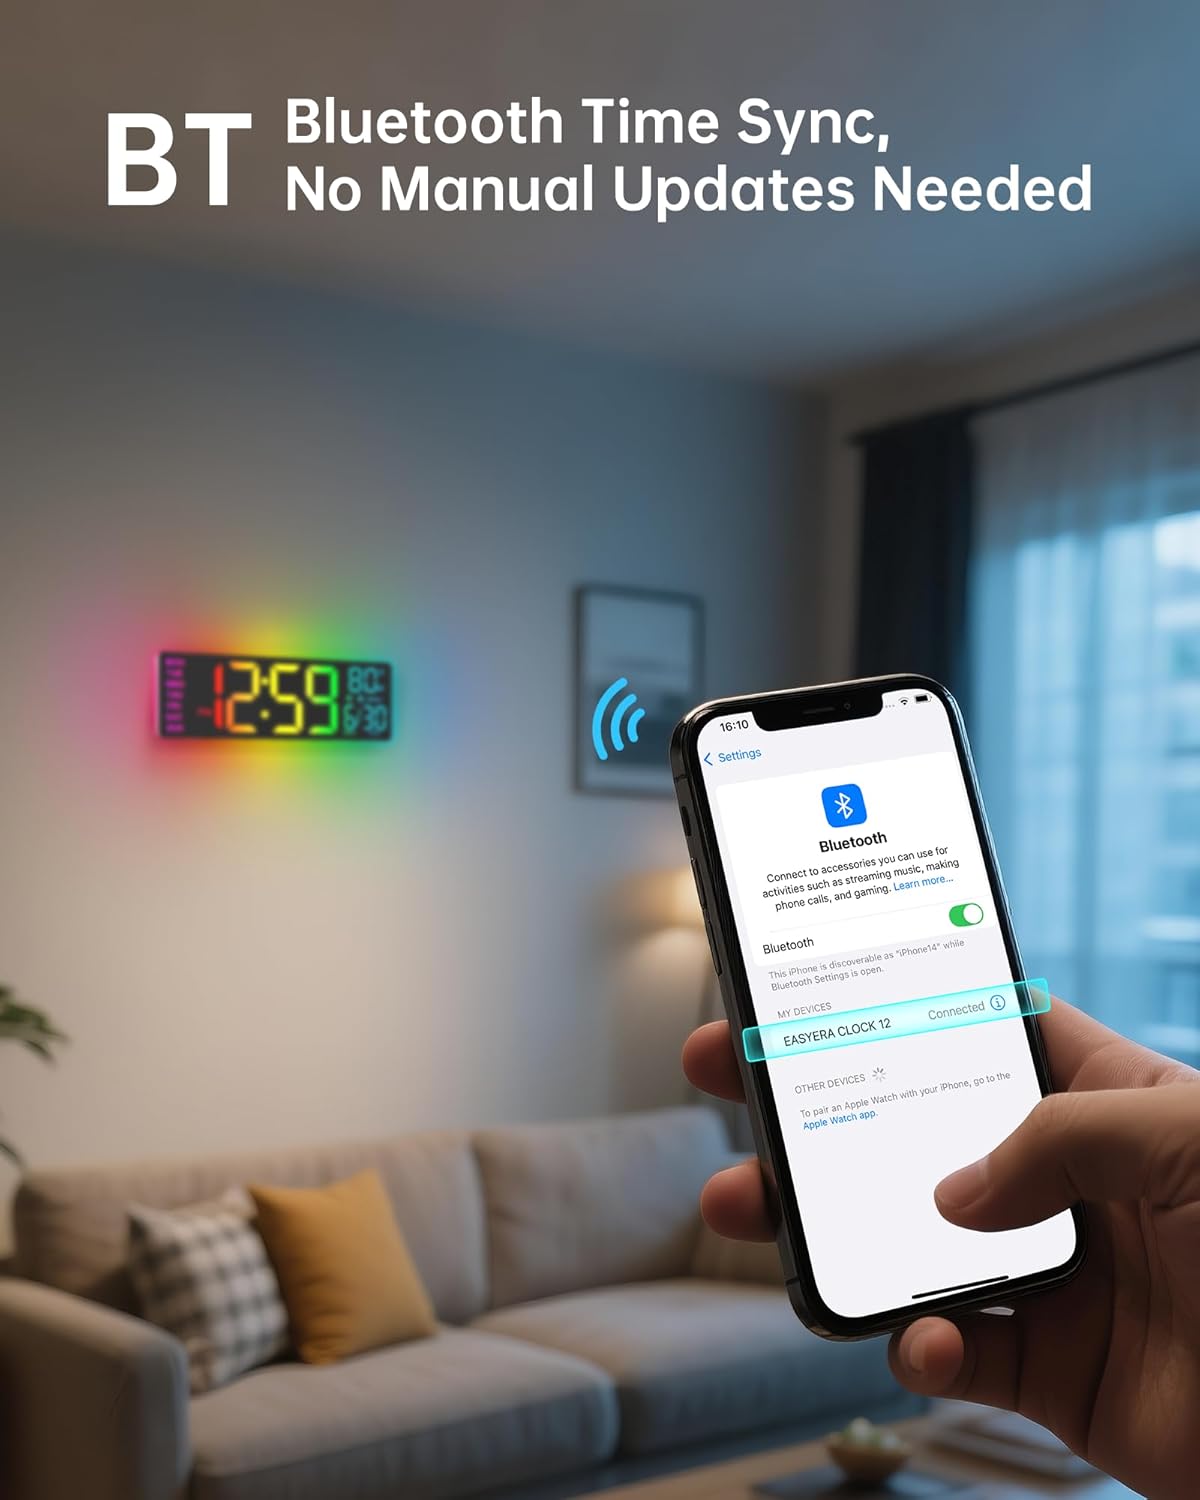
Figure 3: Bluetooth time synchronization process.
5. Operating Instructions
5.1 Remote Control Functions
The included remote control allows for convenient operation of all clock features.
| Button | Function |
|---|---|
| TIME SET | Enter/Exit time setting mode (manual adjustment if Bluetooth is off). |
| AL1 SET / AL2 SET | Set Alarm 1 / Set Alarm 2. |
| OK | Confirm selection or setting. |
| LIGHT | Cycle through RGB light modes. |
| DIMMER | Adjust display brightness manually. |
| DST | Manually enable/disable Daylight Saving Time (usually automatic). |
| TIMER | Activate/Set the countdown timer. |
| BT | Toggle Bluetooth on/off. |
| +/- | Adjust values up/down during setting. |
5.2 Setting Alarms
The clock features two independent alarms, ideal for different schedules (e.g., weekdays and weekends).
- Press the AL1 SET or AL2 SET button on the remote.
- Use the +/- buttons to adjust the hour, then press OK.
- Use the +/- buttons to adjust the minute, then press OK.
- The alarm is now set. To toggle an alarm on/off, press the corresponding AL1 SET or AL2 SET button briefly.

Figure 4: Example of dual alarm usage for different schedules.
5.3 RGB Light Modes
The clock offers 11 dynamic RGB light modes to suit your preference and environment.
- Press the LIGHT button on the remote control to cycle through the available light modes.
- Modes include solid colors, multi-color displays, and smooth gradient transitions.
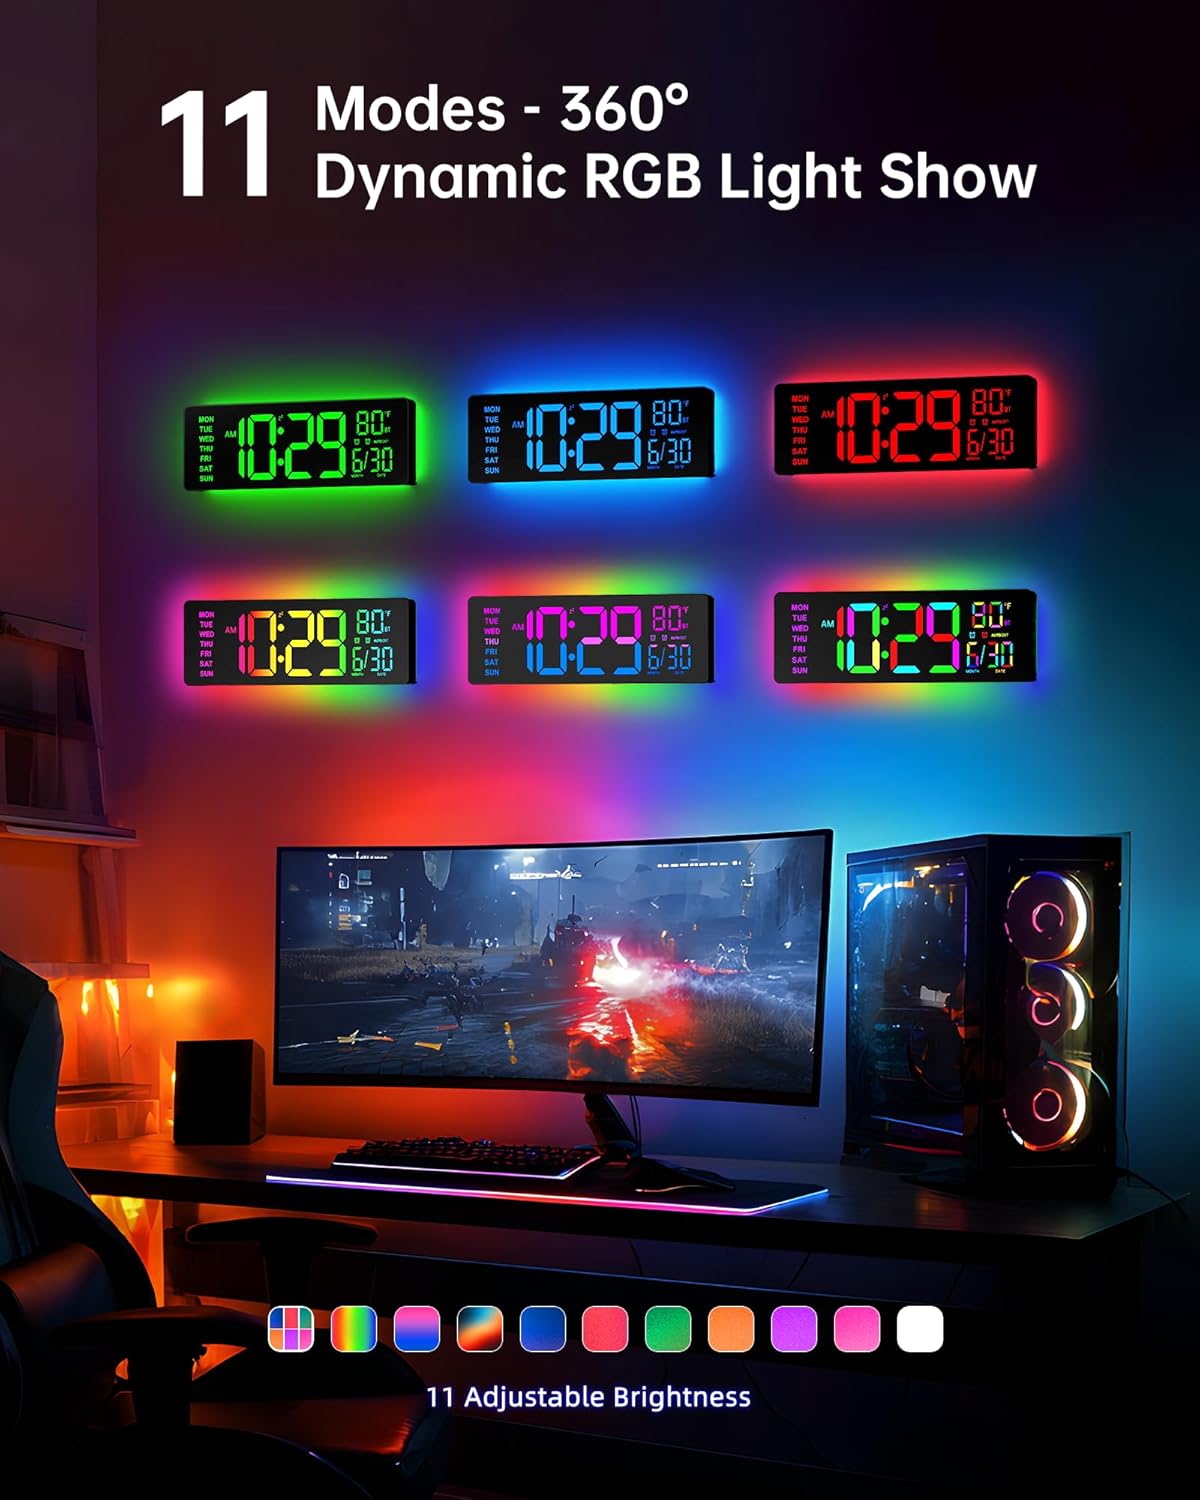
Figure 5: Examples of various RGB light modes.
5.4 Brightness Adjustment
The clock features 10 levels of auto-dimming brightness for optimal visibility day and night.
- The clock is designed to automatically adjust brightness based on ambient light.
- To manually adjust brightness, press the DIMMER button on the remote control.

Figure 6: Illustration of brightness levels.
5.5 Daylight Saving Time (DST)
The clock automatically adjusts for Daylight Saving Time. If manual adjustment is needed, use the remote.
- The clock is designed to automatically adjust for DST.
- In rare cases where manual intervention is required, press the DST button on the remote control to toggle DST on or off.

Figure 7: Automatic DST adjustment.
5.6 99-Minute Timer
The clock includes a convenient countdown timer function.
- Press the TIMER button on the remote control.
- Use the +/- buttons to set the desired countdown time (from 0 to 99 minutes).
- Press OK to start the timer.
- The timer will count down, and an alert will sound when it reaches zero.

Figure 8: Using the 99-minute timer.
6. Maintenance
- Cleaning: Use a soft, dry cloth to clean the clock's display and body. Avoid abrasive cleaners or solvents.
- Power Supply: Always use the original 5V/2A power adapter and cable provided. Do not expose the clock to excessive moisture or extreme temperatures.
- Storage: If storing the clock for an extended period, disconnect it from power and keep it in a dry, cool place.
7. Troubleshooting
| Problem | Solution |
|---|---|
| Clock does not power on. | Ensure the power adapter is securely plugged into both the clock and a working electrical outlet. Verify the outlet has power. |
| Bluetooth time sync fails. | Ensure Bluetooth is enabled on your phone and the clock. Try unpairing and re-pairing the device. Move closer to the clock to ensure a strong signal. |
| Remote control is not working. | Check if the remote's battery needs replacement. Ensure there are no obstructions between the remote and the clock's sensor. |
| Display is too dim or too bright. | Use the DIMMER button on the remote to manually adjust brightness. Check if the auto-dimming sensor is obstructed. |
| Alarms do not sound. | Verify that the alarm is enabled (indicated by an alarm icon on the display). Check the alarm volume settings if applicable (not explicitly mentioned but common). |
8. Specifications
| Attribute | Detail |
|---|---|
| Brand | EASYERA |
| Model Number | AC-WC120A |
| Display Type | Digital LED |
| Color | Black (Housing) |
| Product Dimensions | 12"W x 3.8"H |
| Power Source | Corded Electric (5V/2A adapter) |
| Material | Plastic |
| Item Weight | 0.53 Kilograms (1.16 pounds) |
| Special Features | Large Display, RGB Lights, Bluetooth Sync, Dual Alarms, Auto DST, Countdown Timer, Remote Control |
| Mounting Type | Wall Mount |
| Indoor/Outdoor Usage | Indoor |
| UPC | 768556559402 |
9. Warranty and Support
For warranty information or technical support, please contact EASYERA customer service through the retailer's platform where you purchased the product or refer to the contact details provided in your product packaging.
You can also visit the official EASYERA store on Amazon for more information: EASYERA Store
Ask a question about this manual
Ask about setup, troubleshooting, compatibility, parts, safety, or missing instructions. Manuals+ will review the question and use this page’s manual context to help answer it.