
Introduction
This manual provides essential information for the safe and efficient operation of your DASH Disney Stitch Santa Mini Waffle Maker. Please read all instructions carefully before first use and retain for future reference. This compact and lightweight appliance is designed for preparing snack-sized mini waffles with ease, featuring a user-friendly setup and quick cleanup.
Important Safety Instructions
- Read all instructions before operating the appliance.
- Do not touch hot surfaces. Use handles or knobs.
- To protect against electrical shock, do not immerse cord, plugs, or appliance in water or other liquid.
- Close supervision is necessary when any appliance is used by or near children.
- Unplug from outlet when not in use and before cleaning. Allow to cool before putting on or taking off parts, and before cleaning the appliance.
- Do not operate any appliance with a damaged cord or plug, or after the appliance malfunctions or has been damaged in any manner.
- The use of accessory attachments not recommended by the appliance manufacturer may cause injuries.
- Do not use outdoors.
- Do not let cord hang over edge of table or counter, or touch hot surfaces.
- Do not place on or near a hot gas or electric burner, or in a heated oven.
- Extreme caution must be used when moving an appliance containing hot oil or other hot liquids.
- Always attach plug to appliance first, then plug cord into the wall outlet. To disconnect, turn any control to “off,” then remove plug from wall outlet.
- Do not use appliance for other than intended use.
Parts and Features
Your DASH Disney Stitch Santa Mini Waffle Maker is designed for simplicity and efficiency. It features a compact design and nonstick cooking surfaces.

Figure 1: Closed view of the DASH Disney Stitch Santa Mini Waffle Maker.
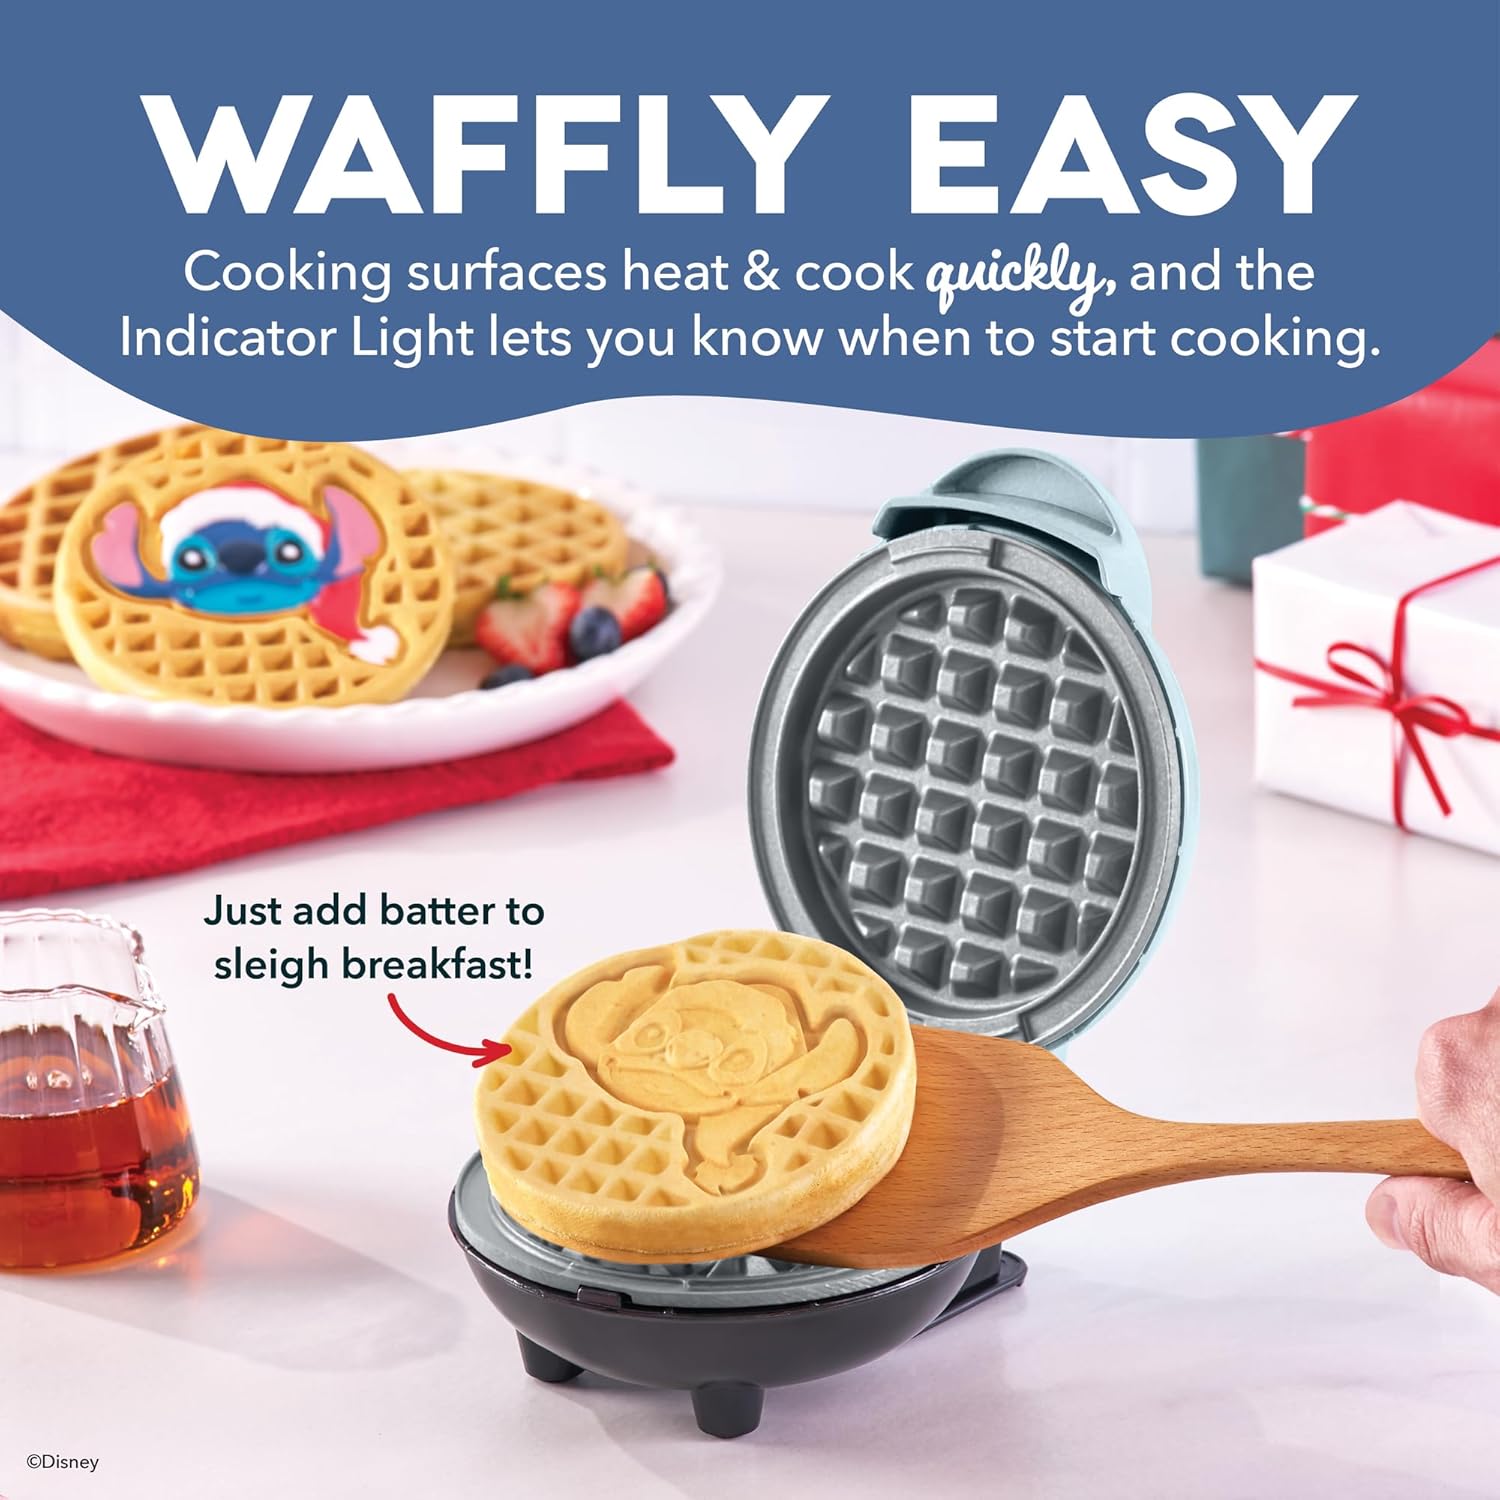
Figure 2: Open view of the waffle maker, highlighting the indicator light and Stitch-shaped cooking surface.
- Nonstick Cooking Surfaces: Ensures easy release of waffles and quick cleanup.
- Indicator Light: Illuminates when the waffle maker is preheating and turns off when it reaches the optimal cooking temperature.
- Compact Design: Allows for easy storage in small spaces.
- Built-in Cord Wrap: For tidy storage and to keep countertops clutter-free.
Setup
- Unpack: Carefully remove the waffle maker from its packaging and remove any protective materials or stickers.
- Initial Cleaning: Wipe down the cooking surfaces with a damp cloth and dry thoroughly. Do not immerse the appliance in water.
- Placement: Place the waffle maker on a stable, heat-resistant surface near an electrical outlet.
- Preheat: Plug the appliance into a 120V AC outlet. The indicator light will illuminate, signaling that the waffle maker is preheating. The light will turn off when the appliance has reached its optimal cooking temperature and is ready for use.
Operating Instructions
Follow these steps to make delicious mini waffles:
- Prepare Batter: Prepare your favorite waffle batter.
- Preheat: Ensure the waffle maker is preheated (indicator light off).
- Add Batter: Carefully pour approximately 1/4 cup of batter onto the lower cooking surface. Close the lid.
- Cook: Allow the waffle to cook for 3-5 minutes, or until golden brown and cooked to your desired crispness. Cooking time may vary based on batter type and desired doneness.
- Remove Waffle: Open the lid and carefully remove the cooked waffle using a heat-resistant, non-metallic utensil (e.g., silicone spatula). Do not use metal utensils, as they can damage the nonstick coating.
- Repeat: Close the lid and wait for the indicator light to turn off again before adding more batter for subsequent waffles.

Figure 3: A perfectly cooked Stitch-shaped waffle ready to be enjoyed.

Figure 4: A decorated Stitch-shaped waffle, demonstrating creative serving options.
Instructional Videos
Video 1: This video provides a general overview of the Dash Mini Waffle Maker, demonstrating its features and ease of use for various recipes.
Video 2: This video showcases the unboxing and initial use of a Stitch-themed waffle maker, highlighting its appeal and simple operation.
Cleaning and Maintenance
Proper cleaning and maintenance will ensure the longevity of your waffle maker.
- Cool Down: Always unplug the appliance and allow it to cool completely before cleaning.
- Wipe Surfaces: Wipe the nonstick cooking surfaces with a damp, soft cloth or sponge. For stubborn residue, use a small amount of cooking oil to soften it, then wipe clean. Do not use abrasive cleaners or scouring pads, as they can damage the nonstick coating.
- Exterior Cleaning: Wipe the exterior of the waffle maker with a damp cloth.
- Storage: Once clean and dry, wrap the power cord around the built-in cord wrap on the base of the unit. Store the waffle maker in a dry place. Its compact size allows for easy storage in drawers or cabinets.

Figure 5: The compact waffle maker stored neatly in a kitchen drawer.
Troubleshooting
| Problem | Possible Cause | Solution |
|---|---|---|
| Waffles stick to the cooking surface. | Insufficient preheating or no cooking spray/oil. | Ensure the waffle maker is fully preheated (indicator light off). Lightly grease the cooking surfaces with cooking spray or a small amount of oil before adding batter. |
| Waffles are not cooking evenly. | Uneven batter distribution or insufficient cooking time. | Ensure batter is spread evenly. Increase cooking time slightly if needed. |
| Indicator light does not turn on. | Appliance not plugged in or power outlet issue. | Check if the appliance is securely plugged into a working 120V AC outlet. |
Specifications
| Feature | Detail |
|---|---|
| Brand | DASH |
| Model | Mini Waffle Maker (B0FB2SFL9Z) |
| Special Feature | Ceramic Coating, Lightweight |
| Color | Blue Stitch in Santa Hat |
| Material | Aluminum, Plastic |
| Product Dimensions (D x W x H) | 6.4"D x 6.4"W x 2.8"H |
| Wattage | 350 watts |
| Item Weight | 1.1 Pounds |
| Voltage | 120 Volts |
| Number of Settings | 1 |
| Material Type Free | PFOA Free |
| UPC | 810137395371 |
Warranty and Support
Your DASH Disney Stitch Santa Mini Waffle Maker comes with a Limited Warranty. For specific details regarding warranty coverage and duration, please refer to the warranty information included with your purchase or contact DASH customer support.
Included Components: Instruction Manual, Recipe Booklet
For further assistance, product registration, or to inquire about replacement parts, please visit the official DASH website or contact their customer service department.


