1. Introduction
Thank you for choosing the Candy 53 Pints Dehumidifier. This manual provides essential information for the safe operation, installation, maintenance, and troubleshooting of your new appliance. Please read it thoroughly before use and retain it for future reference. This dehumidifier is designed to effectively reduce humidity in spaces up to 4500 square feet, helping to prevent issues such as mold, mildew, and musty odors.


2. Safety Information
To reduce the risk of fire, electric shock, or injury, always follow these basic safety precautions:
- Read all instructions before using the appliance.
- Ensure the power supply matches the voltage specified on the rating label.
- Do not operate the dehumidifier with a damaged cord or plug.
- Always place the unit on a firm, level surface to prevent water spillage.
- Maintain at least 8 inches (20 cm) of clearance around the unit for proper airflow.
- Do not insert objects into the air inlet or outlet.
- Unplug the unit before cleaning or performing any maintenance.
- Keep the appliance away from heat sources and direct sunlight.
- This appliance is not intended for use by persons (including children) with reduced physical, sensory or mental capabilities, or lack of experience and knowledge, unless they have been given supervision or instruction concerning use of the appliance by a person responsible for their safety.
3. Product Overview
The Candy 53 Pints Dehumidifier is designed for efficient moisture removal, covering areas up to 4500 square feet. It features smart controls and flexible drainage options.
3.1 Key Components
- Dehumidifier Unit
- Removable Water Tank (1.35 Gallon capacity)
- Drain Hose (6.67 ft for continuous drainage)
- Washable Air Filter
- Power Cord

3.2 Features
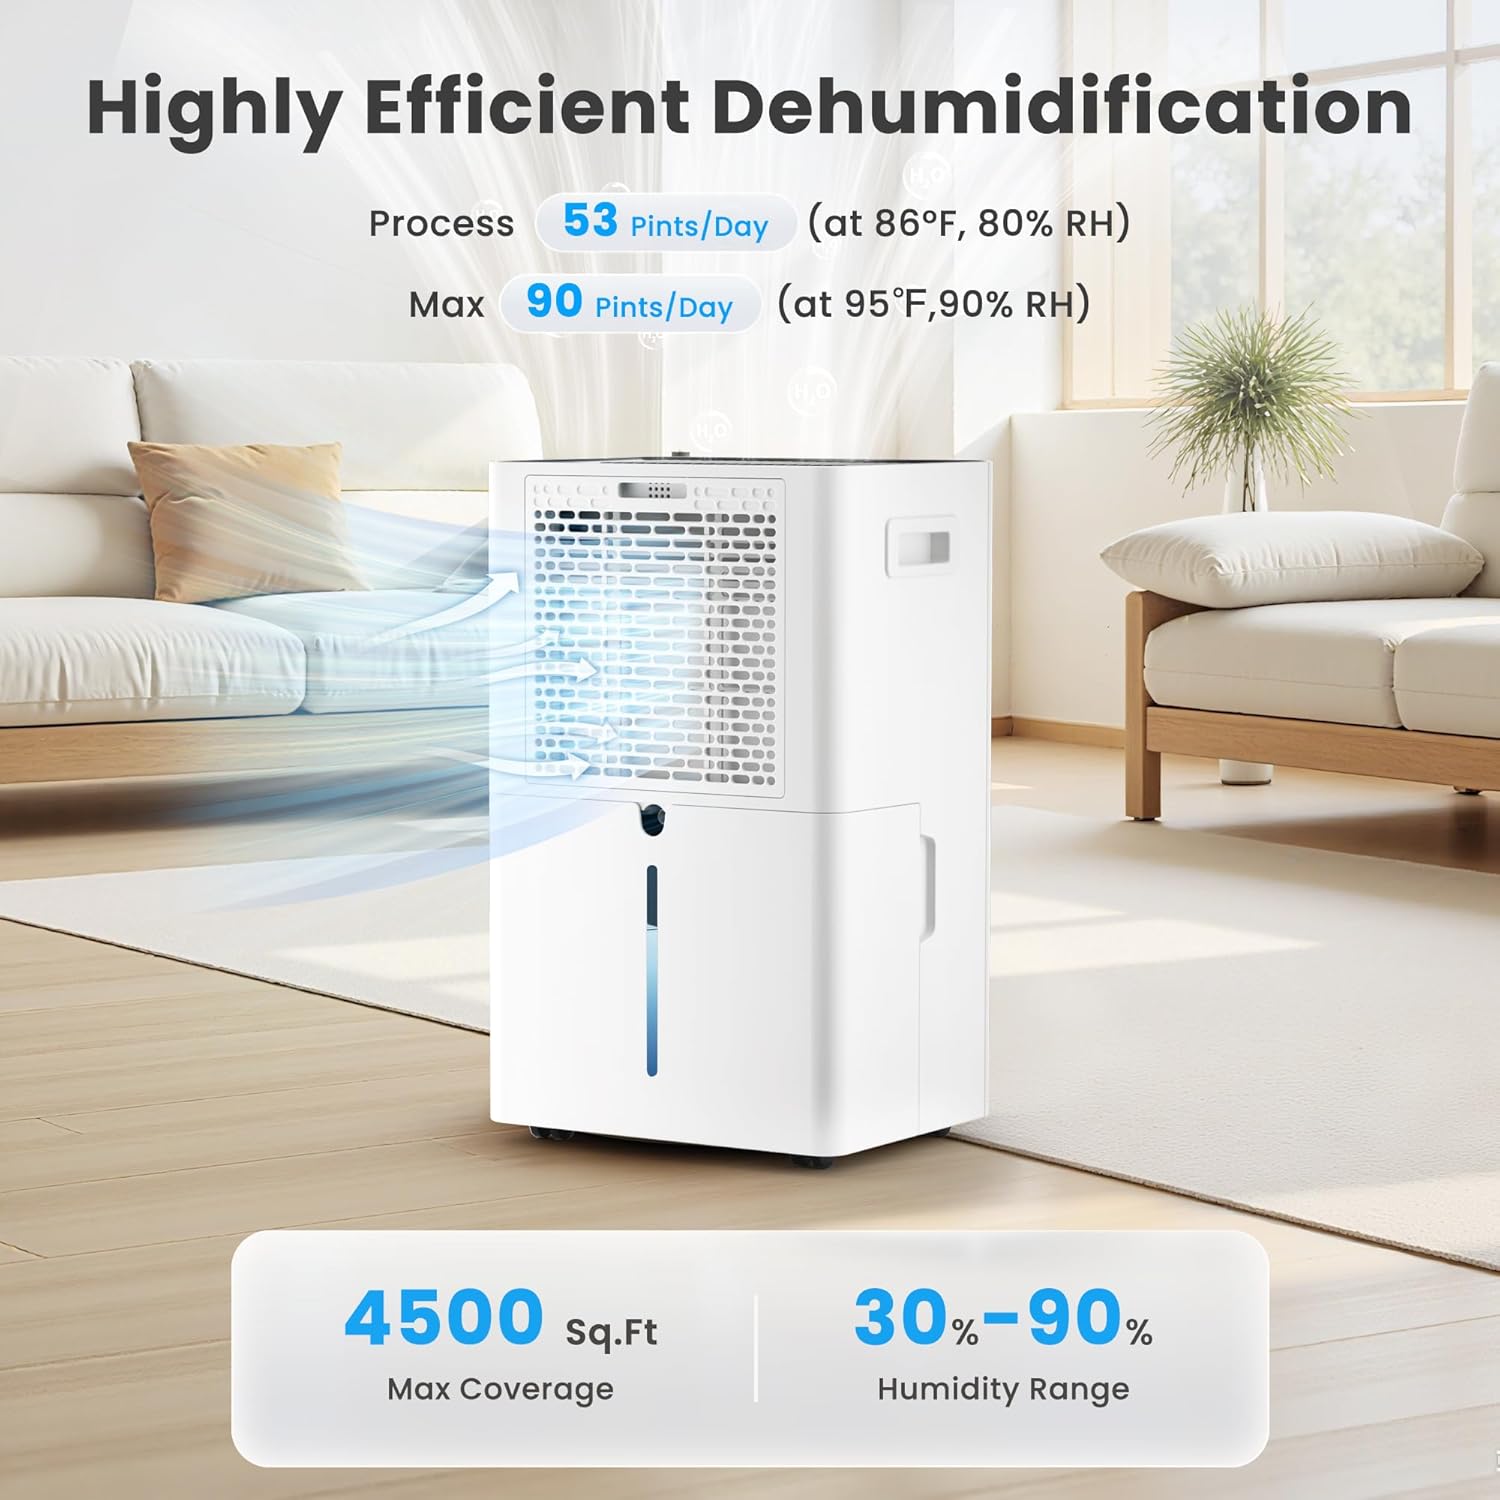
- High Efficiency: Removes up to 53 pints of moisture per day (at 86°F, 80% RH).
- Wide Coverage: Suitable for areas up to 4500 sq. ft.
- Smart Control: Wi-Fi enabled for control via Candy Home App, Google Home, or Alexa.
- Multiple Modes: Continuous, Auto, and Sleep modes.
- Adjustable Humidity: Target humidity range from 30% to 90%.
- Fan Speeds: Three fan speed settings (Low, Medium, High).
- Dual Drainage: Manual (1.35 Gal tank) or Continuous (drain hose).
- Convenient Design: Ergonomic handle, universal smooth wheels, anti-spill tank, washable filter, auto defrost, 24-hour timer, child lock.
- Quiet Operation: Operates at approximately 43dB.

4. Setup
4.1 Unpacking
Carefully remove the dehumidifier from its packaging. Inspect the unit for any shipping damage. Retain the packaging materials for future storage or transport.
4.2 Placement
Place the dehumidifier on a smooth, level floor in a location where the humidity is highest. Ensure there is at least 8 inches (20 cm) of space on all sides of the unit to allow for proper air circulation. Avoid placing it near heat-generating appliances or in direct sunlight. For optimal performance, close all doors and windows in the room where the dehumidifier is operating.

5. Operating Instructions
5.1 Control Panel Overview
The dehumidifier features an intuitive touch control panel with an LED display. Familiarize yourself with the buttons and indicators:

5.2 Power On/Off
Press the Power button (usually indicated by a power symbol) to turn the unit on or off. Hold for 3 seconds to connect to Wi-Fi.
5.3 Setting Desired Humidity
In AUTO mode, press the HUMIDITY SETTING button to adjust the desired humidity level between 30% and 90% in 5% increments. The unit will operate until the set humidity is reached, then pause, restarting when humidity rises.
5.4 Fan Speed Selection
Press the SPEED button to cycle through Low, Medium, and High fan speeds. The corresponding speed icon will illuminate on the display.

5.5 Operating Modes
Press the MODE button to select from the following:
- AUTO Mode: The unit automatically maintains the set humidity level, pausing when reached and restarting when needed.
- CONTINUOUS Mode: The dehumidifier operates continuously at high fan speed, regardless of the humidity level, for rapid moisture removal.
- SLEEP Mode: Operates at ultra-quiet, low fan speed with dimmed display lights for undisturbed nighttime use.

5.6 Timer Function
Press the TIMER button to set a 24-hour timer for automatic power on or off. Each press increases the time by one hour. The timer can be set from 1 to 24 hours.

5.7 Child Lock
To prevent unintentional changes to settings, press and hold the LOCK button for 3 seconds to activate or deactivate the child lock function. This ensures safety around children and pets.

5.8 Wi-Fi and App Control
The dehumidifier can be controlled remotely via the Candy Home App (available for iOS/Android), Google Home, or Alexa. Follow the app's instructions to connect your device to your home Wi-Fi network. This allows you to adjust settings, monitor humidity, and receive notifications from anywhere.
- Download the Candy Home App from your device's app store.
- Follow the in-app instructions to pair your dehumidifier.
- Once connected, you can control power, mode, humidity settings, and fan speed.


6. Drainage Options
Your Candy dehumidifier offers two methods for water removal:
6.1 Manual Drainage (Water Tank)
The unit collects condensed water in its internal 1.35-gallon water tank. When the tank is full, the dehumidifier will automatically shut off and an indicator light will illuminate. Carefully remove the tank, empty the water, and reinsert it securely to resume operation.
6.2 Continuous Drainage (Drain Hose)
For continuous, hands-free operation, attach the included 6.67 ft drain hose to the designated outlet on the back of the unit. Route the hose to a suitable floor drain or pump. Ensure the hose is sloped downwards to allow gravity drainage and prevent kinks.

7. Maintenance
Regular maintenance ensures optimal performance and longevity of your dehumidifier.
7.1 Cleaning the Air Filter
The washable air filter should be cleaned every two weeks or more frequently depending on usage and air quality. A dirty filter can reduce efficiency and airflow.
- Unplug the dehumidifier from the power outlet.
- Open the air intake grille.
- Remove the air filter element.
- Wash the filter with warm, soapy water. Rinse thoroughly.
- Allow the filter to air dry completely before reinserting.
- Place the filter back into the air intake grille and close it.

7.2 Water Tank Cover Installation
Ensure the water tank cover is correctly installed after emptying or cleaning to prevent leaks and ensure proper operation.
- Place the water tank cover at an angle under the water tank clip position.
- Then lower the water tank cover to position as shown in the enlarged figure.

7.3 Auto Defrost
The dehumidifier is equipped with an automatic defrost function. If frost builds up on the evaporator coils in low temperatures, the unit will automatically defrost. During this process, the lights will illuminate, the compressor will stop, but the fan will continue to run. This is normal operation and ensures efficient performance.

7.4 Storage
If the unit will not be used for an extended period, unplug it, empty the water tank, clean the filter, and store it in a cool, dry place, preferably in its original packaging.
8. Troubleshooting
Before contacting customer support, please refer to the following troubleshooting guide for common issues:
| Problem | Possible Cause | Solution |
|---|---|---|
| Dehumidifier does not turn on. | No power; power cord loose; water tank full or not properly inserted. | Check power connection; empty and reinsert water tank correctly. |
| No water collected. | Humidity too low; room temperature too low; air filter clogged; unit in continuous drainage mode. | Increase target humidity; ensure room temperature is above 41°F (5°C); clean air filter; check drain hose connection. |
| Unit runs but humidity does not decrease. | Doors/windows open; room too large; air filter clogged; unit too close to walls. | Close all openings; ensure unit is suitable for room size; clean air filter; ensure proper clearance. |
| Unit is noisy. | Unit not on a level surface; air filter clogged; internal components loose. | Place on a level surface; clean air filter; contact customer support if noise persists. |
| Wi-Fi connection issues. | Incorrect Wi-Fi password; unit too far from router; router issues. | Verify Wi-Fi password; move unit closer to router; restart router; re-pair device via app. |
9. Specifications
| Feature | Specification |
|---|---|
| Brand | Candy |
| Model Number | CAS-CF25-US |
| Moisture Removal Capacity | 53 Pints/Day (at 86°F, 80% RH) |
| Max Coverage Area | 4500 Sq. Ft. |
| Humidity Setting Range | 30% - 90% |
| Water Tank Volume | 1.35 Gallons |
| Drain Hose Length | 6.67 ft |
| Product Dimensions (D x W x H) | 19.69" x 9.25" x 12.2" |
| Item Weight | 29 Pounds |
| Number of Fan Speeds | 3 (Low, Medium, High) |
| Special Features | Automatic Defrost, Automatic Shutoff, Continuous/Auto/Sleep Mode, Smart APP WIFI Control, Ergonomic Handle, Washable Filter, Child Lock, 24-Hour Timer |
| Noise Level | Approx. 43dB |
10. Warranty and Support
This product includes a user manual as part of its packaging. For specific warranty information, please refer to the documentation included with your purchase or contact Candy customer support. If you encounter any issues not covered in this manual, or require further assistance, please reach out to the manufacturer's customer service department.


