
1. Introduction
This manual provides detailed instructions for the safe and proper installation, operation, and maintenance of your EaseLife 5FT Exterior Sliding Barn Door Hardware Kit. Please read all instructions carefully before beginning installation to ensure a smooth and successful setup. Keep this manual for future reference.

Image 1.1: The EaseLife 5FT Exterior Sliding Barn Door Hardware Kit installed on an outdoor shed. Note: Door not included.
2. Safety Guidelines
- Read Instructions: Always read and understand all instructions before installation and use.
- Two-Person Installation: Installation requires at least two people due to the weight and size of components and the door.
- Proper Tools: Use appropriate tools for drilling, measuring, and tightening. Ensure tools are in good working condition.
- Wall Structure: Ensure the wall structure where the track will be mounted is strong enough to support the weight of the door and hardware (up to 450 lbs). Reinforcement may be necessary.
- Door Compatibility: Verify your door's thickness (1-3/8" to 1-3/4") and weight are within the specified limits.
- Clearance: Ensure adequate clearance (minimum 4 inches) above the door opening for track installation.
- Secure Fasteners: All screws and bolts must be securely tightened to prevent accidents.
- Children and Pets: Keep children and pets away from the installation area.
3. Package Contents
Please verify that all components listed below are present and undamaged before beginning installation. If any parts are missing or defective, contact EaseLife customer support immediately.
- 2x 2.5ft Box Rail (Total 5FT Track)
- 2x Pulley (Hangers)
- 3x Hook (Wall Mount Brackets)
- 2x Stopper
- 2x Plug (End Caps)
- 1x Floor Guide
- Mounting Hardware (screws, anchors, etc.)
- Installation Manual (this document)
Note: Door is NOT included in this kit.

Image 3.1: Complete package contents. Ensure all parts are present.
4. Installation Preparation
4.1 Tools Required
- Measuring Tape
- Pencil
- Level
- Drill (with appropriate drill bits, including a 3/8" bit for door hangers)
- Wrench or Socket Set
- Screwdriver (Phillips head)
- Stud Finder (if mounting to studs)
4.2 Door and Wall Requirements
- Door Width: This 5FT track is designed for a single door up to 30 inches wide.
- Door Thickness: The door should be between 1-3/8 inches and 1-3/4 inches thick.
- Wall Structure: The mounting surface must be solid wood studs or a solid header board securely fastened to studs. If mounting to concrete or brick, use appropriate anchors (not always included).
- Clearance: A minimum of 4 inches of clearance is required from the top of the door opening to the ceiling for the track and hangers.

Image 4.1: Measurement tips for door and track compatibility.
5. Installation Steps
Follow these steps carefully. It is highly recommended to have two people for installation.
5.1 Determine Track Height and Mark Holes
- Measure the height of your door. Add 1-1/2 inches to this measurement to find the recommended height for the top of the track.
- Using a level and pencil, mark a horizontal line on the wall at this calculated height. This line will guide the top edge of your track.
- Position the two 2.5ft box rail sections along this line, ensuring they are perfectly aligned and level. Mark the locations for the wall mount brackets (hooks) and the track connection points.
- Drill pilot holes at the marked locations. If mounting to studs, ensure the holes align with the center of the studs. For drywall, use appropriate wall anchors.
5.2 Mount the Track
- Attach the wall mount brackets (hooks) to the wall using the provided screws.
- Connect the two 2.5ft box rail sections together using the provided connectors and screws.
- Carefully lift the assembled 5FT track and place it onto the wall mount brackets. Secure the track to the brackets with the designated fasteners. Ensure the track is level and firmly attached to the wall.
5.3 Attach Hangers to the Door
- Lay your door flat on a clean, protected surface.
- Measure and mark the positions for the hangers (pulleys) on the top edge of your door. Typically, these are placed a few inches from each end of the door.
- Drill holes through the door at the marked positions using a 3/8" drill bit.
- Attach the hangers to the door using the provided bolts, washers, and nuts. Ensure they are securely tightened.
5.4 Install Floor Guide
- Position the floor guide on the floor directly below the center of the track.
- Slide the door into the closed position and adjust the floor guide so that it fits snugly into the groove at the bottom of your door (if applicable) or guides the door edge without obstruction.
- Mark the mounting holes for the floor guide.
- Drill pilot holes and secure the floor guide to the floor using the provided screws.
5.5 Mount the Door and Adjust Stoppers
- With assistance, carefully lift the door and hook the rollers of the hangers onto the track.
- Slide the door back and forth to ensure smooth operation.
- Install the two stoppers at the desired open and closed positions on the track. Tighten them securely to prevent the door from sliding off the track.
- Insert the end plugs into the open ends of the track for a finished look and to prevent dust accumulation.

Image 5.1: Assembly diagram for the box rail hardware.

Image 5.2: Detail of the smooth-gliding rollers.
6. Operation
Once installed, your EaseLife sliding barn door hardware allows for smooth and quiet operation. Simply push or pull the door along the track to open or close it. The high-precision bearing rollers are designed for effortless movement, and the stoppers prevent the door from exceeding its intended travel limits.

Image 6.1: Rollers designed for smooth and quiet operation.
7. Maintenance
To ensure the longevity and optimal performance of your exterior sliding barn door hardware, follow these maintenance guidelines:
- Regular Cleaning: Periodically wipe down the track and rollers with a damp cloth to remove dust, dirt, and debris. For stubborn grime, use a mild soap solution and rinse thoroughly.
- Lubrication: Apply a silicone-based lubricant to the roller bearings and the top surface of the track every 6-12 months, or as needed, to maintain smooth operation. Avoid oil-based lubricants that can attract dirt.
- Hardware Inspection: Regularly check all screws, bolts, and fasteners for tightness. Re-tighten any loose components to prevent sagging or misalignment.
- Weather Resistance: The hardware is crafted from solid steel with an electrostatic galvanized coated finish for enhanced rust protection. While designed to withstand rain, snow, and humidity, regular inspection for any signs of wear or corrosion is recommended, especially in harsh weather conditions.
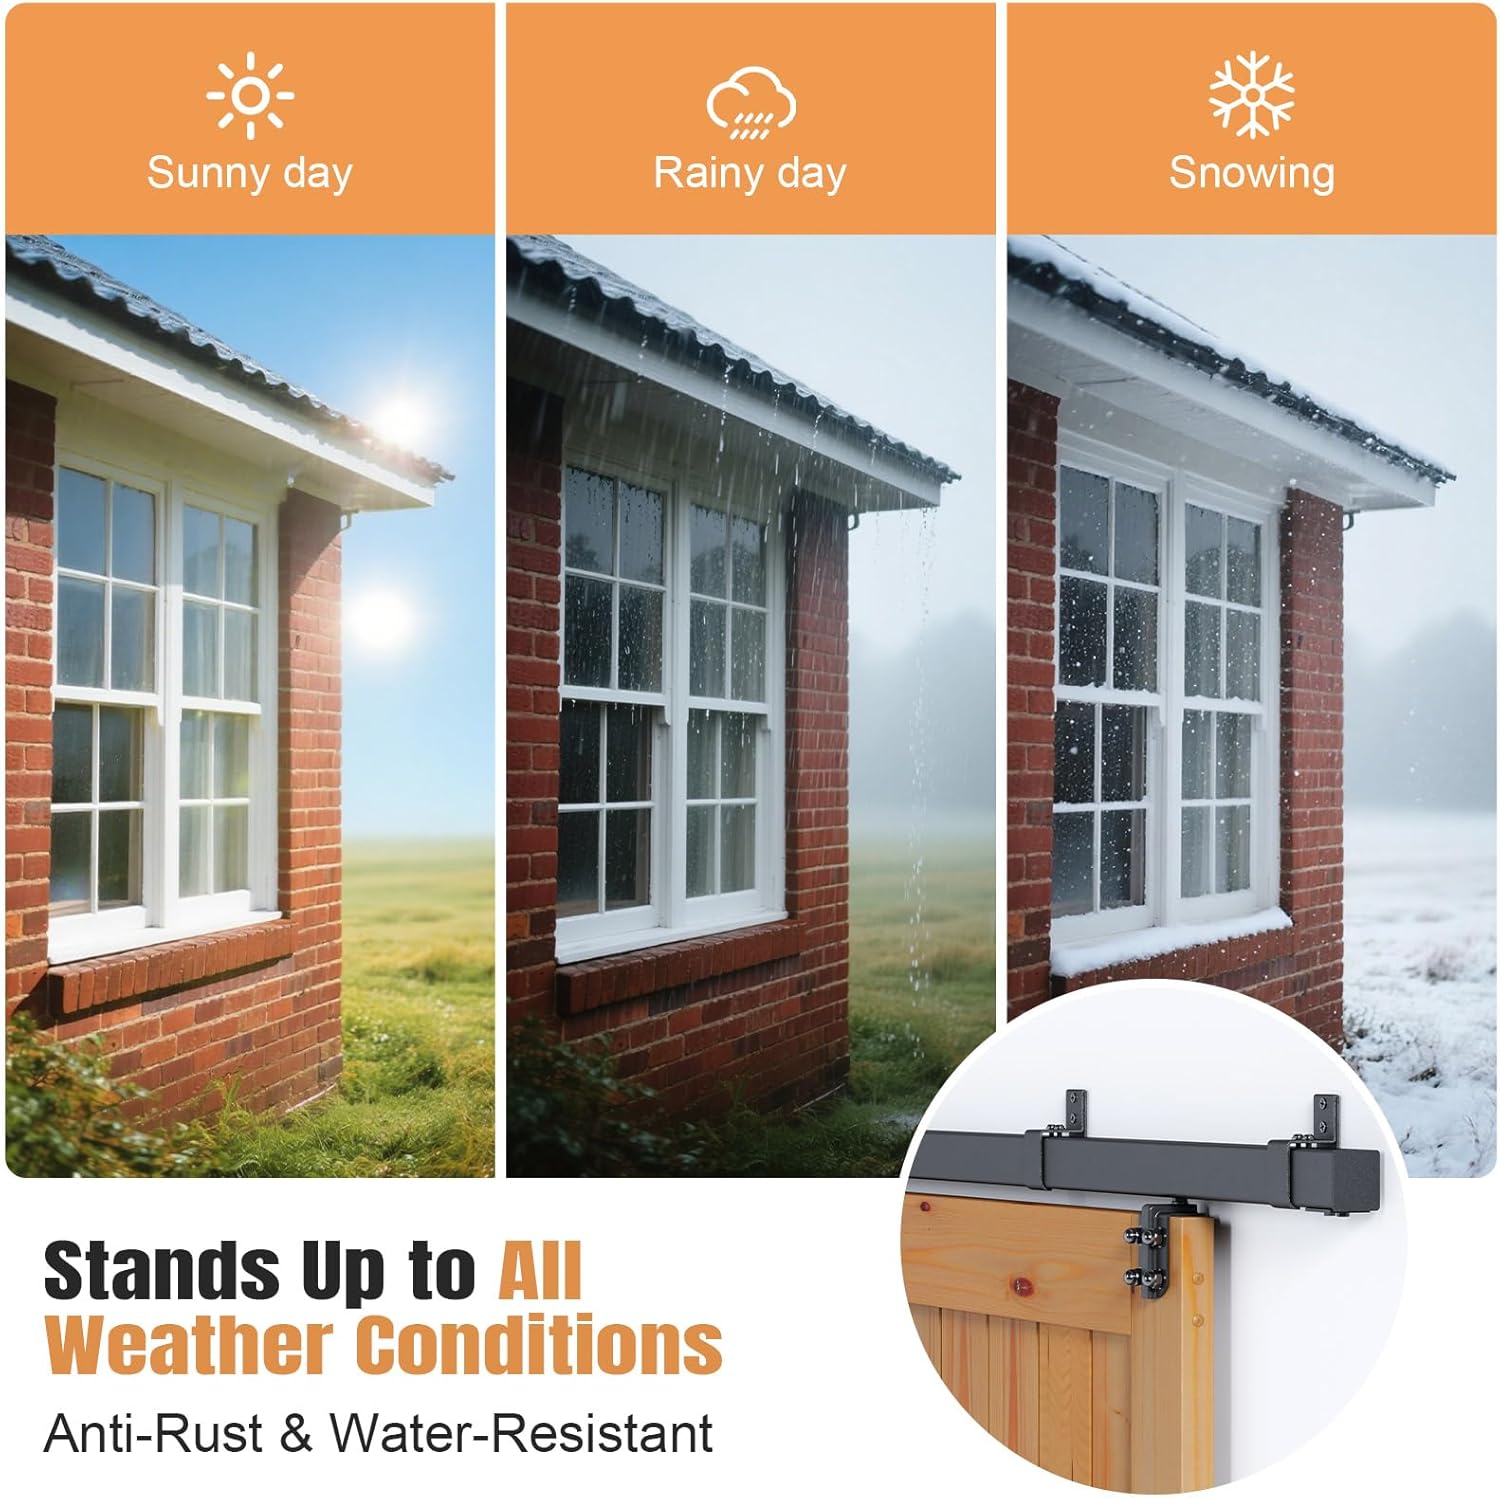
Image 7.1: Hardware designed to withstand various weather conditions.
8. Troubleshooting
If you encounter issues with your sliding barn door hardware, refer to the following common problems and solutions:
| Problem | Possible Cause | Solution |
|---|---|---|
| Door does not slide smoothly. |
|
|
| Door is difficult to move. |
|
|
| Door sways or wobbles. |
|
|
| Track appears to be sagging. |
|
|
9. Product Specifications
- Model Number: 0114_153J_1
- Track Length: 5FT (composed of 2x 2.5ft box rails)
- Material: Industrial-grade Reinforced Steel
- Finish: Electrostatic Galvanized Coated (Black)
- Max Door Weight Capacity: 450 lbs (200 kg)
- Compatible Door Width: Up to 30 inches
- Compatible Door Thickness: 1-3/8 inches to 1-3/4 inches
- Mounting Type: Wall Mount
- Item Weight: Approximately 16.61 pounds
- Package Dimensions: 31 x 6 x 3.5 inches

Image 9.1: Demonstration of 450 lbs weight capacity.
10. Warranty & Customer Support
EaseLife is committed to providing high-quality products and excellent customer service. Your hardware kit is backed by our commitment to quality and durability.
- Warranty: For specific warranty details, please refer to the product listing or contact EaseLife customer support.
- Customer Support: If you have any questions, require assistance with installation, or need to report missing/defective parts, please contact EaseLife's 24/7 assistance. We are dedicated to providing prompt solutions.
- Online Resources: A soft copy of this manual and professional installation guides may be available through our online service.
For support, please visit the EaseLife store on Amazon or contact us through the platform where you purchased the product.