1. Introduction
Thank you for choosing the HOMELIFE 4-Burner 60cm Ceramic Cooktop. This manual provides essential information for the safe and efficient installation, operation, and maintenance of your new appliance. Please read these instructions thoroughly before use and retain them for future reference.
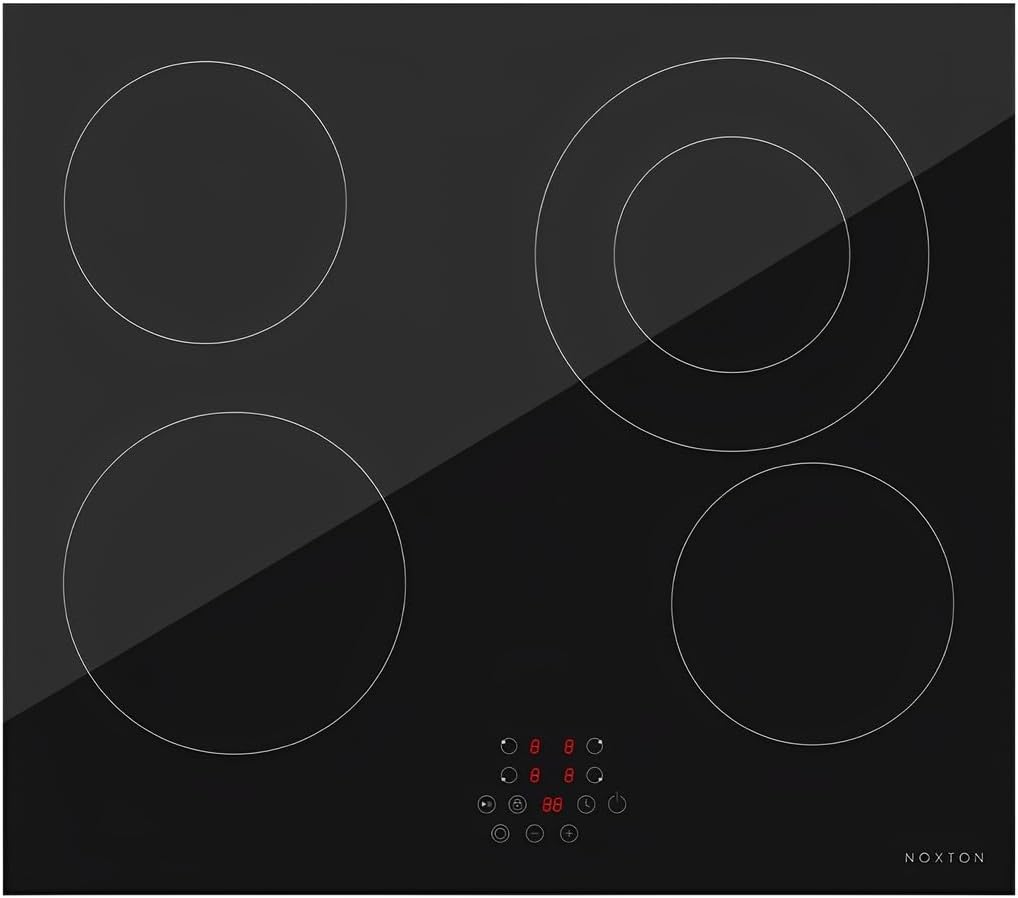
This image displays the HOMELIFE 4-burner ceramic cooktop from a top-down perspective, showcasing its sleek black glass surface and four circular heating zones. The touch control panel is visible at the bottom center, featuring digital displays and control icons.
2. Safety Instructions
To prevent accidents and ensure proper operation, always adhere to the following safety precautions:
- Electrical Safety: Ensure the cooktop is connected to a 220-240V power supply by a qualified electrician. Do not use adapters or extension cords.
- Heat Hazard: The ceramic surface and cooking zones become very hot during and after use. Avoid touching hot surfaces. Use oven mitts.
- Children and Pets: Keep children and pets away from the appliance during operation and while it is cooling down. Activate the safety lock feature to prevent accidental activation.
- Proper Ventilation: Ensure adequate ventilation around the cooktop as specified in the installation guidelines.
- Cleaning: Always disconnect the power supply before cleaning. Allow the cooktop to cool completely.
- Flammable Materials: Do not store flammable materials near the cooktop.
3. Installation and Setup
The HOMELIFE Ceramic Cooktop is designed for built-in installation. Professional installation by a qualified technician is highly recommended to ensure compliance with local electrical and building codes.
3.1 Unpacking
Carefully remove the cooktop from its packaging. Inspect for any damage during transit. Retain packaging materials for potential future transport or service.
3.2 Dimensions and Cut-out
The cooktop dimensions are approximately 66 x 59 x 12 cm. Refer to the detailed installation diagram for precise cut-out dimensions required for your countertop. Ensure sufficient clearance for ventilation.

An angled side view of the HOMELIFE ceramic cooktop, highlighting its slim design and the metal casing beneath the glass surface. Ventilation slots are visible on the side, indicating the built-in nature of the appliance.
3.3 Electrical Connection
This appliance requires a 220-240V electrical supply. The electrical connection must be performed by a licensed electrician in accordance with all local regulations.
4. Operating Instructions
The HOMELIFE Ceramic Cooktop features intuitive touch controls for precise cooking.

This image presents the HOMELIFE ceramic cooktop alongside graphical icons representing its main features: a padlock for safety lock, a flame for 4 heating zones, a brush for easy cleaning, a clock for individual timer, and a hand touching a screen for touch control.
4.1 Powering On/Off
Press the power symbol button to turn the cooktop on or off. The digital displays will illuminate upon activation.
4.2 Selecting a Cooking Zone
Each of the four cooking zones has a dedicated control area. Tap the desired zone's selection button to activate it.
4.3 Adjusting Heat Levels
Use the touch slider control to adjust the heat level for the selected cooking zone. Slide your finger along the control bar or tap directly on the desired power level. The digital display will show the current heat setting.
4.4 Individual Timer Function
The cooktop features an individual timer for each cooking zone. Select the zone, then activate the timer function and set the desired cooking duration using the touch controls. The zone will automatically switch off when the timer expires.
4.5 Safety Lock
To prevent accidental operation, especially by children, activate the safety lock function. Press and hold the lock symbol button until the indicator light illuminates. To unlock, repeat the process.
5. Cleaning and Maintenance
Regular cleaning and maintenance will ensure the longevity and optimal performance of your cooktop.
5.1 Daily Cleaning
- Always ensure the cooktop is cool before cleaning.
- Wipe the ceramic glass surface with a damp cloth and a mild detergent.
- For stubborn stains, use a specialized ceramic hob cleaner and a non-abrasive sponge.
- Dry the surface thoroughly with a clean cloth to prevent water marks.
5.2 Avoiding Damage
- Do not use abrasive cleaners, scouring pads, or harsh chemicals, as these can scratch or damage the ceramic surface.
- Avoid dropping heavy or sharp objects on the glass surface.
- Do not drag pots and pans across the surface, as this can cause scratches.
6. Troubleshooting
If you encounter issues with your cooktop, refer to the following common problems and solutions:
- Cooktop does not turn on: Check if the cooktop is properly connected to the power supply. Ensure the safety lock is not activated.
- Cooking zone not heating: Verify that the correct cooking zone has been selected and a heat level has been set. Ensure the cookware is suitable for ceramic hobs.
- Controls unresponsive: Clean the control panel to remove any spills or debris. If the issue persists, disconnect power for a few minutes and then reconnect.
- Error codes displayed: Consult the full user manual (if provided separately) or contact customer support with the specific error code.
For problems not listed here, or if solutions do not resolve the issue, please contact HOMELIFE customer support.
7. Specifications
- Brand: HOMELIFE
- Model: B0F9XH2WDG
- Type: 4-Burner Ceramic Cooktop
- Surface Material: Chinese Ceramic Glass
- Control Type: Touch Slider Control
- Power Supply: 220-240V
- Dimensions (Packaging): 66 x 59 x 12 cm
- Weight (Packaging): 9.01 kg

This image provides a detailed breakdown of the cooktop's features, including its 4 independent heating zones, durable Chinese ceramic glass surface, precise touch slider control for temperature adjustments, and its 60cm modern design suitable for planned kitchens. A smaller image of the cooktop is also included.
8. Warranty and Support
Your HOMELIFE Ceramic Cooktop is covered by a manufacturer's warranty against defects in materials and workmanship. Extended warranty options may also be available.
- Warranty Period: Please refer to your purchase documentation for specific warranty duration (e.g., 12 or 24 months extended warranty options were noted).
- Claiming Warranty: In case of a defect, please contact the seller or HOMELIFE customer support with your proof of purchase.
- Customer Support: For technical assistance, troubleshooting, or warranty inquiries, please reach out to the retailer where the product was purchased or visit the official HOMELIFE support website.
9. Product Integration Example

The HOMELIFE ceramic cooktop is shown installed flush within a light-colored kitchen countertop, demonstrating its elegant integration into a contemporary kitchen design. Kitchen utensils and a plant are visible nearby.


