
Introduction
Thank you for choosing the WEIZE 20-inch Freestyle BMX Bike. This manual provides essential information for the safe assembly, operation, and maintenance of your bicycle. Please read it thoroughly before use and retain it for future reference.
Important Safety Information: Always wear a helmet and appropriate safety gear when riding. Ensure all components are correctly assembled and securely fastened before each ride. Regular maintenance is crucial for safe operation.

Figure 1: WEIZE 20-inch Freestyle BMX Bike
1. Setup and Assembly
Your WEIZE BMX bike arrives 85% pre-assembled. The following steps detail the completion of the assembly process. An installation video is available on the product page for visual guidance.
1.1 Unpacking and Component Check
- Carefully remove all components from the packaging.
- Verify that all parts are present according to the packing list.
- Inspect for any shipping damage. Contact customer support immediately if any damage is found.
1.2 Handlebar Installation
- Insert the handlebar stem into the fork steerer tube.
- Align the handlebars perpendicular to the front wheel.
- Tighten the stem bolts securely.

Figure 2: Handlebar and Front Brake Assembly
1.3 Pedal Attachment
- Identify the 'L' (left) and 'R' (right) markings on the pedals.
- Thread the 'R' pedal clockwise into the right crank arm.
- Thread the 'L' pedal counter-clockwise into the left crank arm.
- Tighten both pedals firmly with a wrench.
1.4 Seat Post and Saddle Adjustment
- Insert the seat post into the frame's seat tube.
- Adjust the saddle height to a comfortable and safe riding position.
- Ensure the seat post is inserted past the minimum insertion line.
- Tighten the quick-release lever or seat post clamp bolt securely.

Figure 3: Saddle and Seat Post
1.5 Peg Installation (Optional)
- If desired, thread the pegs onto the front and/or rear wheel axles.
- Ensure they are tightened securely with a wrench.

Figure 4: Rear Wheel with Pegs
1.6 Brake Adjustment
- Ensure brake cables are properly routed and secured.
- Adjust brake pads to be centered on the wheel rim.
- Test brake lever tension and ensure effective stopping power.
2. Operating Instructions
2.1 Riding Posture
Maintain an upright and balanced posture. Keep your knees slightly bent and your arms relaxed to absorb shocks and maintain control.
2.2 Braking
The WEIZE BMX bike is equipped with V-brakes for reliable stopping. Apply both front and rear brakes simultaneously for controlled deceleration. Avoid sudden, hard braking with only the front brake, especially at high speeds, to prevent loss of control.

Figure 5: Brake Lever Detail
2.3 360-Degree Rotor Function
This BMX bike features a 360-degree rotor system, allowing the handlebars to spin freely without tangling the brake cables. This is designed for freestyle maneuvers. Ensure the rotor mechanism is clean and lubricated for smooth operation.

Figure 6: 360-Degree Rotor System
3. Maintenance
Regular maintenance extends the life of your bicycle and ensures safe riding.
3.1 Pre-Ride Check
- Tires: Check tire pressure and inspect for cuts or punctures.
- Brakes: Ensure brake levers are firm and brakes engage effectively.
- Bolts & Quick Releases: Verify all bolts and quick-release levers are tight.
- Chain: Check for proper tension and lubrication.
3.2 Cleaning
Clean your bike regularly with mild soap and water. Avoid high-pressure washers, which can force water into bearings and other sensitive components. Dry thoroughly after washing.
3.3 Lubrication
Lubricate the chain regularly with bicycle-specific chain lubricant. Apply a small amount, pedal backward to distribute, and wipe off excess. Periodically lubricate brake pivots and cable housing ends.

Figure 7: Drivetrain Components
4. Troubleshooting
| Problem | Possible Cause | Solution |
|---|---|---|
| Brakes feel spongy or weak | Loose cable, worn pads, misaligned pads | Tighten brake cable, replace pads, adjust pad alignment. |
| Chain slips or makes noise | Lack of lubrication, incorrect tension, worn chain/sprocket | Lubricate chain, adjust chain tension, inspect for wear. |
| Handlebars are loose | Stem bolts not tightened | Re-align handlebars and securely tighten stem bolts. |
| Tire loses air quickly | Puncture, loose valve stem | Inspect tire for punctures, repair or replace inner tube, tighten valve stem. |
5. Specifications
| Feature | Detail |
|---|---|
| Bike Type | BMX Bike |
| Model Name | KBA-5016 |
| Wheel Size | 20 Inches |
| Frame Material | High-Carbon Steel |
| Suspension Type | Rigid |
| Number of Speeds | 1 (Single Speed) |
| Brake Style | Linear Pull (V-Brakes) |
| Special Features | 360 Degree Rotor, 4 Pegs |
| Minimum User Height | 48 Inches (4'0'') |
| Suggested Rider Height | 4'0'' - 5'8'' |
| Suggested Rider Age | 7+ |
| Assembly Required | Yes (85% pre-assembled) |
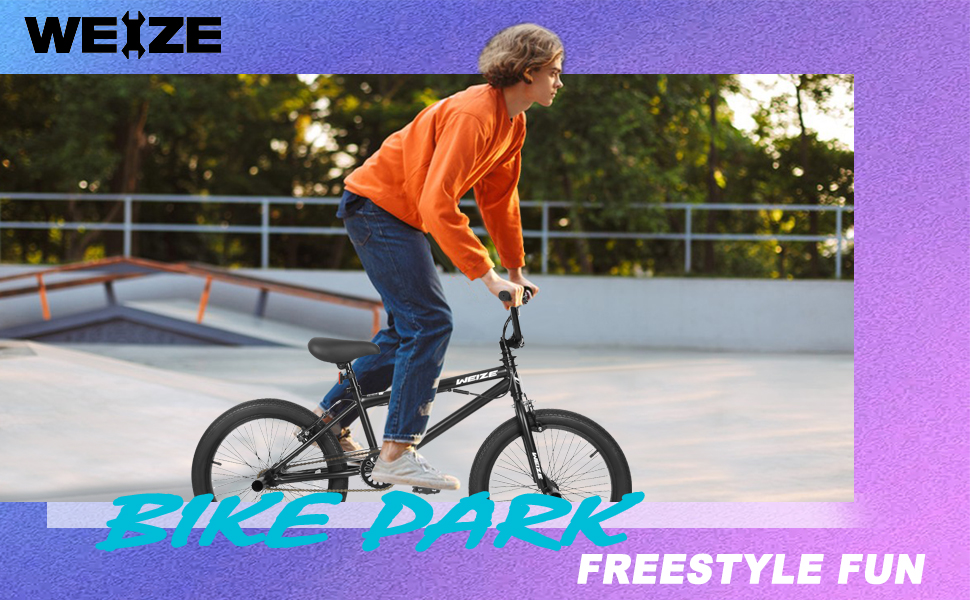
Figure 8: Bike Sizing Chart
6. Warranty and Support
6.1 Warranty Information
The WEIZE 20-inch Freestyle BMX Bike comes with a 1-year warranty from the date of purchase, covering manufacturing defects in materials and workmanship. This warranty does not cover normal wear and tear, improper assembly or maintenance, or damage due to accidents or misuse.
6.2 Customer Support
For technical assistance, warranty claims, or replacement parts, please contact WEIZE customer support through the retailer where the product was purchased. Please have your model number (KBA-5016) and proof of purchase available.