
Important Safety Information
Please read all instructions carefully before assembly and use. Keep this manual for future reference.
- Always assemble the product on a soft, clean surface to prevent scratches.
- Ensure all parts are present and undamaged before beginning assembly. Do not use if any parts are missing or damaged.
- Tighten all fasteners securely, but do not overtighten. Periodically check and retighten fasteners as needed.
- Do not allow children to climb on or play with the sideboard.
- For safety, consider anchoring the unit to a wall to prevent tipping, especially if children are present. Wall anchoring hardware is not typically included but recommended.
- Do not exceed the recommended weight capacity for shelves and drawers.
Package Contents
Verify that all components listed below are included in your package:
- Top Panel (1)
- Bottom Panel (1)
- Side Panels (2)
- Back Panels (2-3, depending on design)
- Shelf Panels (2)
- Drawer Fronts (3)
- Drawer Sides & Backs (6 sets)
- Drawer Bottoms (3)
- Door Panels (2)
- Drawer Slides (6 pairs)
- Hinges (4)
- Handles (5, for drawers and doors)
- Assembly Hardware (screws, dowels, cam locks, etc.)
- Assembly Tool (e.g., Allen wrench)
- Instruction Manual (1)
Assembly Instructions
Follow these steps carefully to assemble your LITFAD Sideboard. It is recommended to have two people for assembly.
- Prepare the Area: Clear a spacious, clean, and soft area for assembly. Unpack all components and verify against the package contents list. Separate hardware into labeled bags if provided.
- Assemble the Base Frame: Attach the bottom panel to the side panels using the provided dowels and cam locks/screws. Ensure the orientation is correct for drawer slides and door hinges.
- Install Drawer Slides: Secure the drawer slides to the interior side panels of the main frame using the designated screws. Ensure they are level and aligned.
- Assemble Drawers: Construct each drawer by attaching the sides and back to the drawer front, then slide in the drawer bottom. Secure with screws. Attach the remaining drawer slide components to the assembled drawers.
- Insert Drawers: Carefully slide the assembled drawers into their respective slots in the main frame. Test for smooth operation.
- Attach Back Panels: Secure the back panels to the rear of the unit using small nails or screws. Ensure the unit is square before fastening.
- Install Doors: Attach hinges to the door panels, then align and secure the doors to the main frame. Adjust hinges as necessary for proper door alignment and gap.
- Attach Handles: Install the handles onto the drawer fronts and door panels using the provided screws.
- Place Top Panel: Carefully place the top panel onto the assembled frame. Secure it from underneath with screws if applicable.
- Final Placement: Move the assembled sideboard to its desired location. For added stability and safety, consider securing the unit to a wall using anti-tip hardware (not included).
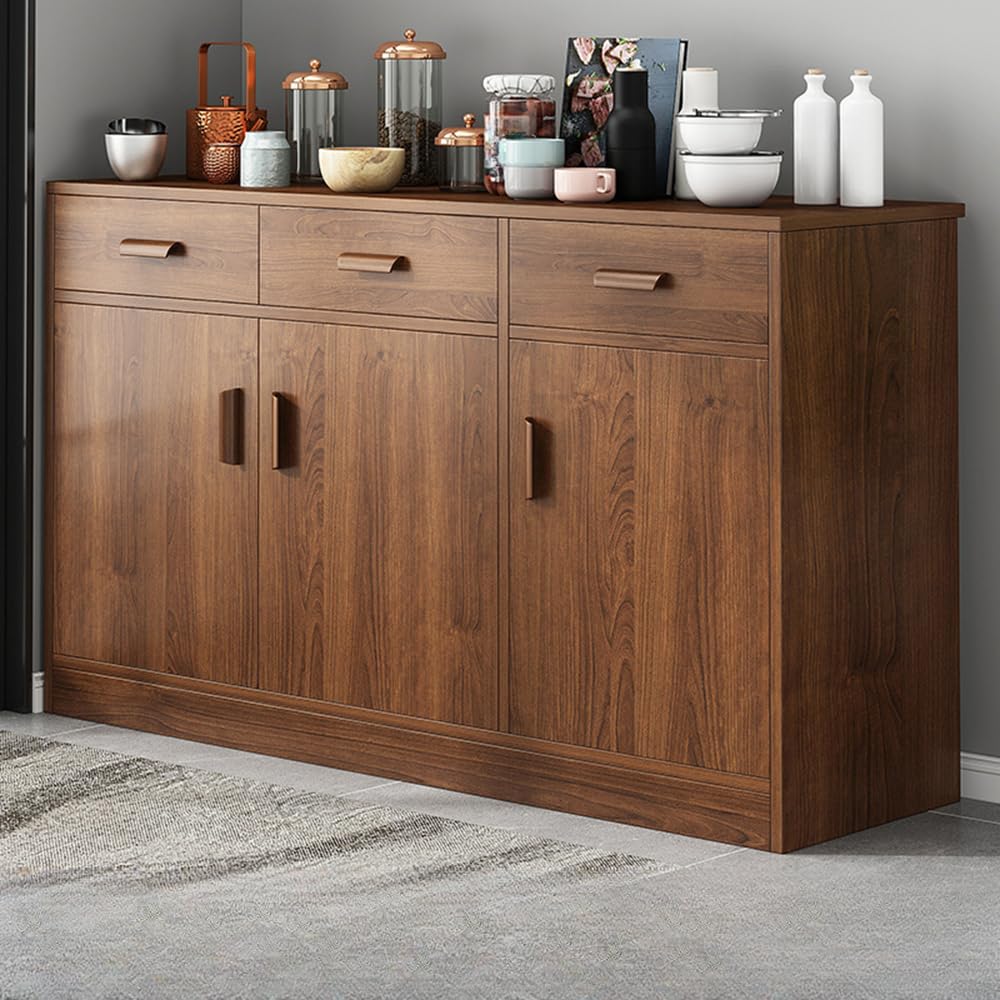
Image: The LITFAD 47 inch Walnut Sideboard, showcasing its overall design and key dimensions: 47 inches (120cm) in length, 15 inches (38cm) in depth, and 35.5 inches (90cm) in height. The sideboard features three drawers and two cabinet doors, providing ample storage.
Operating Instructions
Your LITFAD Sideboard is designed for convenient storage and display.
- Drawers: Gently pull the handles to open drawers. Push firmly to close. Avoid slamming drawers to prevent damage to the slides and contents.
- Cabinet Doors: Use the handles to open and close the cabinet doors. Ensure they close completely to keep contents secure and maintain the unit's aesthetic.
- Weight Capacity: Distribute weight evenly across shelves and within drawers. Avoid placing excessively heavy items on any single shelf or drawer to prevent bowing or damage.
Maintenance and Care
Proper care will ensure the longevity and appearance of your sideboard.
- Cleaning: Wipe surfaces with a soft, damp cloth. Avoid harsh chemicals, abrasive cleaners, or polishes that may damage the finish. Dry immediately with a clean cloth.
- Spills: Clean spills immediately to prevent staining or water damage to the manufactured wood.
- Sunlight Exposure: Avoid prolonged direct sunlight exposure, which can cause fading or discoloration of the wood finish.
- Heat and Moisture: Keep the sideboard away from direct heat sources and areas of high humidity to prevent warping or damage. Use coasters under hot or wet items.
- Hardware Check: Periodically check all screws and fasteners to ensure they are tight. Retighten as needed, but do not overtighten.
Troubleshooting
If you encounter any issues, refer to the following common problems and solutions:
| Problem | Possible Cause | Solution |
|---|---|---|
| Drawers do not slide smoothly. | Misaligned drawer slides or loose screws. | Check that drawer slides are correctly installed and all screws are tight. Ensure the unit is level. |
| Cabinet doors are misaligned or do not close properly. | Hinges are loose or require adjustment. | Tighten hinge screws. Adjust hinge settings (usually two screws on the hinge allow for vertical, horizontal, and depth adjustments) until doors are aligned. |
| Unit wobbles or is unstable. | Loose assembly screws or uneven floor. | Ensure all assembly screws are tightened. Place shims under the legs if the floor is uneven. Consider wall anchoring for added stability. |
| Scratches or minor damage to the surface. | Accidental impact or abrasive cleaning. | For minor scratches, a wood repair marker or furniture polish matching the walnut finish may help. Avoid abrasive materials for cleaning. |
Product Specifications
| Feature | Detail |
|---|---|
| Model Number | LT1505815H |
| Dimensions (L x W x H) | 47" x 15" x 35.5" (120cm x 38cm x 90cm) |
| Material | Manufactured Wood (E1 Grade) |
| Color | Walnut |
| Storage Features | 3 Drawers, 2 Cabinet Doors, 2 Interior Shelves |
| Style | Modern |
| Mounting Type | Freestanding |
| Assembly Required | Yes |
Customer Support
For any questions, missing parts, or assistance with your LITFAD Sideboard, please contact our customer support team. We are committed to providing excellent service.
Please refer to your purchase documentation or the seller's information on the platform where you purchased the product for specific contact details.
Note: Warranty information may vary by retailer and region. Please consult your point of purchase for details regarding warranty coverage.