Introduction
Thank you for choosing the Cadmos LED Digital Alarm Clock. This device provides accurate timekeeping along with essential environmental information, including temperature and humidity. It also displays the day of the week and features an alarm function. This manual will guide you through the setup, operation, and maintenance of your new alarm clock.
Product Features
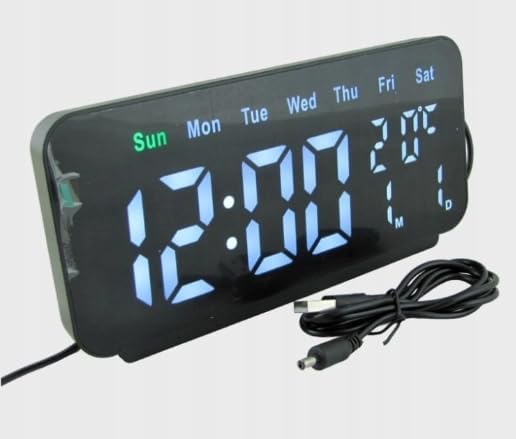
- Large LED Digital Display: Clearly shows time, temperature, humidity percentage, and day of the week.
- Dual Colour Screen: White LED digits for time and green LED for temperature and humidity readings for enhanced visibility.
- Time Format Options: Supports both 12-hour and 24-hour time display formats.
- USB Powered: Operates reliably via USB connection.
- Compact Design: Sleek black housing with a mirror-like display surface, suitable for various settings.
Setup
- Unpack the Device: Carefully remove the alarm clock and its accessories from the packaging.
- Power Connection: Connect the provided USB cable to the clock's power input port. Plug the other end of the USB cable into a standard USB power adapter (not included) or a powered USB port. The clock will power on and display the time.
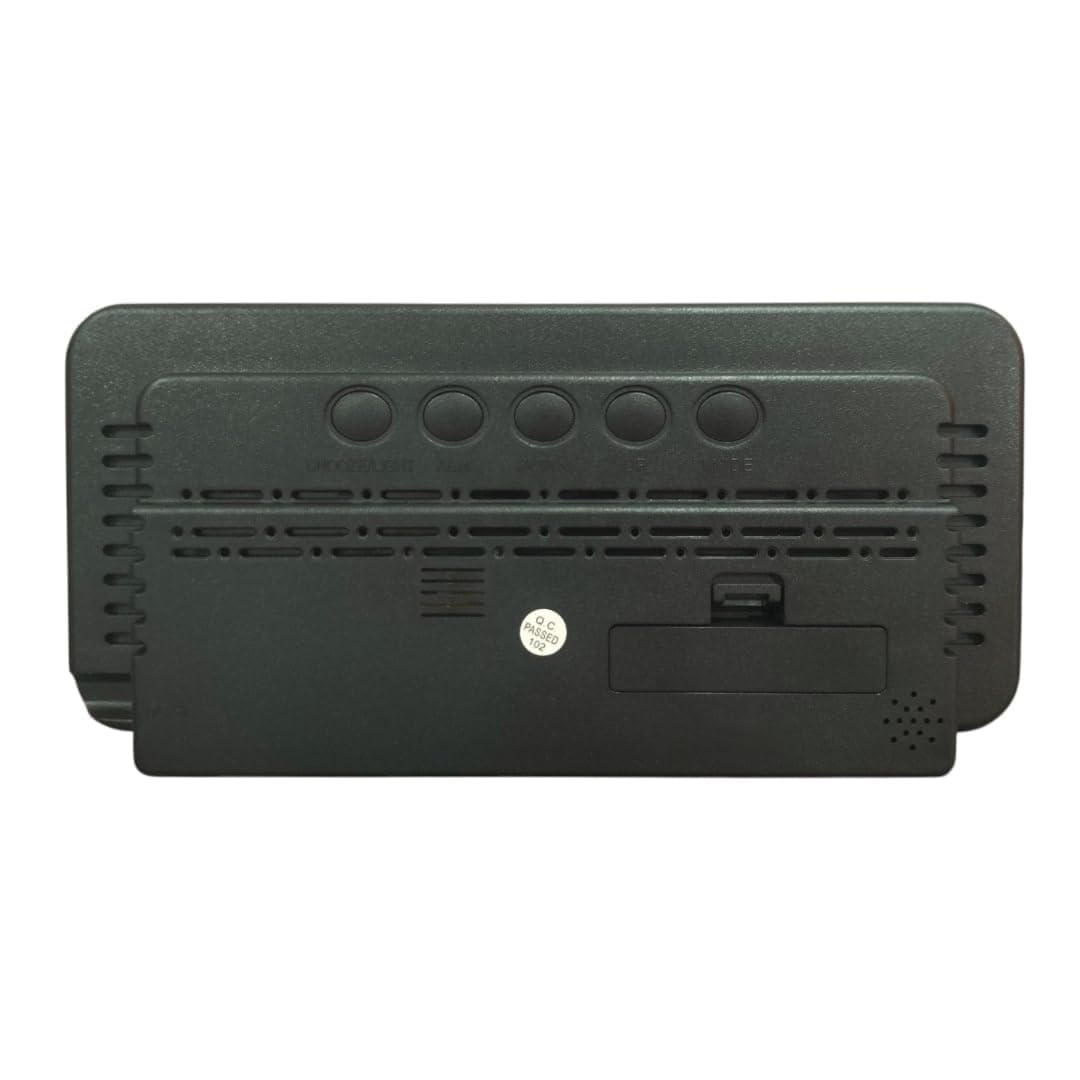
- Battery Backup (Optional): For maintaining time settings during power outages, insert 2 AAA batteries (not included) into the battery compartment located on the back of the clock. Ensure correct polarity.
Operating Instructions
The clock features several buttons on the back for setting and adjusting functions. Refer to the image below for button identification.
Setting the Time
- Press the MODE button once to enter time setting mode. The hour digits will flash.
- Use the UP or DOWN buttons to adjust the hour.
- Press MODE again to move to minute setting. The minute digits will flash.
- Use the UP or DOWN buttons to adjust the minutes.
- Press MODE a third time to select 12-hour or 24-hour format. Use UP or DOWN to toggle.
- Press MODE again to confirm and exit time setting, or wait a few seconds for it to automatically save.
Setting the Alarm
- Press the ALARM button once. The alarm hour digits will flash.
- Use the UP or DOWN buttons to set the desired alarm hour.
- Press ALARM again to move to minute setting. The alarm minute digits will flash.
- Use the UP or DOWN buttons to set the desired alarm minutes.
- Press ALARM again to confirm and exit alarm setting.
- To activate or deactivate the alarm, press the ALARM button briefly outside of setting mode. An alarm icon will appear/disappear on the display.
Snooze Function
When the alarm sounds, press any button (usually the large button on top or a dedicated SNOOZE button if present, otherwise any button except ALARM/MODE) to activate the snooze function. The alarm will temporarily stop and sound again after a few minutes (duration may vary by model, typically 5-10 minutes).
Temperature and Humidity Display
The clock automatically displays the current temperature and humidity. The temperature unit (Celsius/Fahrenheit) may be switchable by pressing a specific button (refer to product-specific markings if available, otherwise it defaults to Celsius for this model).

Maintenance
- Cleaning: Use a soft, dry cloth to clean the display and casing. Do not use abrasive cleaners, solvents, or chemical sprays, as these can damage the surface.
- Placement: Avoid placing the clock in direct sunlight, near heat sources, or in areas with high humidity to ensure accurate readings and prolong product life.
- Power: Always use the provided USB cable for power. If using batteries for backup, replace them annually or when the display shows signs of dimming during power outages.
Troubleshooting
| Problem | Solution |
|---|---|
| Display is blank or flickering. | Ensure the USB power cable is securely connected to both the clock and a working power source. Check if the power adapter is functioning correctly. If using battery backup, ensure batteries are inserted correctly and are not depleted. |
| Time is incorrect. | Re-set the time following the 'Setting the Time' instructions in this manual. If using battery backup, ensure batteries are fresh. |
| Alarm does not sound. | Verify that the alarm is activated (check for the alarm icon on the display). Ensure the alarm time is set correctly. |
| Temperature or humidity readings seem inaccurate. | Allow the clock to stabilize for at least 30 minutes after setup. Ensure the clock is not placed near direct heat sources, air conditioning vents, or in direct sunlight, which can affect sensor accuracy. |
Specifications
| Feature | Detail |
|---|---|
| Brand | Cadmos |
| Model Number | PH664 |
| Display Type | LCD Digital Display |
| Power Source | USB Powered |
| Product Dimensions | 19.5W x 10H Centimeters |
| Material | Plastic |
| Special Features | Temperature Display, Humidity Display, Day of Week Display |
| Battery Backup | Requires 2 AAA batteries (not included) |
| Item Weight | 200 Grams |
Warranty Information
This Cadmos LED Digital Alarm Clock is covered by a Limited Manufacturer Warranty. For specific details regarding warranty duration and terms, please refer to the product packaging or contact customer support. Keep your purchase receipt as proof of purchase for any warranty claims.
Customer Support
For any questions, technical assistance, or support regarding your Cadmos LED Digital Alarm Clock, please contact our customer service team:
- Email: care.temix@gmail.com
- WhatsApp: +91 8700 610 550
Our support team is available to assist you with any product-related inquiries.


