
FINSUI BE08
FINSUI 1080P Mini Camera Pen BE08 Instruction Manual
Model: BE08
Introduction
The FINSUI BE08 Mini Camera Pen is a compact and portable device designed for discreet video recording and photo capture. It features Full HD 1080P resolution, loop recording, and a built-in rechargeable battery for extended operation. This manual provides detailed instructions for setting up, operating, and maintaining your camera pen.
Key features include:
- Full HD 1080P video recording.
- Loop recording functionality.
- One-button operation for ease of use.
- Includes a 32GB memory card, supporting up to 64GB.
- Built-in 340mAh battery for up to 150 minutes of continuous recording.
- Compatible with Mac and PC for file viewing.
What's in the Box
Please check the package contents to ensure all items are present:
- 1 x FINSUI 1080P Mini Camera Pen
- 1 x 32GB Micro SD Card
- 1 x USB Charging Cable
- 1 x Micro SD Card Reader
- 5 x Ink Cartridges
- 1 x Reset Pin
- 1 x User Manual (this document)

Image: Package contents of the FINSUI Mini Camera Pen, showing the pen, a 64GB Micro SD card (note: product description states 32GB included), a USB card reader, a USB charging cable, five ink cartridges, and a reset pin.
Product Overview
Familiarize yourself with the components of your FINSUI Mini Camera Pen:
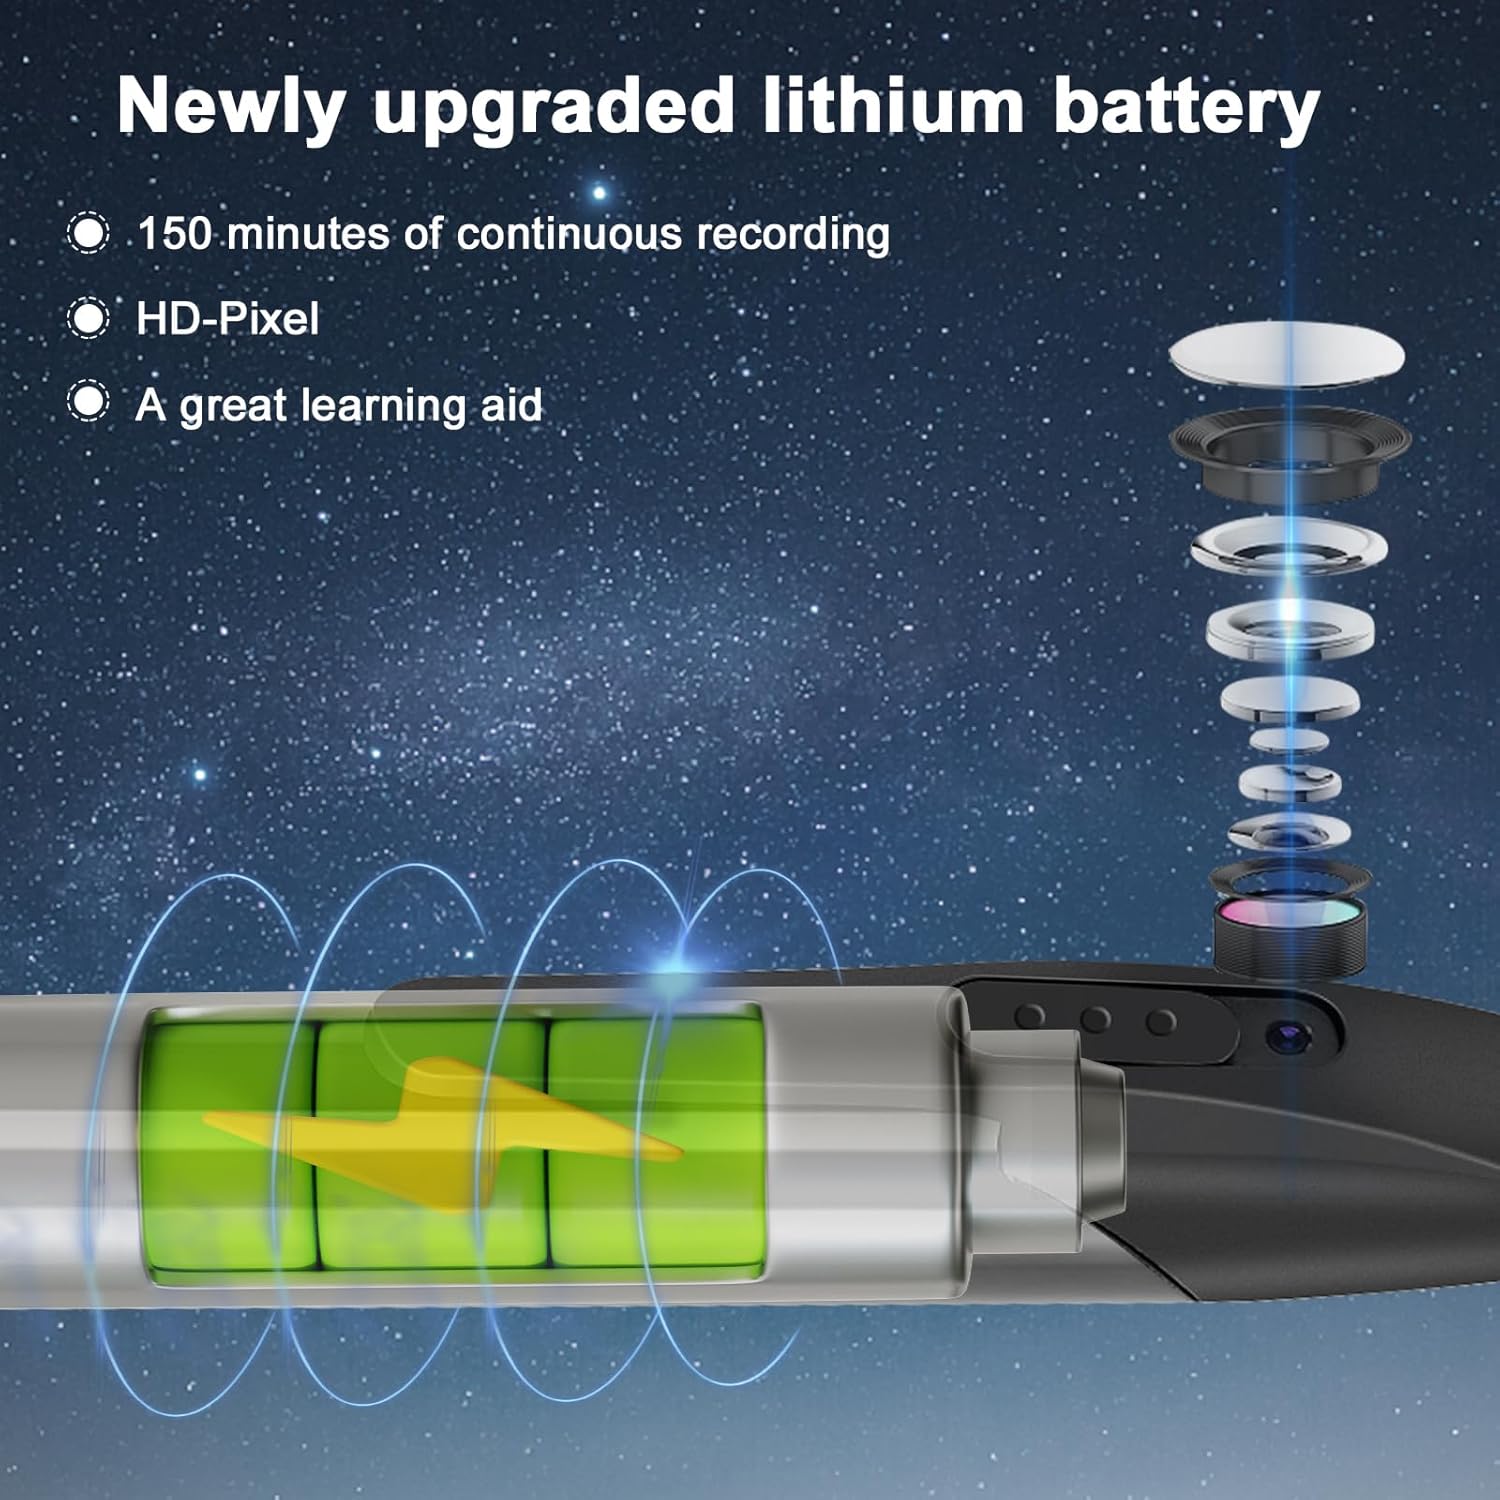
Image: Labeled diagram of the FINSUI Mini Camera Pen, pointing out the Indicator light, Camera lens, On/Off Button, Reset button, and Card slot/USB port.
- Indicator Light: Displays the device's status (e.g., charging, recording, standby).
- Camera Lens: The primary component for capturing video and images.
- On/Off Button: Used to power the device on/off and initiate/stop recording or photo capture.
- Reset Button: A small pinhole button to reset the device if it becomes unresponsive.
- Card Slot/USB Port: For inserting the Micro SD card and connecting the pen to a computer for charging or data transfer.
Setup
- Charge the Device: Before first use, fully charge the camera pen. Connect the pen to a USB power source (e.g., computer USB port, USB wall adapter) using the provided USB cable. The indicator light will show charging status and turn off or change color when fully charged.
- Insert Micro SD Card: The pen comes with a 32GB Micro SD card. Locate the card slot (often near the USB port). Gently insert the Micro SD card into the slot until it clicks into place. Ensure the card is inserted correctly to avoid damage.
- Set Date and Time (Optional but Recommended): To ensure accurate timestamps on your recordings, connect the pen to a computer. The device may create a text file (e.g., "time.txt" or "userconfig.txt") on the Micro SD card. Open this file and edit the date and time format as specified in the file (e.g., YYYY-MM-DD HH:MM:SS). Save the file and safely eject the pen. The time will synchronize upon the next power-on.
Operating Instructions
Power On/Off
- Power On: Press and hold the On/Off button for a few seconds until the indicator light illuminates. The pen will enter standby mode.
- Power Off: In any mode, press and hold the On/Off button for a few seconds until the indicator light turns off. This saves any current recording and powers down the device.
Video Recording
- Ensure the pen is powered on and in standby mode (indicator light solid).
- Press the On/Off button once briefly to start video recording. The indicator light will typically flash slowly or turn off to indicate recording is in progress.
- To stop recording, press the On/Off button once briefly again. The indicator light will return to solid, indicating standby mode. The video file will be saved automatically.
- The device supports loop recording, meaning when the memory card is full, the oldest files will be overwritten by new recordings.
Taking Photos
- Ensure the pen is powered on and in standby mode.
- The specific method for taking photos may vary. Some models require a quick double-press of the On/Off button, or a separate mode button if available. Refer to the quick start guide included in your package for exact photo capture instructions.
- The indicator light will typically flash once to confirm a photo has been taken.
Charging
- Connect the pen to a USB power source using the provided cable.
- The indicator light will typically be red during charging and turn off or blue when fully charged.
- The pen supports recording while charging.
- A full charge provides approximately 150 minutes of continuous recording.

Image: Internal view of the FINSUI Mini Camera Pen's battery, emphasizing its capacity for 150 minutes of continuous recording and HD-Pixel support.
Connecting to a Computer
- Ensure the pen is powered off.
- Connect the pen to your computer's USB port using the provided USB cable.
- The computer will recognize the pen as a removable disk.
- Open the removable disk to access your recorded video and photo files. Files are typically stored in folders like "VIDEO" or "PHOTO".
- Alternatively, you can remove the Micro SD card from the pen and insert it into the provided card reader, then connect the card reader to your computer.
- Always safely eject the removable disk from your computer before disconnecting the pen or card reader.
Maintenance
- Cleaning: Use a soft, dry cloth to clean the pen's exterior. Do not use liquid cleaners or solvents. Keep the camera lens clean for optimal video quality.
- Storage: Store the pen in a cool, dry place away from direct sunlight and extreme temperatures.
- Battery Care: To prolong battery life, avoid fully discharging the battery frequently. Charge the device regularly, even if not in use, to maintain battery health.
- Micro SD Card: Periodically format the Micro SD card (after backing up important files) to maintain optimal performance and prevent data corruption.
- Ink Refills: Replace ink cartridges as needed using the provided refills.
Troubleshooting
| Problem | Possible Solution |
|---|---|
| Device does not power on. | Ensure the battery is charged. Connect to a power source and try again. If still unresponsive, use the reset pin to press the reset button. |
| Cannot record video/take photos. | Check if the Micro SD card is inserted correctly and has sufficient free space. The battery might be low; charge the device. |
| Poor video/image quality. | Ensure the camera lens is clean. Record in well-lit conditions. Hold the pen steady during recording. |
| Computer does not recognize the device. | Try a different USB port or cable. Ensure the pen is powered off before connecting. Try removing the Micro SD card and using the provided card reader. |
| Indicator light is behaving unexpectedly. | Refer to the quick start guide for specific indicator light meanings. If issues persist, try resetting the device using the reset pin. |
Specifications
| Model Name | BE08 |
| Video Capture Resolution | 1080p |
| Storage | Supports up to 64GB TF card (32GB included) |
| Battery Capacity | 340mAh (Built-in lithium battery) |
| Continuous Recording Time | Up to 150 minutes |
| Connectivity Technology | Wired (USB) |
| Indoor/Outdoor Usage | Indoor, Outdoor |
| Item Dimensions | 5.9 x 0.35 x 0.35 inches |
| Color | Black |
Warranty and Support
FINSUI offers a 1-year free replacement warranty for product failures. Additionally, lifetime technical support is provided to assist you with any questions or concerns regarding your Mini Camera Pen.
For technical assistance or warranty claims, please contact FINSUI customer support. We aim for a 24-hour response time to ensure your satisfaction.
Please refer to your purchase documentation for specific contact details or visit the official FINSUI website for support information.
Ask a question about this manual
Ask about setup, troubleshooting, compatibility, parts, safety, or missing instructions. Manuals+ will review the question and use this page’s manual context to help answer it.