Introduction
Thank you for purchasing the Vytronix Family Size Dual Zone Air Fryer. This appliance is designed to provide a healthier way to cook your favorite meals with little to no oil, utilizing rapid air circulation technology. This manual provides essential information for the safe and efficient operation, maintenance, and troubleshooting of your new air fryer. Please read it thoroughly before first use and keep it for future reference.
Important Safety Instructions
- Always place the air fryer on a stable, heat-resistant surface, away from walls and other appliances to allow for proper air circulation.
- Do not immerse the main unit, cord, or plug in water or any other liquid.
- Ensure the voltage indicated on the appliance corresponds to your local mains voltage before connecting.
- Close supervision is necessary when any appliance is used by or near children.
- Unplug from the outlet when not in use and before cleaning. Allow to cool before putting on or taking off parts.
- Do not operate any appliance with a damaged cord or plug, or after the appliance malfunctions or has been damaged in any manner.
- Do not use accessories not recommended by the appliance manufacturer, as this may cause injuries.
- Do not let the cord hang over the edge of a table or counter, or touch hot surfaces.
- Do not place on or near a hot gas or electric burner, or in a heated oven.
- Extreme caution must be used when moving an appliance containing hot oil or other hot liquids.
- Do not use the appliance for other than intended use.
- Always ensure the baskets are properly inserted before operating.
- Hot air is released through the air outlet vents at the back of the appliance. Keep a safe distance from these vents.
Product Overview
Familiarize yourself with the components of your Vytronix Dual Zone Air Fryer:

Figure 1: Main components of the Vytronix Dual Zone Air Fryer, showing the main unit, two independent cooking zones, two 4.5L non-stick baskets, and two non-stick grill plates.
- 1. Main Unit: Features an LED digital touchscreen display for control.
- 2. Two Independent Cooking Zones: Allows for cooking different foods simultaneously with separate settings. Includes MATCH COOK, SYNC, and AUTO COOK preset functions.
- 3. Two 4.5L Non-Stick Baskets: Each basket has a capacity of 4.5 liters, suitable for various food items.
- 4. Two Non-Stick Grill Plates: Convenient and easy to clean, designed to fit within the baskets.
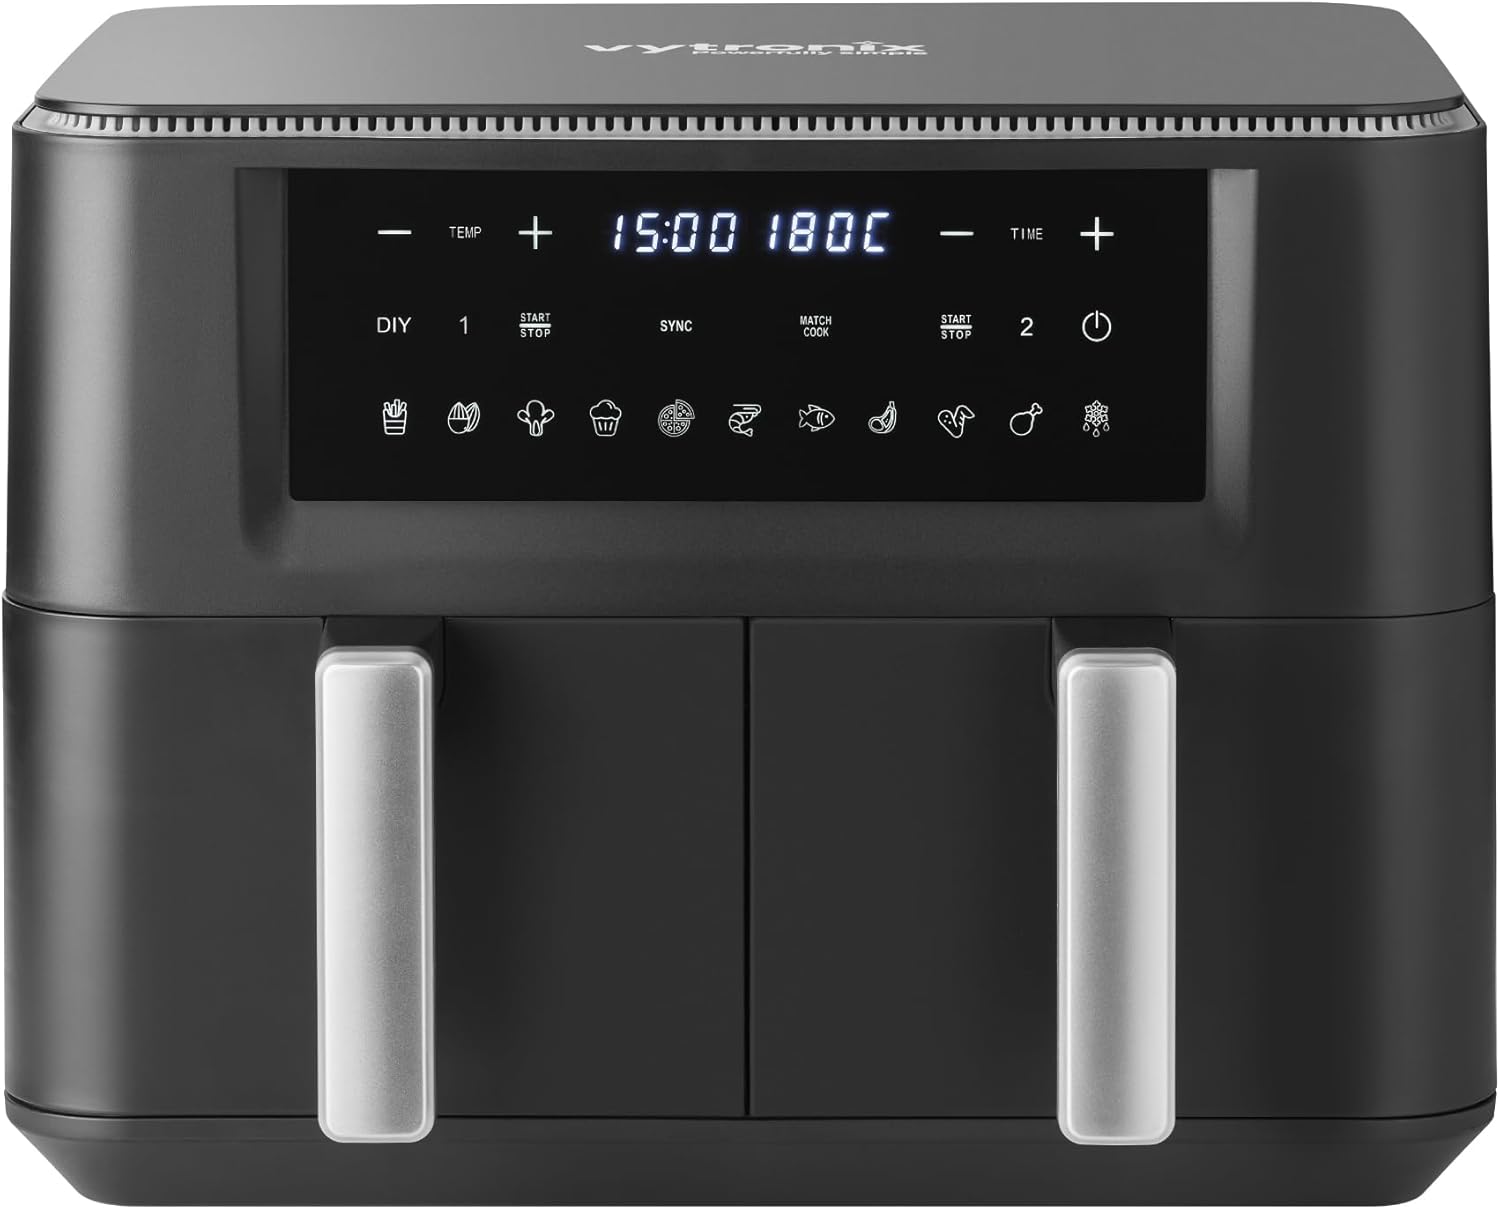
Figure 2: Front view of the air fryer, highlighting the digital control panel with temperature and time adjustments, and preset icons.
Setup
- Unpacking: Carefully remove all packaging materials and promotional labels from the air fryer.
- Cleaning: Before first use, wash the cooking baskets and grill plates with hot soapy water. Rinse thoroughly and dry completely. Wipe the main unit with a damp cloth.
- Placement: Place the air fryer on a flat, stable, heat-resistant surface. Ensure there is at least 15cm of clear space around the back and sides of the appliance for proper ventilation.
- Power Connection: Plug the power cord into a grounded electrical outlet. The display will illuminate briefly.
- Pre-heating (Optional): For best results, pre-heat the air fryer for 3-5 minutes before adding food.
Operating Instructions
Basic Operation
- Power On: Press the power button to turn on the air fryer.
- Select Zone: Choose either Zone 1 or Zone 2 on the touchscreen to activate that cooking basket.
- Adjust Temperature: Use the TEMP + and - buttons to set the desired cooking temperature.

Figure 3: Adjusting temperature on the LED digital touchscreen display.
- Adjust Time: Use the TIME + and - buttons to set the desired cooking time.
- Start Cooking: Press the START/STOP button to begin the cooking cycle.
- Pause/Stop: Press START/STOP again to pause or stop the cooking cycle.
Using Preset Functions
The air fryer comes with 11 auto cook presets for common food items. Simply select the desired preset icon on the control panel, and the air fryer will automatically set the optimal time and temperature.

Figure 4: Selecting one of the 11 auto cook presets on the control panel.
Match Cook Function
The MATCH COOK function allows you to program both drawers to optimal time and temperature settings to ensure all your food is ready at the same time, even if they require different cooking parameters initially.
- Set the desired time and temperature for Zone 1.
- Set the desired time and temperature for Zone 2.
- Press the MATCH COOK button. The air fryer will intelligently adjust the cooking cycles so both finish simultaneously.
- Press START/STOP to begin.

Figure 5: The Match Cook feature ensures different foods in separate baskets finish cooking at the same time.
Synchronise Function
The SYNCHRONISE function simplifies cooking when both baskets require the same time and temperature settings. This halves the work by allowing you to set parameters once and apply them to both zones.
- Set the desired time and temperature for Zone 1.
- Press the SYNC button. Zone 2 will automatically copy the settings from Zone 1.
- Press START/STOP to begin.

Figure 6: The Synchronise feature quickly sets both baskets to cook with the same time and temperature.
Maintenance and Cleaning
Regular cleaning will ensure the longevity and optimal performance of your air fryer.
- Unplug and Cool: Always unplug the air fryer from the power outlet and allow it to cool completely before cleaning.
- Baskets and Grill Plates: The non-stick cooking baskets and grill plates are dishwasher safe. Alternatively, they can be washed by hand with hot soapy water and a non-abrasive sponge. Rinse thoroughly and dry completely before reassembling.
- Main Unit: Wipe the exterior of the air fryer with a damp cloth. Do not use abrasive cleaners or scouring pads, as they may damage the surface. Never immerse the main unit in water or any other liquid.
- Interior: If necessary, wipe the interior of the air fryer with a damp cloth. For stubborn residue, a small amount of mild dish soap can be used. Ensure the interior is completely dry before next use.
- Storage: Store the air fryer in a cool, dry place when not in use. Ensure all parts are clean and dry before storage.
Troubleshooting
| Problem | Possible Cause | Solution |
|---|---|---|
| Air fryer does not turn on. | Not plugged in; power outlet not working; appliance malfunction. | Ensure the power cord is securely plugged into a working outlet. Check your circuit breaker. If the issue persists, contact customer support. |
| Food is not cooked evenly. | Overfilling the basket; food not shaken/flipped during cooking. | Do not overfill the baskets. For best results, shake or flip food items halfway through the cooking time. |
| White smoke coming from the appliance. | Grease residue from previous use; high-fat food cooking. | Clean the baskets and grill plates thoroughly after each use. For high-fat foods, consider draining excess fat during cooking. This is usually harmless. |
| Air fryer smells like plastic. | New appliance smell. | This is normal for new appliances and will dissipate after a few uses. Ensure good ventilation during initial uses. |
Specifications
- Brand: VYTRONIX
- Model: B0F9TJ2378
- Colour: Black
- Product Dimensions: 28.5 x 38.99 x 31.5 cm
- Item Weight: 8 kg
- Capacity: 9 litres (2 x 4.5L baskets)
- Power / Wattage: 2400 watts
- Voltage: 240 Volts
- Material: Plastic
- Auto Shutoff: Yes
- Special Features: Dual zone, Temperature control, Automatic shut off
Warranty and Support
Your Vytronix Family Size Dual Zone Air Fryer comes with a 1-year guarantee from the date of purchase. This warranty covers manufacturing defects and ensures peace of mind regarding the quality and durability of your appliance.
For technical support, warranty claims, or any questions regarding your product, please contact Vytronix customer service. Please have your model number (B0F9TJ2378) and proof of purchase ready when contacting support.
For more information, you may visit the official Vytronix store: VYTRONIX Store on Amazon.


