VEVOR LES-500
VEVOR 2-in-1 Electric Hoist Winch
Model: LES-500 User Manual
1. Introduction
This manual provides essential information for the safe and effective operation, installation, and maintenance of your VEVOR 2-in-1 Electric Hoist Winch, Model LES-500. Please read and understand all instructions before using the product. Retain this manual for future reference.

Image 1.1: VEVOR 2-in-1 Electric Hoist Winch, showing the main unit, wired remote, wireless remote, gloves, and sling.
2. Safety Instructions
WARNING: Failure to follow these safety instructions may result in serious injury or property damage.
- Always wear appropriate personal protective equipment (PPE), including safety gloves and eye protection.
- Ensure the hoist is securely mounted to a structure capable of supporting the maximum load capacity (1100 lbs / 500 kg) with an adequate safety factor.
- Do not exceed the rated load capacity of 1100 lbs (500 kg). Overloading can cause equipment failure and injury.
- Inspect the hoist, wire rope, hooks, and controls for damage or wear before each use. Do not operate if any components are damaged.
- Keep hands and body clear of the wire rope, hooks, and load during operation.
- Ensure the load is balanced and securely attached to the hook before lifting.
- Do not use the hoist to lift people or animals.
- Avoid sudden starts or stops when lifting or lowering a load. Operate smoothly.
- The hoist is equipped with a limit switch to prevent over-lifting. Do not attempt to bypass or modify this safety feature.
- Keep the work area clear of obstructions and ensure adequate lighting.
- Disconnect power before performing any maintenance or adjustments.
- Do not operate the hoist in hazardous environments, such as those with explosive atmospheres or flammable materials.
3. Product Components
The VEVOR Electric Hoist Winch Model LES-500 includes the following main components:
- Hoist Main Unit (Motor, Drum, Wire Rope)
- Wired Remote Control (22.3 ft cable length)
- Wireless Remote Control (492-656 ft range)
- Double Hook Assembly (2.2-inch opening)
- Mounting Bracket
- Power Cable
- Accessories: Gloves, Dry Batteries (for wireless remote), Carbon Brushes, 3.2 ft Sling

Image 3.1: Overview of the hoist unit with dimensions and a list of included accessories.
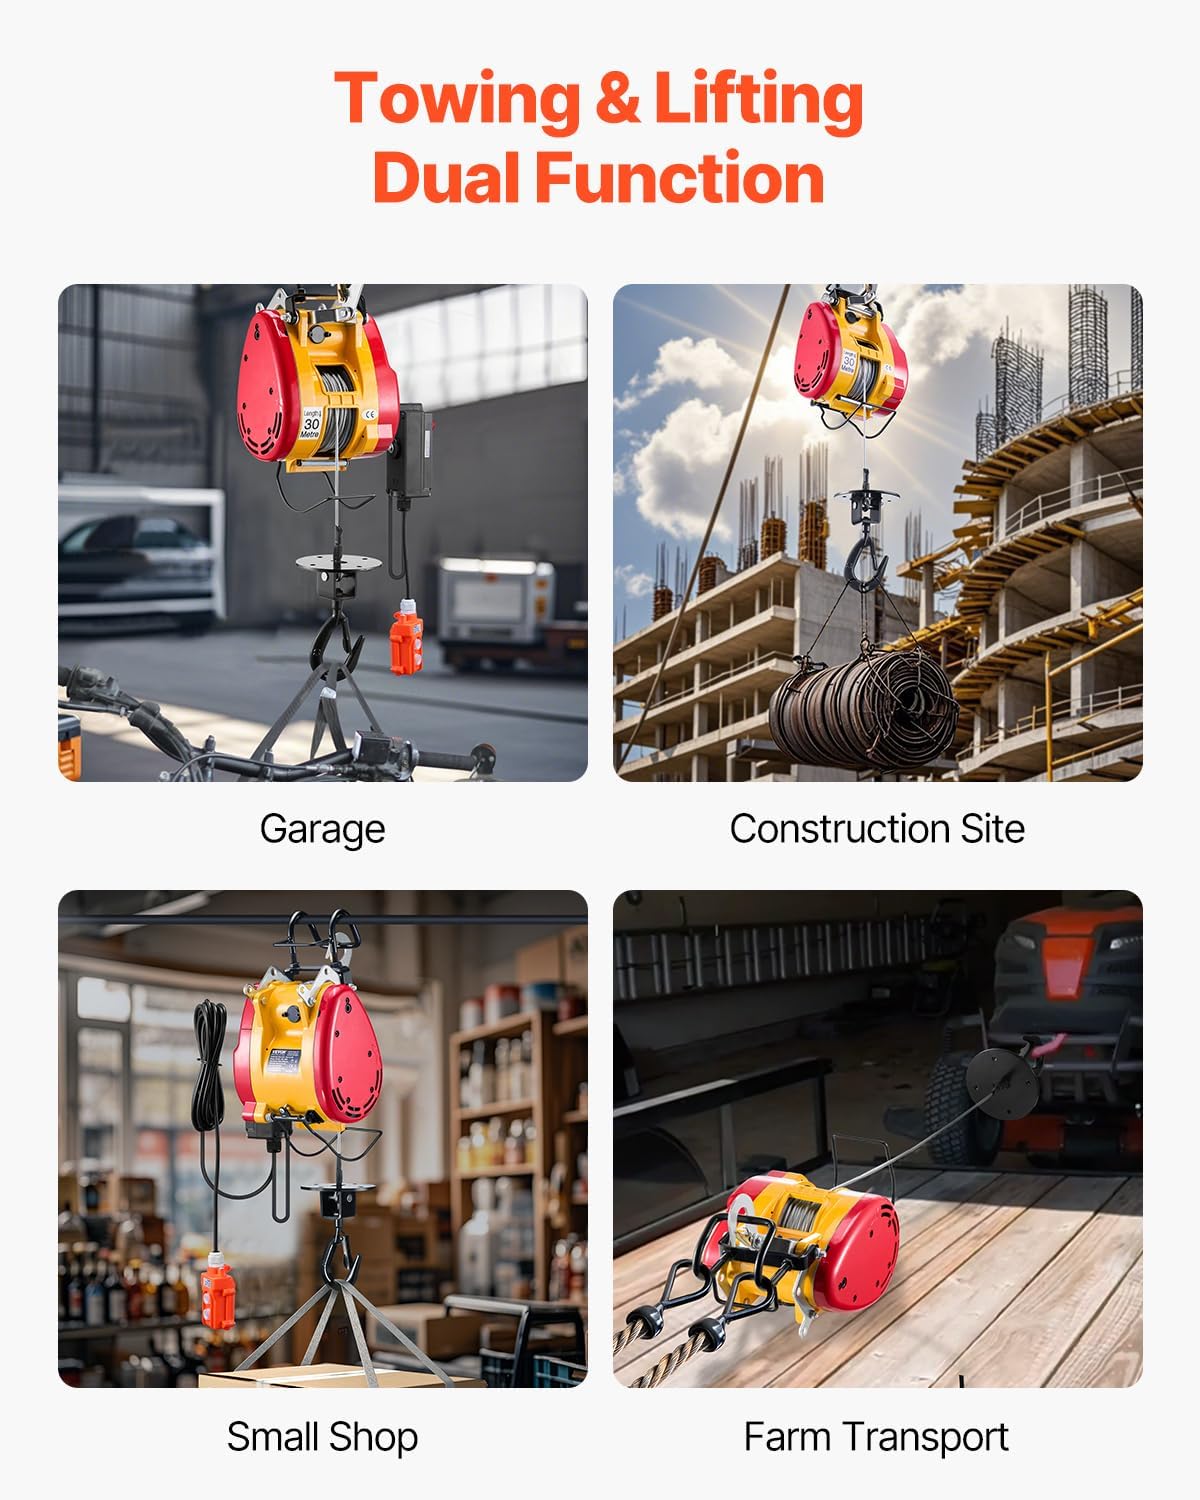
Image 3.2: Detail of the 2.2-inch wide opening double hooks, designed for stable and secure lifting.
4. Setup and Installation
- Mounting: Securely attach the hoist to a suitable overhead support structure using the provided mounting bracket. Ensure the structure can safely bear the maximum load capacity of 1100 lbs (500 kg) plus the weight of the hoist itself. Use appropriate fasteners (not included) for your specific mounting surface.
- Power Connection: Connect the hoist's power cable to a grounded electrical outlet that matches the hoist's voltage requirements (1800W motor). Ensure the power supply is stable and protected by a circuit breaker.
- Remote Control Setup:
- Wired Remote: Plug the wired remote control cable into the designated port on the hoist unit.
- Wireless Remote: Insert the provided dry batteries into the wireless remote control. Test its functionality before operation.
- Initial Inspection: Before first use, visually inspect the entire hoist system, including the wire rope, hooks, and all connections, to ensure everything is correctly assembled and free from damage.
5. Operating Instructions
The VEVOR Electric Hoist Winch offers both wired and wireless control options for flexible operation.

Image 5.1: The two-in-one control mode, featuring a 22.3 ft wired remote for precise control and a 492 ft wireless remote for remote operations.
5.1. General Operation Steps:
- Prepare the Load: Ensure the load is stable, balanced, and within the hoist's 1100 lbs (500 kg) capacity. Attach the load securely to the double hook assembly.
- Select Control Method: Choose between the wired remote for close-range, stable control or the wireless remote for operations requiring distance (up to 492-656 ft).
- Lift/Lower:
- Press and hold the "UP" button on the remote to lift the load.
- Press and hold the "DOWN" button on the remote to lower the load.
- Release the button to stop movement.
- Monitor Operation: Continuously observe the load and hoist during operation. Ensure the wire rope is winding evenly on the drum and that there are no obstructions.
- Limit Switch: The hoist is equipped with a limit switch that automatically cuts off power when the hook reaches its maximum upper limit, preventing over-lifting.
- Emergency Stop: In case of an emergency, press the red emergency stop button on the wired control box or the designated emergency stop on the wireless remote (if applicable).
5.2. Applications:
This hoist is designed for various lifting and towing tasks in environments such as garages, construction sites, warehouses, and farms.

Image 5.2: Examples of the hoist's dual function for towing and lifting in various settings.
6. Maintenance
Regular maintenance ensures the longevity and safe operation of your VEVOR Electric Hoist Winch. Always disconnect power before performing any maintenance.
- Wire Rope Inspection: Regularly inspect the galvanized steel wire rope for kinks, fraying, corrosion, or broken strands. Replace the wire rope immediately if any damage is found. The wire rope has a diameter of Φ5 mm and a maximum tensile strength of 1520 MPa.
- Hook Inspection: Check the double hooks for deformation, cracks, or excessive wear. Ensure the safety latches operate freely and close properly.
- Motor and Cooling System: The 1800W motor features an efficient fan cooling system. Keep the motor housing and cooling vents clean and free from dust or debris to prevent overheating.
- Electrical Connections: Periodically check all electrical connections for tightness and signs of corrosion.
- Lubrication: Consult a qualified technician for periodic lubrication of internal moving parts as required.
- Storage: When not in use, store the hoist in a dry, clean environment, protected from moisture and extreme temperatures.

Image 6.1: Key features contributing to durability and reliability, including the 1800W motor, galvanized steel wire rope, and limit switch.
7. Troubleshooting
Refer to the table below for common issues and their potential solutions. If the problem persists, contact VEVOR customer support.
| Problem | Possible Cause | Solution |
|---|---|---|
| Hoist does not operate. | No power supply; Emergency stop engaged; Faulty remote control; Motor overload. | Check power connection and circuit breaker; Release emergency stop button; Test remote control batteries/connection; Allow motor to cool down. |
| Remote control unresponsive or works in one direction. | Low or dead batteries (wireless); Loose connection (wired); Internal remote fault. | Replace batteries in wireless remote; Check wired remote cable connection; Contact support if issue persists. |
| Load does not lift/lower smoothly. | Overload; Wire rope tangled or damaged; Motor issue. | Reduce load to within capacity; Inspect wire rope for damage or tangles; Contact support. |
| Hoist stops unexpectedly during operation. | Overload protection activated; Limit switch engaged; Power interruption. | Reduce load; Check if hook reached limit; Verify stable power supply. |
8. Specifications
| Feature | Detail |
|---|---|
| Model Number | LES-500 |
| Lifting Capacity | 1100 lbs (500 kg) |
| Lifting Height | 98 ft (30 m) |
| Lifting Speed | 36 ft/min (11 m/min) |
| Motor Power | 1800 W |
| Wire Rope Material | Galvanized Steel |
| Wire Rope Diameter | Φ5 mm |
| Wire Rope Tensile Strength | 1520 MPa |
| Wired Remote Cable Length | 22.3 ft |
| Wireless Remote Control Range | 492-656 ft |
| Double Hook Opening | 2.2 inches |
| Product Dimensions (L x W x H) | 19.69 x 9.84 x 7.87 inches (500 x 250 x 200 mm) |
| Net Weight | 44.1 lbs (20 kg) |
| Main Materials | Carbon Steel, Cast Aluminum, Nylon |
9. Warranty and Support
VEVOR products are designed for durability and performance. For warranty information, technical support, or service inquiries, please refer to the warranty card included with your product or visit the official VEVOR website.
You can find more information and contact details on the VEVOR Brand Store.
Related Documents - LES-500
 |
VEVOR Portable Power Electric Hoist User Manual - Models 500-A1, 500-B1, 500-C1 User manual for VEVOR Portable Power Electric Hoist (Models 500-A1, 500-B1, 500-C1). Covers operating instructions, safety guidelines, specifications, and support information for safe and efficient lifting operations. |
 |
VEVOR Portable Power Electric Hoist User Manual (Models 500-A1, 500-B1, 500-C1) Comprehensive user manual for the VEVOR Portable Power Electric Hoist, covering models 500-A1, 500-B1, and 500-C1. This guide provides essential safety instructions, detailed model specifications, installation procedures, operational notes, and maintenance guidelines for optimal and safe use of the 1100lbs capacity, 1500W electric hoist. |
 |
VEVOR Portable Power Electric Hoist User Manual (Models 500-A1, 500-B1, 500-C1) Comprehensive user manual for VEVOR Portable Power Electric Hoists, models 500-A1, 500-B1, and 500-C1. Includes safety guidelines, technical specifications, installation instructions, maintenance, and troubleshooting. |
 |
Portable Power Electric Hoist User Manual (Models 500-A2 to 500-C3) Comprehensive user manual for VEVOR Portable Power Electric Hoists, including safety guidelines, installation instructions, technical specifications, and maintenance procedures for models 500-A2, 500-A3, 500-B2, 500-B3, 500-C2, and 500-C3. |
 |
VEVOR Portable Power Electric Hoist User Manual User manual for VEVOR Portable Power Electric Hoist models 500-A2, 500-A3, 500-B2, 500-B3, 500-C2, 500-C3. Includes safety instructions, specifications, installation, and maintenance guidelines. |
 |
VEVOR Portable Power Electric Hoist User Manual | Models 500-A2 to 500-C3 Comprehensive user manual for VEVOR Portable Power Electric Hoists (Models 500-A2, 500-A3, 500-B2, 500-B3, 500-C2, 500-C3). Includes safety guidelines, technical specifications, structure diagram, components, installation, and maintenance procedures. |
Ask a question about this manual
Ask about setup, troubleshooting, compatibility, parts, safety, or missing instructions. Manuals+ will review the question and use this page’s manual context to help answer it.