
1. Introduction
The Godox iT30 Pro F is a compact and powerful mini camera flash designed for Fujifilm cameras. It offers advanced features such as TTL auto-exposure, High-Speed Sync (HSS) up to 1/8000s, and a built-in 2.4GHz X wireless system for versatile lighting setups. Its intuitive 2.8-inch full-color touchscreen and quick-release foot enhance user experience and workflow efficiency.
2. Safety Information
- Do not disassemble or modify the flash unit. Repairs should only be performed by authorized service personnel.
- Keep the flash unit dry. Do not handle with wet hands or immerse in water.
- Do not use the flash unit in the presence of flammable gases, chemicals, or other materials.
- Avoid direct eye exposure to the flash, especially at close range, as it may cause visual impairment.
- Keep out of reach of children.
- Ensure the flash is securely mounted to the camera to prevent accidental drops.
3. What's in the Box
- 1x Godox iT30 Pro F Mini Camera Flash
- 1x USB-C Charging Cable
- 1x Storage Bag
4. Product Overview
The Godox iT30 Pro F features a compact design with essential controls and a clear display for easy operation.
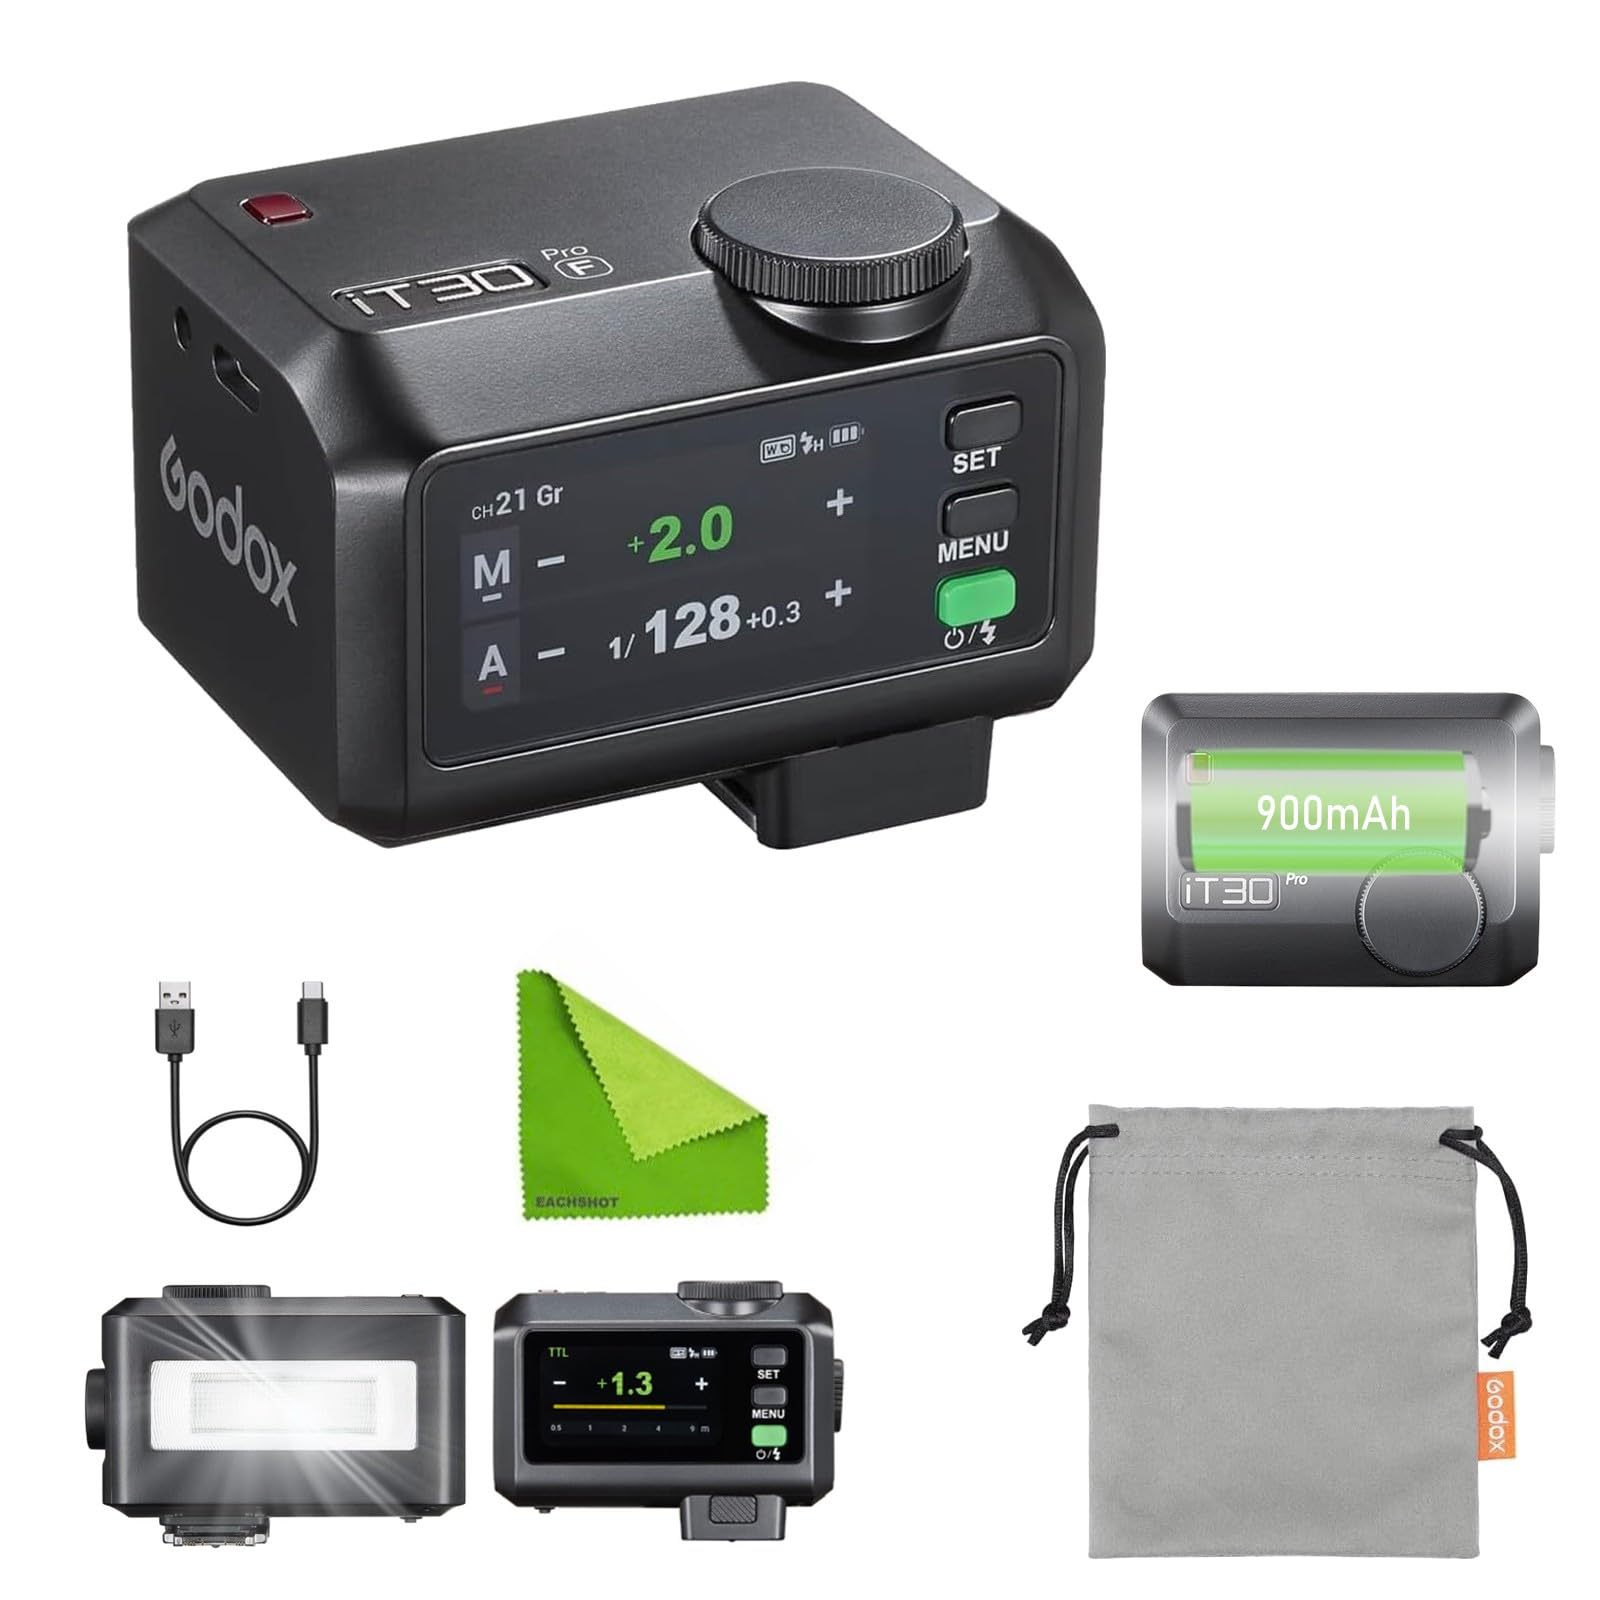
Figure 1: Front view of the Godox iT30 Pro F Mini Camera Flash.
Key Components:
- Flash Head: Emits light for illumination.
- 2.8" Full-Color Touchscreen: Displays settings and allows for intuitive control.
- Rotary Dial: For fine-tuning settings and navigating menus.
- SET/MENU Buttons: For confirming selections and accessing the menu.
- Quick-Release Foot: For secure and fast mounting/dismounting from the camera hot shoe.
- USB-C Port: For charging and firmware updates.
- Built-in Diffuser: Slides out for softer light.
- Sync Port: 2.5mm port for wired trigger via sync cable.
5. Setup
5.1. Mounting the Flash
To attach the iT30 Pro F to your Fujifilm camera:
- Locate the quick-release foot on the bottom of the flash unit.
- Press and hold the quick-release button.
- Slide the flash unit into the camera's hot shoe until it locks securely into place.
- Release the quick-release button.

Figure 2: The quick-release foot allows for fast and secure mounting on a camera's hot shoe.
5.2. Charging the Battery
The iT30 Pro F features an integrated lithium battery that supports USB-C fast charging.
- Connect the provided USB-C charging cable to the USB-C port on the flash unit.
- Connect the other end of the cable to a USB power source (e.g., wall adapter, power bank, computer USB port).
- The screen will display a charging indicator. The battery is fully charged when the indicator shows a full battery icon.
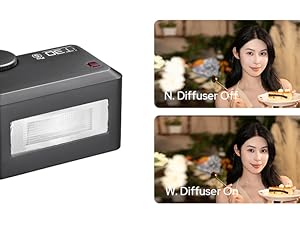
Figure 3: The iT30 Pro F charging via its USB-C port.
6. Operating Instructions
6.1. Power On/Off
To power on the flash, press and hold the power button. To unlock the screen, swipe right or twist the rotary dial. To power off, long-press the power button again.
Video 1: Demonstrates powering on the iT30 Pro F and unlocking the screen (from 0:16 in the tutorial video).
6.2. Touchscreen and Dial Operation
The iT30 Pro F features a responsive 2.8-inch full-color touchscreen and a rotary dial for navigation and adjustments.

Figure 4: The 2.8-inch full-color touchscreen for intuitive control.
- Touchscreen: Swipe through settings and tap to adjust power or select options.
- Rotary Dial: Turn to fine-tune flash output or scroll through menu options. Press to confirm.
- MENU Button: Open/close the function menu.
- SET Button: Confirm selections.
Video 2: Demonstrates touchscreen and button operation for navigating menus and adjusting settings (from 0:22 in the tutorial video).
6.3. Flash Modes
The iT30 Pro F supports various flash modes to suit different photographic needs.
- TTL Auto-Exposure Mode: The flash automatically meters light through your lens and calculates optimal flash output. Swipe down from the main screen to select TTL mode. Adjust flash exposure compensation by sliding the bar.
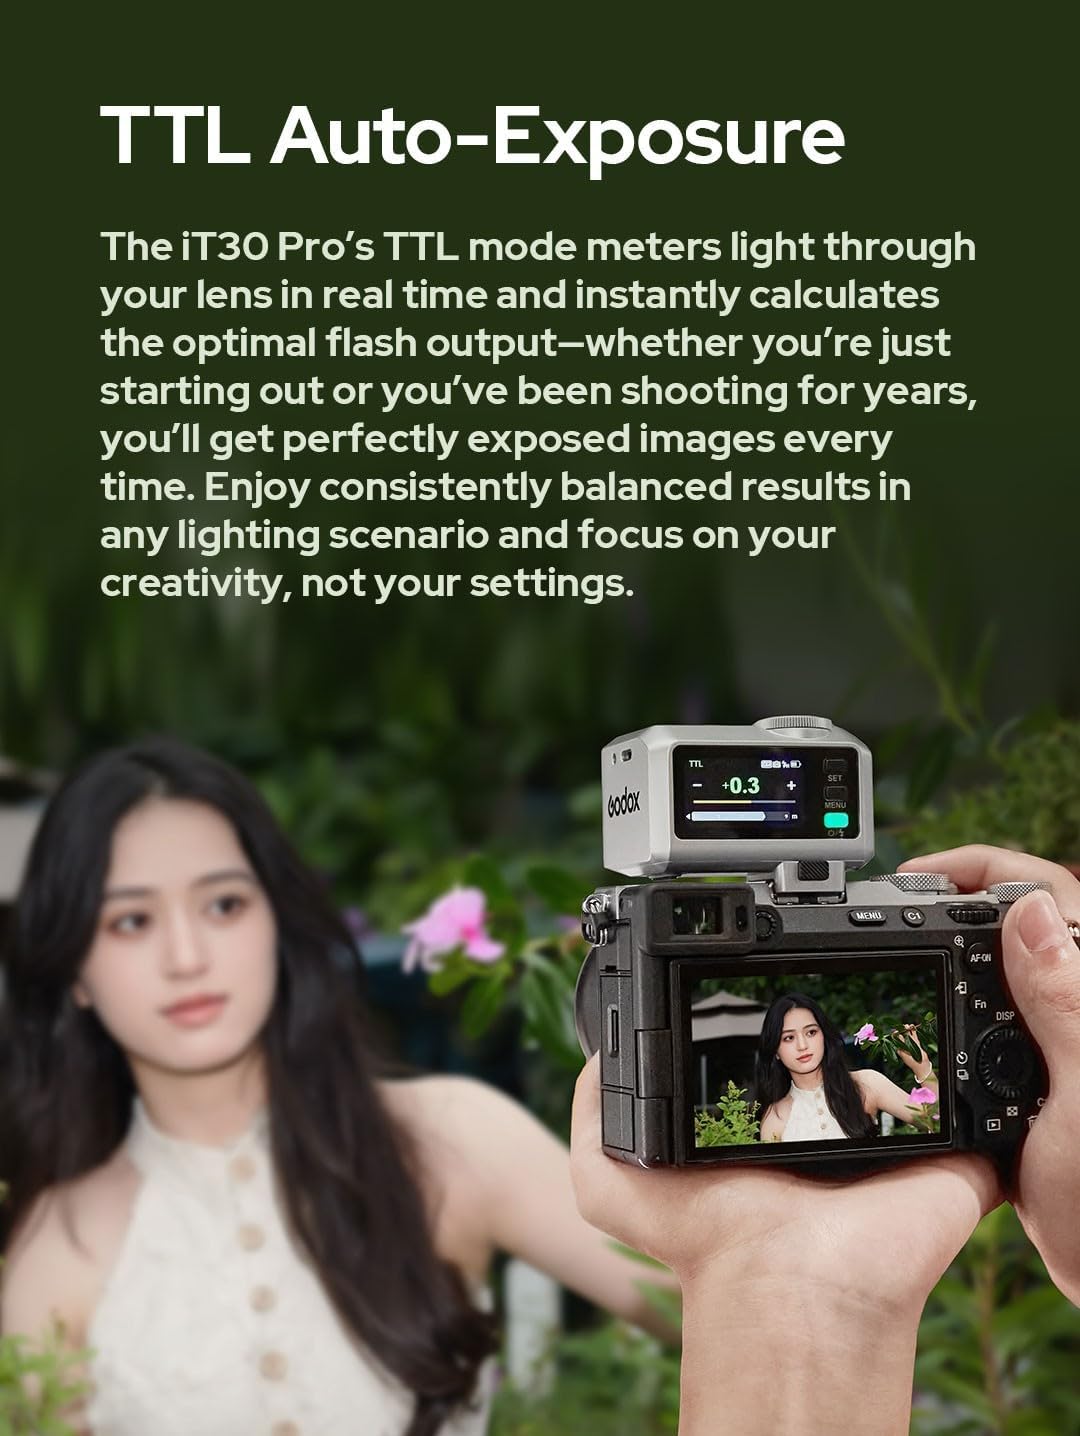
Figure 5: The iT30 Pro F operating in TTL Auto-Exposure mode.
- Manual (M) Mode: Allows you to manually set the flash power output. Swipe down from the main screen to select M mode. Adjust power using the +/- icons, sliding the bar, or turning the rotary dial. The exposure distance indicator bar will show the effective flash range based on camera settings.
- Multi (Stroboscopic) Mode: Fires a series of rapid flashes during a single exposure to capture multiple movements of a subject. Swipe down from the main screen to select Multi mode. Adjust flash count and frequency (Hz) as needed.
Video 3: Demonstrates adjusting flash power in Manual mode and setting parameters in Multi (Stroboscopic) mode (from 0:42 in the tutorial video).
6.4. Wireless Operation (2.4GHz X System)
The iT30 Pro F has a built-in Godox 2.4GHz X system, supporting both Master (Sender) and Receiver modes for flexible multi-light setups.

Figure 6: The iT30 Pro F used in a wireless multi-light setup with other Godox flashes.
- Sender Mode: Use the iT30 Pro F as a master unit to control other Godox 2.4GHz wireless flashes. Access wireless settings from the menu to set channel and ID, and sync with receiver units.
- Receiver Mode: Use the iT30 Pro F as a slave unit, triggered by a Godox X3 trigger or another master flash. Ensure the channel and ID match the master unit.
Video 4: Demonstrates setting up Sender and Receiver modes for wireless flash control (from 1:21 in the tutorial video).
6.5. Sync Modes
The iT30 Pro F supports various sync modes for creative control:
- High-Speed Sync (HSS): Allows the flash to sync with shutter speeds up to 1/8000s, enabling wider apertures in bright conditions.
- Front-Curtain Sync: The flash fires at the beginning of the exposure.
- Rear-Curtain Sync: The flash fires at the end of the exposure, creating motion blur effects behind the subject.
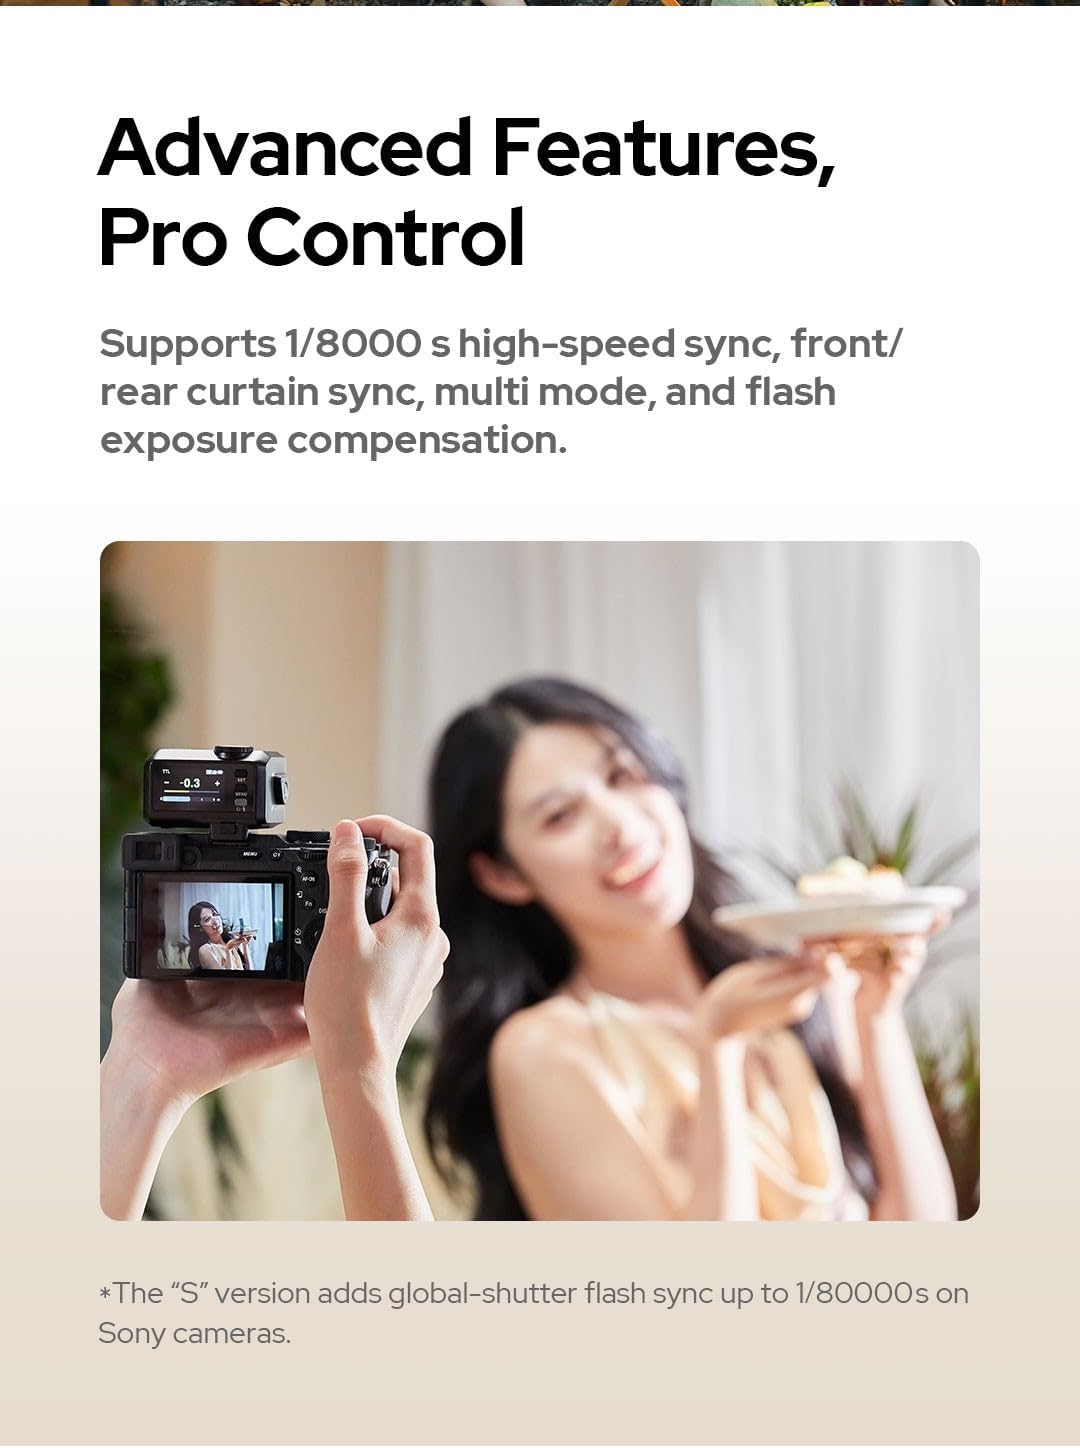
Figure 7: The iT30 Pro F supports advanced features including High-Speed Sync.
Video 5: Demonstrates selecting different sync modes (from 3:35 in the tutorial video).
6.6. Built-in Diffuser
The iT30 Pro F includes a built-in diffuser for softer, more even lighting.
- To deploy the diffuser, flick the lever on the side of the flash unit.
- To retract the diffuser, push the lever back.

Figure 8: The built-in diffuser provides wider coverage and soft lighting.
Video 6: Demonstrates deploying and retracting the built-in diffuser (from 3:46 in the tutorial video).
7. Function Settings
Access the function menu by pressing the MENU button or swiping down on the touchscreen. Use the dial or touchscreen to navigate and adjust the following settings:
- Optical Trigger (S1/S2): S1 mode fires in sync with the master's first flash. S2 mode fires in sync with the master's second flash (pre-flash ignored).
- TCM (TTL to Manual): Converts the last TTL metering into a manual power setting.
- Standby/AutoOff: Sets the time before the unit enters standby or powers off automatically.
- Screen Brightness: Adjusts the brightness of the touchscreen display.
- New Protocol: (Note: This feature is primarily supported by the Sony version for full electronic shutter/global shutter compatibility when activated.)
- Language: Selects the display language.
Video 7: Demonstrates various function settings including optical trigger, TCM, standby, screen brightness, new protocol, and language options (from 2:30 in the tutorial video).
8. Maintenance
8.1. Cleaning
- Use a soft, dry cloth to clean the flash unit.
- For stubborn dirt, use a cloth lightly dampened with water or a mild cleaning solution. Avoid harsh chemicals.
- Gently clean the flash tube and touchscreen with a microfiber cloth.
8.2. Storage
- Store the flash unit in a cool, dry place away from direct sunlight and extreme temperatures.
- If storing for an extended period, ensure the battery is partially charged (around 50%) and recharge it every few months to maintain battery health.
9. Troubleshooting
- Flash not firing: Check battery level, ensure the flash is securely mounted, and verify camera and flash settings (e.g., flash mode, sync mode).
- Wireless sync issues: Ensure both master and receiver units are on the same channel and ID. Check for obstructions between units.
- Overheating: Excessive continuous firing may cause the flash to overheat. Allow it to cool down before further use.
- Screen unresponsive: Try restarting the unit. If the issue persists, ensure the screen is not locked.
10. Specifications
| Brand | GODOX |
| Model Name | iT30Pro |
| Compatible Mountings | Fuji Fujifilm: X-Pro2, X-T20, X-T2, X-T1, X-T3, X-T4, X-T30, GFX50S, GFX50R, X-Pro1, X-T10, X-E1, X-A3, X100F, X100T, etc. |
| Camera Flash Type | Hotshoe |
| Flash Sync Speed | 1/8000s |
| Connectivity Technology | Wireless (2.4GHz RF) |
| Number of Batteries | 1 Nonstandard Battery (included) |
| Mount Type | Hot Shoe Mount |
| Hardware Interface | USB Type C |
| Shooting Modes | High-speed sync, First Curtain Sync, Second Curtain Sync |
| Item Dimensions (D x W x H) | 3.9"D x 3.2"W x 3.9"H |
| Color | Black |
| Exposure Control Type | TTL, Manual |
| Item Weight | 0.21 Kilograms |
| Viewfinder Type | LCD screen |
11. Warranty and Support
11.1. Warranty Information
This product is covered by a standard manufacturer's warranty. Please refer to the warranty card included in your product packaging for specific terms and conditions. Optional extended protection plans may be available for purchase.
11.2. Customer Support
For further assistance, technical support, or to explore other Godox products, please visit the official Godox store or contact their customer service.
Official Godox Store: GODOX Store on Amazon


