1. Introduction
This manual provides detailed instructions for the Rinetiy Wireless Door Chime, Model DB03. This system is designed to alert you when a door or window is opened, offering enhanced security and convenience for homes, offices, or retail spaces. It features a wireless receiver and two contact sensors, offering adjustable volume, multiple chime options, and a wide operating range.
2. Package Contents
- 1 x Plug-in Receiver
- 2 x Wireless Door/Window Contact Sensors
- Mounting Hardware (double-sided adhesive tape, screws)
- User Manual
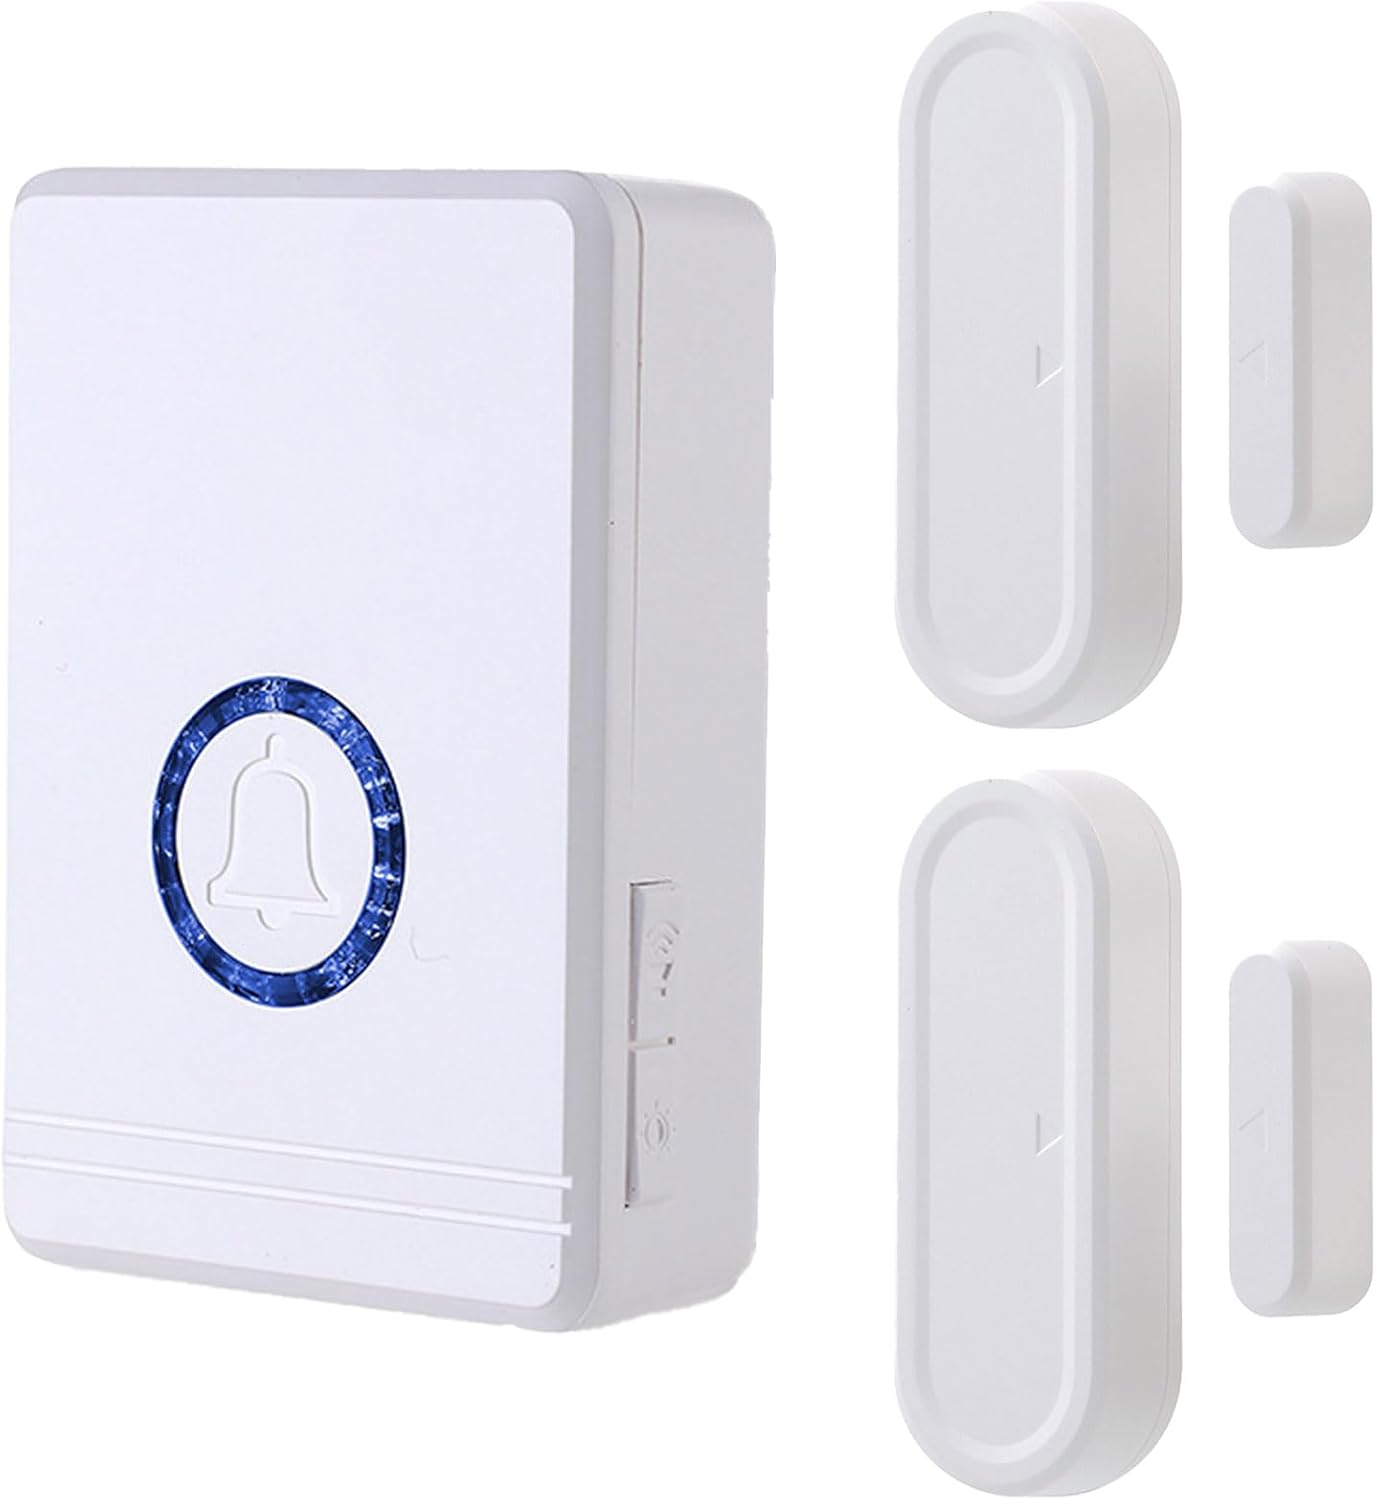
Image: The Rinetiy Wireless Door Chime package includes one plug-in receiver and two door/window contact sensors.
3. Product Overview
The Rinetiy Wireless Door Chime system consists of a plug-in receiver and two magnetic contact sensors. The receiver plugs into a standard electrical outlet and emits an audible chime when a sensor is triggered. The sensors are installed on doors or windows and detect when they are opened.

Image: Detailed view of the receiver and sensor components, including dimensions and labeled parts such as LED light, ringtone selection, volume setting, power plug, and speaker.
4. Setup and Installation
4.1. Receiver Installation
- Plug the receiver into a standard electrical outlet in your desired location. Ensure it is within the 656 ft operating range of the sensors.
- The LED indicator on the receiver will light up, indicating it is powered on.

Image: A hand plugging the receiver unit into a standard wall outlet, showing the LED indicator illuminating.
4.2. Sensor Installation
- Identify the desired door or window for sensor placement. Clean the surface thoroughly to ensure proper adhesion.
- Peel off the backing from the double-sided adhesive tape provided.
- Attach the larger sensor unit to the door or window frame.
- Attach the smaller magnetic strip to the moving part of the door or window, aligning it with the larger sensor unit. The distance between the two parts should be no more than 0.4 inches (1.5 cm) when the door/window is closed.

Image: A visual guide demonstrating how to apply adhesive patches to the sensor units and align them on a door frame, ensuring a gap of less than 0.4 inches (1.5 cm).
4.3. Pairing Sensors with Receiver
The doorbell and receiver are typically pre-paired from the factory. If re-pairing is needed or you wish to add more sensors:
- Select your desired ringtone on the receiver by pressing the ringtone selection button.
- Press and hold the middle volume key on the receiver for 5-8 seconds until you hear a 'ding' sound and the LED indicator flashes rapidly. This indicates pairing mode.
- Separate the two parts of the door sensor. The sensor's indicator light will flash, and the receiver will emit two 'dingding' sounds, confirming successful pairing.
Video: Official Rinetiy Wireless Door Chime video demonstrating the pairing process and basic functionality.
5. Operating Instructions
5.1. Changing Ringtones
The receiver offers 48 different ringtones. Press the "ringtone selection" button on the side of the receiver to cycle through the available melodies. The receiver has a memory function, retaining your last selected ringtone after power loss.
5.2. Adjusting Volume
There are 5 adjustable volume levels (100-0 dB) on the receiver. Press the "volume setting" button on the side of the receiver to increase or decrease the volume to your preference.
5.3. LED Indicator
The receiver features an LED indicator that flashes when a sensor is triggered, providing a visual alert in addition to the audible chime. This is particularly useful in noisy environments or for individuals with hearing impairments.

Image: Infographic highlighting the key features of the Rinetiy Wireless Door Chime, including 48 ringtones, 5 volume levels, LED flashing, and various night light modes.
6. Maintenance
6.1. Sensor Battery Replacement
The door sensors are powered by a CR2032 battery. When the sensor's indicator light no longer flashes or the chime becomes unreliable, it may be time to replace the battery.
- Carefully open the sensor casing using a small screwdriver or by gently prying it open.
- Remove the old CR2032 battery from the circuit board.
- Insert a new CR2032 battery, ensuring correct polarity.
- Close the sensor casing securely.
Video: A demonstration of how to replace the battery in a door sensor, including opening the casing and inserting a new CR2032 battery.
7. Troubleshooting
| Problem | Solution |
|---|---|
| The door chime does not work after opening the package. | The door sensor may not be paired with the receiver. Please perform the pairing operation as described in Section 4.3. |
| The door chime works intermittently. | The distance between the door sensor and the receiver might be too far. Shorten the distance and test it to ensure normal operation. |
| The door chime stops working after a period of normal use. |
|
| What should I do if there is a problem with the product? | Please contact our after-sales support staff through Amazon mail for assistance. We will replace the new door chime for free or issue a refund. |
Video: A demonstration of the wireless door chime in action, showing how it alerts when a door is opened.
8. Specifications
| Feature | Detail |
|---|---|
| Model Number | DB03 |
| Brand | Rinetiy |
| Number of Sensors | 2 |
| Number of Receivers | 1 |
| Ringtones | 48 |
| Adjustable Volume Levels | 5 |
| Operating Range | Up to 656 feet (open area) |
| LED Indicator | Yes |
| Memory Function | Retains previous settings |
| Sensor Battery Type | CR2032 (1 per sensor) |
| Power Source (Receiver) | Plug-in (AC powered) |
| Mounting Type | Wall Mount (adhesive) |
| Product Dimensions | 2.4 x 1 x 3.4 inches (Receiver) |
| Item Weight | 6.4 ounces |
9. Warranty and Support
For any product-related issues, including warranty claims or technical support, please contact Rinetiy customer service directly through Amazon's messaging system. Our support team is available to assist with troubleshooting, replacements, or refunds as needed.


