1. Safety Instructions
Please read all safety instructions carefully before installation and use. Failure to follow these instructions may result in injury or damage to the product.
- WARNING: Do not remove the cord or securing straps/ties used to fix the arm until all assembly steps are fully completed. Premature removal can cause the spring to recoil violently, leading to injury.
- This product is designed for outdoor use. Ensure it is securely mounted to a cement, brick, or wooden wall capable of supporting its weight and operational forces.
- Always retract the awning during extreme weather conditions such as strong winds, heavy rain, or snow to prevent damage and prolong its lifespan.
- Exercise caution when adjusting the awning's angle. Ensure no obstructions are present and that the mechanism operates smoothly.
- Keep children and pets away from the awning during operation and adjustment.
2. Product Overview
The COSTWAY Retractable Manual Awning provides versatile shade and protection for your outdoor spaces. Its robust design and easy operation make it an ideal addition to patios, balconies, and windows.
- Durable Construction: Features a lightweight yet sturdy aluminum frame and high-quality polyester fabric with a PA coating for enhanced durability.
- UV and Water Resistant: The thickened fabric offers excellent protection against UV rays and is water-resistant, providing a comfortable shaded area.
- Adjustable Angle: The awning's inclination can be easily adjusted from 5 to 35 degrees to optimize shade coverage throughout the day.
- Manual Retraction: Equipped with a long crank handle for smooth and effortless opening and closing.
- Compact Design: Blends seamlessly with various outdoor decorations.
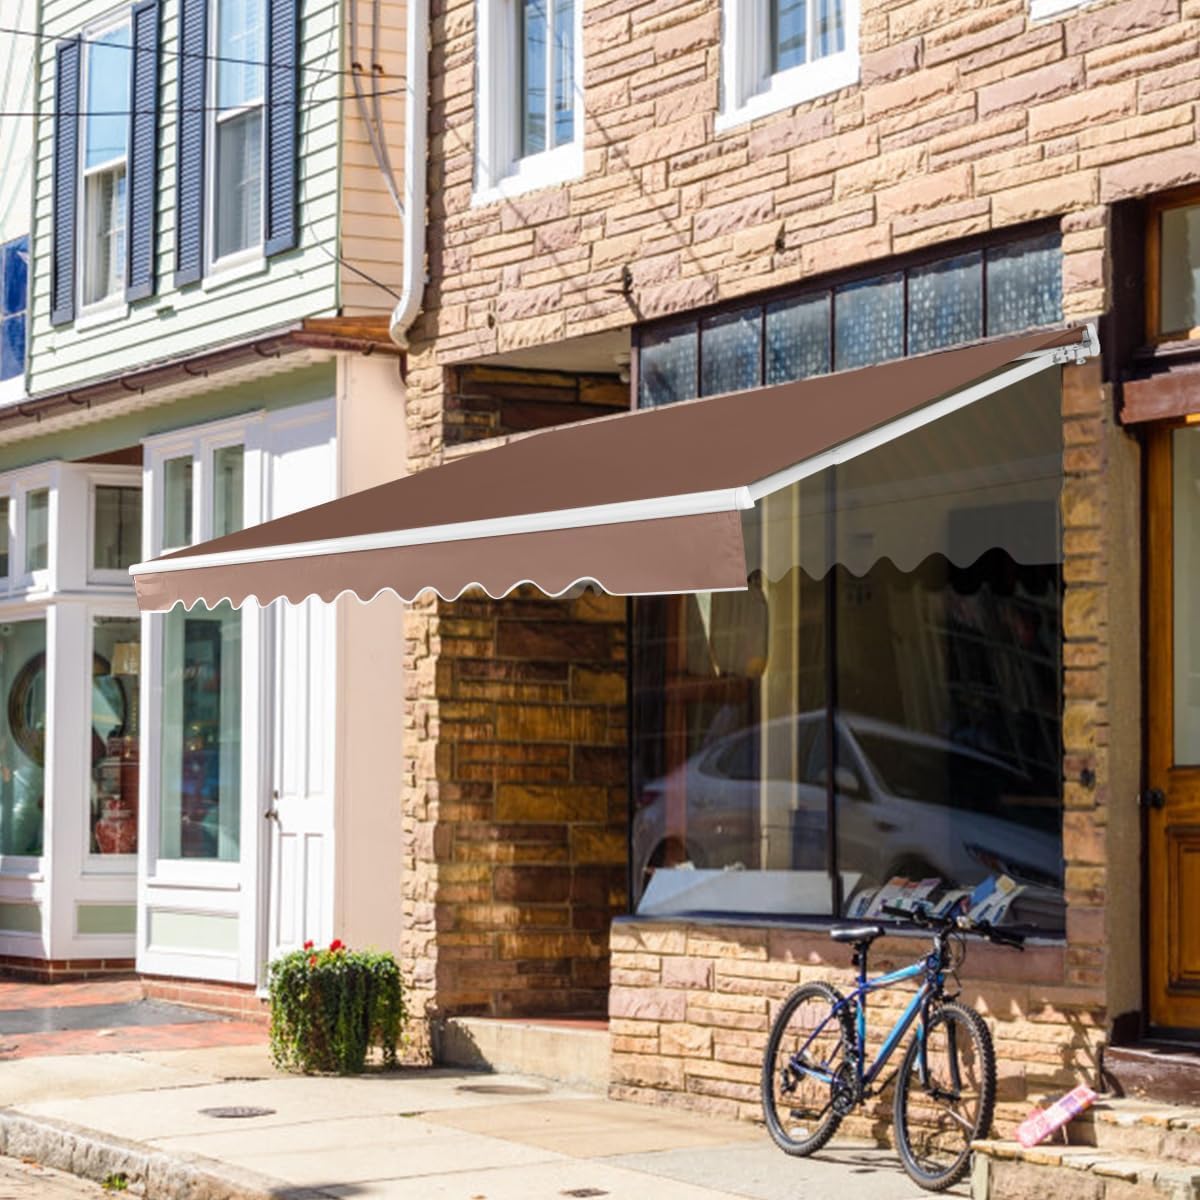
Image 2.1: The COSTWAY Retractable Manual Awning providing shade over a storefront.

Image 2.2: Key features and dimensions of the awning, highlighting its 3.6m width and 3m projection.
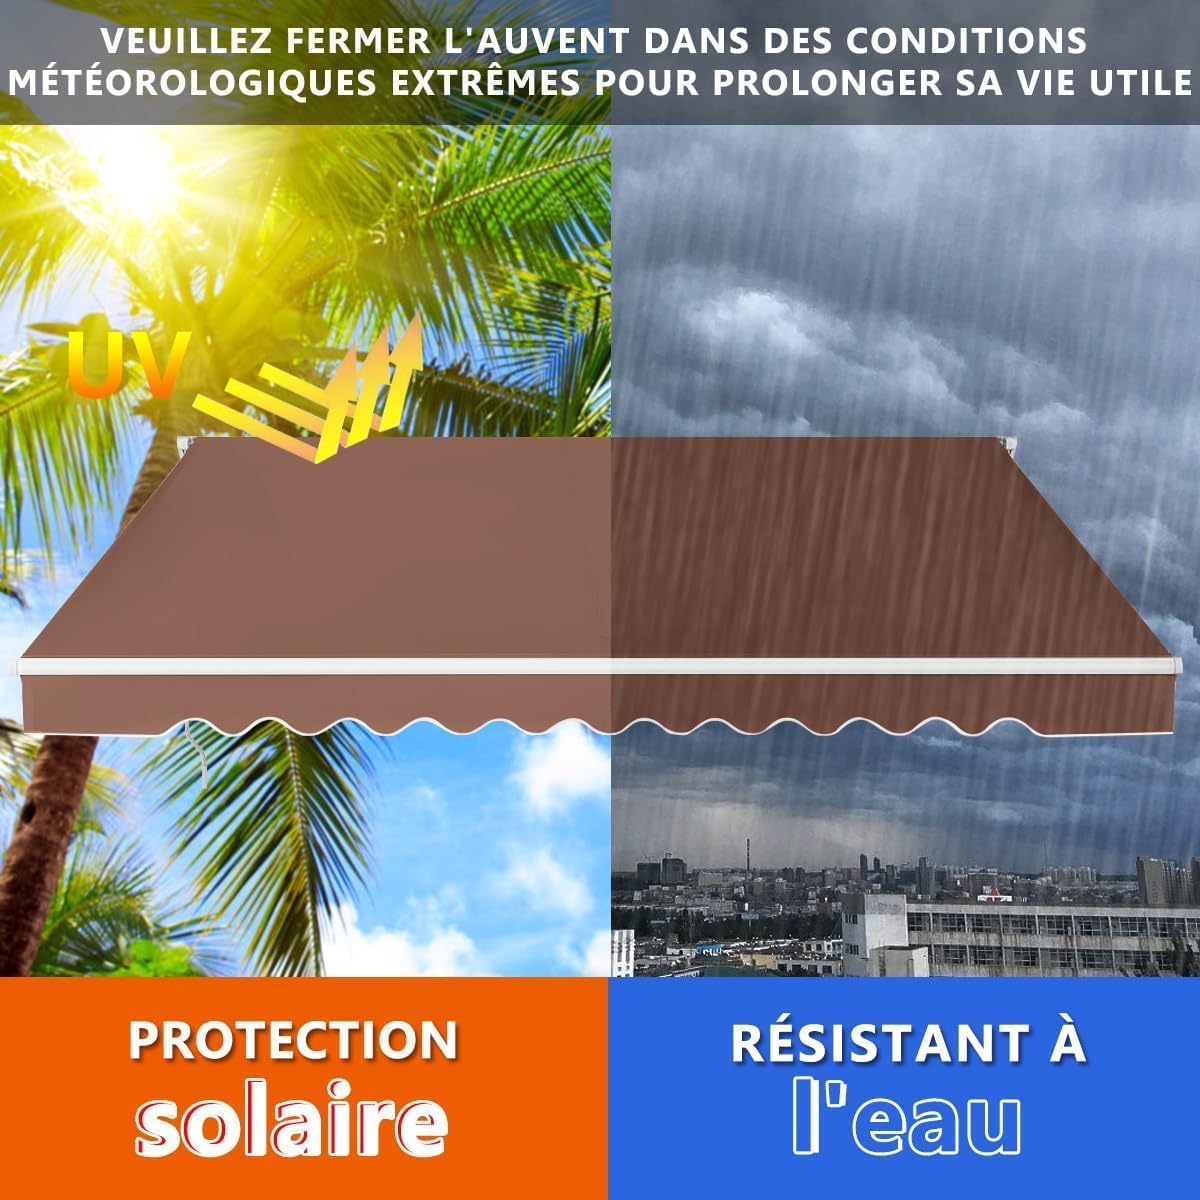
Image 2.3: The awning's dual benefits of sun protection and water resistance. Remember to retract it during extreme weather.
3. Package Contents
Please ensure all parts are present before beginning assembly. If any parts are missing or damaged, contact customer service.
- 1 x Retractable Awning Unit
- 1 x Crank Handle
- 1 x Instruction Manual
- Mounting Hardware (screws, anchors, brackets)
4. Setup and Installation
Installation requires careful attention to detail. It is recommended that two people perform the installation. Ensure you have the necessary tools (e.g., drill, level, measuring tape, wrench).
4.1 Choosing a Mounting Location
- Select a sturdy wall (cement, brick, or wood) that can support the awning's weight and withstand operational forces.
- Ensure there is sufficient clearance for the awning to extend and retract fully without obstruction.
- Consider the desired shade area and sun exposure throughout the day.
4.2 Assembly Steps (General Guide)
- Mount Brackets: Mark and drill holes for the mounting brackets on the chosen wall. Ensure the brackets are level and securely fastened using appropriate screws and anchors for your wall type.
- Attach Awning Frame: Carefully lift the awning frame and attach it to the mounted brackets. Ensure all connections are tight and secure.
- Install Fabric: Slide the awning fabric into the designated grooves on the roller tube and front bar. This step may require patience and careful alignment.
- Connect Crank Mechanism: Assemble and connect the crank handle mechanism to the awning's roller tube.
- Adjust Angle: Once fully assembled, adjust the awning's pitch to your desired angle (between 5 and 35 degrees) using the adjustment points on the arms.
- Final Check: Before use, ensure all fasteners are tightened, and the awning operates smoothly. Remember to only remove the arm securing cord/ties AFTER all assembly and adjustments are complete.
5. Operating Instructions
Operating your COSTWAY retractable awning is straightforward using the manual crank handle.
5.1 Extending the Awning
- Insert the crank handle into the designated loop or hook on the awning mechanism.
- Turn the crank handle clockwise to extend the awning. Continue turning until the awning reaches your desired extension.
- Do not force the awning beyond its maximum extension.
5.2 Retracting the Awning
- Insert the crank handle into the designated loop or hook.
- Turn the crank handle counter-clockwise to retract the awning. Continue turning until the awning is fully closed against the wall.
- Ensure the awning is fully retracted during strong winds or when not in use for extended periods.
5.3 Adjusting the Angle
- The awning's pitch can be adjusted between 5 and 35 degrees. Refer to your specific installation guide for the exact adjustment points on the awning arms.
- Typically, this involves loosening a bolt or knob on the arm joint, setting the desired angle, and then securely tightening the fastener.
- Always ensure both arms are adjusted to the same angle for even tension and stability.
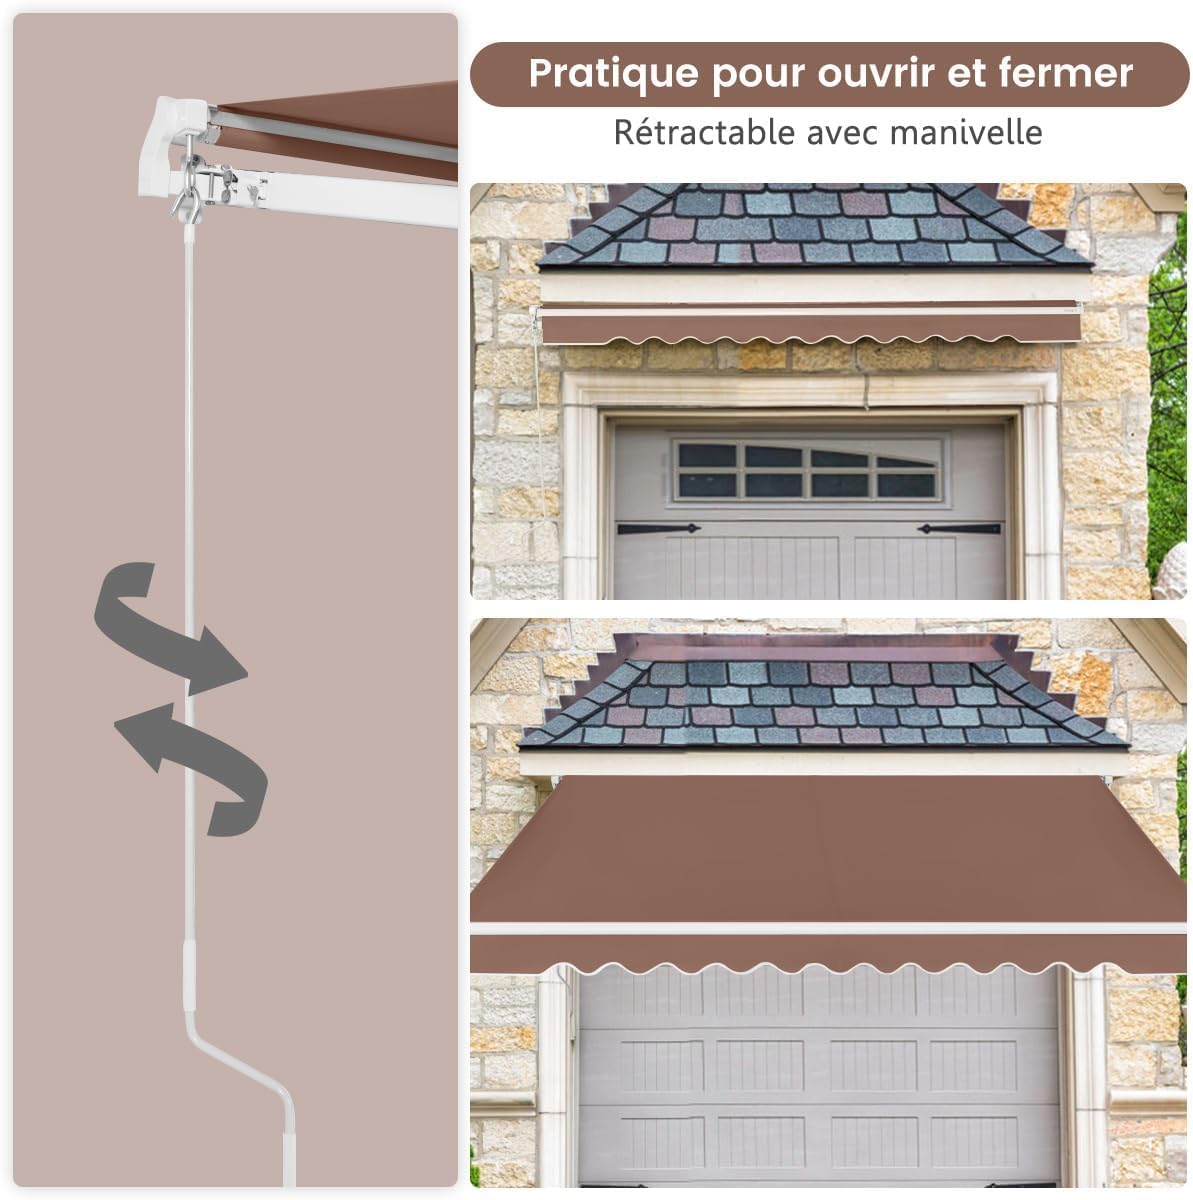
Image 5.1: Operating the awning with the manual crank handle.

Image 5.2: Diagram showing the adjustable angle range of the awning.
6. Maintenance
Regular maintenance will help extend the life and appearance of your awning.
- Cleaning the Fabric: Clean the awning fabric periodically with mild soap and water. Use a soft brush or sponge. Rinse thoroughly with clean water and allow it to air dry completely before retracting. Do not use harsh chemicals or abrasive cleaners.
- Frame Inspection: Annually inspect the aluminum frame for any signs of corrosion, loose bolts, or damage. Tighten any loose fasteners.
- Mechanism Check: Ensure the crank mechanism operates smoothly. If it becomes stiff, apply a silicone-based lubricant to moving parts, avoiding the fabric.
- Winter Storage: In areas with harsh winters, it is advisable to keep the awning retracted to protect it from heavy snow and ice accumulation.
7. Troubleshooting
If you encounter issues with your awning, refer to the following common problems and solutions:
| Problem | Possible Cause | Solution |
|---|---|---|
| Awning difficult to extend/retract | Mechanism stiff; fabric jammed; bent arm. | Lubricate moving parts with silicone spray. Check for fabric obstructions. Inspect arms for damage. |
| Awning sags unevenly | Uneven arm tension; angle not set correctly. | Ensure both arms are adjusted to the same angle. Check for loose arm connections. |
| Water pooling on fabric | Insufficient pitch/angle; fabric stretched. | Increase the awning's angle to allow for better water runoff. Ensure fabric is taut. |
| Awning makes noise during operation | Dry moving parts; loose components. | Lubricate the crank mechanism and arm joints. Check and tighten all bolts and screws. |
If the problem persists, please contact COSTWAY customer support for further assistance.
8. Specifications
| Model Number | ZB33424FR |
| Brand | COSTWAY |
| Awning Dimensions (L x W) | 3.6 x 3 meters (11.8 x 9.8 feet) |
| Overall Product Dimensions (L x W x H) | 300 x 360 x 300 cm (approx. 9.8 x 11.8 x 9.8 feet) |
| Weight | 23.6 kg (52 lbs) |
| Material | Aluminum frame, Polyester fabric with PA coating |
| Adjustable Angle | 5° - 35° |
| Operation Mode | Manual (Crank Handle) |
| Assembly Required | Yes |
9. Warranty and Support
For warranty information or technical support, please refer to the purchase documentation or contact COSTWAY customer service directly. Keep your proof of purchase for any warranty claims.
COSTWAY Customer Service: Please visit the official COSTWAY website or refer to your purchase platform for contact details.


