
1. Introduction
The SOVMIKU CG6L is a 2K wireless outdoor security camera designed for reliable surveillance. It features solar power capabilities, a built-in battery, motion detection, two-way audio, and color night vision. This manual provides essential information for setting up, operating, and maintaining your camera.

Image 1.1: Front view of the SOVMIKU CG6L Solar Security Camera, showcasing its solar panel and lens array.
2. What's in the Box
Please verify that all components are present in your package:
- Solar camera (1)
- Camera bracket (1)
- Micro USB Cable (1)
- User manual (1)
- Screw bag (1)

Image 2.1: A visual representation of the SOVMIKU CG6L package contents, including the camera, bracket, cables, and manual, laid out on a flag background.
3. Product Features
3.1. Solar Power and Battery Life
The CG6L camera is equipped with monocrystalline silicon solar panels, offering an energy conversion rate of up to 23%. It features built-in high-capacity 5000mAh batteries. A full charge can sustain camera operation for two months or more, contributing to a battery lifespan of over 8 years due to high quality and reduced charging cycles.

Image 3.1: Diagram illustrating the non-stop standby feature, highlighting the solar panel dimensions and power settings for continuous operation.
3.2. 2K Camera Resolution
The main camera features an advanced quad-pixel sensor, optimizing 3 megapixels for detailed image capture. Shooting in 3MP provides 4 times the resolution, allowing for significant cropping without loss of detail.

Image 3.2: Close-up view of the camera lens, demonstrating the clarity and detail captured by the 3MP sensor, with example images of vehicles.
3.3. Durability (IP65 Rating)
The CG6L camera is designed for durability with an IP65 rating under IEC standard 60529, making it resistant to splashes, water, and dust. The charging interface is protected by a silicone waterproof plug, ensuring safe outdoor installation. Resistance may decrease with normal wear.
3.4. Motion Detection and Alarms
The Passive Infrared (PIR) sensor is always active. When a warm body (human or animal) passes by, the PIR sensor triggers the camera within 10 milliseconds. At night, the spotlight activates. If enabled, the Alarm Flash and Alarm Siren features will automatically flash and sound an alert upon motion detection.

Image 3.3: A smartwatch displaying a motion detection alert from the Vicohome App, indicating activity detected in a swimming pool area.
3.5. Two-Way Audio
The camera supports two-way audio, allowing users to communicate through the camera regardless of distance. This feature enables real-time conversations with individuals near the camera.

Image 3.4: Illustration of the two-way audio function, showing a person speaking into a phone and a child responding, indicating clear communication through the camera.
3.6. Storage Options (MicroSD Slot & Cloud)
The camera includes a built-in microSD slot that supports up to 128GB, providing approximately 15 months of motion detection recordings. Encrypted cloud storage is also available for enhanced security, ensuring recordings are safe even if the camera is compromised.

Image 3.5: Close-up of the camera's underside, showing a hand inserting a microSD card into the designated slot, with icons for 128GB and cloud storage.
3.7. Color Night Vision
The CG6L camera provides color night vision, allowing for clear and detailed surveillance even in low-light conditions. This feature enhances visibility and identification during nighttime hours.
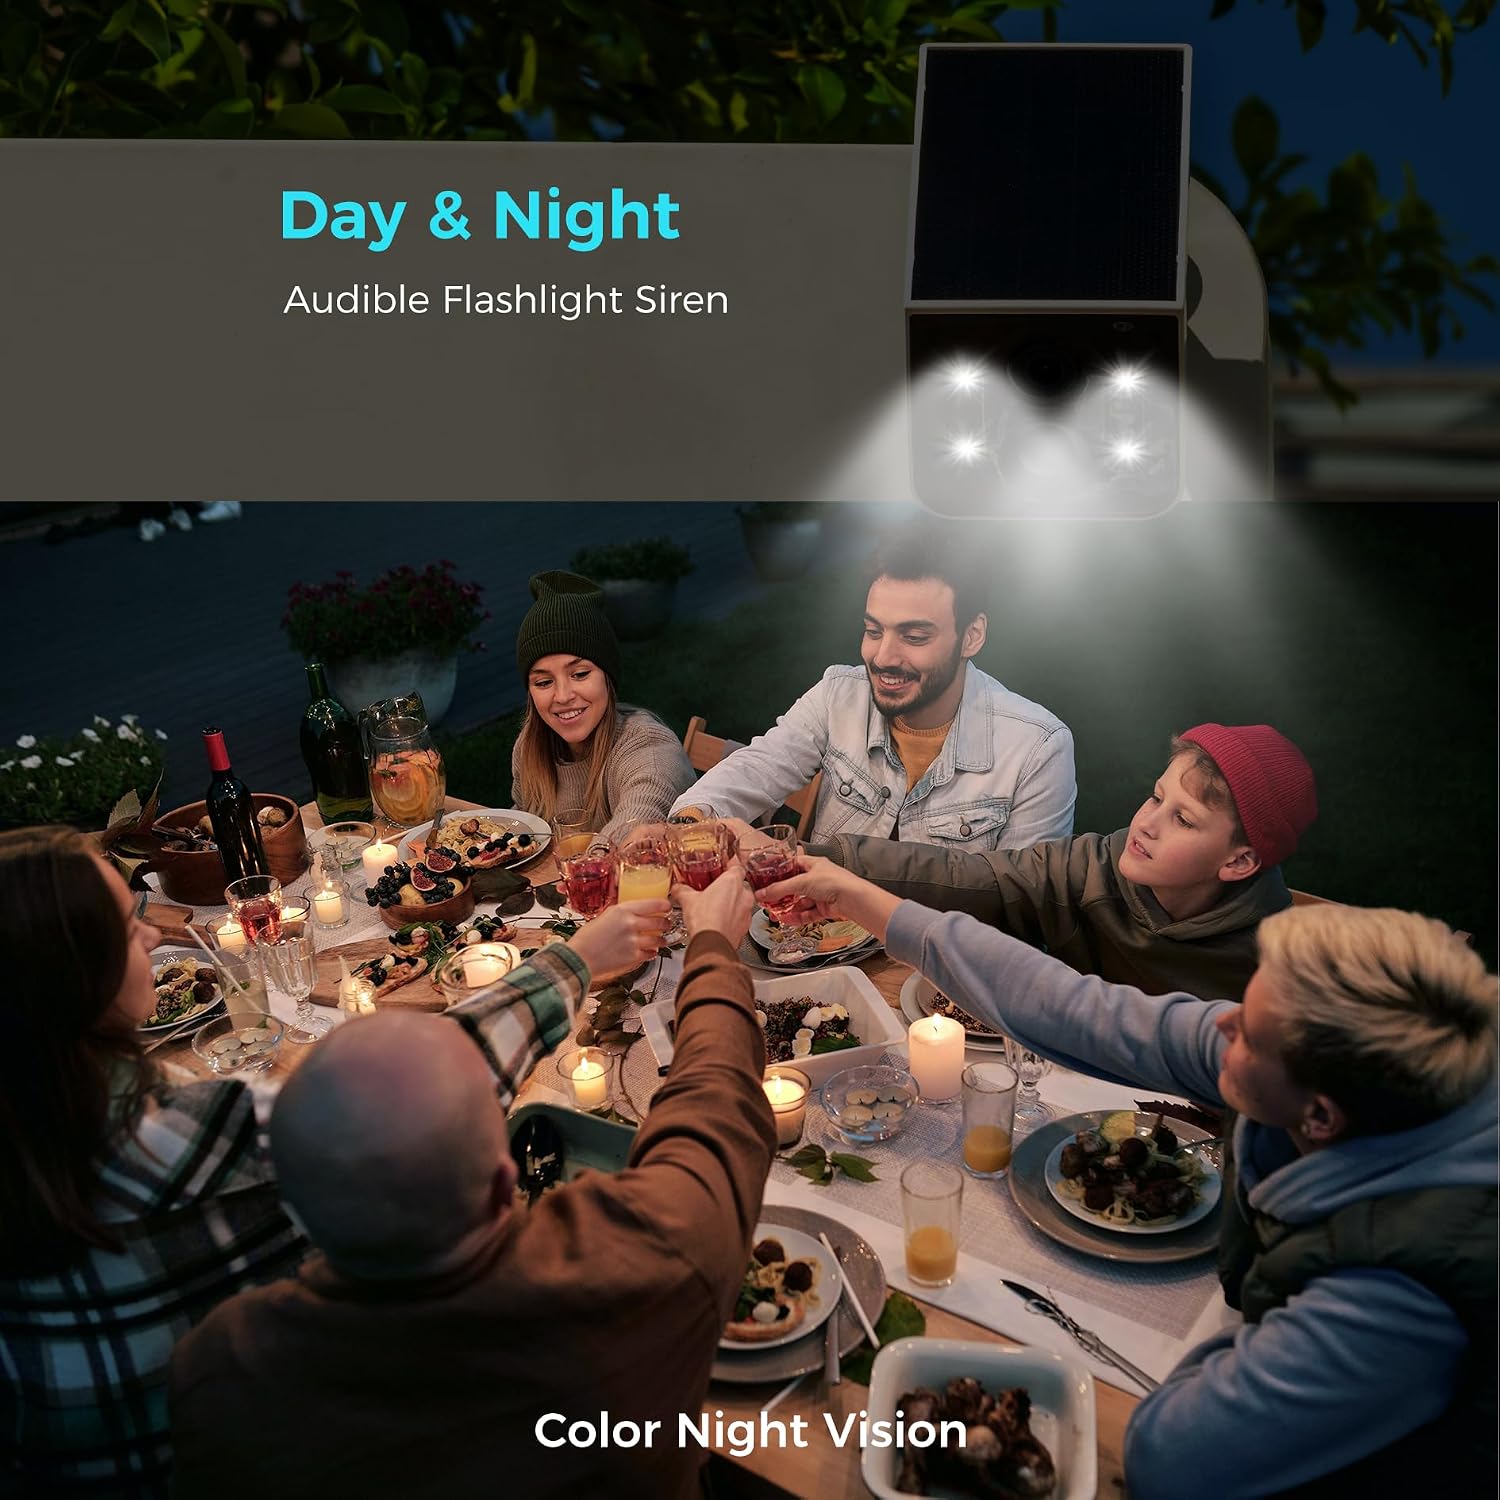
Image 3.6: A nighttime scene illuminated by the camera's lights, demonstrating the effectiveness of color night vision in capturing clear images in dark environments.
4. Setup
4.1. Initial Charging
Before first use, fully charge the camera using the provided Micro USB cable. This ensures the battery has sufficient power for initial setup and operation.
4.2. App Installation
Download the Vicohome App from your smartphone's app store. The app is compatible with most smartphones and is required for camera configuration and live viewing.
4.3. Camera Mounting
The camera is designed for wall mounting. Select a location that provides optimal surveillance coverage and receives adequate sunlight for the solar panel. Ensure the mounting surface is stable and secure.
- Secure the mounting bracket base to the desired surface using the provided screws.
- Attach the camera to the mounting bracket head.
- Fix the camera securely in place, adjusting the angle for optimal viewing.

Image 4.1: A three-step visual guide demonstrating the easy installation process: securing the mounting base, attaching the bracket head, and fixing the camera.
4.4. Solar Panel Placement Guide
For optimal charging, ideally, your solar panel should be pointing directly at the sun in the middle of the day during the summer. Avoid placing the camera under eaves or in shaded areas that would obstruct direct sunlight.

Image 4.2: A visual guide showing correct (facing the sun) and incorrect (under the eaves) placement for the solar panel to ensure optimal charging.
5. Operating the Camera
5.1. Connecting to the Vicohome App
After installing the app, follow the in-app instructions to add your CG6L camera. The Vicohome App supports connecting to more than 50 devices simultaneously, allowing you to view up to 4 cameras at the same time.

Image 5.1: A smartphone screen displaying the Vicohome App interface, showing multiple connected devices like smart doorbells and various cameras, indicating multi-device support.
5.2. Motion Detection Alerts
Enable push notifications in the Vicohome App to receive alerts when motion is detected by the camera. If your Apple Watch is connected to your iPhone, you can also receive and check notifications directly on your watch.
5.3. Two-Way Audio Usage
Within the Vicohome App, select the camera you wish to communicate through. Use the microphone icon to speak and the speaker icon to listen. This enables real-time two-way communication.
5.4. Cloud Intelligence and Activity Zones
The camera supports premium cloud intelligence, which analyzes footage to identify vehicles, pets, persons, and packages. You can define specific activity zones within the camera's view. Notifications will only be triggered for movement detected within these defined zones. This function requires a cloud storage subscription.

Image 5.2: A split image showing a house with highlighted activity zones and a smartphone screen displaying the activity zone settings within the Vicohome App.
6. Maintenance
6.1. Cleaning Solar Panels
Regularly wipe the solar panels to maintain optimal performance and energy conversion efficiency. Dust and debris can reduce the panel's ability to charge the camera.

Image 6.1: A hand wiping the solar panel of the camera with a cloth, emphasizing the importance of regular cleaning for optimal performance.
6.2. Weather Resistance
The camera is IP65 rated for splash, water, and dust resistance. While designed for outdoor use, resistance is not permanent and may decrease over time with normal wear. Ensure the charging port's silicone protective plug is properly sealed when installed outdoors.
6.3. Optimal Operating Temperature
The optimal charging temperature for the camera is between -10°C and 45°C (14°F - 113°F). Below 0°C, the solar panels may not be able to provide power to the camera. Ensure the auto-turn on function is enabled to allow the camera to resume operation after charging.
7. Troubleshooting
7.1. Camera Not Powering On
- Ensure the camera is fully charged. Connect it to a power source using the Micro USB cable.
- Verify that the solar panel is receiving direct sunlight if relying on solar power.
- Check if the auto-on after charging feature is enabled in the app settings.
7.2. Poor Video Quality
- Ensure the camera lens is clean and free from dust or smudges.
- Check your Wi-Fi signal strength at the camera's location. A weak signal can affect streaming quality.
- Verify that the camera's firmware is up to date via the Vicohome App.
7.3. Motion Detection Not Working
- Confirm that motion detection is enabled in the Vicohome App settings.
- Adjust the sensitivity settings for the PIR sensor.
- Ensure there are no obstructions blocking the sensor's view.
- If using activity zones, verify they are correctly configured and the motion occurs within them.
7.4. Two-Way Audio Issues
- Check the volume settings on your smartphone and within the Vicohome App.
- Ensure your internet connection is stable for real-time audio transmission.
- Verify that the microphone and speaker on the camera are not obstructed.
8. Specifications
| Feature | Detail |
|---|---|
| Model Name | CG6L |
| Indoor/Outdoor Usage | Outdoor |
| Compatible Devices | Smartphone |
| Power Source | Solar Power |
| Connectivity Protocol | Wi-Fi |
| Controller Type | Vicohome |
| Mounting Type | Wall Mount |
| Video Capture Resolution | 1296p (2K) |
| Number of Items | 1 |
| Night Vision Range | 32 Feet |
| Product Dimensions (L x W x H) | 2.2 x 3.49 x 2.6 inches |
| Item Weight | 1 pounds |
| Video Capture Format | MP4 |
| Special Feature | 2-Way Audio |
9. Warranty
SOVMIKU offers a 180-day exchange policy for the CG6L camera. If you are not satisfied with the product for any reason, you may submit a request, and SOVMIKU will provide a solution within 24 hours. This policy ensures customer satisfaction and support.

Image 9.1: A three-step visual guide explaining the 180-day exchange policy: no reason needed, submit request, and get a replacement.
10. Support
SOVMIKU is committed to providing excellent customer service. For any inquiries or assistance, you can contact support via telephone or email. If a call is missed, please send an email, and a response is guaranteed within 12 hours. Your feedback and suggestions are highly valued and contribute to product improvement.
For support, please refer to the contact information provided in your product packaging or visit the official SOVMIKU website.