
Introduction
This manual provides detailed instructions for the setup, operation, and maintenance of your EasySMX Switch 2 Joy-Con Charger Dock. Please read this manual thoroughly before use to ensure proper functionality and safety.
Package Contents
Verify that all items listed below are included in your package:
- EasySMX Switch 2 Joy-Con Charger Dock
- USB Type-C Charging Cable
- User Manual

Image: The EasySMX Switch 2 Joy-Con Charger Dock, a USB Type-C cable, and the user manual laid out on a surface.
Compatibility
This charging dock is specifically designed for Switch 2 Joy-Cons. It is not compatible with Switch 1, Switch OLED, or Switch Lite Joy-Cons.
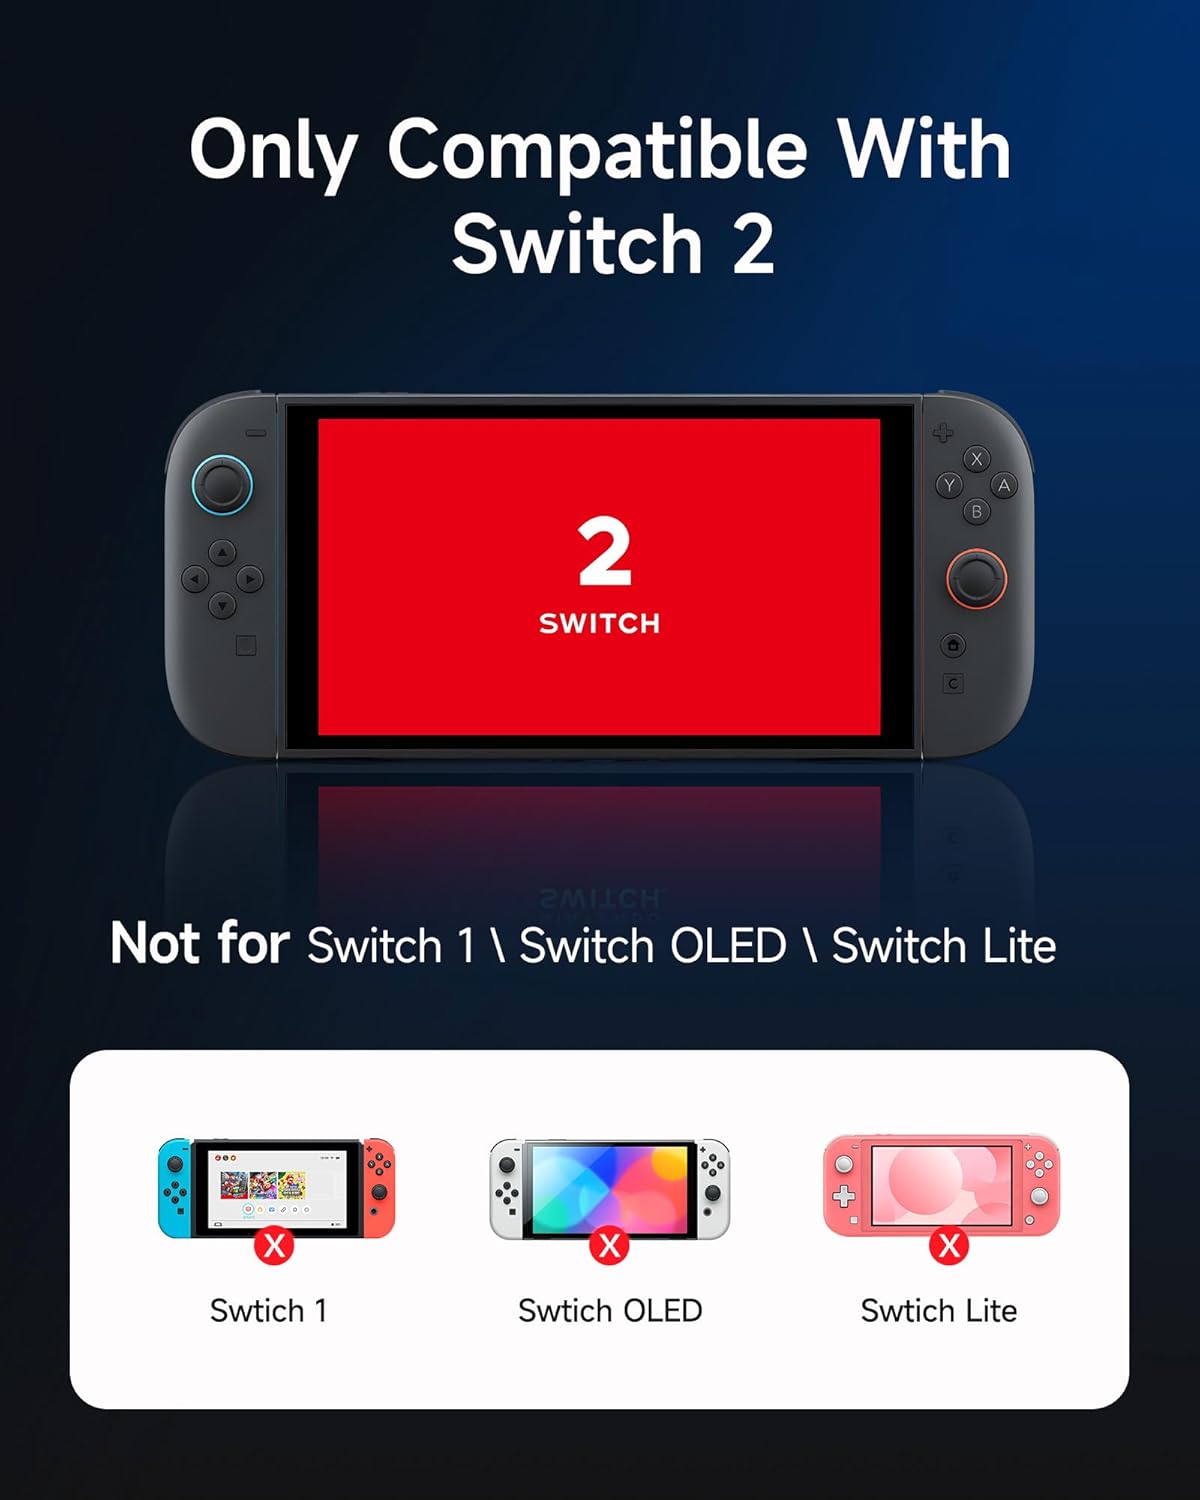
Image: A graphic illustrating that the charger is compatible only with Switch 2 Joy-Cons, explicitly showing "Not for Switch 1 \ Switch OLED \ Switch Lite" with corresponding images of those consoles marked with an 'X'.
Product Layout and Interfaces
Familiarize yourself with the various components and connection points of the charging dock.

Image: A multi-view diagram of the charging dock, highlighting the LED indicators (Red/Green), USB Type-C Input (Top), Right Joy-Con Charging Slot, Left Joy-Con Charging Slot, and USB Type-C Input (Back).
- LED Indicators: Red for charging, Green for fully charged.
- USB Type-C Input (Top/Back): Connect the charging cable here.
- Joy-Con Charging Slots: Insert Joy-Cons for charging.
Setup Instructions
- Connect Power: Use the provided USB Type-C cable to connect the charging dock to a power source (e.g., a USB wall adapter, console, or PC USB port). The dock features dual USB-C ports for flexible placement.
- Positioning: The dock includes an extra kickstand, allowing for various placements while charging.

Image: The charging dock with a USB Type-C cable connected, demonstrating how the dual ports support different placement options, including using the kickstand.
Operating Instructions
- Insert Joy-Cons: Carefully slide your Switch 2 Joy-Cons into the designated charging slots on the dock. Ensure they are securely seated.
- Monitor Charging Status: Observe the LED indicators on the front of the dock.
- A red LED indicates that the Joy-Con is currently charging.
- A green LED indicates that the Joy-Con is fully charged.
- Charging Time: The dock is designed for fast charging, typically reaching a full charge in approximately 1.5 hours.
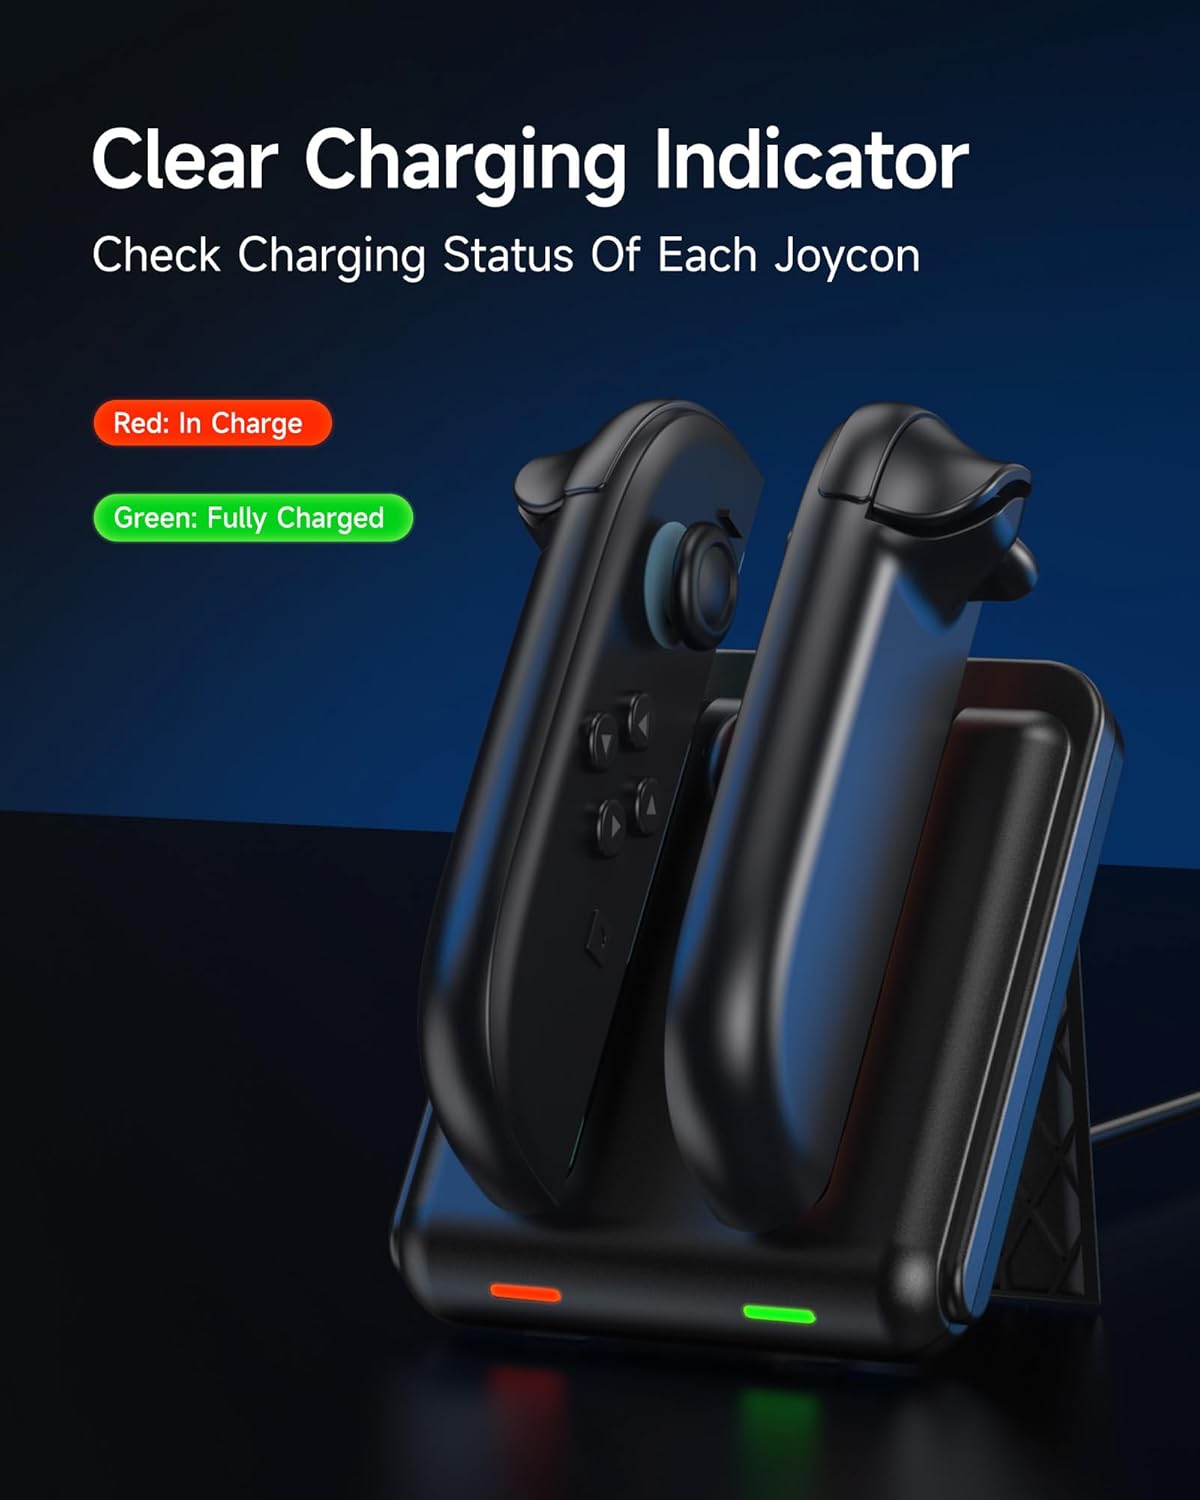
Image: The charging dock with two Joy-Cons inserted, displaying a red LED for a Joy-Con in charge and a green LED for a fully charged Joy-Con.
Video: An overview of the EasySMX Switch 2 Charger Dock, demonstrating its features and how to use it. This video shows the clear charging indicators and how to insert Joy-Cons.
Safety and Protection Features
The EasySMX Charger Dock incorporates advanced safety features to protect your Joy-Cons and the charging station:
- Overheating Protection: Prevents the device from reaching excessive temperatures during charging.
- Short Circuit Protection: Safeguards against electrical shorts.
- Overcurrent Protection: Regulates current flow to prevent damage.
- Battery Lifespan Protection: Designed to extend the overall life of your Joy-Con batteries.
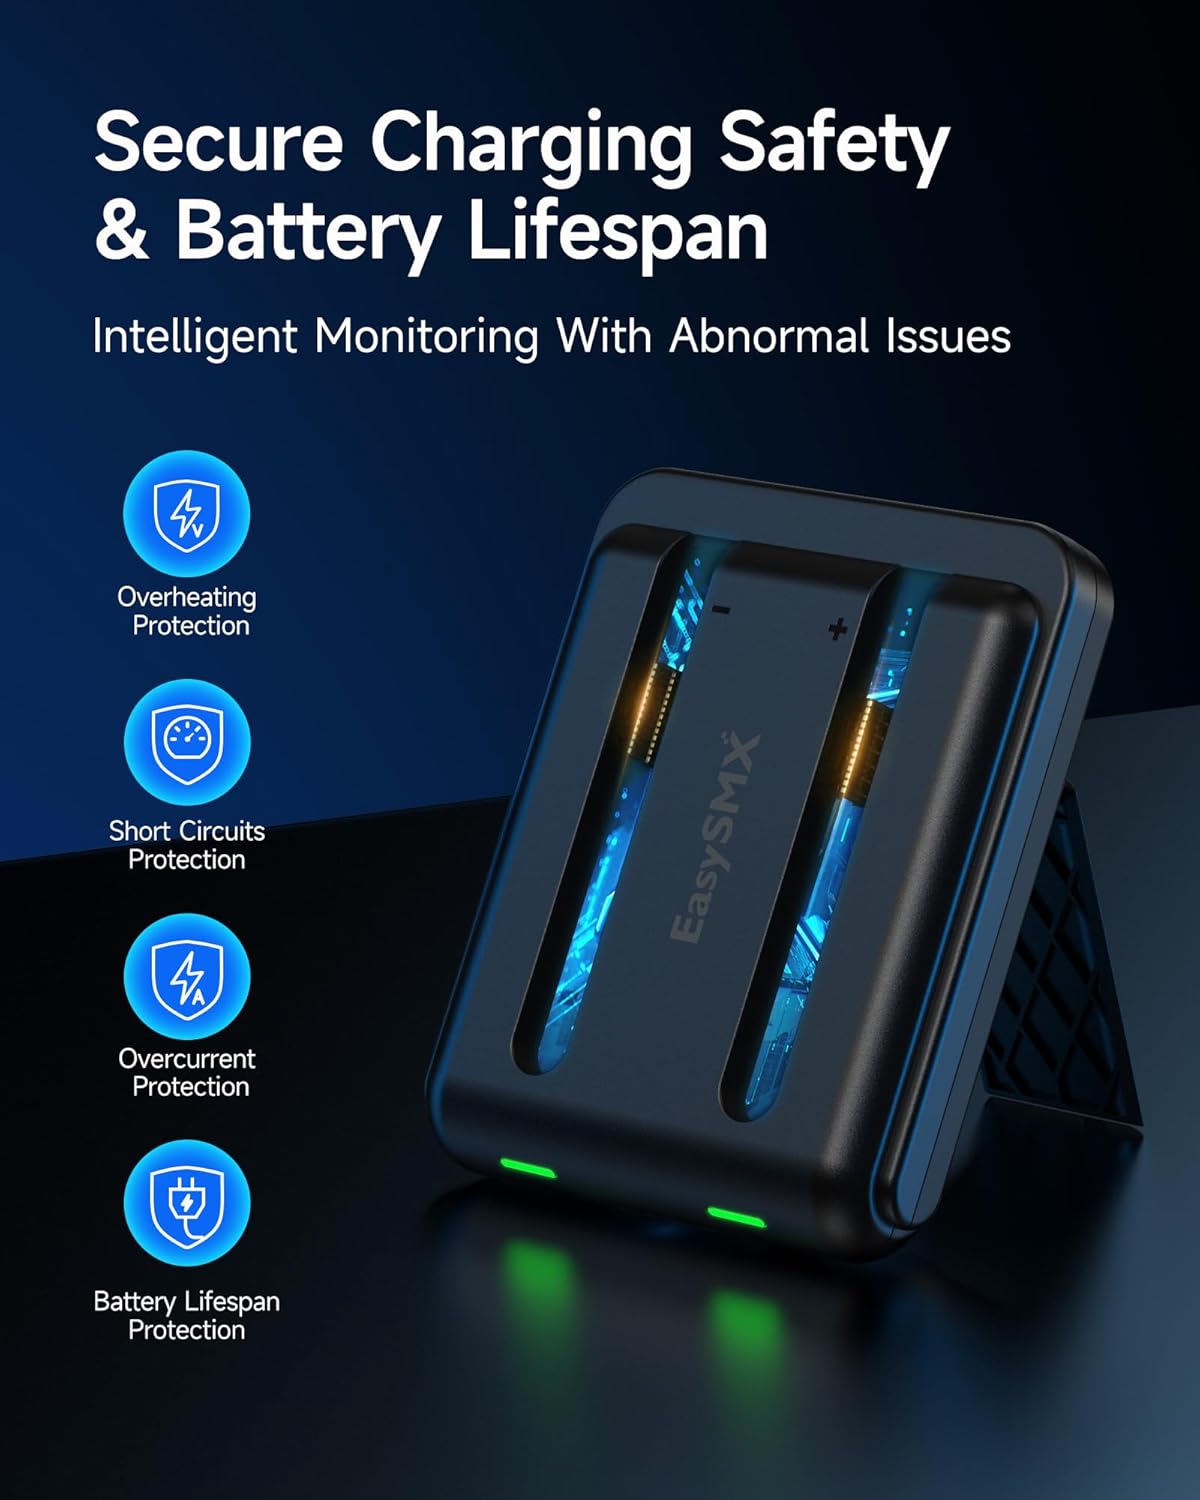
Image: A visual representation of the secure charging safety and battery lifespan features, including icons for overheating protection, short circuits protection, overcurrent protection, and battery lifespan protection.
Maintenance and Care
- Keep the charging dock clean and free from dust. Use a soft, dry cloth for cleaning.
- Avoid exposing the device to water or excessive moisture.
- Do not attempt to disassemble or repair the unit yourself. Contact customer support for assistance.
- Store the dock in a cool, dry place when not in use.
Troubleshooting
If you encounter issues with your EasySMX Charger Dock, please refer to the following common solutions:
- Joy-Cons not charging:
- Ensure the USB Type-C cable is securely connected to both the dock and the power source.
- Verify that the power source is active and providing sufficient power (5V input).
- Confirm that the Joy-Cons are correctly inserted into the charging slots.
- Check if the LED indicators are showing red (charging) or green (fully charged). If no light, try a different cable or power source.
- Slow charging:
- Ensure you are using a compatible power adapter that can deliver adequate current.
- Avoid charging in extremely hot environments, as this can affect charging efficiency.
Specifications
| Feature | Detail |
|---|---|
| Model Number | B0F9L55TX2 |
| Brand | EasySMX |
| Compatible Devices | Switch 2 Joy-Cons |
| Connector Type | USB Type C |
| Number of Ports | 2 |
| Input Voltage | 5 Volts |
| Color | Black |
| Weight | Approx. 107g (0.24lb) |
| Dimensions (approx.) | 9.7cm (3.82in) x 8cm (3.15in) x 2.1cm (0.83in) |

Image: A diagram showing the dimensions (length, width, height) and weight of the lightweight and portable charging dock.
Warranty Information
This product comes with a 2-year manufacturer warranty. Please retain your proof of purchase for warranty claims. For warranty service, contact EasySMX customer support.
Customer Support
For further assistance, technical support, or inquiries, please visit the official EasySMX website or contact their customer service department. You can also refer to the product's Amazon page for additional resources: EasySMX Switch 2 Charger Dock on Amazon.
