1. Introduction
Thank you for purchasing the Sheawasy Mini Retro Digital Camera. This compact and lightweight camera is designed to capture your memories with a unique retro aesthetic, offering both photo and video capabilities. This manual provides detailed instructions on how to set up, operate, and maintain your camera to ensure optimal performance and longevity.

Figure 1.1: Key features of the Sheawasy Mini Retro Digital Camera, highlighting its 1.3-inch LCD screen, video and photo capabilities, included 32GB memory card, compact size, retro aesthetic, and overall design as a cool gadget.
2. Product Overview and Components
2.1 Package Contents
Please check the package contents to ensure all items are present:
- 1 x Sheawasy Mini Retro Digital Camera (Main Unit)
- 1 x 32GB Memory Card (Pre-installed)
- 1 x USB Type-C Charging Cable
- 1 x Strap
- 1 x Keychain
- 1 x User Manual (This document)

Figure 2.1: The Sheawasy Mini Retro Digital Camera shown with its complete set of accessories, including the camera body, a 32GB memory card, a USB Type-C charging cable, a strap, and a keychain.
2.2 Camera Parts
Familiarize yourself with the camera's buttons and ports:

Figure 2.2: An annotated image of the camera highlighting its operational controls: the Power/Mode switch, buttons for Time Stamp ON/OFF, Filter Function, and the Shutter Button.
- Power/Mode Switch: Turns the camera on/off and switches between photo, video, and playback modes.
- Time Stamp ON/OFF Button: Toggles the date and time stamp on recorded media.
- Filter Function Button: Cycles through available retro filters.
- Shutter Button: Captures photos or starts/stops video recording.
- 1.3-inch Color LCD Screen: Displays live feed, status, and allows playback.
- USB Type-C Port: For charging and data transfer.
- MicroSD Card Slot: For memory card insertion.
3. Setup
3.1 Charging the Camera
Before first use, fully charge the camera's internal battery. Use the provided USB Type-C cable.
- Connect one end of the USB Type-C cable to the camera's Type-C port.
- Connect the other end to a USB power adapter (not included) or a computer's USB port.
- The charging indicator light will illuminate. It will turn off or change color when charging is complete.
3.2 Inserting the Memory Card
The camera comes with a 32GB memory card pre-installed. If you need to remove or re-insert it:
- Locate the microSD card slot on the side of the camera.
- Gently push the memory card into the slot until it clicks into place. Ensure the gold contacts face the correct direction (usually towards the screen).
- To remove, push the card in again until it clicks, and it will spring out slightly for you to pull it out.
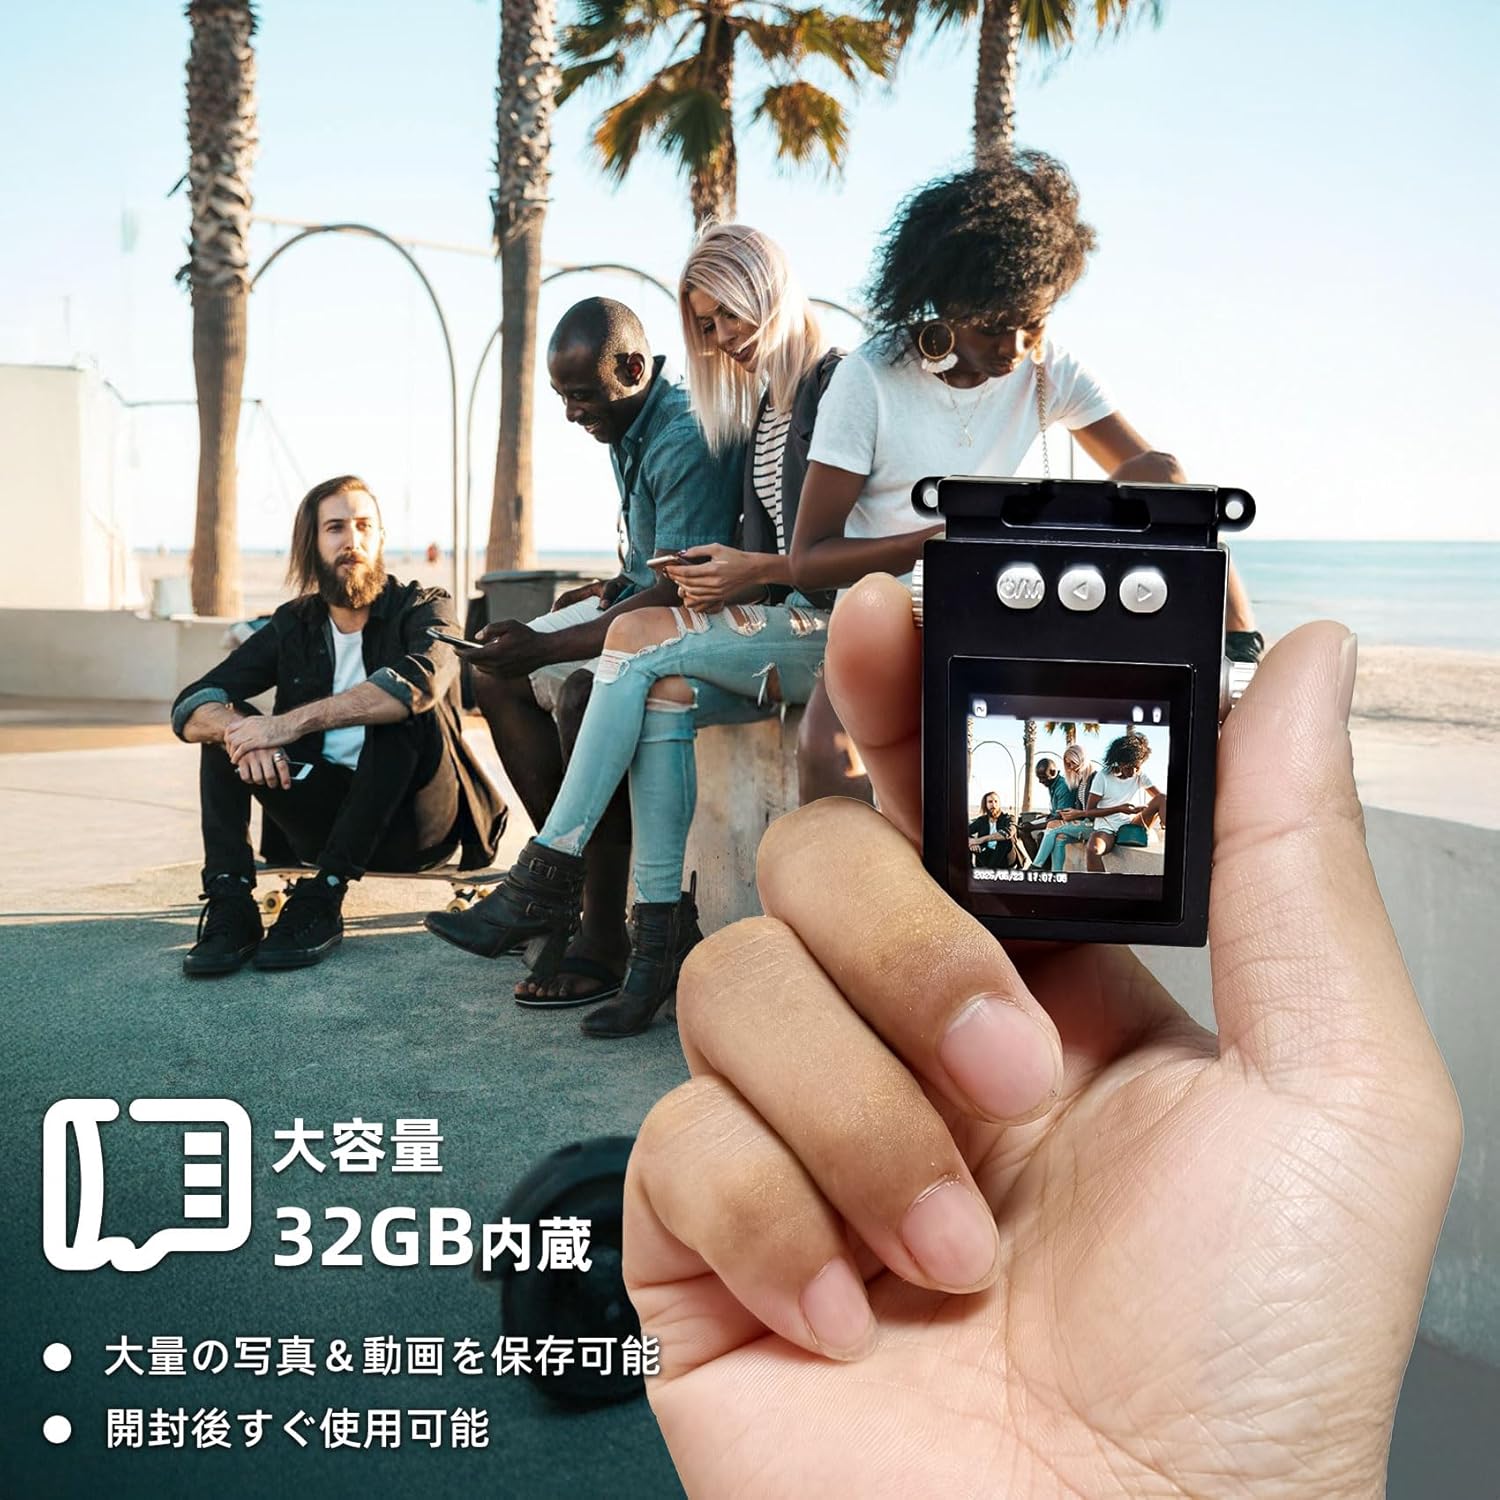
Figure 3.1: The camera is shown in hand, emphasizing its compact size and the inclusion of a 32GB memory card for ample storage of photos and videos.
4. Operating Instructions
4.1 Powering On/Off
- To power on, slide the Power/Mode Switch to the desired mode (Photo or Video).
- To power off, slide the Power/Mode Switch to the OFF position.
4.2 Taking Photos
The camera captures photos at 1920x1080 pixels.
- Slide the Power/Mode Switch to the Photo mode. The screen will display a live preview.
- Frame your shot using the 1.3-inch LCD screen.
- Press the Shutter Button to take a photo. The screen may briefly flash or show a capture animation.

Figure 4.1: The camera's screen shows sample images, demonstrating the nostalgic and retro photographic style it produces.
4.3 Recording Videos
The camera records videos at 1920x1080P resolution with a wide-angle lens.
- Slide the Power/Mode Switch to the Video mode. The screen will display a live preview.
- Press the Shutter Button once to start recording. A recording indicator (e.g., red dot or timer) will appear on the screen.
- Press the Shutter Button again to stop recording.

Figure 4.2: The camera's 1.3-inch color LCD screen shows a live feed, illustrating its capacity for 1080P video recording and high-definition photography, enhanced by a wide-angle lens.
4.4 Playback
You can review your captured photos and videos directly on the camera's screen.
- Slide the Power/Mode Switch to the Playback mode.
- Use the navigation buttons (if available, or the filter/timestamp buttons may double as navigation in playback mode) to browse through your files.
- Press the Shutter Button to view a photo or play a video.
4.5 Applying Filters
Enhance your photos with various retro filters.
- In Photo or Video mode, press the Filter Function Button to cycle through available filters (e.g., Wine Red, Grass Green, Light Blue, Monochrome, Sunshine Yellow).
- The selected filter will be applied to the live preview and the captured media.
4.6 Transferring Files
To transfer photos and videos to your computer or other devices:
- Connect the camera to your computer using the provided USB Type-C cable.
- The camera should appear as a removable disk drive on your computer.
- Navigate to the camera's storage, usually a folder named "DCIM" or similar, to access your files.
- Alternatively, you can remove the microSD card and insert it into a card reader (not included) connected to your computer.

Figure 4.3: Instructions for file transfer, illustrating connection options to a smartphone (via adapter) or a laptop (via USB cable). A reminder is included that a card reader is not part of the package.
5. Maintenance
5.1 Cleaning the Camera
- Use a soft, dry, lint-free cloth to clean the camera body.
- For the lens and screen, use a specialized lens cleaning cloth and solution if necessary. Avoid abrasive materials.
- Do not use strong detergents or solvents.
5.2 Battery Care
- Avoid exposing the camera to extreme temperatures (hot or cold) as this can affect battery life.
- Charge the battery regularly, even if not in frequent use, to maintain its health.
- If storing for a long period, charge the battery to about 50% before storage.
5.3 Storage
- Store the camera in a cool, dry place away from direct sunlight and high humidity.
- Keep it away from dust and dirt. Consider using a protective pouch.
6. Troubleshooting
If you encounter issues with your camera, please refer to the following common problems and solutions:
| Problem | Possible Cause | Solution |
|---|---|---|
| Camera does not turn on. | Battery is drained. | Charge the camera fully. |
| Cannot take photos/videos. | Memory card is full or not inserted correctly. | Check memory card insertion; delete old files or replace card. |
| Poor image/video quality. | Lens is dirty; insufficient lighting. | Clean the lens; ensure adequate lighting for your shots. |
| Camera freezes. | Temporary software glitch. | Turn off the camera and turn it back on. If persistent, try charging it. |
| Files not transferring to computer. | Incorrect cable connection; driver issue. | Ensure cable is securely connected; try a different USB port or computer. |
If the problem persists after trying these solutions, please contact customer support.
7. Specifications
| Feature | Detail |
|---|---|
| Brand | Sheawasy |
| Model Name | SH-A100 |
| Screen Size | 1.3 inches |
| Video Resolution | 1080P (1920x1080) |
| Still Image Resolution | 1 MP (Effective Still Resolution) |
| Lens Type | Wide-angle, Macro |
| Image Stabilization | Digital |
| Included Memory | 32GB MicroSD Card |
| Connectivity | USB Type-C |
| Color | Black |
| Dimensions | 15.4 x 9.1 x 4.8 cm; 70 g (Package Size) |
| Product Weight (Body Only) | 31g |
| Supported File Format | AVI |

Figure 7.1: The compact design of the camera is illustrated by comparing its size to a typical smartphone, highlighting its small dimensions for easy portability.
8. Warranty and Support
No specific warranty information is provided in the product details. For any warranty-related inquiries, please refer to the retailer's policy or contact the manufacturer directly.
Customer Support
If you have any questions, concerns, or require technical assistance with your Sheawasy Mini Retro Digital Camera, please contact our customer support team through the retailer's platform or visit the official Sheawasy brand store on Amazon:
Sheawasy Official Store on Amazon.co.jp
Please have your product model (SH-A100) and purchase details ready when contacting support.


