
Introduction
Thank you for choosing the YASHE 2000W Panini Press and Electric Grill. This appliance is designed for versatile cooking, allowing you to prepare delicious panini, sandwiches, grilled meats, and vegetables with ease. Please read this instruction manual carefully before using the appliance to ensure safe and efficient operation. Keep this manual for future reference.
Important Safeguards
When using electrical appliances, basic safety precautions should always be followed to reduce the risk of fire, electric shock, and/or injury to persons, including the following:
- Read all instructions.
- Do not touch hot surfaces. Use handles or knobs.
- To protect against electrical shock, do not immerse cord, plugs, or appliance in water or other liquid.
- Close supervision is necessary when any appliance is used by or near children.
- Unplug from outlet when not in use and before cleaning. Allow to cool before putting on or taking off parts, and before cleaning the appliance.
- Do not operate any appliance with a damaged cord or plug or after the appliance malfunctions or has been damaged in any manner. Contact customer service for examination, repair, or adjustment.
- The use of accessory attachments not recommended by the appliance manufacturer may cause injuries.
- Do not use outdoors.
- Do not let cord hang over edge of table or counter, or touch hot surfaces.
- Do not place on or near a hot gas or electric burner, or in a heated oven.
- Extreme caution must be used when moving an appliance containing hot oil or other hot liquids.
- Always attach plug to appliance first, then plug cord into the wall outlet. To disconnect, turn any control to “off,” then remove plug from wall outlet.
- Do not use appliance for other than intended use.
- The non-stick cooking plates are not removable. Exercise caution during cleaning.
Product Components

This image highlights key components: the Cool-Touch Handle, Drip Tray, Temperature Control Knob, Indicator Lights (Red for Power, Green for Heating), and Safety Latch.

A close-up view of the integrated fat collection system with an extended drip tray for automatic excess fat drainage.
Key Features:
- Cool-Touch Handle: Designed to remain cool during operation for safe handling.
- Non-Stick Plates: Advanced non-stick coating for easy cooking and cleaning. Note: Plates are not removable.
- Temperature Control Knob: Allows for easy adjustment of cooking temperature.
- Indicator Lights: Red light indicates power is on, Green light indicates heating/ready.
- Drip Tray: Collects excess fat and juices for healthier cooking and easier cleanup.
- 180° Opening: The grill can open flat to 180 degrees, transforming into a larger cooking surface.
Before First Use
- Unpack the appliance and remove all packaging materials, including any promotional labels or stickers.
- Wipe the non-stick cooking plates with a damp cloth or sponge. Do not immerse the appliance in water.
- Dry thoroughly.
- For the first use, it is recommended to lightly grease the cooking plates with a small amount of cooking oil.
- Plug in the appliance and let it heat up for approximately 5-10 minutes on a medium setting to burn off any manufacturing residues. A slight odor or smoke may be present; this is normal.
- Unplug and allow to cool completely before wiping the plates again.
Setup
- Place the panini press on a stable, flat, heat-resistant surface. Ensure there is adequate space around the appliance for ventilation.
- Ensure the drip tray is correctly inserted into its designated slot at the front or side of the appliance.
- Plug the power cord into a grounded electrical outlet. The red power indicator light will illuminate.
Operating Instructions
Using as a Panini Press / Contact Grill:

The grill in closed position, ideal for pressing sandwiches and panini.
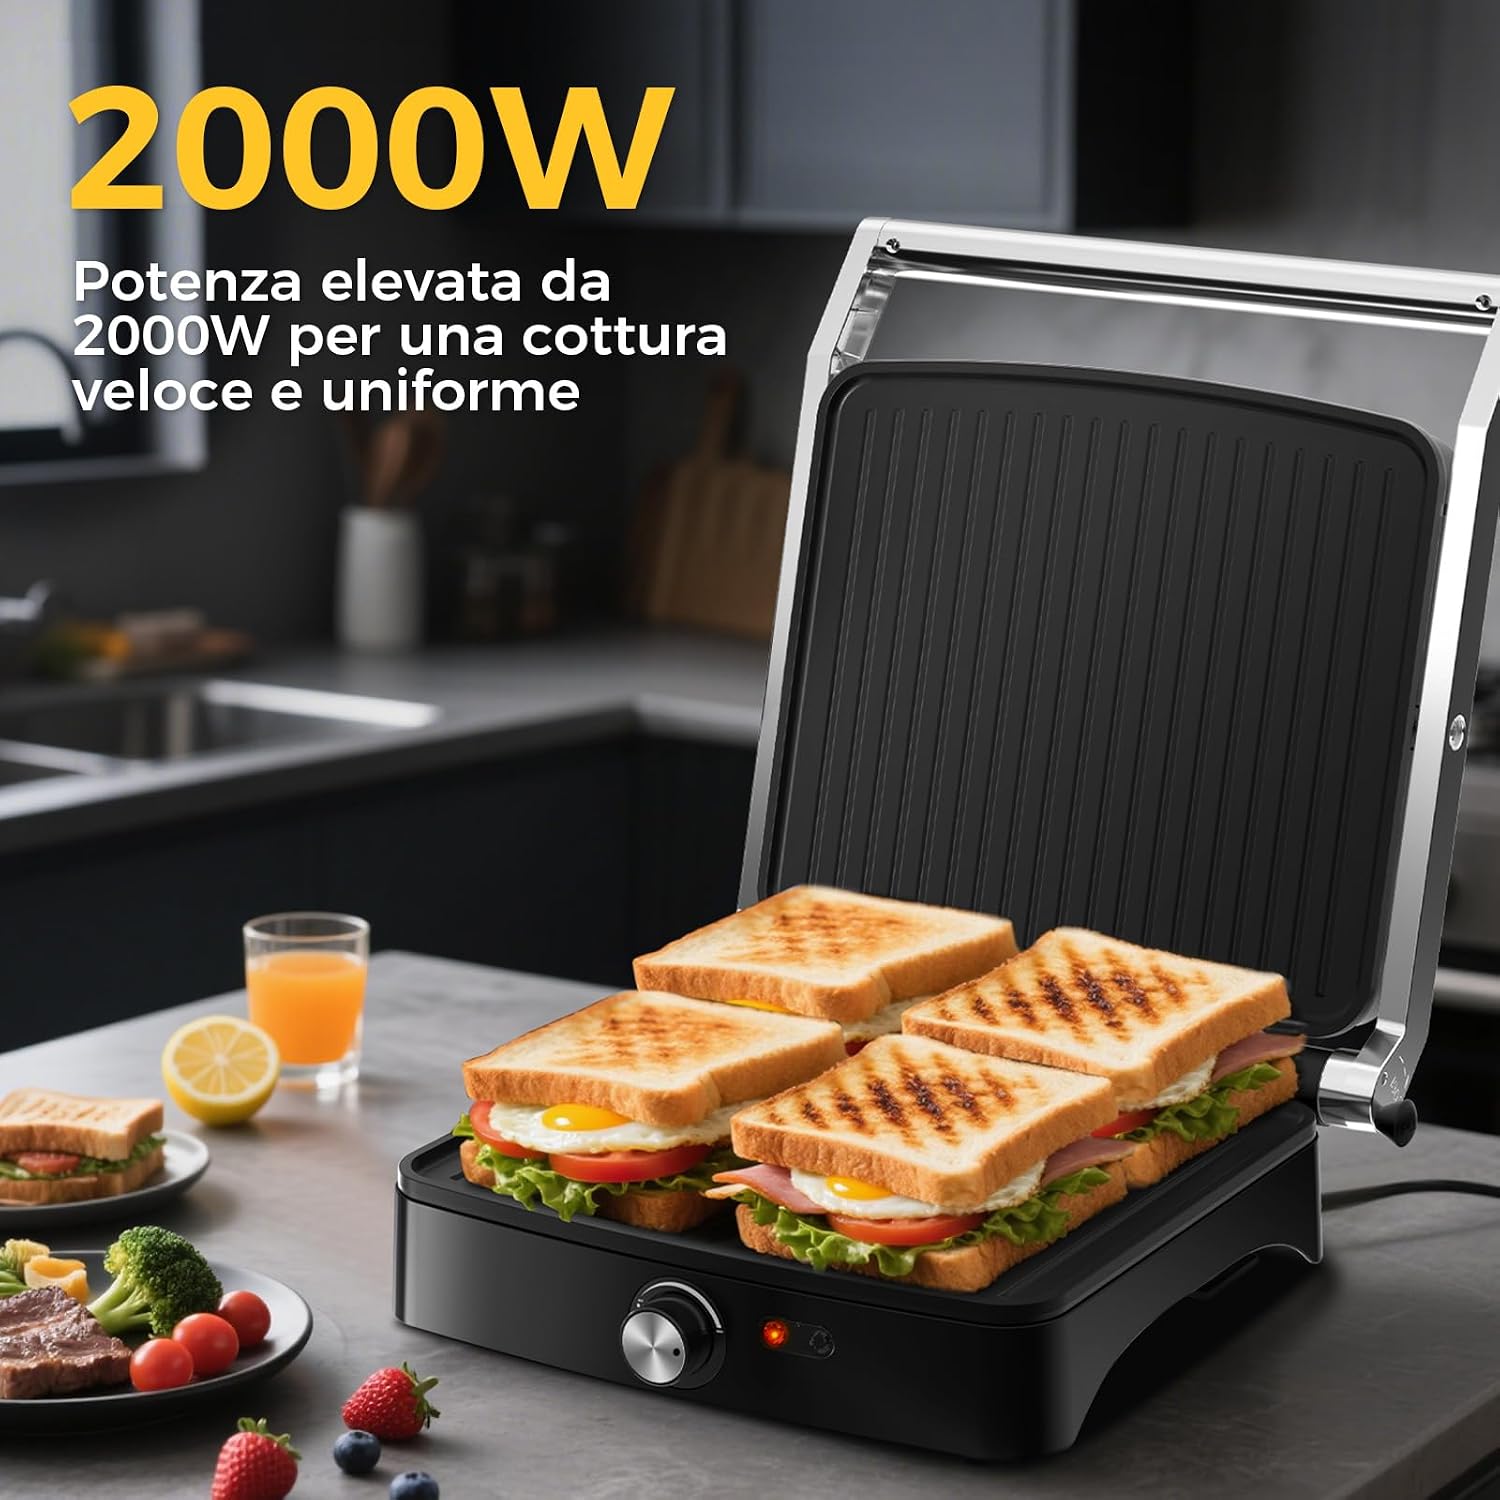
The grill open, demonstrating its capacity to cook up to four sandwiches simultaneously.
- Close the grill and turn the temperature control knob to your desired setting. The green indicator light will illuminate, indicating the grill is heating.
- Allow the grill to preheat until the green indicator light turns off, signaling that the desired temperature has been reached.
- Carefully place your food (sandwiches, panini, etc.) onto the bottom cooking plate.
- Gently lower the top plate onto the food. The floating hinge allows the top plate to adjust to the thickness of your food.
- Cook for the recommended time or until desired doneness is achieved. Cooking times will vary based on food type and thickness.
- Use a heat-resistant plastic or wooden utensil to remove food. Do not use metal utensils, as they can damage the non-stick coating.
Using as an Open Grill (180°):

The grill fully opened, providing a larger, flat cooking surface for various foods.

The grill used to cook a variety of items such as meats, vegetables, and skewers.
- With the grill closed, turn the temperature control knob to your desired setting and allow it to preheat.
- Once preheated (green light off), use the handle to lift the top plate until it locks into the fully open 180° position.
- Place food on both the top and bottom cooking plates.
- Cook, turning food as needed, until desired doneness.
- Use a heat-resistant plastic or wooden utensil to remove food.
Temperature Control:
The temperature control knob allows you to adjust the heat level. Start with a medium setting for most foods and adjust as needed. Higher settings are suitable for searing meats, while lower settings are better for delicate items or keeping food warm.
Cleaning and Maintenance

Wiping the non-stick plates with a damp cloth for easy cleaning.
- Always unplug the appliance from the power outlet and allow it to cool completely before cleaning.
- Remove the drip tray and empty any collected fat or juices. Wash the drip tray in warm, soapy water, then rinse and dry thoroughly.
- Wipe the non-stick cooking plates with a soft, damp cloth or sponge. For stubborn food residue, dampen a cloth with a small amount of cooking oil and gently rub the area, then wipe clean with a damp cloth. Do not use abrasive cleaners, scouring pads, or metal utensils, as these can damage the non-stick coating.
- Wipe the exterior of the appliance with a damp cloth. Do not immerse the appliance in water or any other liquid.
- Ensure all parts are completely dry before storing.
Storage:
Store the appliance in a clean, dry place. The grill can be stored vertically to save space, ensuring the safety latch is engaged to keep the plates closed.
Troubleshooting
| Problem | Possible Cause | Solution |
|---|---|---|
| Appliance does not turn on. | Not plugged in; power outlet malfunction. | Ensure the power cord is securely plugged into a working outlet. Check the circuit breaker. |
| Food is not cooking evenly. | Uneven food thickness; insufficient preheating. | Ensure food is of uniform thickness. Allow the grill to fully preheat until the green light turns off. |
| Food sticks to the plates. | Plates not properly seasoned; food cooked at too high a temperature. | Lightly grease plates before use. Adjust temperature setting. Ensure plates are clean. |
| Smoke or odor during first use. | Manufacturing residues burning off. | This is normal. Ensure good ventilation. It should dissipate after initial use. |
Specifications

Diagram illustrating the overall dimensions of the panini press and its cooking plates.
| Feature | Detail |
|---|---|
| Model Number | BZDD-26QKXLG |
| Brand | YASHE |
| Power | 2000W |
| Voltage | (Not specified in provided data) |
| Material | Metal (Stainless Steel Finish) |
| Color | Black |
| Product Dimensions (D x W x H) | 28 x 35 x 9 cm |
| Plate Dimensions | 28 x 25 cm |
| Special Features | Cool Touch Handle, Non-Stick Plates, 180° Open Function, Adjustable Temperature |
| Non-Removable Plates | Yes |
Warranty and Support
For warranty information and customer support, please refer to the documentation included with your purchase or contact YASHE customer service directly. Keep your proof of purchase for any warranty claims.