1. Introduction
Thank you for choosing the HOMCOM 10000 BTU Portable Air Conditioner. This unit is designed to provide optimal indoor comfort by offering multiple functions: cooling, dehumidifying, ventilating, auto, and sleep modes. This manual provides essential information for the safe and efficient operation, installation, and maintenance of your new appliance. Please read it thoroughly before use and retain it for future reference.

Image 1.1: Front view of the HOMCOM Portable Air Conditioner with its remote control.
2. Important Safety Instructions
To reduce the risk of fire, electrical shock, or injury when using your air conditioner, follow these basic precautions:
- Read all instructions before using the appliance.
- Ensure the power supply matches the voltage specified on the rating label.
- Do not operate the unit with a damaged cord or plug.
- Do not block air outlets or inlets.
- Keep the unit away from flammable materials.
- Always unplug the unit before cleaning or servicing.
- This appliance is not intended for use by persons (including children) with reduced physical, sensory or mental capabilities, or lack of experience and knowledge, unless they have been given supervision or instruction concerning use of the appliance by a person responsible for their safety.
3. Package Contents
Verify that all components are present and in good condition:
- Portable Air Conditioner Unit
- Remote Control (requires 2 AAA batteries, not included)
- Window Installation Kit (exhaust hose, window slider kit, adapters)
- User Manual
4. Product Features
The HOMCOM Portable Air Conditioner is equipped with advanced features for enhanced comfort and convenience:
- Multiple Cooling Modes: Offers five settings: Cooling, Dehumidifying, Ventilating, Auto, and Sleep.
- Efficient Cooling Capacity: 10,000 BTU output, suitable for rooms up to 440 sq. ft.
- Adjustable Airflow: Features adjustable shutters for manual direction of airflow.
- Dual Speeds: Allows selection between two fan speeds.
- Temperature Range: Operates within a temperature range of 59°F to 88°F.
- Compact and Portable: Ergonomic handle and four caster wheels for easy movement.
- Remote Control: For effortless adjustments from a distance.
- LED Display: Clear display for settings and status.
- 24-Hour Timer: Programmable on/off timer for energy conservation.
- Washable Filter: Ensures clean air output and easy maintenance.
- Self-Evaporating System: Minimizes manual water drainage.
- Quiet Operation: Working noise level of approximately 53 dB.

Image 4.1: Overview of the 5-in-1 design, 10000 BTU cooling capacity, and recommended room area of 24-41m² (approx. 258-440 sq. ft.).

Image 4.2: Details highlighting the manual swing function for wider air distribution, swivel castors for mobility, and the integrated handle for easy transport.
5. Setup and Installation
Proper installation is crucial for the efficient operation of your portable air conditioner. This unit is designed for use with sliding windows.
5.1 Positioning the Unit
Place the air conditioner on a flat, stable surface near a window and a grounded electrical outlet. Ensure there is at least 20 inches (50 cm) of space around the unit for proper airflow.

Image 5.1: The portable air conditioner positioned in a room, demonstrating the exhaust hose connection to a window.
5.2 Window Kit Installation
- Assemble the window slider kit according to your window's dimensions. The kit is designed for sliding windows.
- Attach the exhaust hose to the air outlet on the back of the unit.
- Connect the other end of the exhaust hose to the window slider kit.
- Secure the window slider kit in the open window, ensuring a tight seal to prevent air leakage.

Image 5.2: Illustration of suitable window types for the installation kit. Sliding windows are compatible, while push-out windows are not.
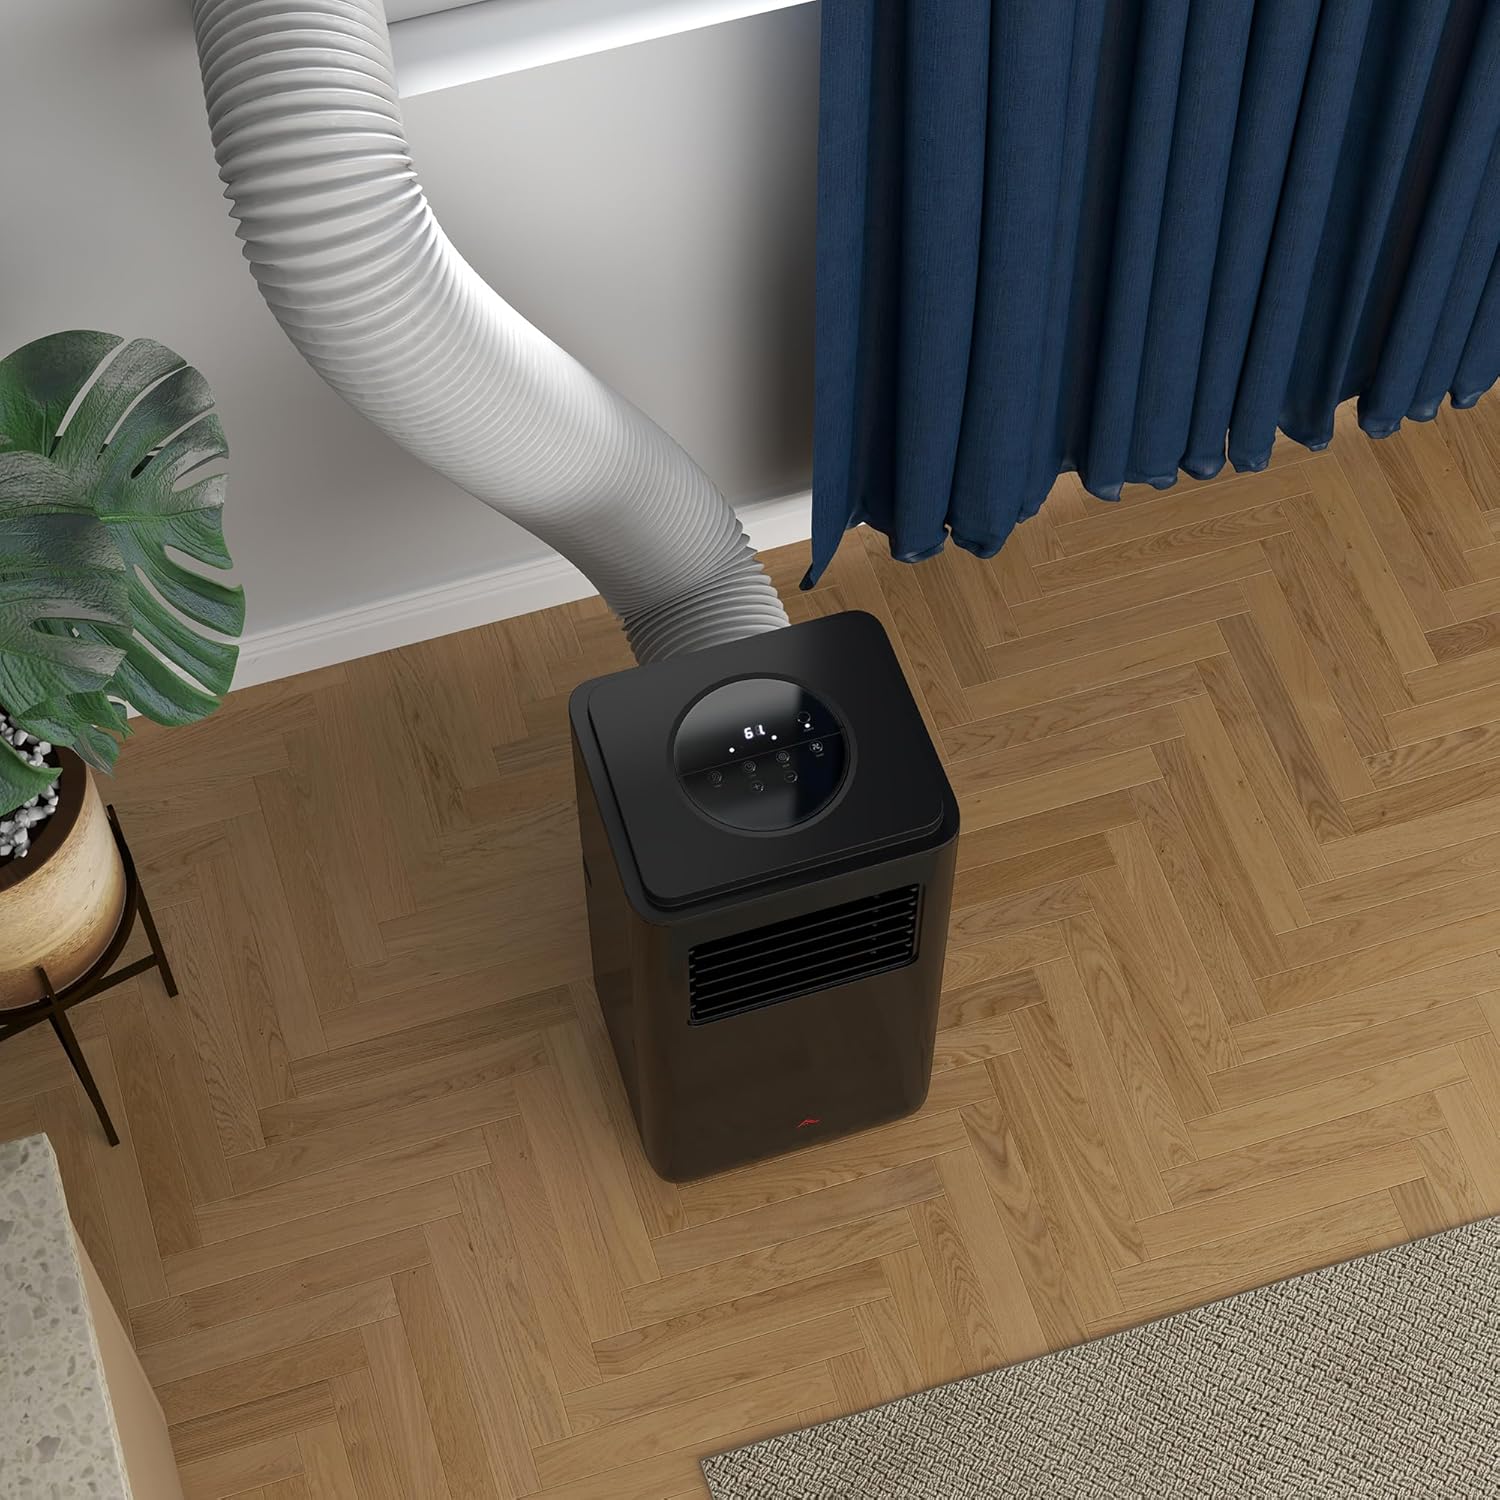
Image 5.3: Overhead view of the air conditioner, showing the exhaust hose properly connected and routed towards the window.
6. Operating Instructions
Your portable air conditioner can be controlled via the control panel on the unit or the included remote control.
6.1 Control Panel and Remote Control
The control panel features an LED display and touch buttons for various functions. The remote control duplicates these functions for convenience.

Image 6.1: The unit's top control panel and the remote control, illustrating the various buttons for operation.
6.2 Operating Modes
- Cool Mode: Provides cooling. Set desired temperature using the '+' and '-' buttons.
- Dehumidify Mode: Removes moisture from the air.
- Ventilate Mode (Fan Only): Circulates air without cooling.
- Auto Mode: Automatically selects cooling or ventilating based on room temperature.
- Sleep Mode: Gradually increases the set temperature over time for comfortable sleep and energy saving.
6.3 Timer Function
The 24-hour timer allows you to set the unit to turn on or off automatically after a specified period.

Image 6.2: Visual representation of the sleep mode, quiet operation at 53 dB, and the 24-hour timer function for convenience.
7. Maintenance
Regular maintenance ensures optimal performance and extends the lifespan of your air conditioner.
7.1 Cleaning the Air Filter
The air filter should be cleaned regularly, typically every two weeks, or more often depending on usage and air quality. A dirty filter can reduce cooling efficiency.
- Unplug the air conditioner from the power outlet.
- Locate and remove the washable filter from the back of the unit.
- Clean the filter with warm water and a mild detergent. Rinse thoroughly.
- Allow the filter to air dry completely before reinserting it into the unit. Do not expose to direct sunlight.

Image 7.1: Step-by-step visual guide on removing and cleaning the washable air filter for hygiene and efficient operation.
7.2 Water Drainage
This unit features a self-evaporating system, which typically minimizes the need for manual water drainage. However, in high humidity conditions, the water-full indicator may illuminate, signaling that the internal water tank needs to be emptied. Refer to the manual for specific drainage instructions if this occurs.
7.3 Cleaning the Unit Exterior
Wipe the exterior of the unit with a soft, damp cloth. Do not use harsh chemicals or abrasive cleaners.
8. Troubleshooting
Before contacting customer support, please refer to the following common issues and solutions:
| Problem | Possible Cause | Solution |
|---|---|---|
| Unit does not turn on | No power supply Power cord not plugged in Water tank full | Check power outlet Ensure plug is securely inserted Empty the water tank |
| Insufficient cooling | Dirty air filter Blocked air intake/outlet Room too large Window kit not sealed properly | Clean air filter Remove obstructions Ensure room size is within specifications Check window kit for leaks |
| Unit is noisy | Unit not on a flat surface Fan speed too high | Place on a level surface Reduce fan speed |
| Water leakage | Drain plug not secured Unit tilted | Ensure drain plug is tightly closed Place unit on a level surface |
9. Specifications
| Feature | Specification |
|---|---|
| Model Number | 823-058V83BK |
| Cooling Capacity | 10,000 BTU |
| Recommended Floor Area | Up to 440 sq. ft. |
| Product Dimensions (D x W x H) | 11" x 13" x 27.7" |
| Item Weight | 46.3 pounds |
| Voltage | 115 Volts (AC) |
| Noise Level | 53 dB |
| Capacity (Water Tank) | 0.1 Gallons |
| Seasonal Energy Efficiency Ratio (SEER) | 6 |
| Filter Type | Pre-Filter |
| Included Components | Remote, Window Kit |
| Batteries Required for Remote | 2 AAA batteries |
10. Warranty and Support
10.1 Warranty Information
This HOMCOM product comes with a 1 Year Warranty Against Manufacturer Defects. Please retain your proof of purchase for warranty claims.
10.2 Customer Support
For technical assistance, troubleshooting beyond this manual, or warranty inquiries, please contact HOMCOM customer support. Visit the official HOMCOM website or refer to your purchase documentation for contact details.